
Ah, the 1911. There is a certain poise and surety when an American hand wraps around the grip of one of these classics, almost like slipping on a well-worn leather glove with the colors of Old Glory. It just feels so right.
Now, there are certainly other guns out there and there are, of course, many that are objectively better. Today’s modularity is great, but to add an optic-ready slide to a 1911 frame, we’re talking hand fitting a slide to buttery perfection here. It’s the opposite of modular.
So let’s fit an Ed Brown RMR slide.

The main issue here is fitting the slide to the frame. The secondary issues are the following:
-This is a factory frame, so there will be modifications. Won’t this void my warranty? I’m pretty sure it would, but where we’re going, we don’t need warranties.
-The frame will need to be converted from Series 80 to Series 70. What the hell does that mean? Basically, a Series 80 has a firing pin safety linkage and plunger assembly that most 1911 people hate as it can make the trigger pull nasty. The SIG frame here is a Series 80 style, but the slide we’ll be fitting is a Series 70. I had to put in a shim, available here at Brownells, into the frame to fill the gap left by the safety lever parts. Luckily it’s a drop-in, so there’s no permanent alteration to the slide caused by this.
-The internal parts all require fitting, and we will need to hand fit the barrel into the slide. Why do this, Josh? Can’t you just be happy with a GLOCK or something? No, I’m sorry, that just won’t do. My accuracy goal here is five inches at 100 yards. One hundred yards, not feet. This needs to be a precision fit, not a drop-in job. I had to work on every single part of this rebuild to some degree, some more than others. Fitting the Ed Brown barrel wasn’t easy, but it locks up like a bank vault.
-I have no special tools; just files, sandpaper, a vise, and a DVD player with ‘Predator’ stuck in the disc drive, which limits my viewing choices in my workshop. The last one is certainly not a problem. The lack of special tools is more of a hurdle. Bear in mind you can do this with more advanced machinery, but I did all of this by hand, by feel and with some elbow grease. I’ve done this kind of hand-fitting before, so I was not worried at all. You, on the other hand, may want to hire a professional.
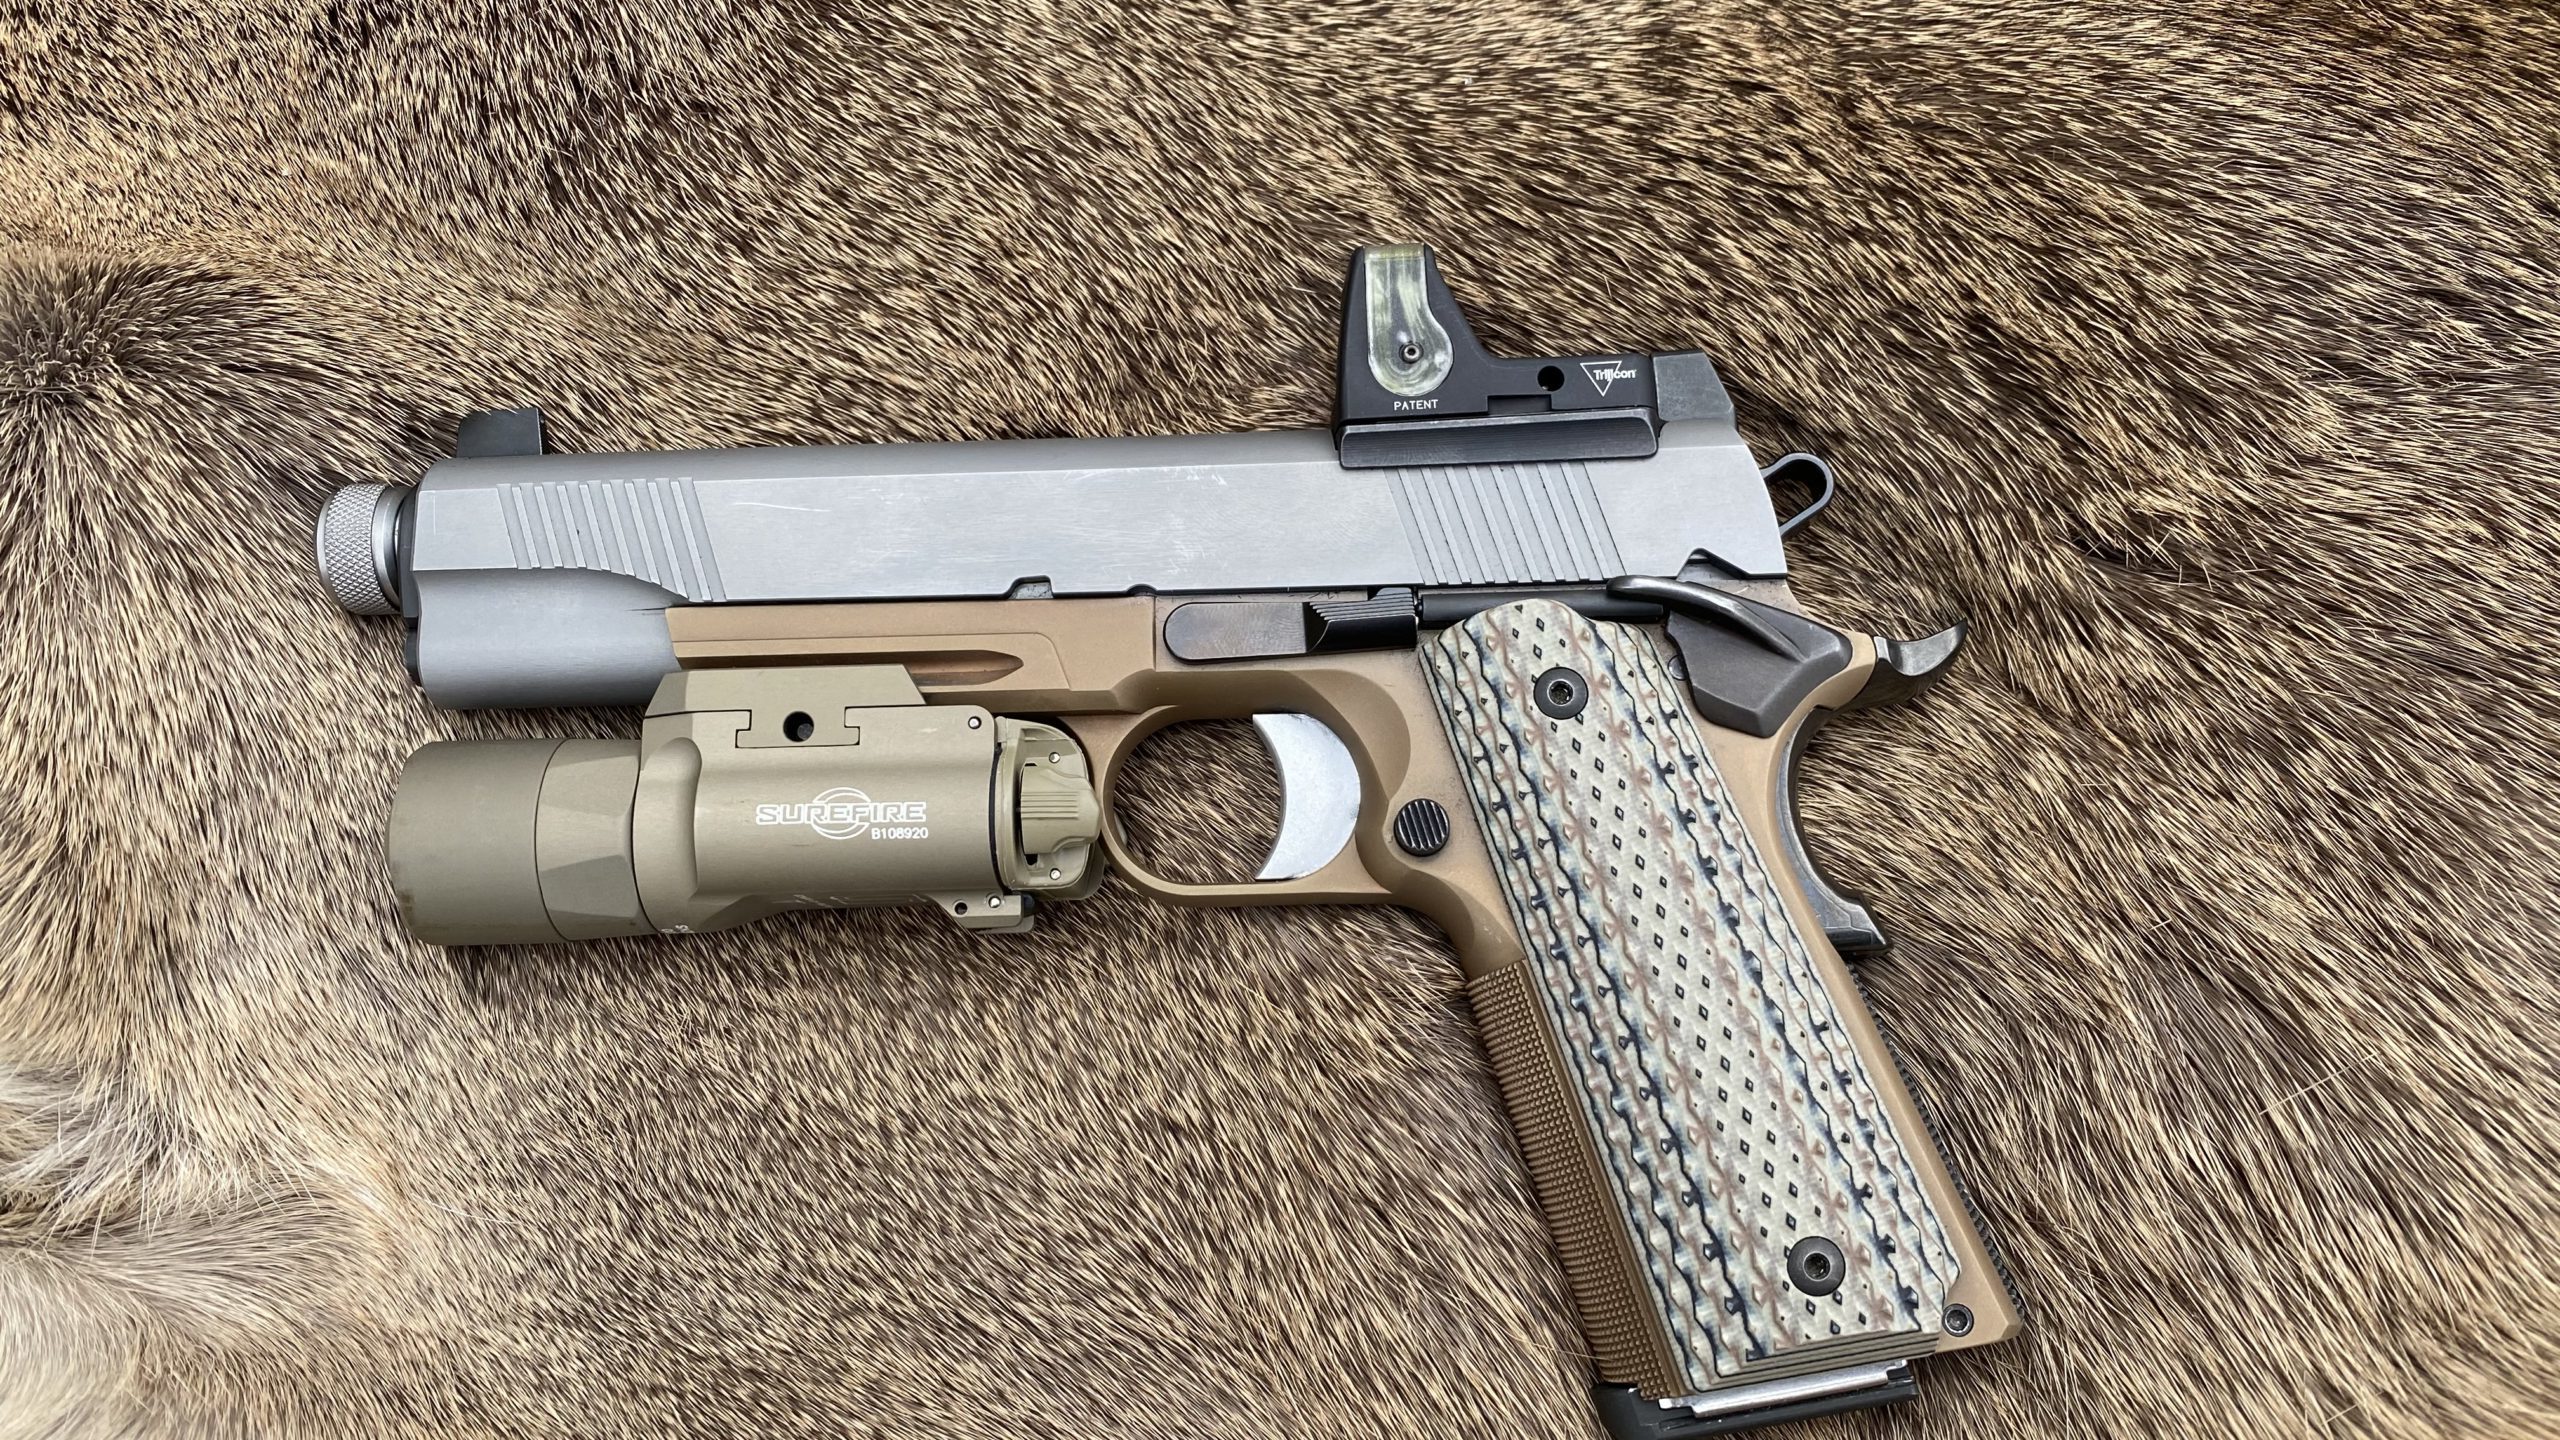
I started with my SIG SAUER Emperor Scorpion in 45 ACP and completely stripped the frame. It was always a good shooter, but I liked the color of the frame and decided to make something a little more nifty with it. I fitted and replaced all the internal parts first, but not because I had to.
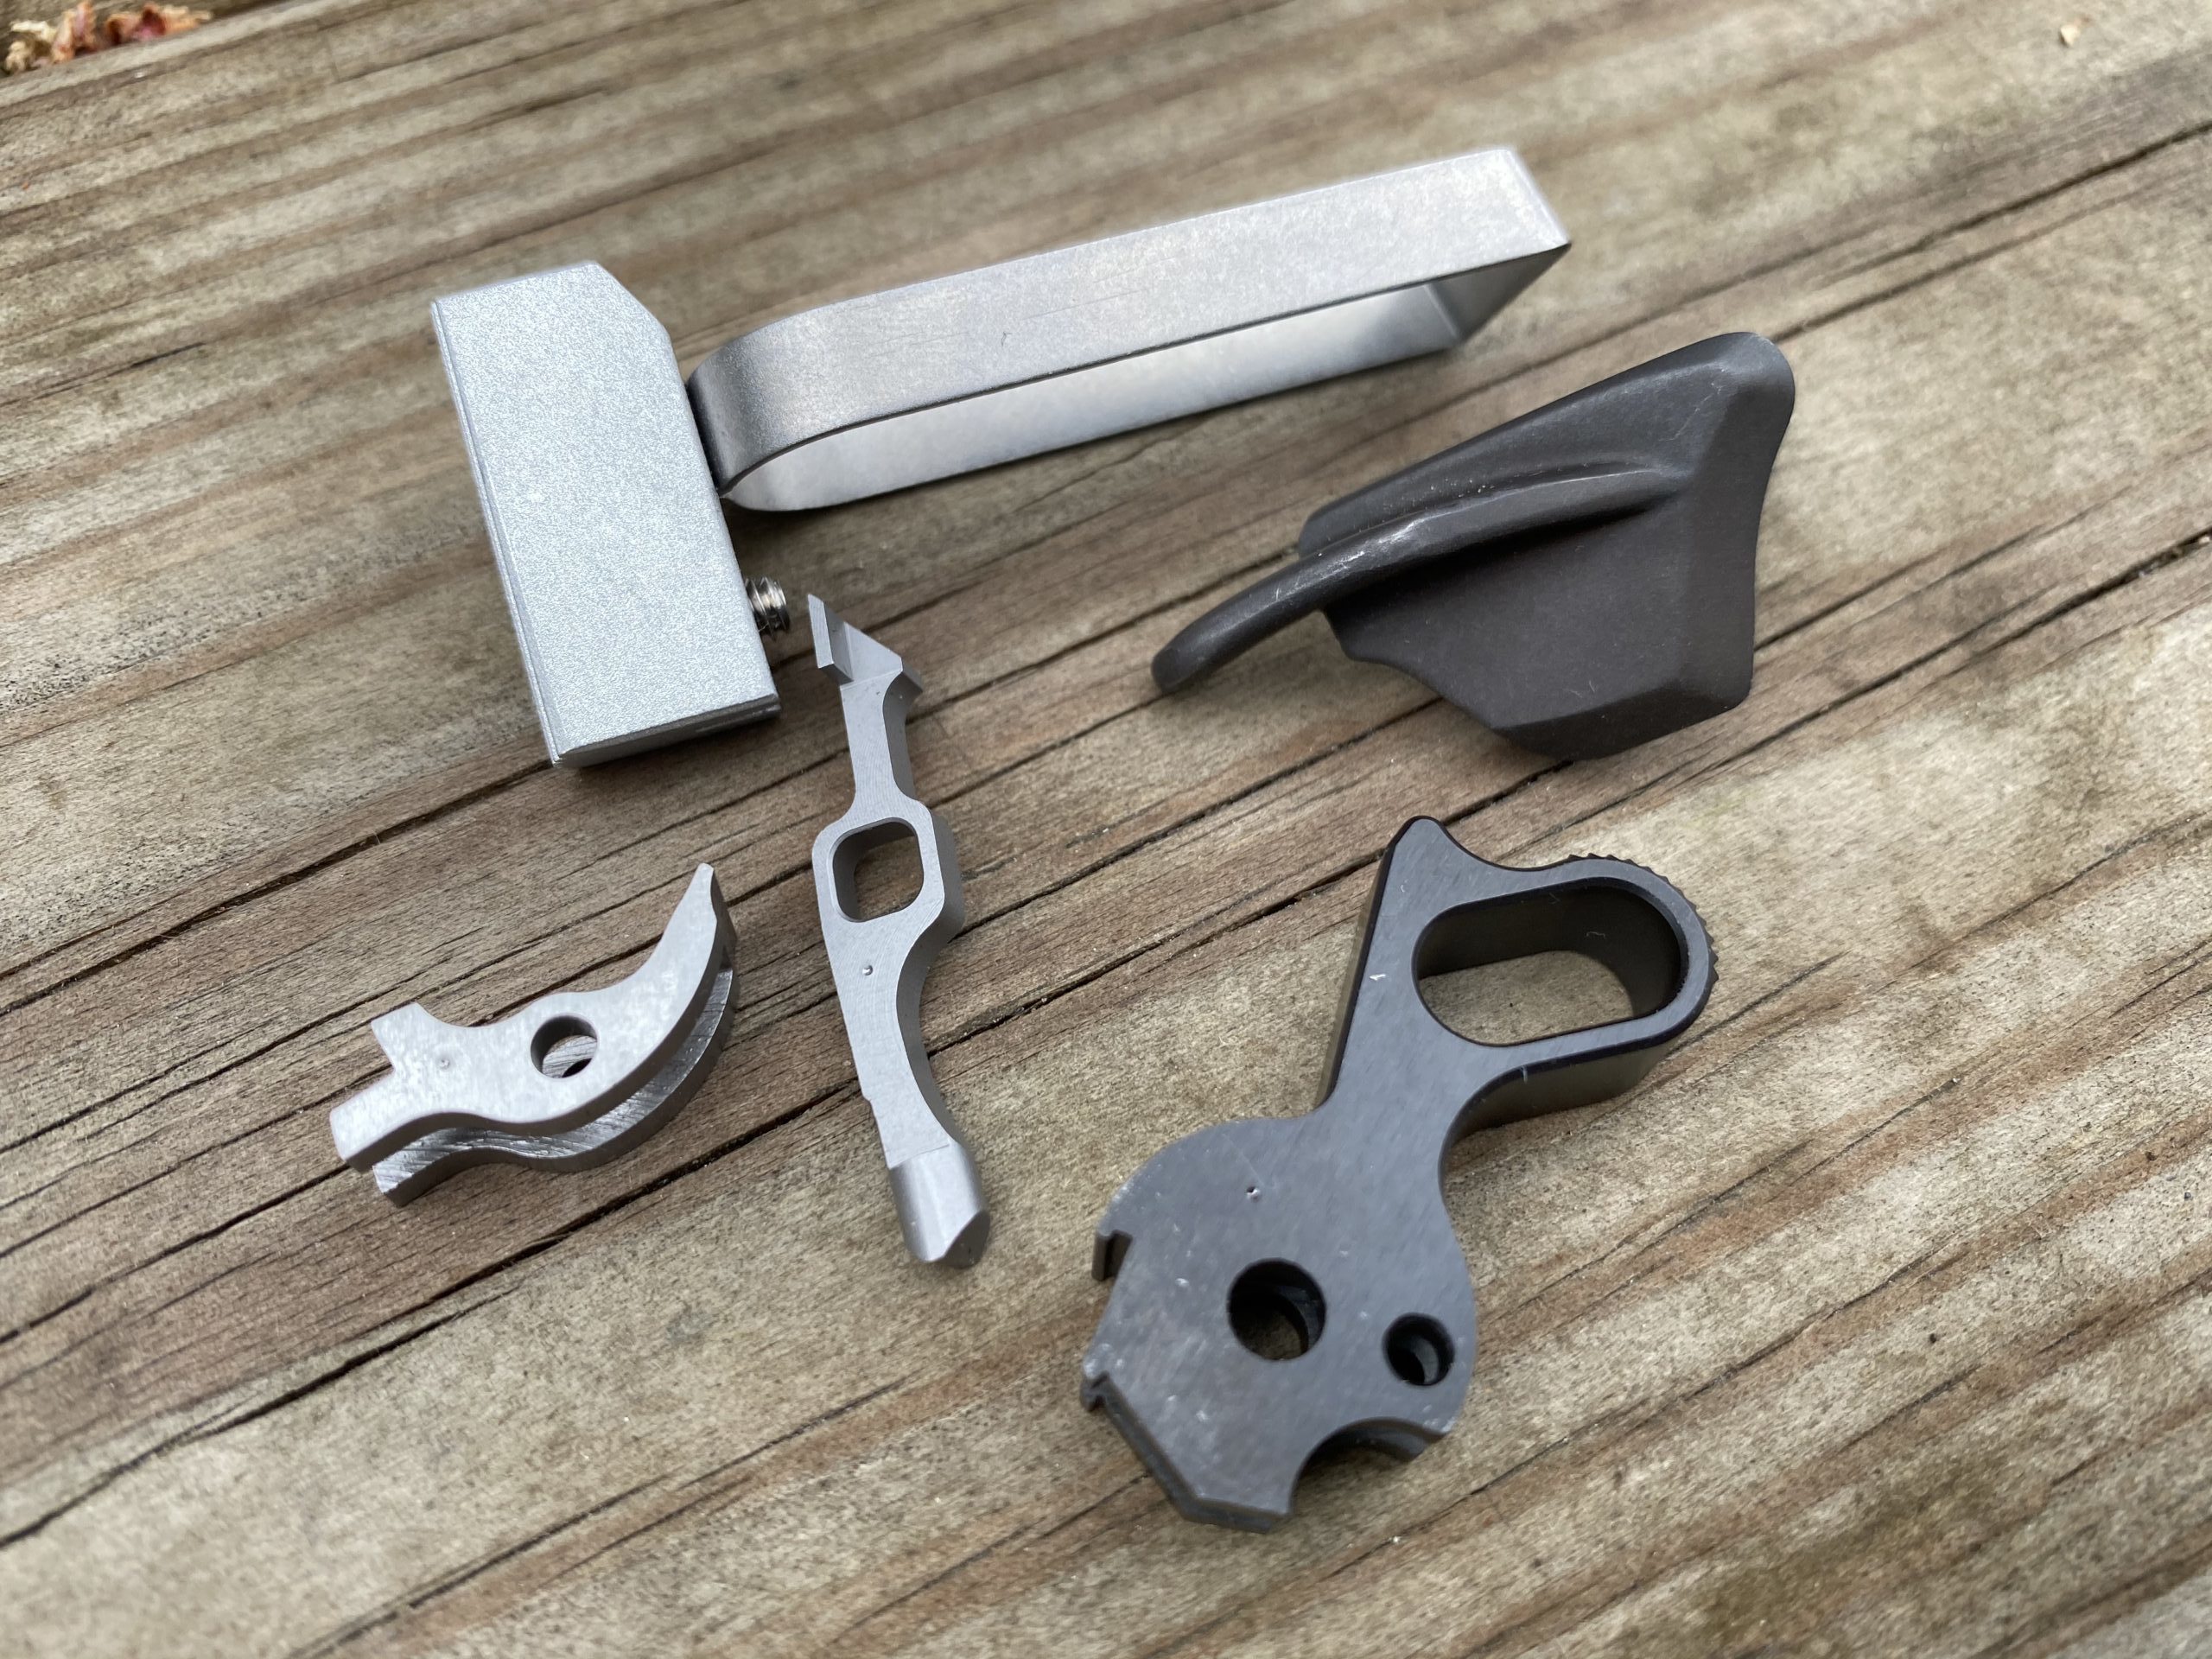
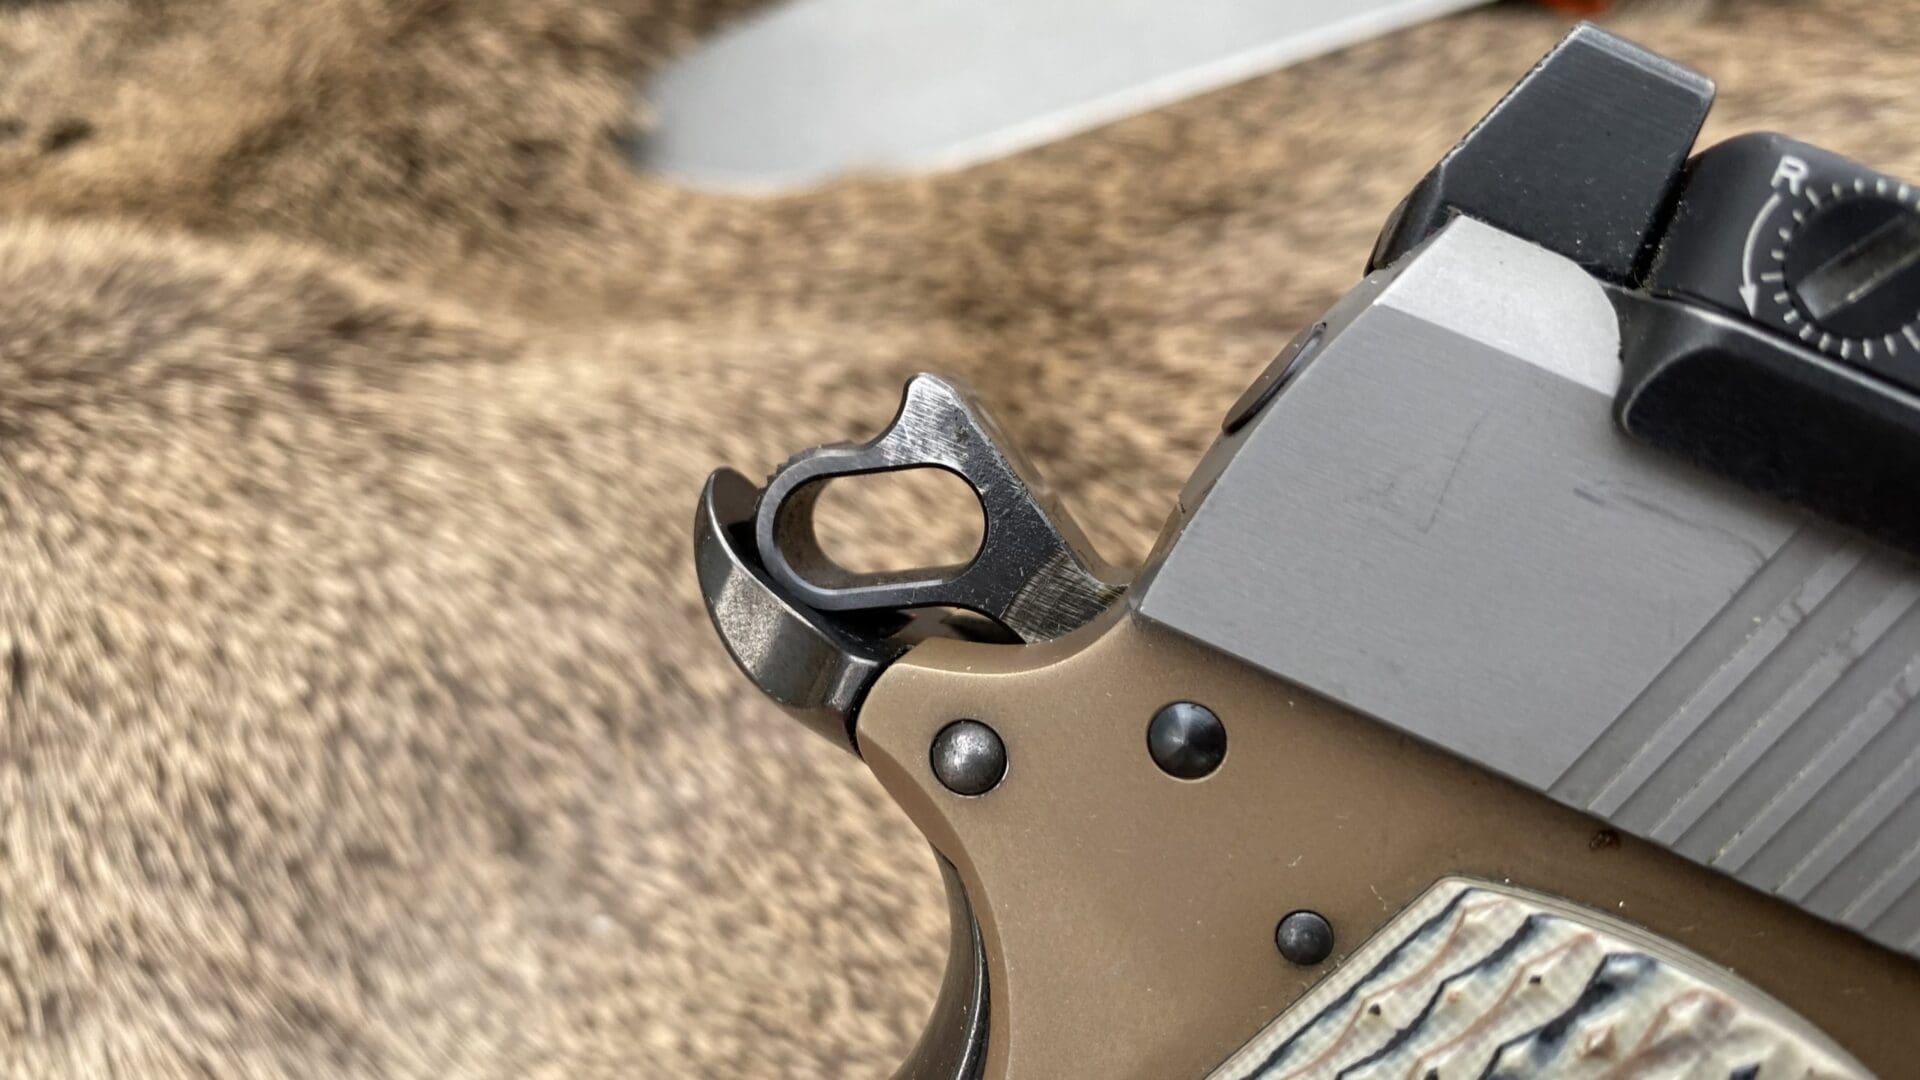
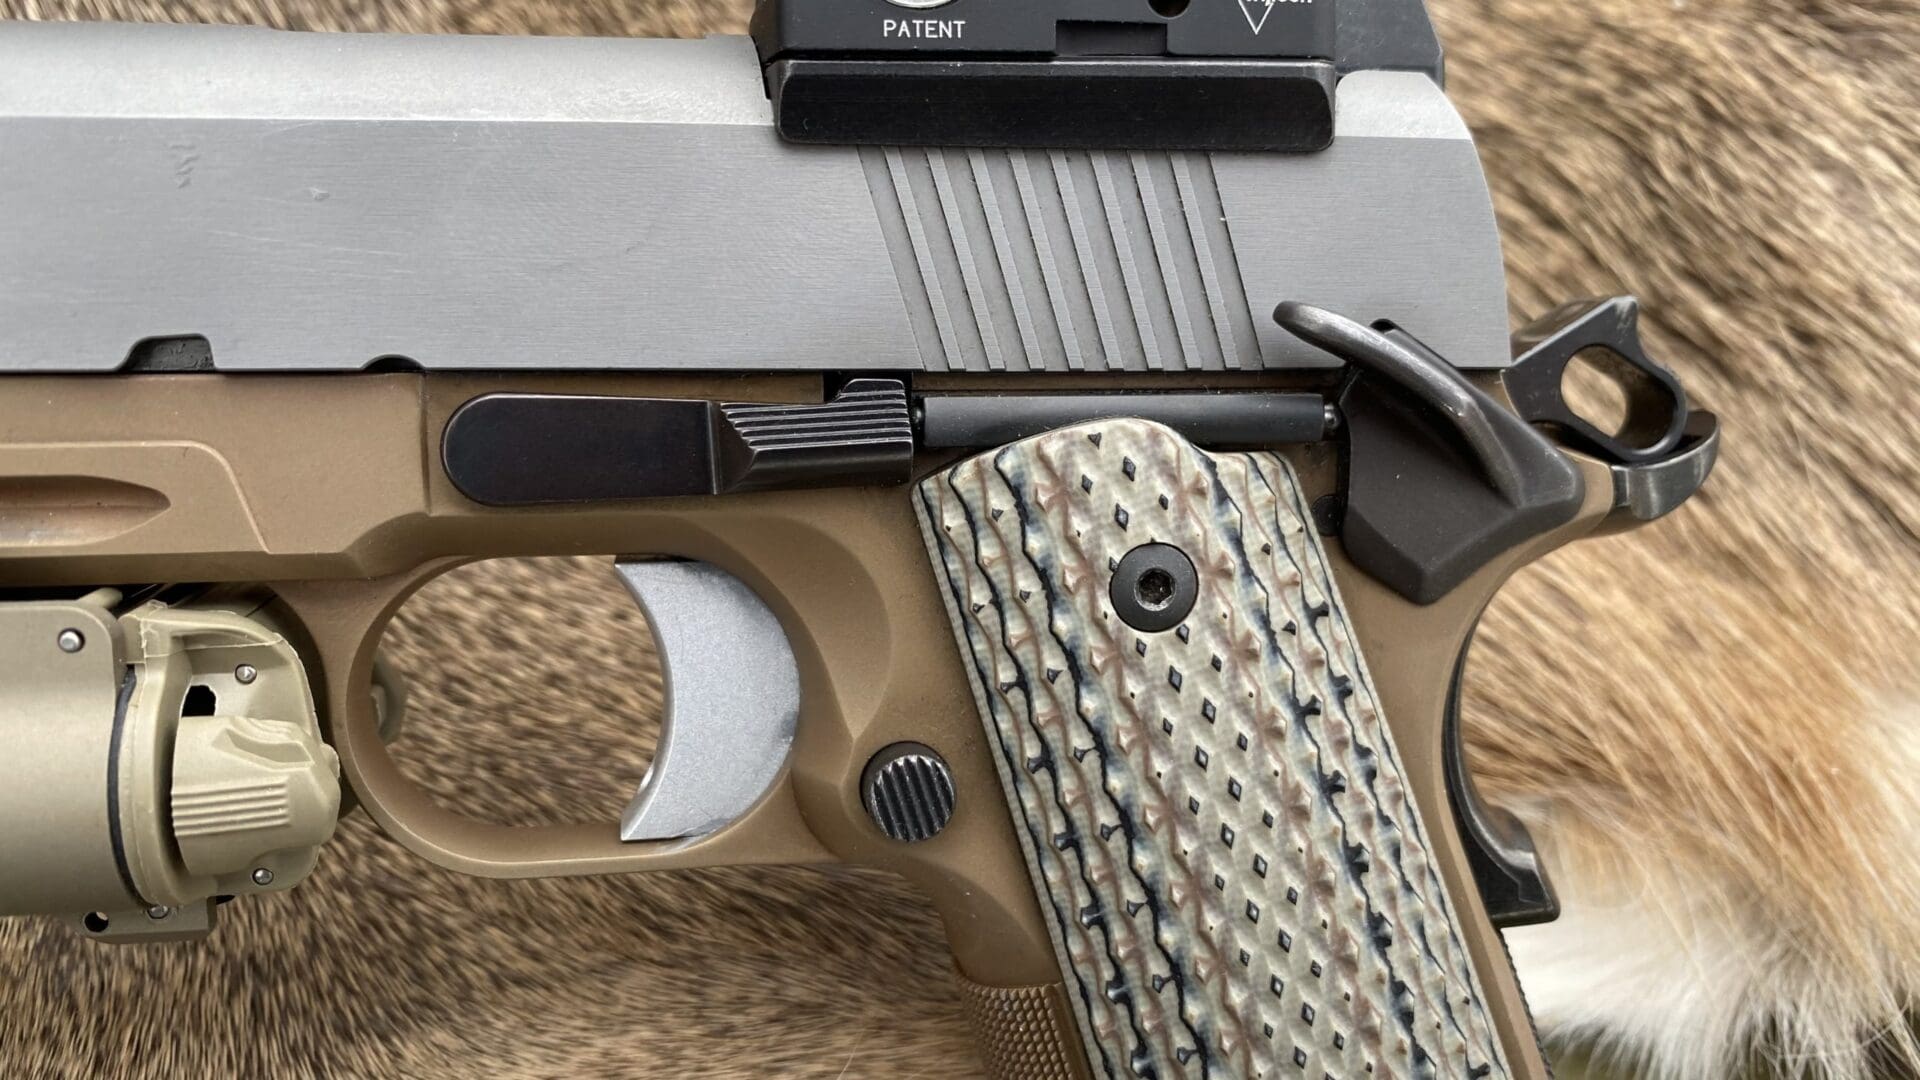
The SIG parts are just fine, but I wanted to change it up. I installed a Cylinder & Slide MARSOC trigger pull set, a new trigger with a smooth shoe and adjustment screw, a checkered mainspring housing, and a new safety. I kept the SIG grip safety.
Fitting all these ancillary parts first is pretty critical to the build process, but some people like to do it later after dealing with the frame/slide fit first. I did my initial testing with the Series 80 parts installed along with the SIG slide to test for function.
After that was completed and reliable, I removed the Series 80 levers and installed the shim that filled in the hole they left, but that was a late stage easy change.
Now comes the big one that can be intimidating. I am a believer in changing the thing that can be most easily changed with the least effort, and in this case it was the frame rails that needed to be taken down slightly to make the new slide fit.
For the newbies, a new 1911 slide is rarely a drop-in proposition. I took measurements of all the dimensions of both the rails and the slide’s internal surfaces. I would need to take the rails down by a total thickness of less than a hair on the outside of the rail and along the top. Easy, right?
Not so much. Doing this by hand requires patience and Sharpie markers. I color in the metal, then sand and file, then re-mark it again before testing to fit to the slide. This allows you to see where you are hanging up. I use a rubber mallet to tap the slide onto the rails to see where there are areas of friction.
Eventually I got the slide to work onto the frame, but it was very tight. To solve this minor problem I used lapping compound, secured the frame in a vise, and furiously ran the slide back and forth until it began to glide like glass. When it was done, I wiped up the lapping compound and ran some regular gun lube in the rails. I now have a heavenly fit with no friction.
Next came the barrel. This is actually my least favorite part of the whole process. I again covered the barrel in Sharpie ink and installed it in the frame. It wouldn’t lock in.
Thanks to the Sharpie marks, I knew where the high points were along the side of the barrel, so I brought those down first. With the barrel resting in the slide, I tested fit to the locking lugs.
Luckily, this was a nearly exact fit and I only needed to remove a small amount of material off the end of the barrel where it contacts the area above the firing pin hole. With this done, I was ready to install the slide to the frame.
This part went just about as expected. It was too tight a fit, so I had to do some more polishing with the lapping compound and some filing near the barrel link on the underside of the barrel. With this done, I cleaned out the compound and ran it with lube.
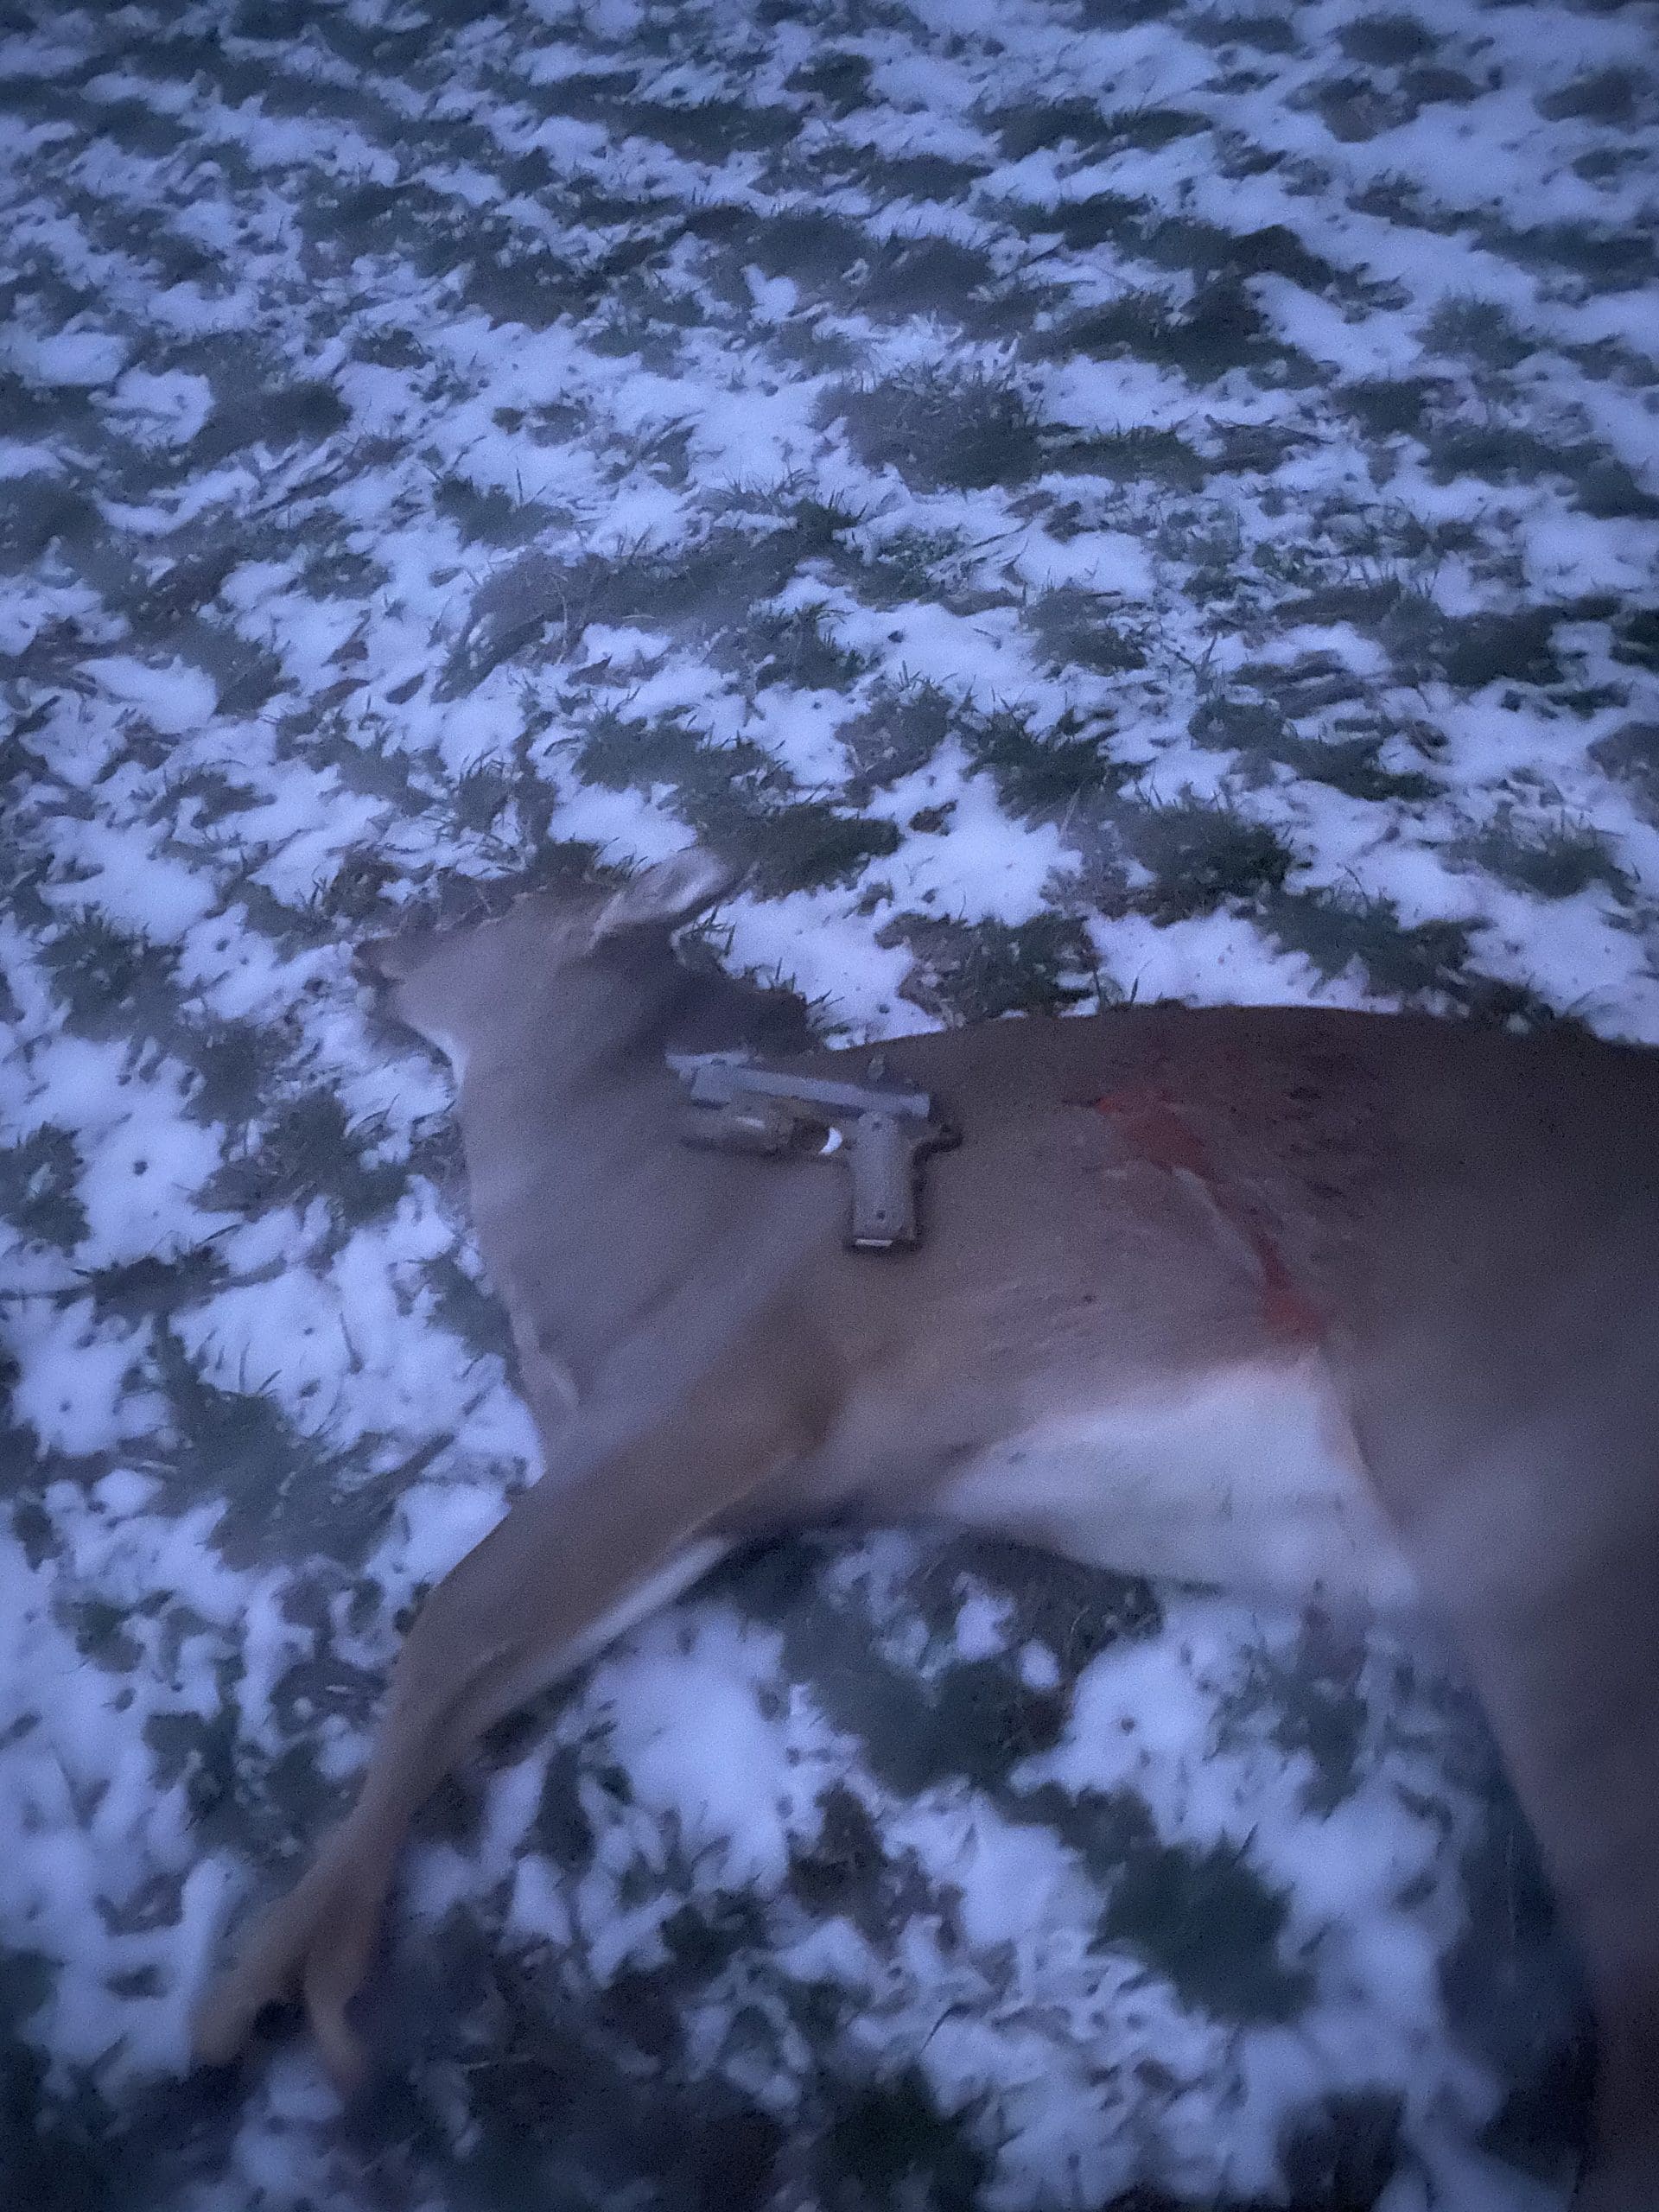
Everything was perfectly tight and locked up correctly. I then installed the remaining slide parts and performed a test fire to ensure it was operating. My first test went perfectly and I was quite happy.
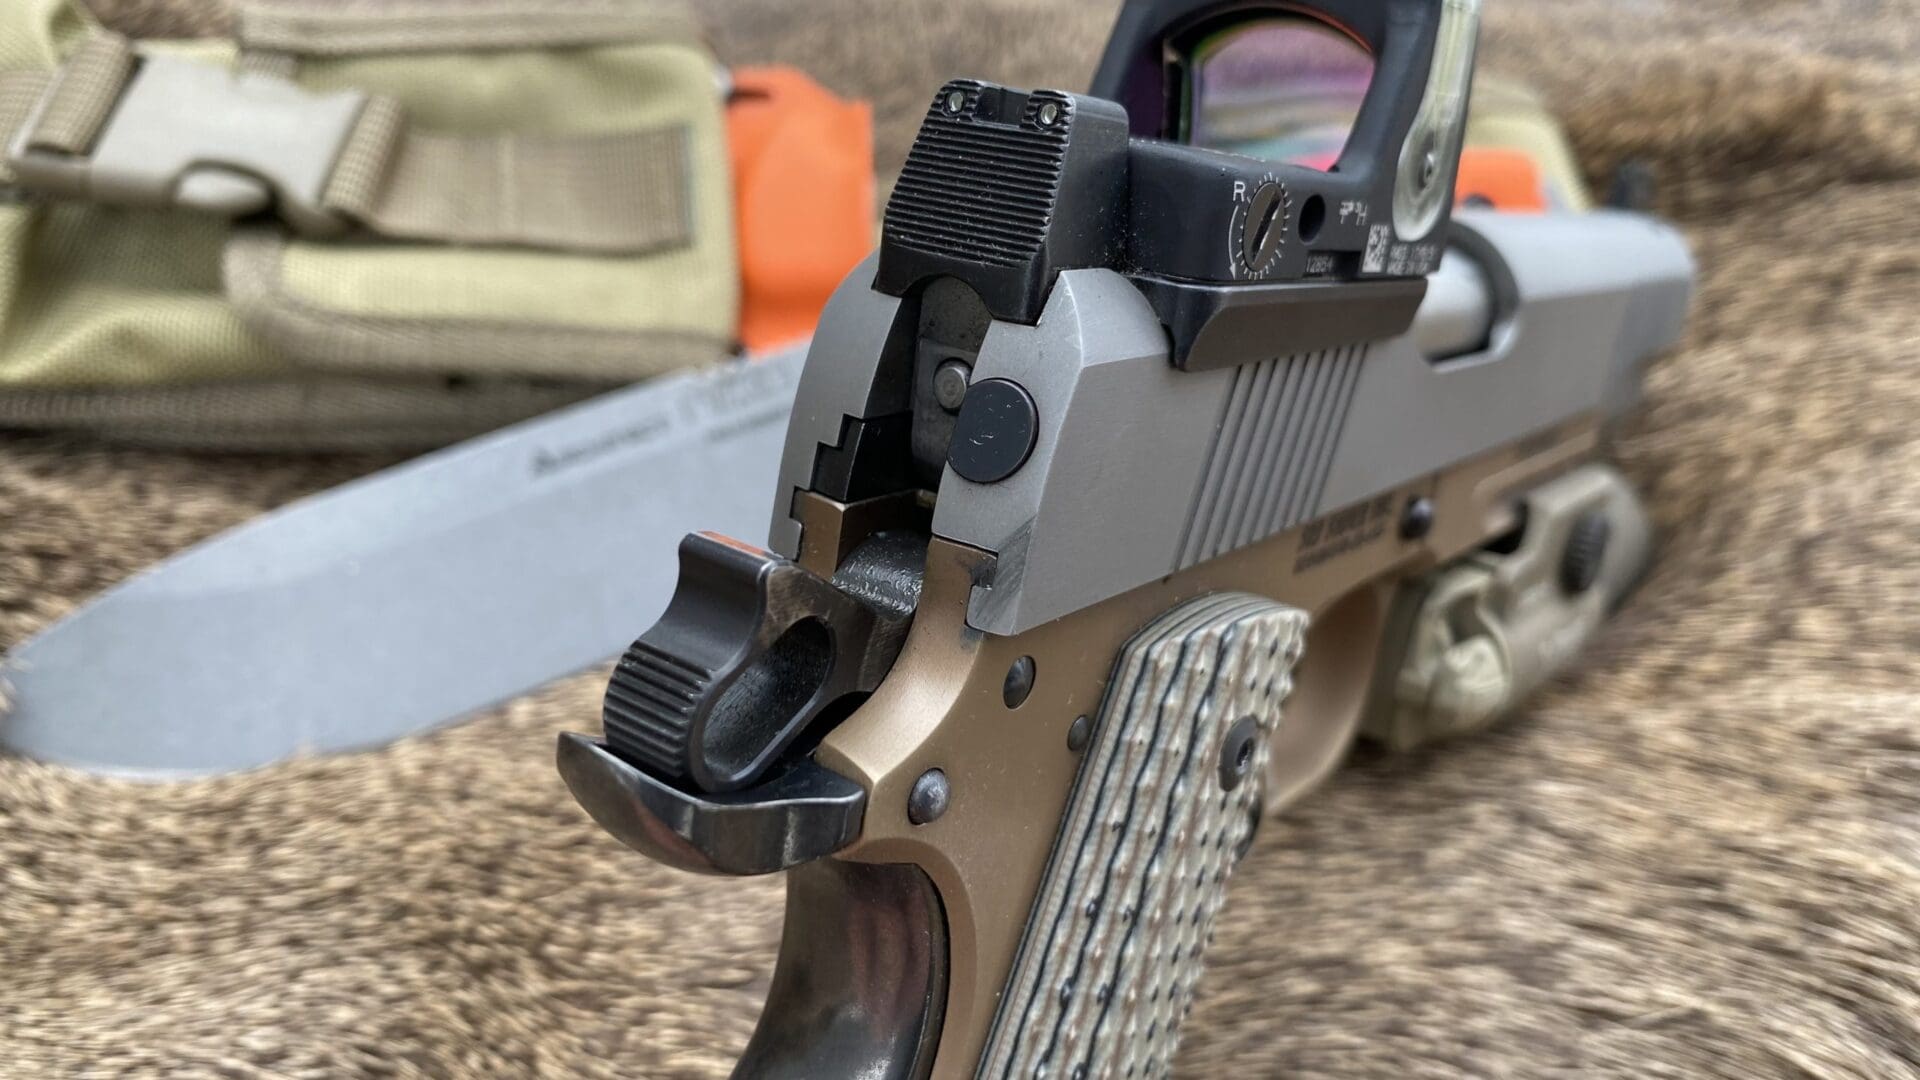
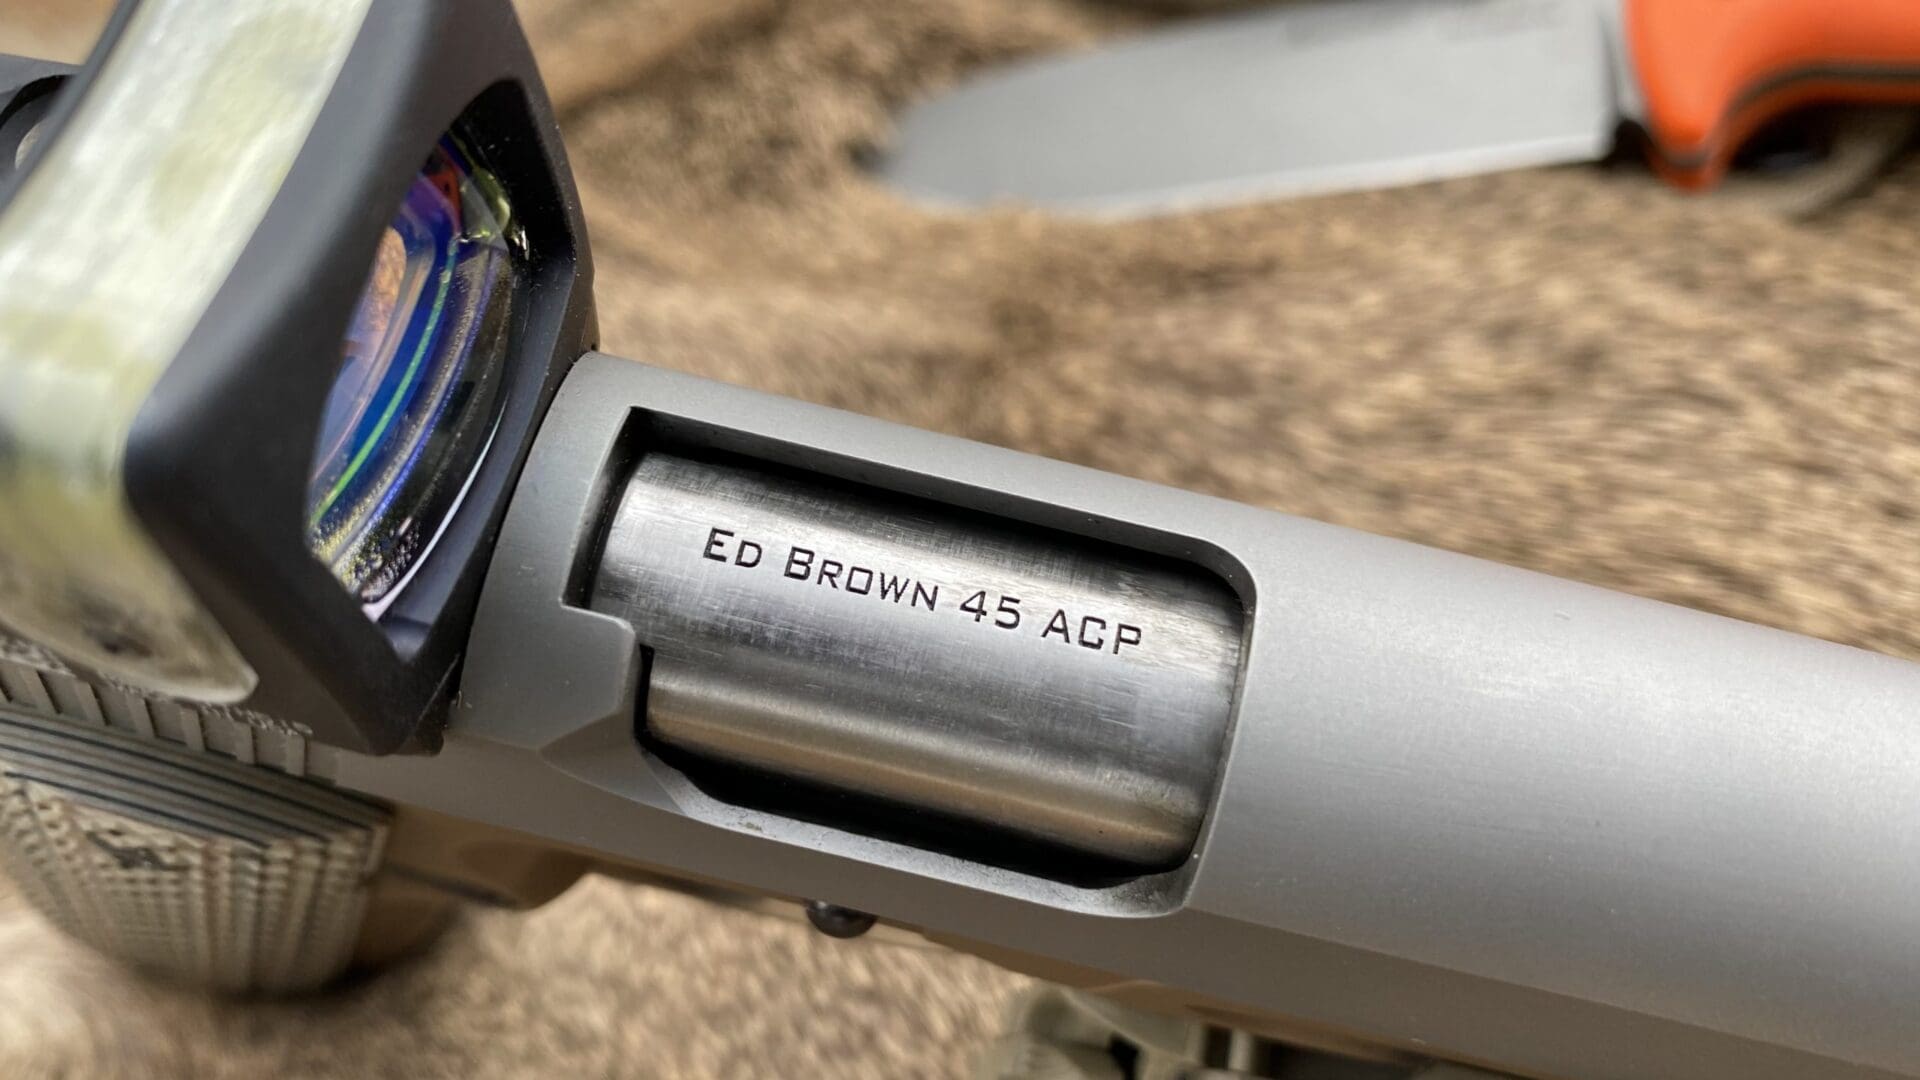
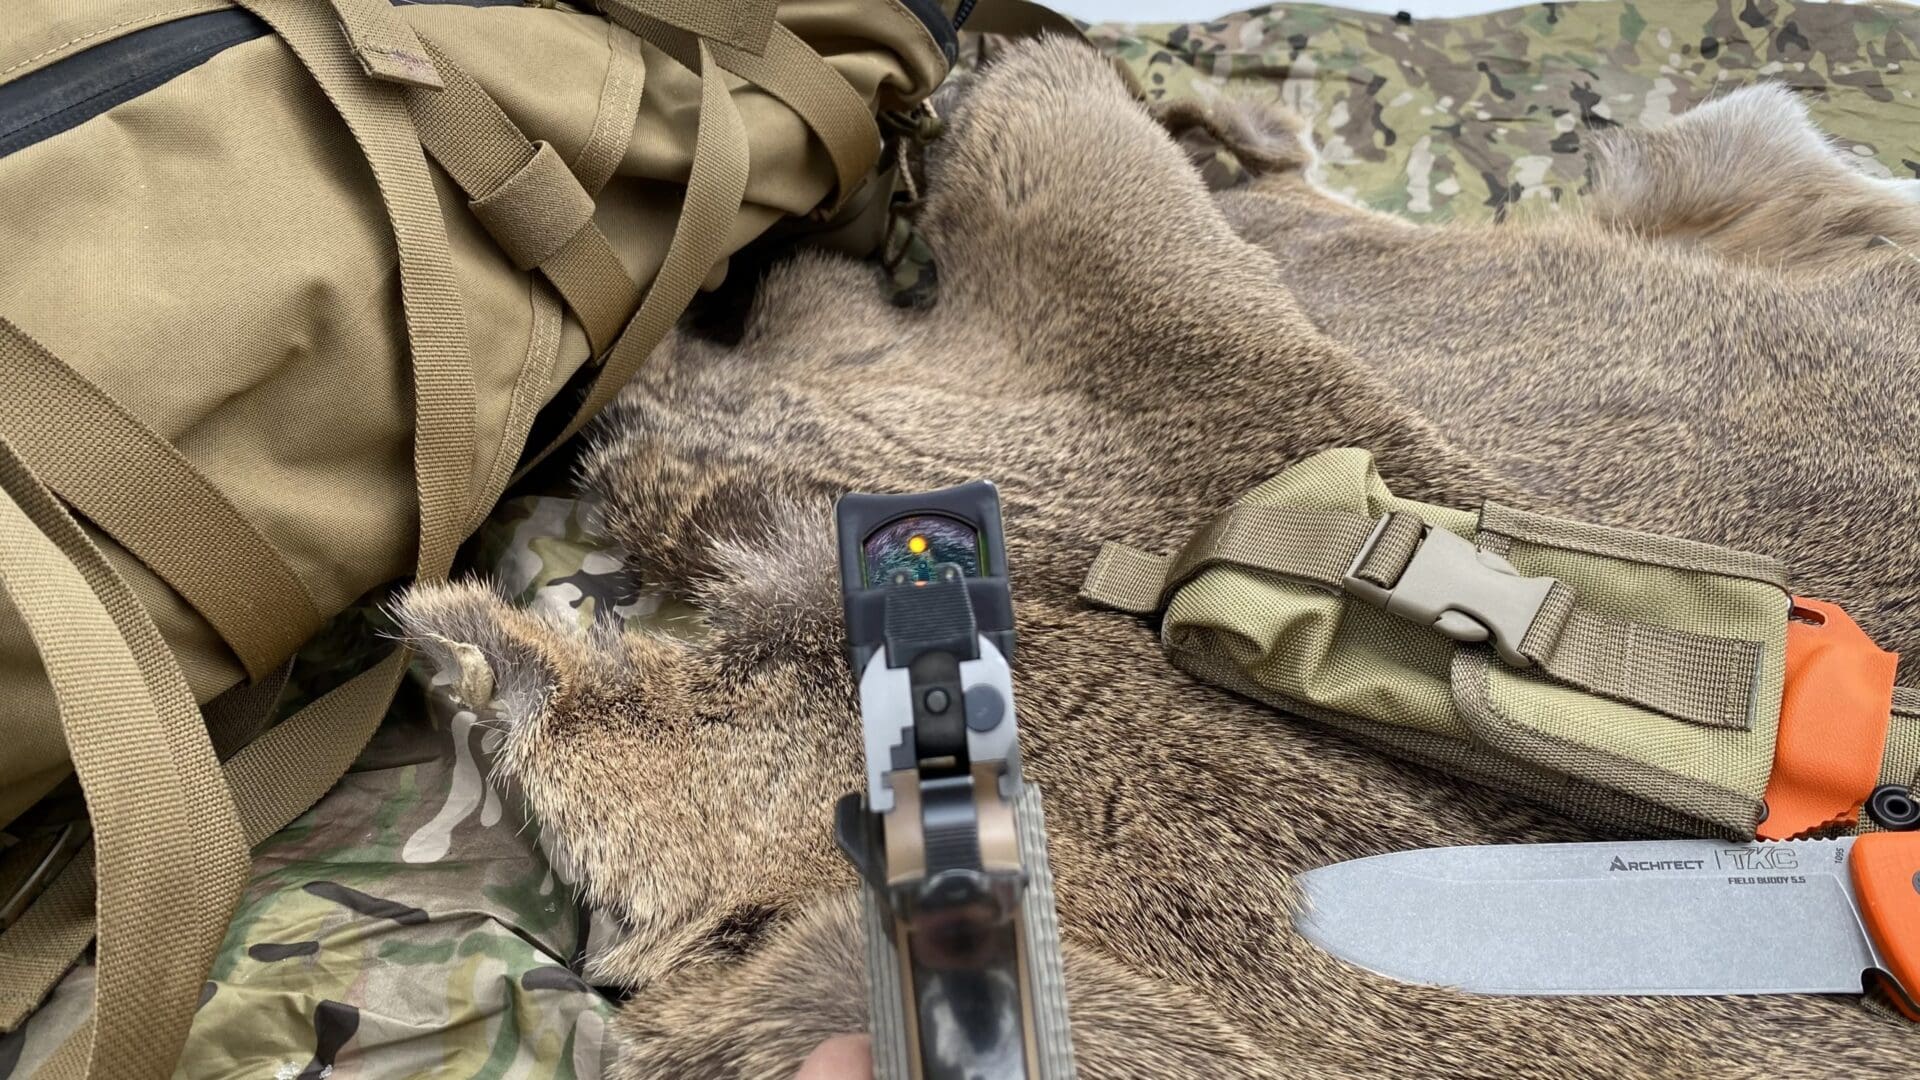
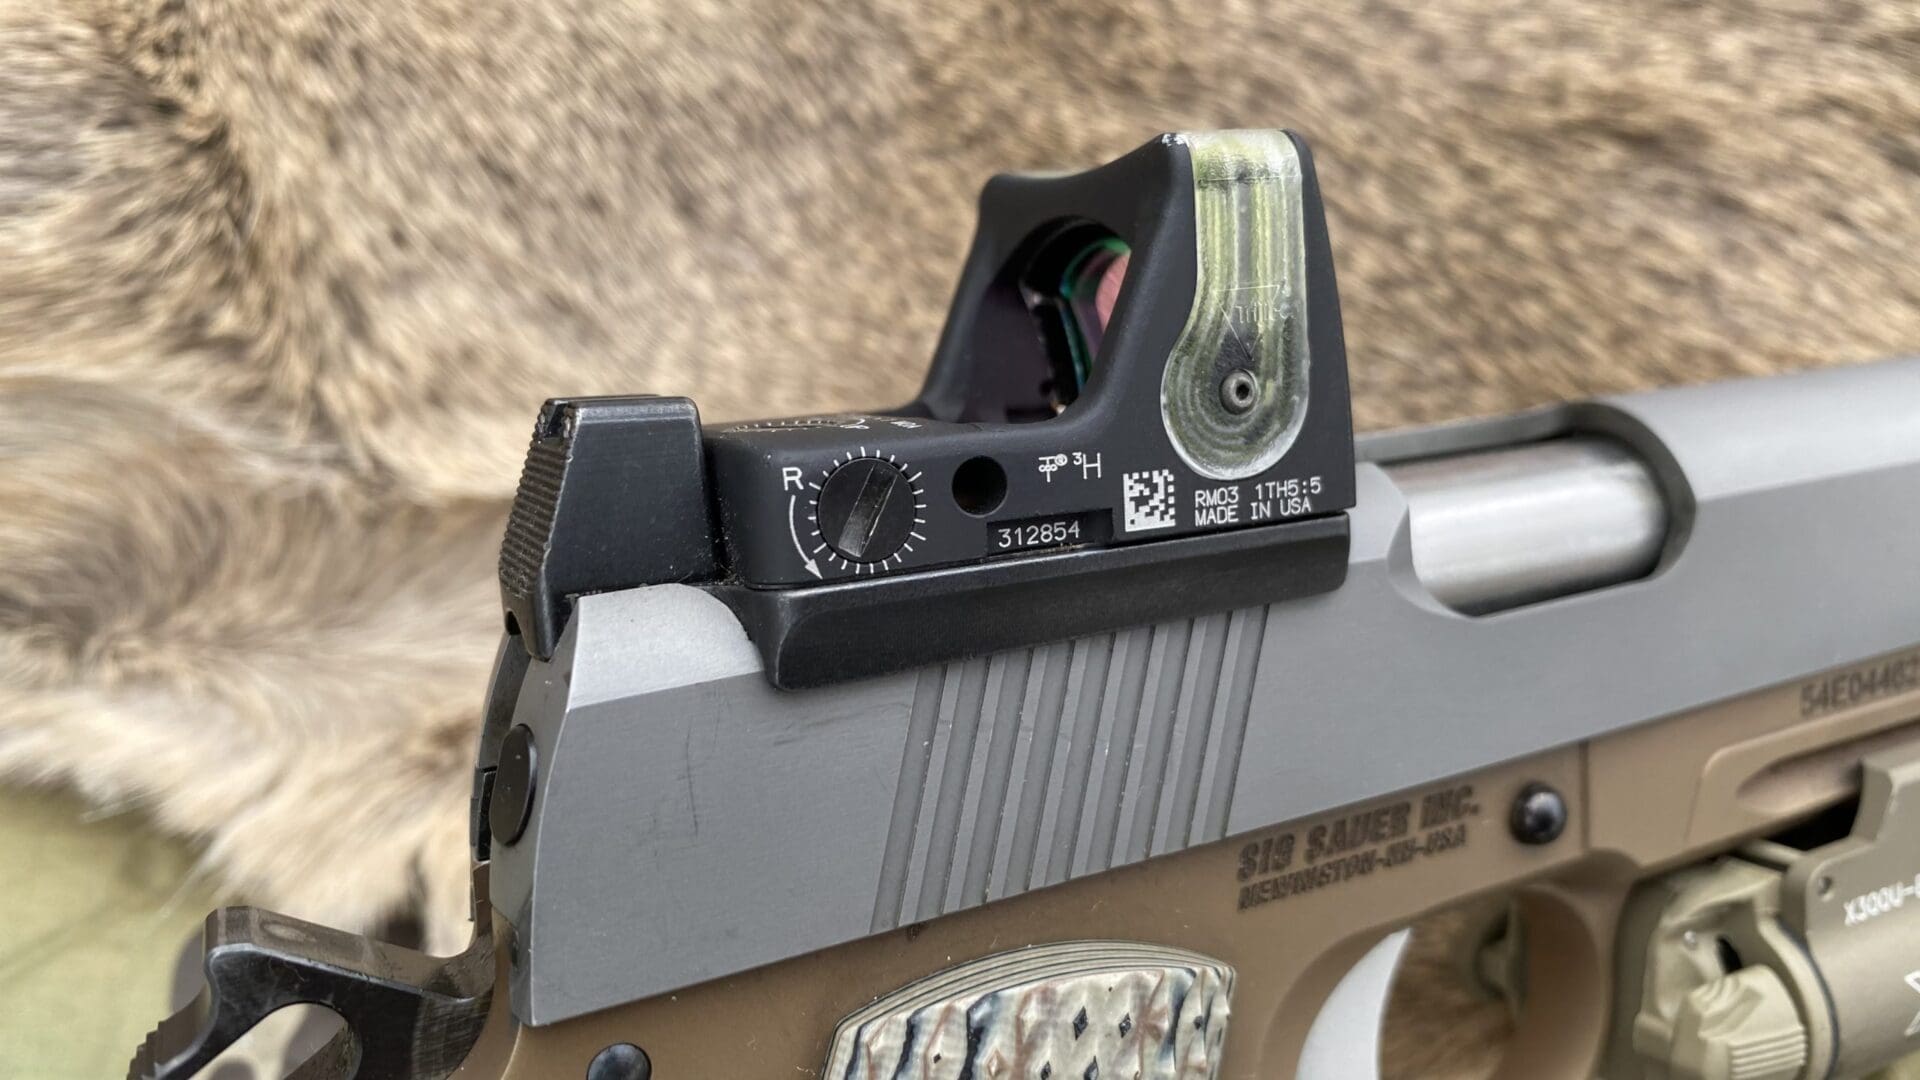
Installing the sights and the RMR. The slide is pre-cut for the Trijicon mount and I just ran some Loctite on the base screws and then drifted the front sight in. The RMR installed easily with two screws. I didn’t use thread locker on this part. Lastly, I installed a Surefire X300U-B light and MARSOC color VZ Diamondback grips.
I took the pistol out to the range to test it, but didn’t have to make any corrections for windage or elevation at 25 meters with the iron sights. The RMR was shooting way off, but that was a quick fix with a few turns of a screwdriver. I zeroed in at 25 meters with the dot and spent a couple hundred rounds working the whole thing together.
It was still a bit rough in a couple of spots, but they smoothed out nicely the more I fired it. Really it was just the trigger that was gritty, but after a quarter turn of the adjustment screw it was right on.
The groups with Hornady 220gr Critical Duty +P were producing one-hole groups at 25 meters. I was happy with this and backed off to 100 meters to do ring some steel. A clever reader will notice that the RMR I have has a 13 MOA dot, much too big for one-hole groups, right? Nah, you just have to zero accordingly.
I zeroed at the top of the dot at 25, so I could see my one-inch sticker clearly. Backing off to 100 meters the dot is about the same size as my 12” steel plate, so I can also see it clearly. There isn’t much drop at 100 meters with .45 ACP, so the rounds stay inside the big orange globe.
I achieved my goal of five-inch groups at that range. The ammo from Hornady is top shelf, so that was to be expected to a degree. I tested about a dozen other types and there is hardly anything as fun as putting 185gr HoneyBadgers from Black Hills on target at that distance. The build almost makes this 1911 like a little rifle.
You can plan on seeing this baby in more reviews, suppressor content, and ammo articles in the future. My goals were accomplished here thanks to some careful hand-fitting. You really can do this, too, but I’d recommend using some better tools than I did.
My total time on this project was about 12 hours of work, going at it little by little. Just don’t get frustrated; working on a 1911 is kinda like working on any classic engine. Treat it with patience and love and it will do amazing things for you.


Out of curiosity, what was the accuracy before the upgrade?
My SIG Scorpion is easily the most accurate or my 1911 style pistols.
THANKS ON INFOR , WISH I WAS A BETTER GUN SMITH . HA
Homophonic nit-picking: “vice” (twice) and “know” should be “vise” and “now”, respectively.
(Yes, I’m that guy who wonders whether “anal retentive” should be hyphenated.)
It probably should be if you’re going to miss things like “4.5 ACP” in a picture caption.
Great write up. I’m diy-ing a lever on my P14 similar to the Strike Industries one that actuates the firing pin block with the grip safety instead of the trigger.
I’m curious, do you have a preference for the traditional internal extractor over the external used by the SIG?
all I have to say is I need to be shooting 100 meters I am going to grasp a rifle that always handy too old for a pistol at that range nowadays
The 1911 I have is very accurate however the rifling is about worn out and I wish to put another barrel in it. Just how hard is it to fit a new barrel? All of it looks pretty easy except mating the locking lugs to the side. The one that’s in it has tad high primer strikes, I’ve heard that’s good? ,but I dont like it. I’m not looking for a one hole wonder, 2 and 1/2 @ 25 would do just fine. What do you think of a plain jain drop in and not a match barrel? Also where can I order a chrome moly barrel, I dont like stainless steel and that seems to be about all that’s offered.
There are drop in barrels available. I put a Storm Lake in my Springfield 1911 with only very minor fitting of the lugs. It is a far better shooter now than with the stock Springfield barrel.
Storm Lake was part of Remington, so, I don’t know if they are back or back under a different name. I bought an unbranded 357 Sig conversion barrel for my Glock 23 and it is also a great barrel and much lower priced. I also have a 9mm conversion drop in barrel for my 23 from Wolf, also a great fit and shooter.
Apex does barrels too. My point is get one, chances are its gonna fit and if it doesn’t, it will only take a bit of work.
That 357 Sig barrel was from Black Creek Arsenal.
Thanx I’ll check Storm Lake out.
I believe Remington bought out Storm Lake, and the rest is history. I don’t know if the new owner is still cranking out barrels in TN.
Say, isn’t that RMR slide wider? You didn’t say anything about that. I guess that’s why it comes with the internal extractor. If you were waiting to see if anyone noticed, give me a buzz.
I am intrigued by your comment:
“There isn’t much drop at 100 meters with .45 ACP“
IME, The .45 ACP drops significantly at 100 m.
Even with fast 185 grain loads, I generally aim 10 to 12 inches above desired point of impact to put rounds on target.
Most ammo manuals show around 15 inch drop at 100 m when sighted for 25 m.
yeahnah – 45 ACP starts to drop around 25 yards, and just goes down from there.
9mm you’ve got maybe 50 yards.
I mean, that’s cool and all – but many companies will cut the slide for whatever optic you want for $150-$200; that’s the easy button.
Comments are closed.