

Lauer Custom Weaponry is the developer and manufacturer of the Duracoat line of gun finishes. They’re not as lustrous as the charcoal blueing on a pre-war Colt revolver, or as high-tech as a fancy nickel-boron AR bolt, but Duracoat finishes are resistant to corrosion and scratches, and they’re designed to be applied by home hobbyists using simple equipment.
They don’t need to be applied or cured at high temperatures, and this is important for the bubba gunsmith home hobbyist because few odors will disrupt your domestic tranquility (or persuade you never to cook at home again) faster than the industrial aroma of hot metal bluing in your kitchen oven.
How detailed is the Duracoat process, and how attractive/durable is the end result? Read on and follow my Duracoat odyssey.
The Kit
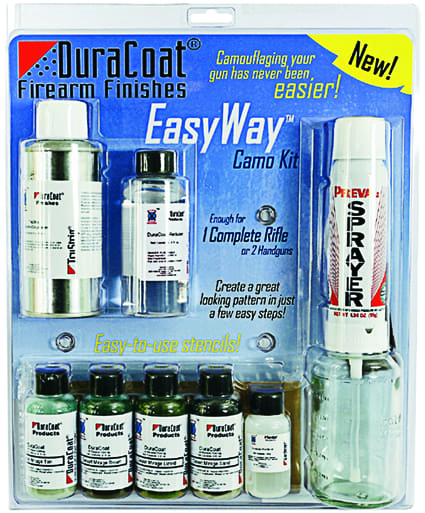
I was worried that the small-looking propellant can wouldn’t be enough to shoot multiple coats over my AK-74, but it got the job done and then some. In addition to painting the whole rifle more than four times over, I also gave an old Remington Model 700 stock one coat of dark green, and I estimate I’ve still got enough paint and propellant on hand to Duracoat my AR-15’s stock furniture dark green if I get the urge. Which I think I will.
And they may not look like much, but these little bottles of paint go a long way. Lauer states that one kit will pimp out two pistols or one rifle, but I’m pretty sure I could do a full camo job on one rifle and two pistols, or even two rifles if I was careful. YMMV.
Preparation
All my research and homework told me that careful preparation is the key to a good Duracoat application. I took my AK apart until all I had was a receiver/barrel assembly and a pile of parts, although I decided to leave the trigger group in place. I carefully de-greased everything I wanted to paint by hosing it down with de-greaser, scrubbing it with the Scotch-Brite pad, and repeating the process. Polished or blued surfaces will take Duracoat better if they’re sandblasted, but the AK’s rough metal finish didn’t need any extra texturing.
My gunsmith gave me a few pointers before I started, and he recommended soaking the whole gun in acetone for twelve hours to get all the oil from the nooks and crannies of the receiver and trunnion. Since I don’t have a chemical stripping tank or several liters of acetone, this wasn’t an option for me. I hoped this wasn’t a crucial mistake.
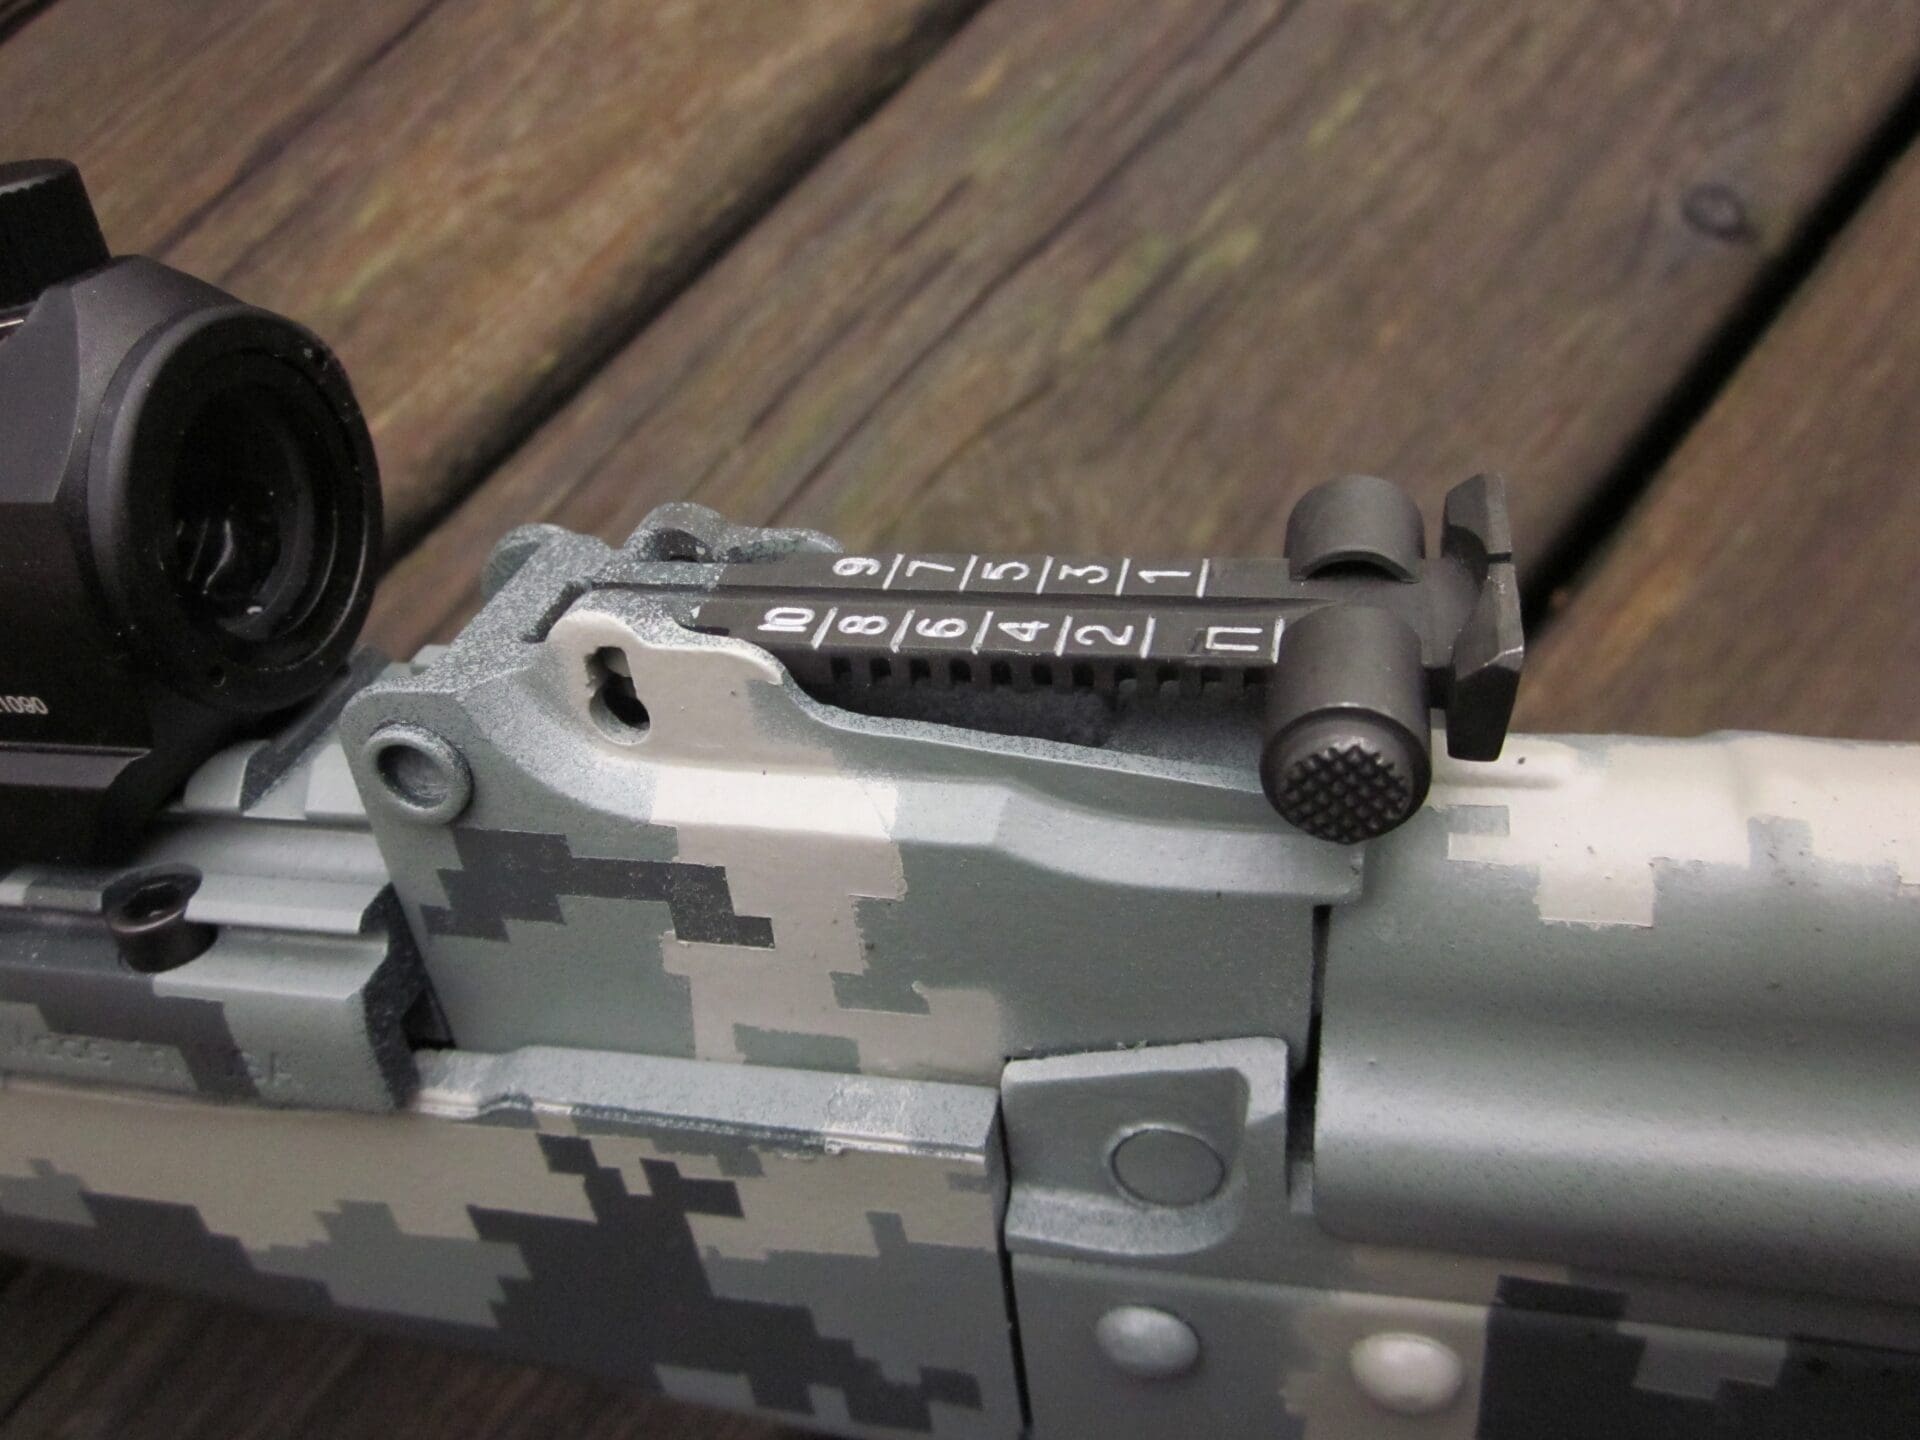
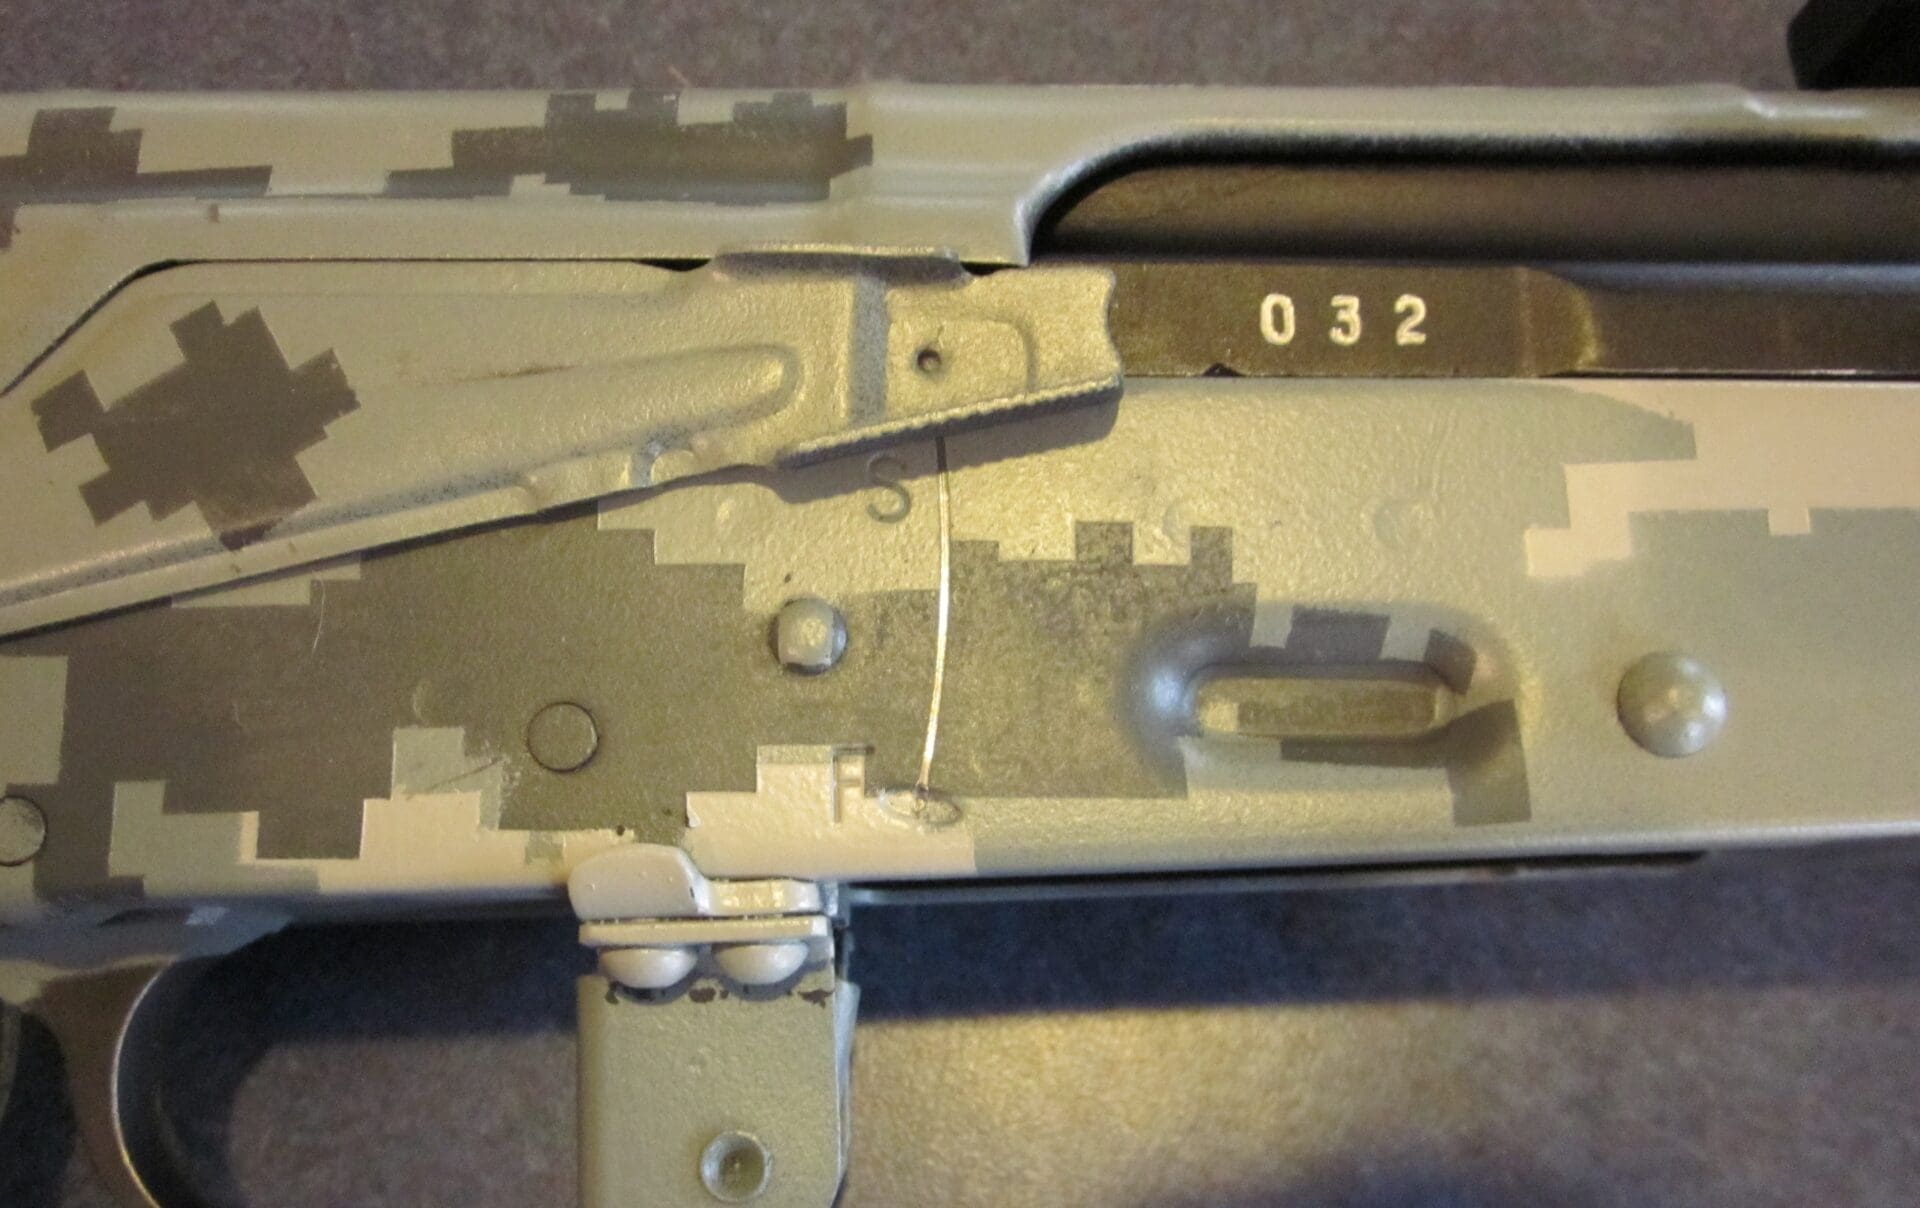
I used blue painter’s tape to mask off the threaded muzzle, rear sight ladder, trigger, and the interior of the receiver. I also masked off the bottom of the receiver where the serial number is etched, because a thick coating might fill in and obliterate the rather faint engraving.
Here’s a video recap of my preparation process:
It was a lot of work to get even this far, but it was really only beginning.
Application
Spraying Duracoat onto the gun was fairly simple. After shaking the 2-oz. bottle of Duracoat for three full minutes, the instructions tell you to mix it with 1/4 of the bottle of hardener and shake for fifteen seconds. Then you screw on the Preval sprayer and let ‘er rip.
Shaking the little bottle for a full three minutes was not something I wanted to put on film; I’m sure you’re already seen the ‘Shake-Weight’ commercials, so I don’t really need to hotlink to them, do I?
I used a Sharpie to draw some hash marks on the side of the hardener bottle, to help me pour out exactly 1/4 of the bottle each time. This turned out to be extremely helpful, and I think Lauer might want to include a graduated bottle with future kits.
I’m a pretty clumsy hand with a paint sprayer, but I did manage to avoid gooping up the gun with dripping globs of Duracoat. Here’s what the project looked like after I’d shot two coats of what I thought was the base color, dark green.

I screwed up here because dark green isn’t the proper base coat for digital ACU camouflage, but as I may have mentioned I’m not artistically inclined. The package directions didn’t tell me which color to apply first, and even my internet research didn’t set me straight. Lauer includes a video with more instructions on it, but none of our computers could load the mini DVD.
The collective wisdom of the Internet did provide other useful tips however, including the advice to mount all the parts on coat hangers. This let me shoot them and hang them to dry without actually touching them, and it worked out extremely well since I only ended up with one single spot where the coat hanger scraped off the paint.
I waited five minutes between coats as the instructions recommend. They also say that you can handle coated surfaces twenty minutes after spraying, but I didn’t want fingerprints in the Duracoat (or permanently green fingertips) so I let the coated parts sit at least an hour before I touched the coated surfaces.
Stenciling
The EasyWay camo kit comes with a few dozen sheets of precisely cut digital-patterned adhesive stencils. I applied some of the ‘male’ stencils (small patterns which you paint around and over) which result in the entire gun being painted the color of the new coat, but with ‘islands’ of base color underneath.

After this video, I added a layer (two coats) of tan using the ‘female’ stencils, solid masking sheets with camo-shaped holes cut in them. These added a second semi-random layer of shapes over the base coat and first pattern layer.
Then I added a final layer of dark green again, using more of the smaller female stencils. This also required a half-roll of blue painter’s tape for masking over all the surfaces I didn’t want to overspray with tan. The smaller female stencils only used 1/2 of the tan bottle, since I thought I’d applied enough of that color, and 1/2 of the second bottle of dark green.
Results
I let the Duracoat dry overnight and pulled off several layers of masking tape and stencils, with the results we see below.

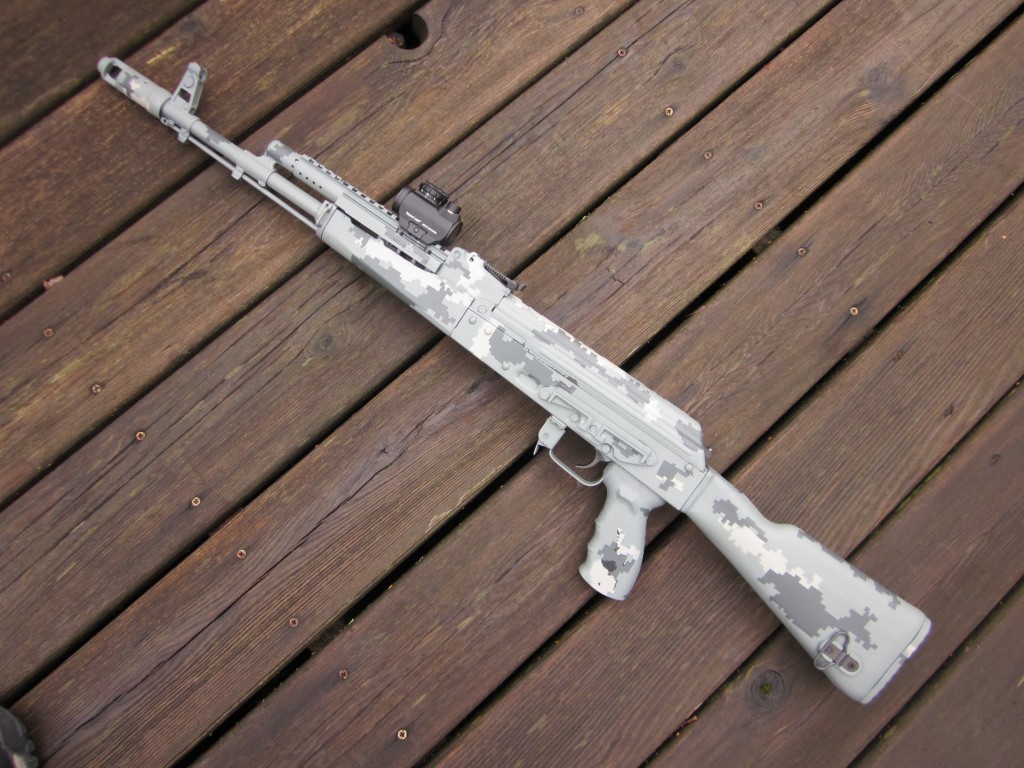

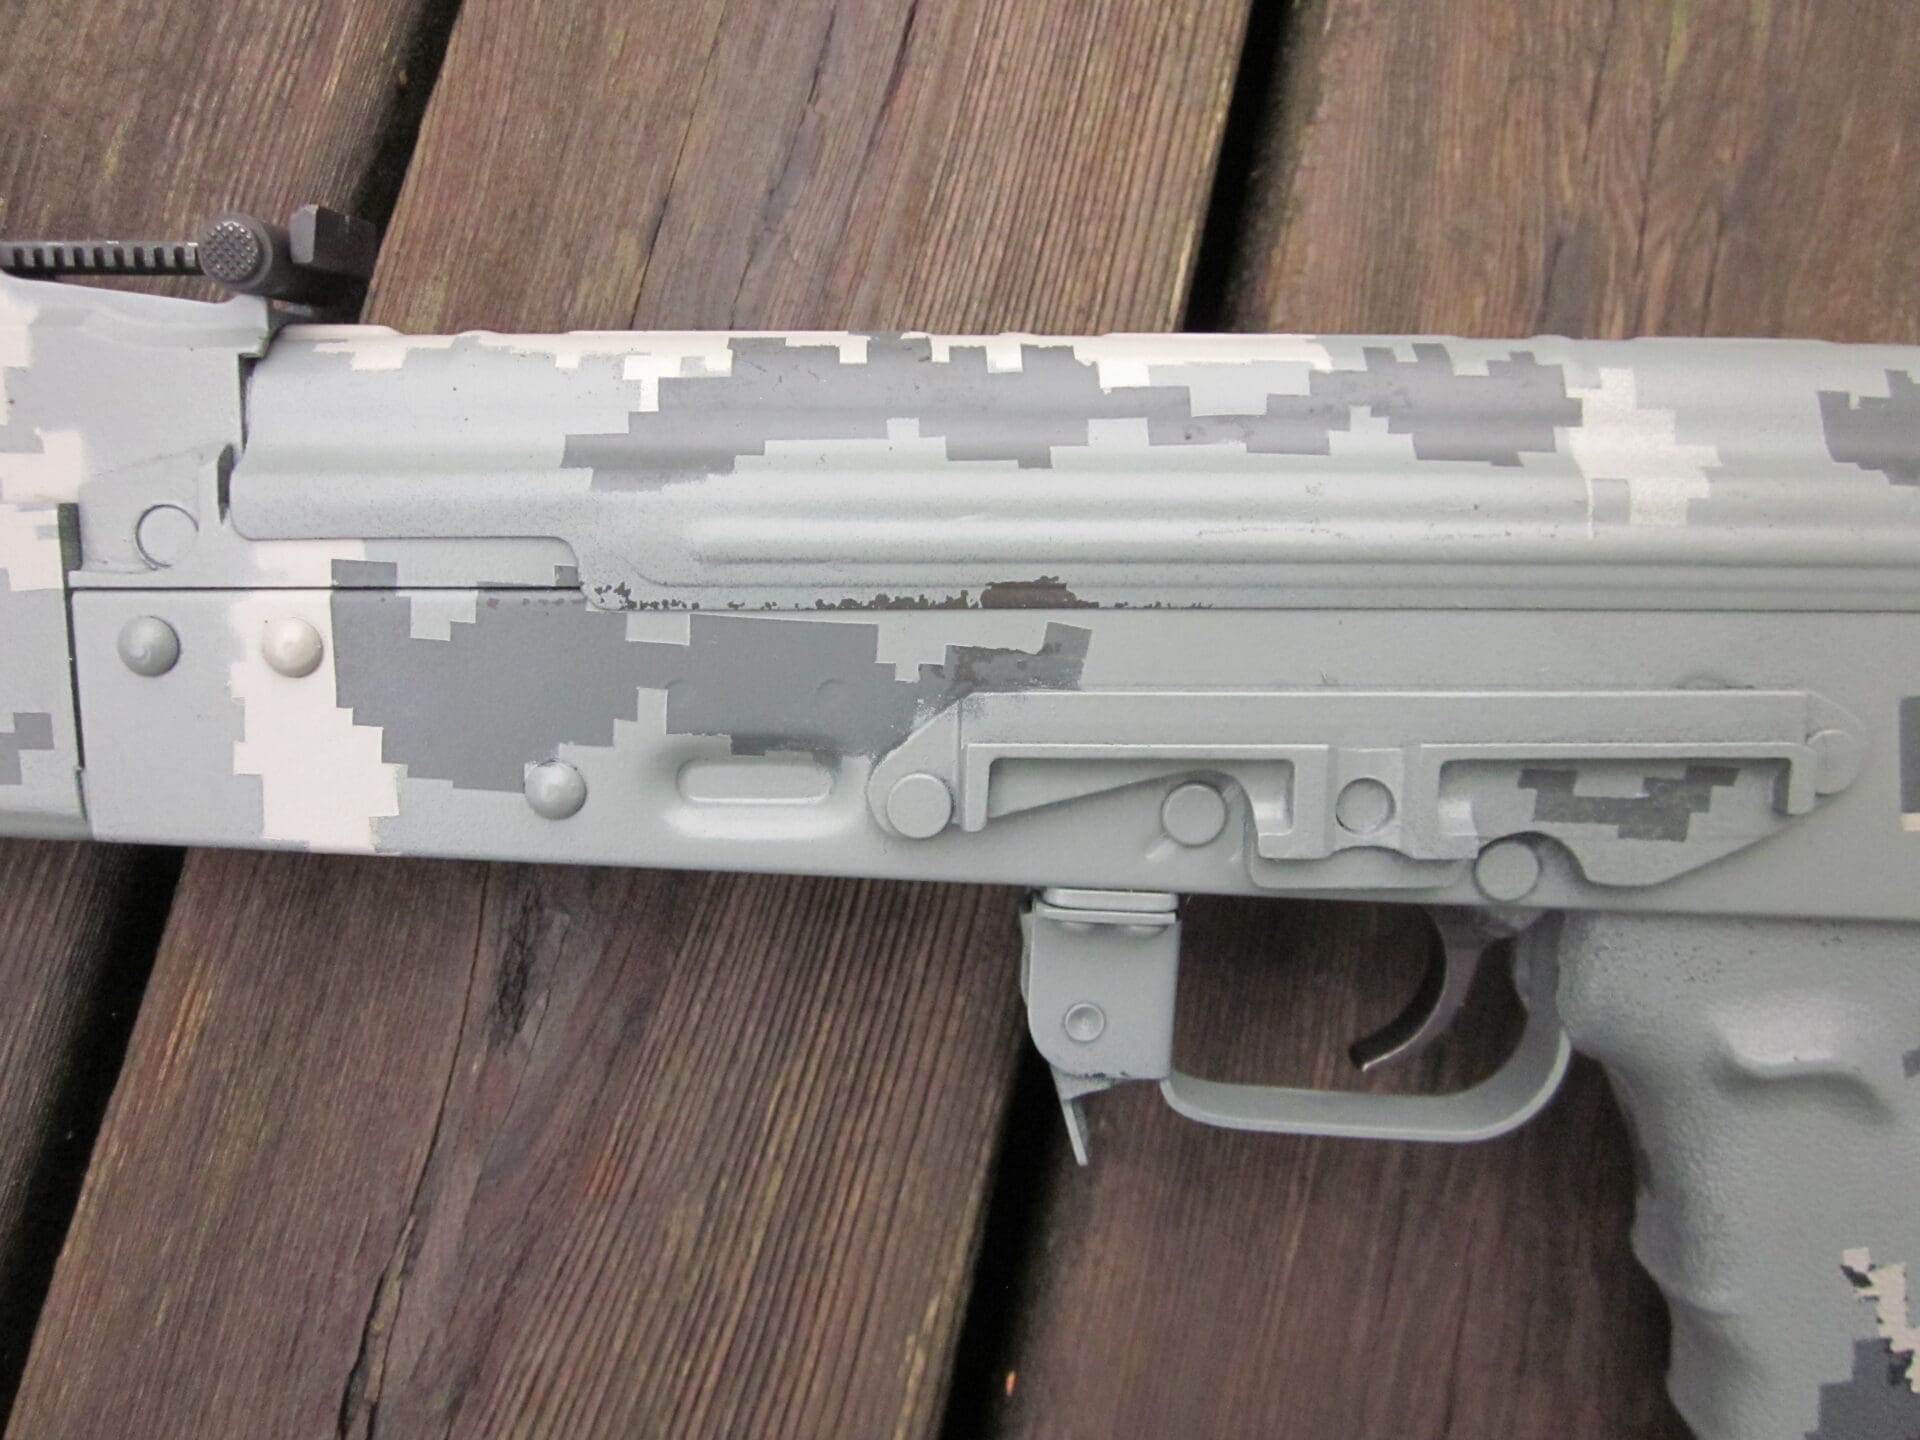

As I mentioned, I also committed a litany of artistic/aesthetic blunders. I should have started with the lightest color and then added gradually darker layers on top of it, but I did it the other way ’round. I also should have literally plastered the gun with stencils and masking coats, but I went a bit minimalist instead. The resulting pattern is a little more Bauhaus than Baroque.
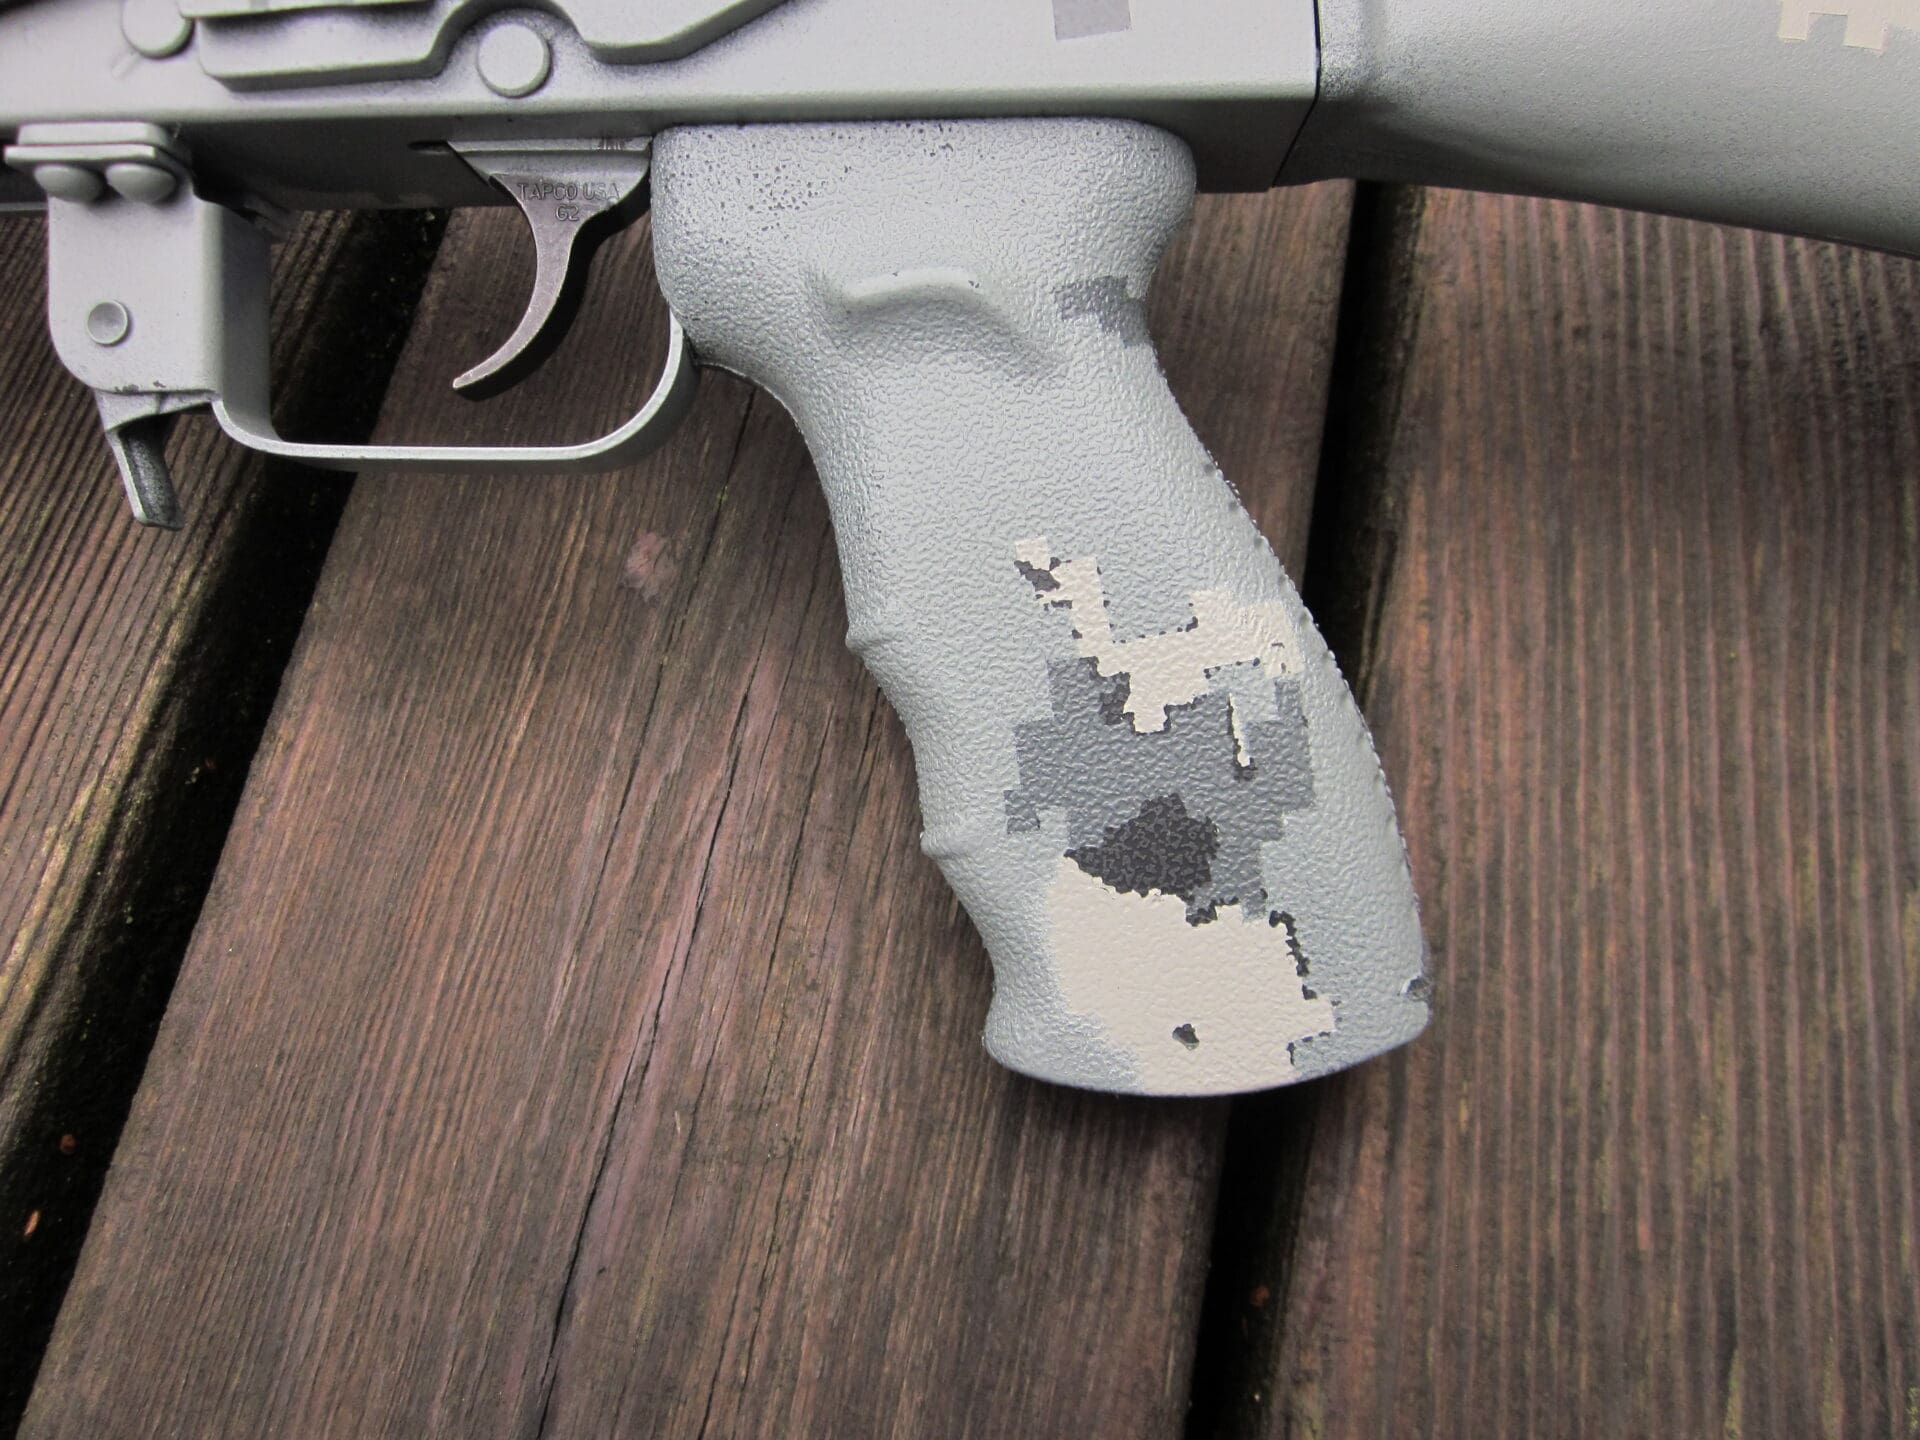
The stencils stick easily to flat surfaces, but any familiarity with solid geometry will tell you that it’s impossible to adhere a flat sheet of paper to a complex curved surface no matter how sticky it is. I had fits trying to stick the stencils on to the more jagged parts of the rifle, especially the AK side rail and the rear sight block/trunnion. I ended up using smaller patterns on the more complex parts of the gun, but I forgot to get so ‘busy’ with the simple, relatively flat geometry of the buttstock. This is which is why the receiver camo is more detailed than the buttstock.
My bad.
I’m not beating myself up too much about this, since I still think it came out pretty well, especially for a first-time effort. Would-be Duracoaters should remember that even a fairly simple random pattern like ACU takes at least a modest measure of visual talent. A more complex pattern, like Vietnam Tigerstripe or British DPM, takes a measured eye and a firm hand with the stencils. (And, I’m guessing, a corresponding increase in time and effort.)
Durability
Although I finished it a week ago, my AK’s Duracoat hasn’t completely cured yet; Lauer says that process takes about a month and a half, as the layers of Duracoat settle down and bind together into what becomes essentially one enormous and hugely complex polymer molecule.
Although not fully cured, my Duracoat is already completely impervious to fingernails, minor dings and common solvents. After letting the Duracoat dry for several days, I used Hoppe’s #9 to remove adhesive residue from the stencils. It was some gooey, sticky stuff; I had to really scrub at it with a solvent-soaked shop rag to get it off. The gunk finally surrendered, but the Duracoat never struck its colors or ran; it didn’t even stain the rag greenish-gray as I’d expected.
A full test of Duracoat’s durability is going to take a bit more time, and I plan to follow up with another review later this year after I can mistreat my pimped-out AK a bit.
Summary
Duracoat seems to be a tough and affordable gun finish, with an application process that’s easily within the skills and tools of the average home hobbyist. Its not just for Bubbas, either: It’s my gunsmith’s go-to finish when he’s asked to fix up a gun with hopeless surface corrosion without spending dozens of hours resurfacing, polishing and hot-bluing.
The results are so durable and attractive that Duracoating has become its own niche industry. A professional shop will disassemble your rifle, detail-strip it and degrease it like you wouldn’t believe, and apply even the most intricate camo patterns for about $250 plus shipping.
This EasyWay kit lets you try this for yourself, at home, for $100. The basic application is simple but laborious, and the devil is in the details. Surface preparation is crucial for a good bonded finish, and a pleasing camo pattern requires at least some visual talent.
I undertook a fairly simple project, using a cheap gun as a testbed, and I’m very pleased with my results. I’m glad I didn’t try for a tigerstripe or DPM pattern, and I sure as hell wouldn’t have used a Noveske (or even a Rock River) AR for my first attempt.
After about sixteen hours of effort, I’m happy with the results, and if I can do it, anybody can.
RATINGS (Out Of Five)
Value: *****
This kit gives you everything you need (except time and elbow grease) to trick out one rifle and one pistol, at the very minimum. If you skimped on the stenciling, you could probably give four rifles a nice thick Duracoating, but you didn’t hear it from me.
Ease of Application (Duracoat): ****
Mix, spray, stencil, mask, repeat. Don’t forget to clear out the sprayer if you’re going to let it sit for more than half an hour.
Ease of Preparation (Duracoat): **
Detail disassembly, degreasing and surface preparation aren’t terribly difficult, but they are very labor-intensive. Don’t be tempted to cut corners.
Ease of Application (Camouflage Pattern): **1/2
Complex curved surfaces are difficult to stencil, and it helps if you apply the colors in the proper order. The kit makes it much simpler, but artistic talent is very helpful, even though ACU is a fairly simple camo pattern.
Overall: ****
A practical and affordable way to customize and protect both your range toys and knockabout guns. If you’re tricking out a top-end gun, you should probably have a professional do it instead.
Durability: To be continued…
This is a marathon, not a sprint. Stay tuned.