


Cleaning your AR-15 rifle is an oddly personal thing. Everyone seems to have their preferred way of doing it. Although there are definitely wrong ways to clean an AR, there isn’t necessarily one right way.
In the end, if your AR ends up clean and undamaged, you’ve succeeded. Here I’m going to cover how I handle my AR-15 cleaning. The US Army was my first experience with this weapon system and is, for better or for worse, the foundation by which I do things.
Cleaning Supplies
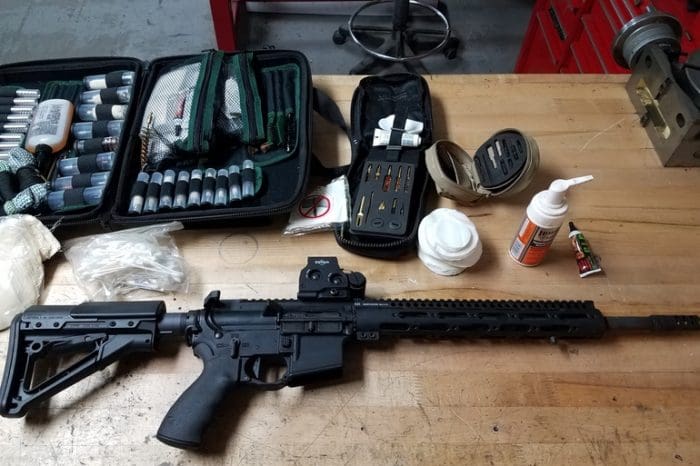
There are tons of AR-15 rifle cleaning kits out there, but you really don’t need anything fancy to clean an AR platform rifle. An old T-shirt/rag/paper towel, cotton swab, nylon brush, bore snake and CLP was the extent of my gun cleaning kit for my first-year in. I’ve never removed any of those items from my kit, either. I’ve just added on.
The image above is what my cleaning supplies look like now. Honestly, I use maybe 10% of what you see. I’ll discuss cleaning supplies more in-depth as I walk you through the process.
The Quick Clean
This step is a quick wipe down. This is the type of clean we do in the field, or in between live fire iterations, when things got really dirty and gritty.
Remove the rear takedown pin, then take out the bolt carrier group and charging handle.

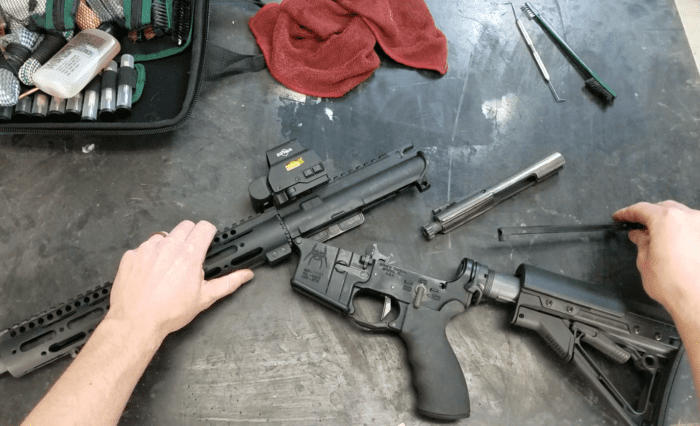
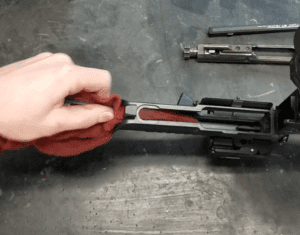
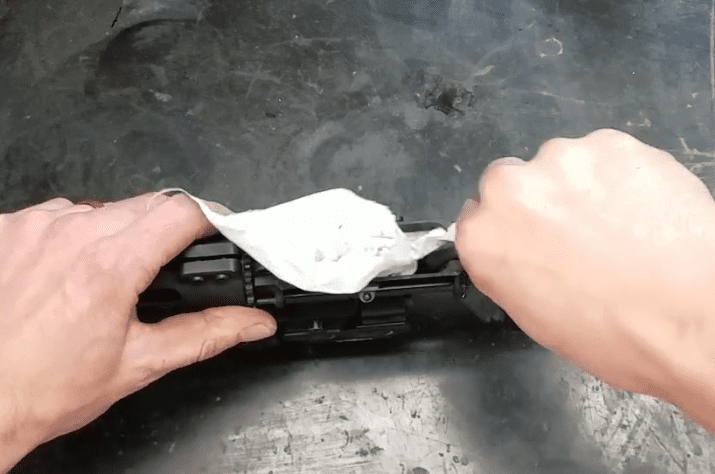
Wipe the BCG and charging handle with a rag so they’re free of grit and black sludge.
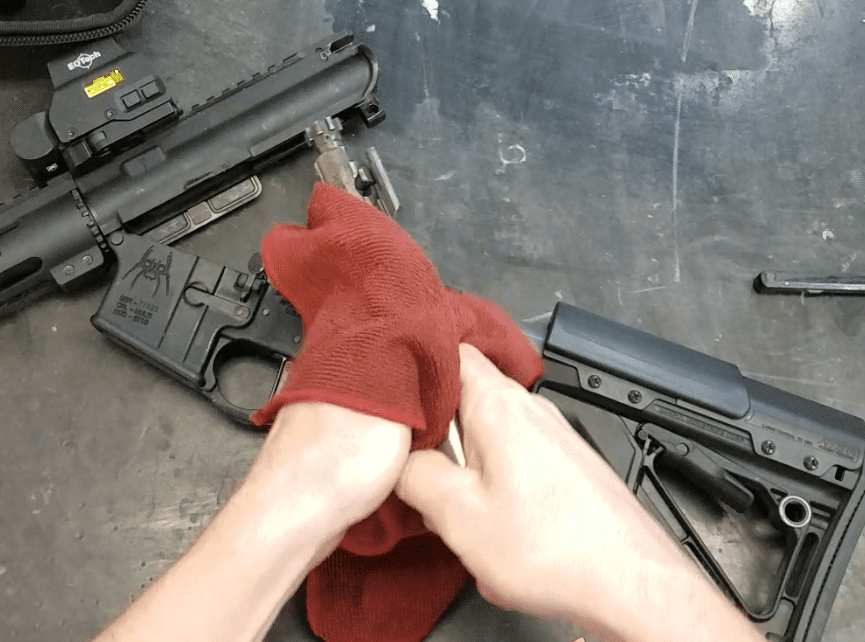


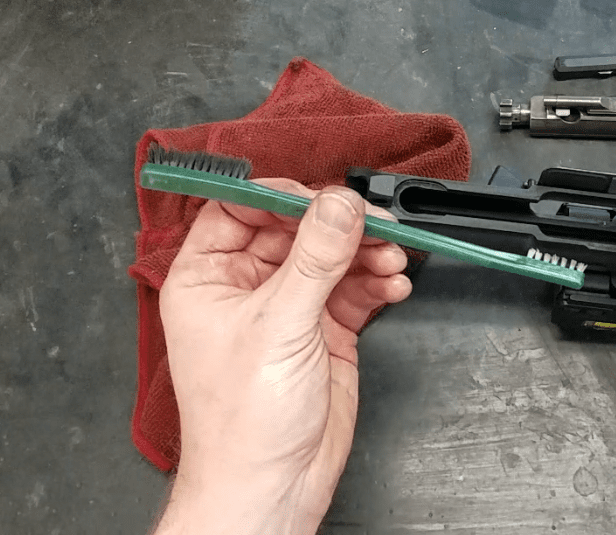
That black sludge is dirty oil. Set them aside someplace clean. Do the same with the inside of the upper receiver and lower receiver. I like using a nylon bristle brush here. Cover one end in the rag to get into the nooks and crannies.


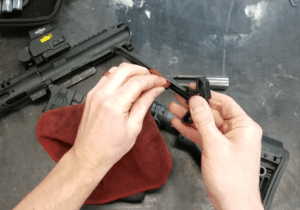
Next, run a bore snake through the barrel to make sure it’s clean. Once everything is free of dirt/grit and excessive amounts of dirty oil, re-oil it. I oil the outer three sides of the charging handle.


I put a drop or two of oil inside the BCG through the holes on the side.

Finally, I’ll apply oil to the BCG as indicated below and spread it around with my finger.


And…you’re done. This is supposed to be quick and simple. A 10-minute wipe-down to help make sure your AR runs smoothly.
Honestly, this is how I clean my own AR 99% of the time. The internet is full of stories from guys that will go thousands of rounds without doing even this much. They just keep covering it in oil.
That will work for a while, but at a certain point your rifle will start to ooze black goo. That’s when you’ll need a more thorough cleaning, so I like to wipe away the old and put on some new.
The Deep Clean
It’s good to do a deep clean every once in a while. Specifically, when you see a shift in performance, meaning if the accuracy starts to degrade or malfunctions start to happen. A good deep cleaning has an additional, often overlooked, benefit. It allows you to thoroughly inspect your weapon for damaged and worn parts. This can help you head off catastrophic failures.
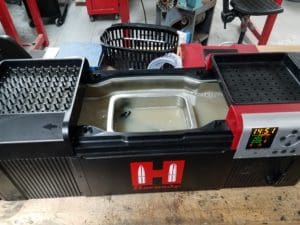
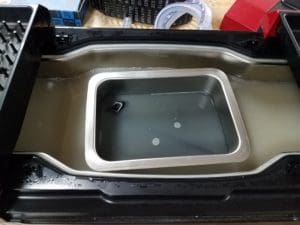
You should use some kind of solvent that will cut through the carbon and oil for this step. Aside from military solvent tanks, I’ve used cleaning solvents like Hornady One Shot, Hoppe’s Elite Foaming Gun Cleaner, and M-Pro 7. For this article, I used Hoppes again and I tried out Hornady’s Hot Tub Sonic Cleaner. It’s not mine, but it was available and I like things that make my life easier.
Shooter’s preference on the cleaning products…just pick something that will do the job. I also prefer to use paper towels instead of a rag here. Rags hold onto dirt. Fresh paper towels are always clean.
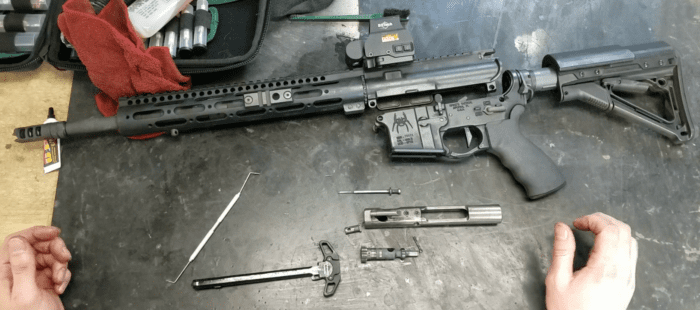
Start by fully disassembling the rifle, then go piece by piece and make it clean.

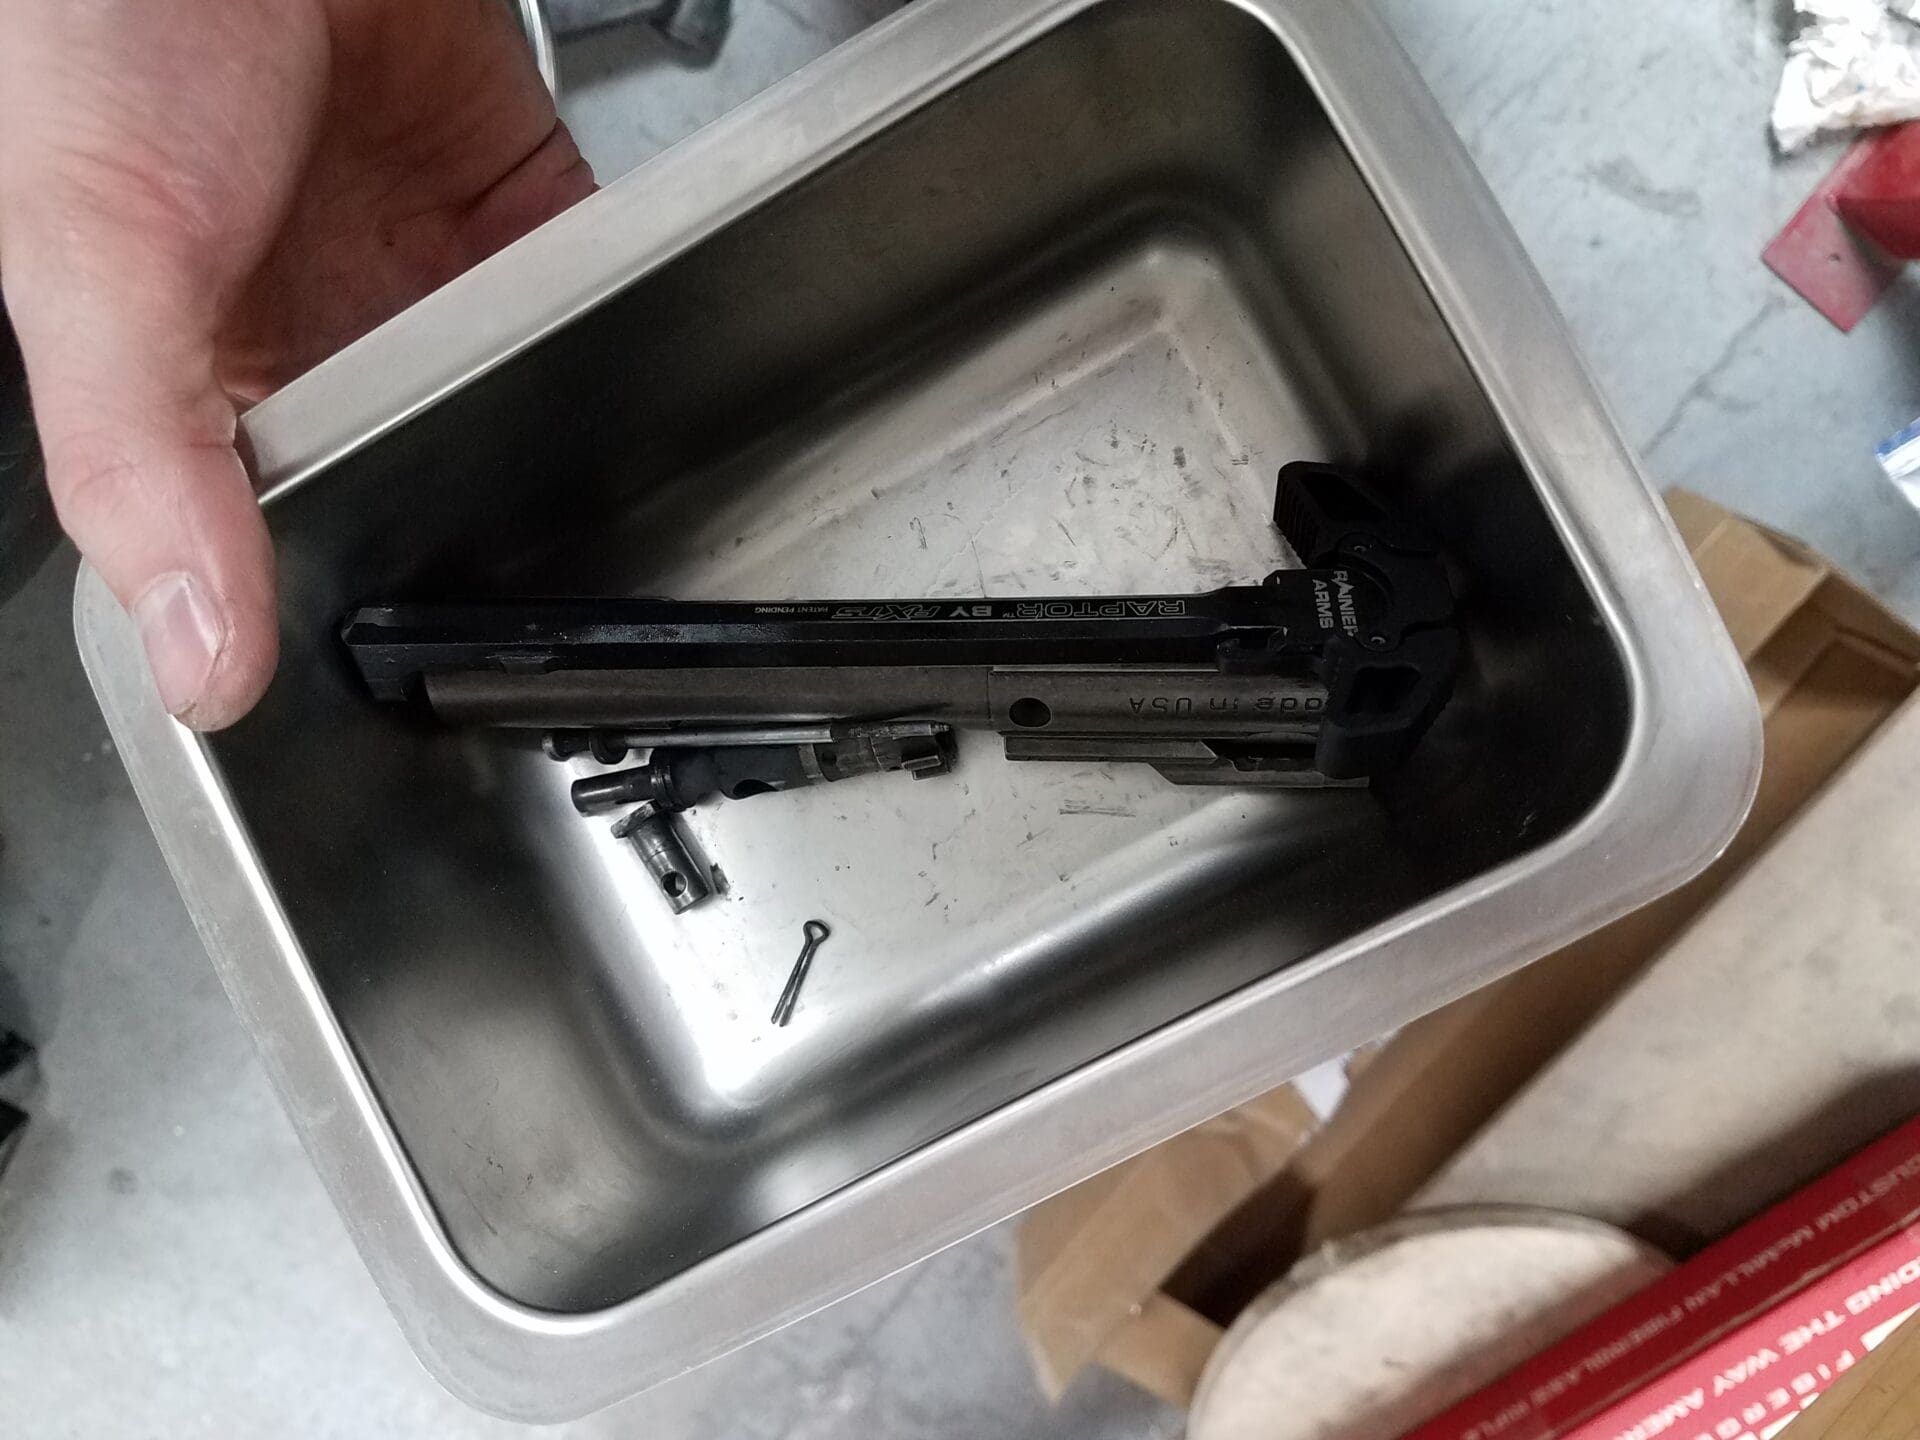
Since my small parts are in the cleaner…

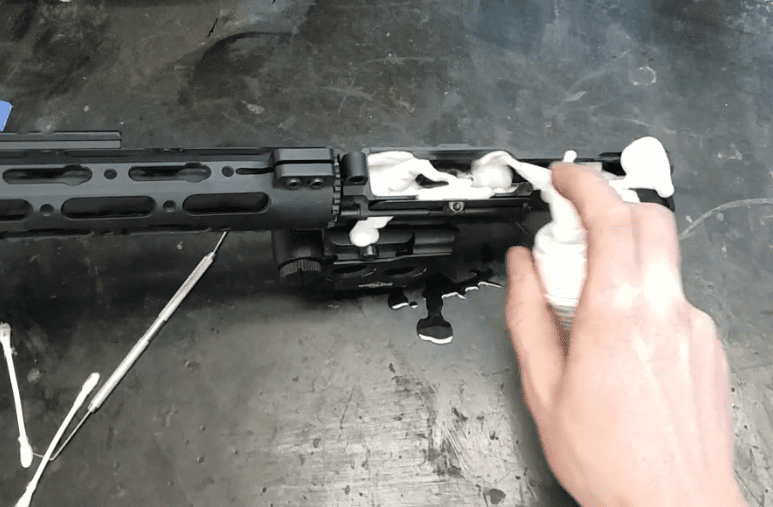
I’ll start with the lower. Slather on some gun cleaner. The Hoppe’s foam works, but it’s a little weak. I prefer the aerosol-based sprays. The added force of the spray seems to help blast off more grime. Either way, get it wet and wipe dry.
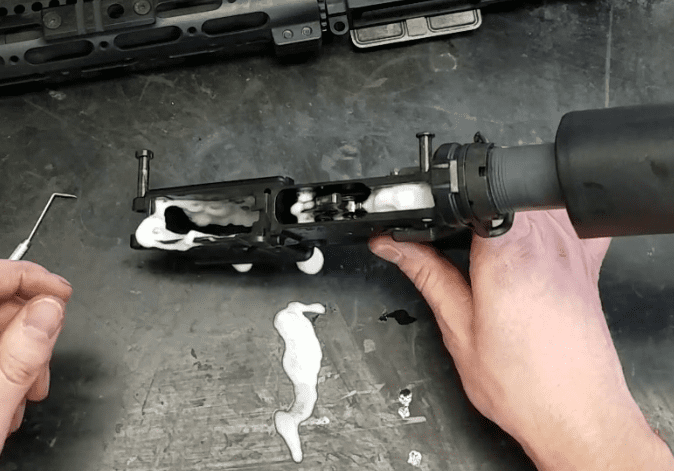


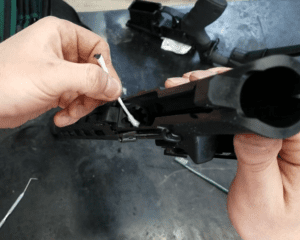
I run a cotton swab around the fire control group.

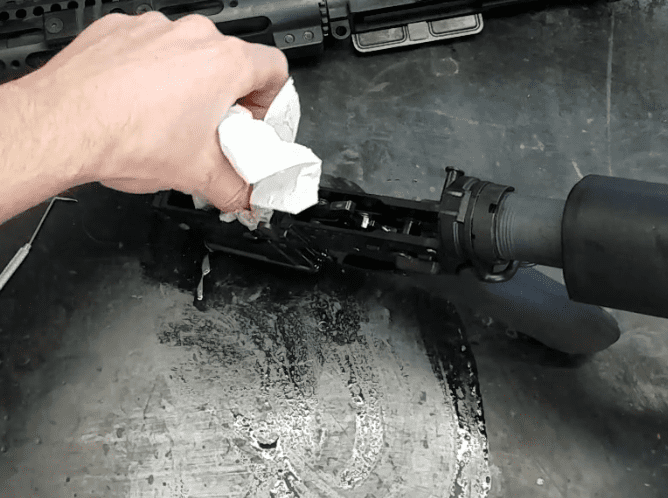
I go at it until the swabs or paper towels are coming back mostly clean. You get to choose how particular you are here. If the trigger controls are super dirty, I’ll disassemble it. Otherwise, it’s not really worth the effort.
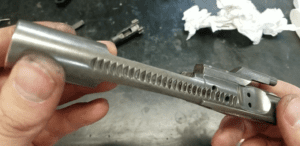
Remove the buffer and buffer spring. Wipe all of it clean. I like to twist up some paper towels to reach down inside the buffer tube.
Next, go to the upper receiver. The order here isn’t critical, but I start with the barrel. Ideally, I’d use a strong copper solvent like Sweet’s Bore Cleaner. When I’m doing a deep clean like this, I like to strip the bore clean. Shooter’s Choice Bore Cleaner isn’t as strong, but it’s good, and it’s what I had on hand. Follow the instructions.
Stuff like Sweet’s will eat your barrel if you aren’t careful. Shooter’s Choice isn’t as aggressive, but I’d still follow the instructions. You’ll also need a cleaning rod, jags, and a bore brush.

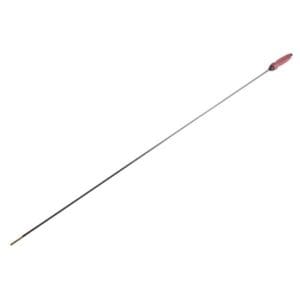
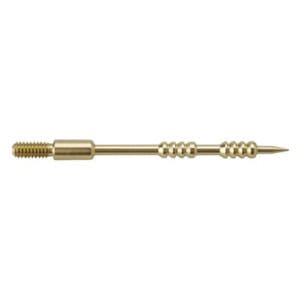
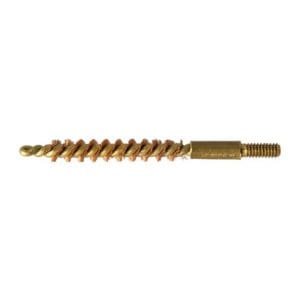
Use a bore-safe cleaning rod like the carbon fiber one featured or nylon coated ones. The nylon-coated ones can get embedded with grit that may scratch your barrel. Unless you are really careless with it or use it with lapping compound, it’s not really a concern. If a knuckle-dragging grunt like myself can use the nylon-coated ones in the environment that is the Army without ruining barrels, I think you’ll be OK. Just show some care.
Wear gloves when dealing with stronger solvents. That stuff isn’t great for you. The jag holds the cloth patch that’s either soaked in solvent/oil for getting it into the barrel, or dry for removing it. The brush helps scrub out stuck-on carbon and scratch embedded copper so the solvent can work better.
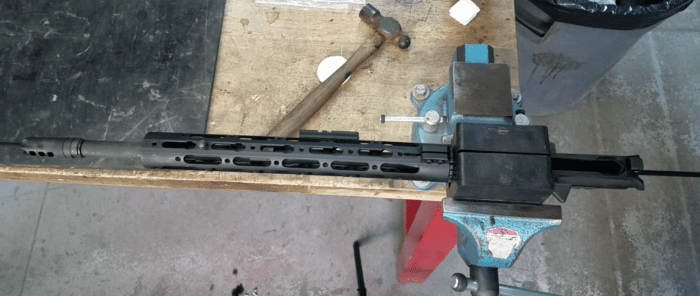
It really helps if you can put your AR in a vise (get yourself a vise block for this).

Again, just follow the instructions for whatever bore cleaner you are using. I make sure I end my bore cleaning with an oiled patch followed by one or two dry patches. This leaves a thin layer of protection for the stripped barrel.
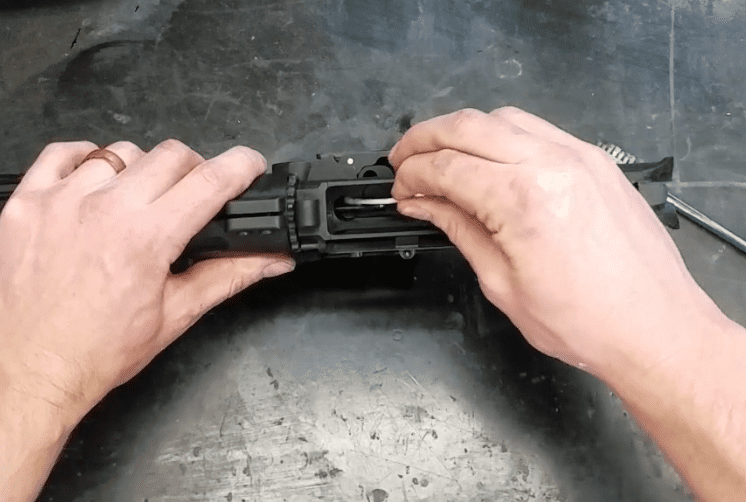
Next, clean the rest of the upper. I start with my nylon brush and paper towels to scrub everything I can reach.


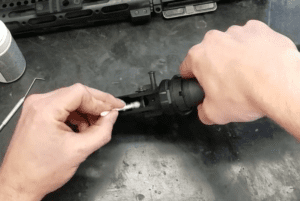
I switch to the cotton swabs for the hard-to-reach areas like around the gas tube and the star chamber. Various companies make chamber brushes, but I’ve never felt like they did much. With or without a chamber brush, I still end up digging carbon out with a cotton swab.


Now for the small parts. The sonic cleaner helped, but I still have to hand-clean all the internals.

Make sure the bolt body is clean inside and out. Check inside the bolt hole for carbon buildup and scrape it out if needed. I’ll usually swab the opening to the gas key too.
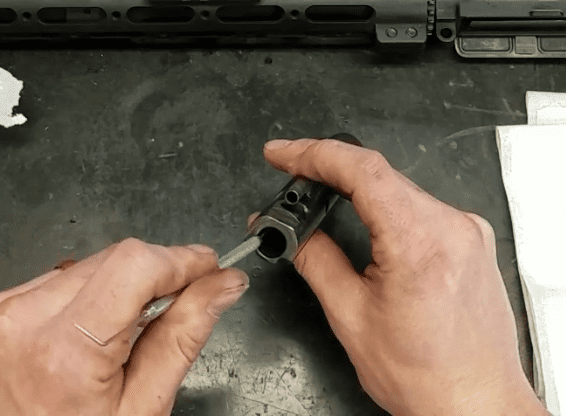


Once it’s clean, give it a good once-over for cracks or excessive wear. Also, make sure the gas key is still nice and tight.

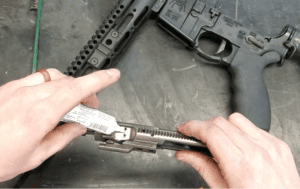
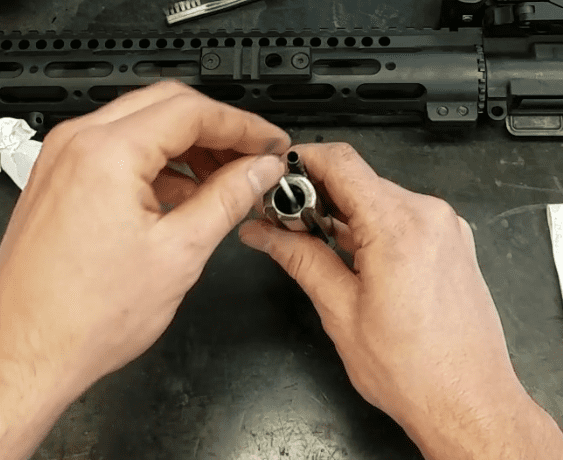
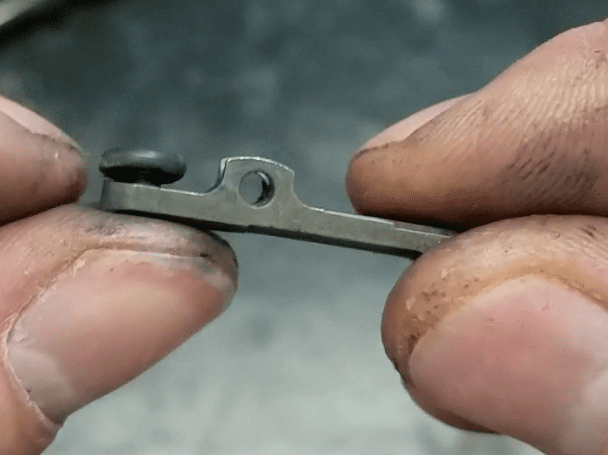
Next is the bolt itself. Since I forgot to remove the extractor for the sonic cleaner, I’ll take it off now and clean underneath it. Carbon likes to build up on the back of the bolt.


Go ahead and scrape it off. There are some fancy tools, like this one, that can make this easier. I’ve always used dental picks or other scrapers. Obviously, be careful to not damage it.
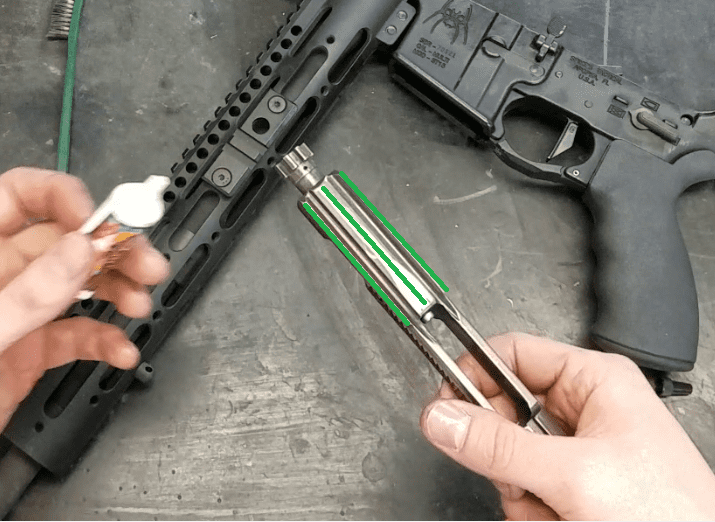
Once clean, inspect the gas rings for excessive wear or damage. Check the locking lugs, specifically along the back, and make sure there are no cracks. Same thing with the extractor.

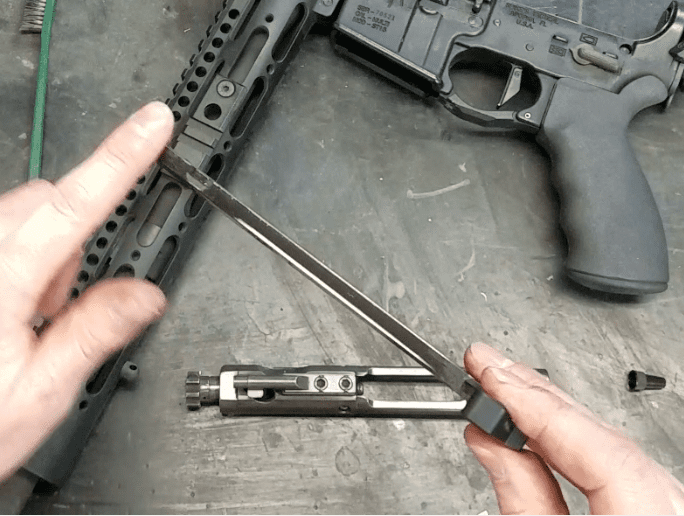
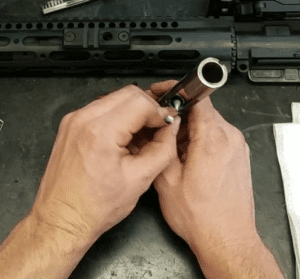
If all looks good, reassemble the bolt. Check the firing pin and cam pin the same way. Once it’s fully assembled, double-check the gas rings. Do this by pulling the bolt forward and standing the BCG up on the bolt.
The bolt body should not fall to the closed position. It should remain extended. If it falls, the gas rings need to be replaced as they aren’t providing an adequate seal.


Once it’s all nice and clean, oil it back up. I oil after the deep clean the same way I do after the quick clean. I like to put a drop on the trigger springs, too. That’s an old habit taught to me during my private days. I’m honestly not sure if it’s right, wrong or meaningless, but it’s what I do.
Once reassembled, perform a function check and…that’s about it. Again, this is how I like to do things. It works well for me.
If you’re new to AR-15 cleaning, I encourage you to look at multiple sources. When in doubt, follow the instructions on whatever cleaning product you are using.
If you are scratching/damaging anything on the rifle, you’re doing it wrong. Stop and seek some face-to-face help from someone who has done this a few times. Preferably a gunsmith.
Matt Sandy is a gunsmith who competes in both USPSA and PRC matches.