


What about shooting drills for the indoor range? You can do just about anything outdoors, including all the run and gun you want, but indoors is a different matter.
What shooting drills are the best to work on those concealed carry skills or to get sharp for NRA Action Shooting, IPSC or IDPA if you’re brushing up to start competing?
There are some fantastic drills out there; too many to list. However, what we will focus on here are three very basic drills that work the fundamentals including the draw, sight acquisition, trigger control, follow-up shots and controlled rapid fire.
For the beginner, these drills give you the basics of practical shooting. They’re not complicated, but neither are they easy to perform consistently without regular practice. Once you’ve gained reliable and sustained competence, they are the foundations upon which the rest of your pistol shooting will be built. For the experienced shooter, these drills help keep your skills sharp.
For master-level competitive and other shooters, these are the bread-and-butter pistol drills. Like squats, bench presses and barbell rows to the bodybuilder or competitive power lifter, these drills help keep you strong.

Make sure to check your range’s rules. Some ranges forbid drawing from the holster, which all of these drills are intended to be shot from. If you can’t practice them from the draw, start with the low-ready position.
Start a regular dry-fire regimen if you haven’t already. This will give you practice with trigger control and sight acquisition from the comfort of your own home. Add the draw to the equation, and you can build the basic skills of self-defense with a handgun without having to fire a shot.
Granted…it’s a LOT different once live ammunition enters the mix. There’s no substitute for live fire; many shooters are perfect when dry-firing in their basement or garage, but recoil anticipation puts paid all that dry fire work if you’re flinching.
It happens to lots of people, but not me. Okay, there was that one time, but I was really nervous.
Next, let’s talk about equipment (besides your pistol).
First is targets. You might be tempted to use a silhouette target, whether it’s an IDPA or IPSC target or a different type. You may be persuaded to get a bottle target like the FBI uses. These are fine, no doubt about it and if you are about to compete, get the target you will be shooting at in competition.


This isn’t to say that you can’t save yourself in the real world if you can’t put an entire box of ammunition through a 6-inch paper plate at 20 yards, but you’ll be much more likely to come out on top in a defensive situation if you get close to that.
Also, get yourself a timer.

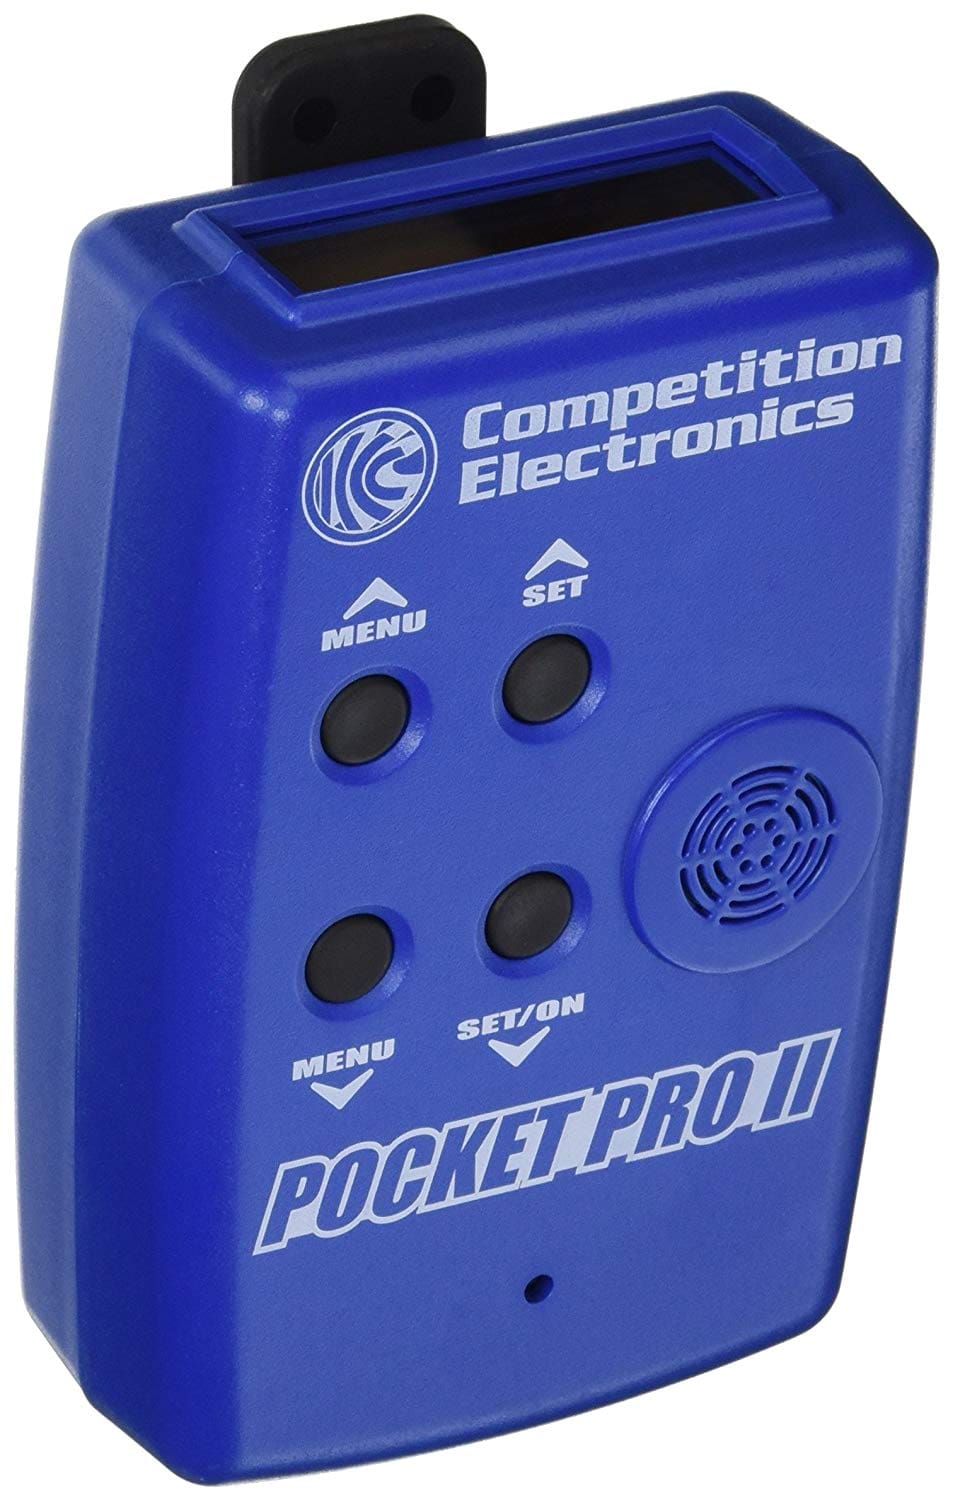
Just as a musician must practice with a metronome, so should you practice with a shot timer. Start slow and smooth; speed will come from efficiency, which you only gain with experience. That sounds easy, but having the patience to do things slow and right is anything but.
Oh, and definitely make sure you have your ear and eye protection. Safety first, people.
Another thing: don’t warm up before your first drill. If you have to use a pistol in self-defense, you won’t be warmed up. It will not occur under ideal conditions, so it’s important to start cold. This will tell you where your baseline REALLY is.
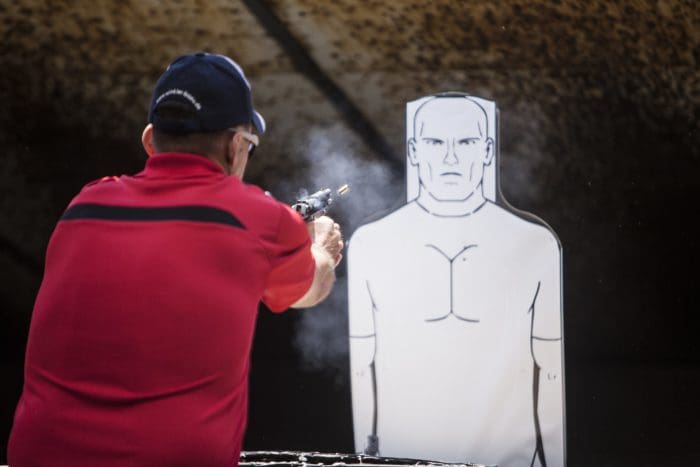
So, let’s start with a very basic drill first: the First Shot drill.
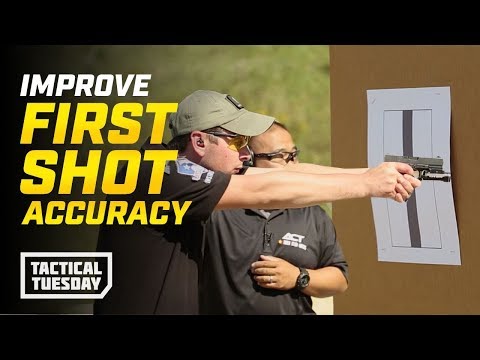
The First Shot Drill isn’t complicated. You draw and fire one shot from the holster at combat distance, typically seven or fewer yards. This is the range at which almost all shootings occur.
If your goal is sharpening concealed carry skills, run this drill using your concealed carry pistol in your actual holster, and under a typical concealment garment.
It isn’t as simple as it sounds.
You have clear your cover garment (if applicable) and get a good firing grip. You have to draw smoothly and rock the pistol forward into the presentation smoothly and efficiently. You present the pistol and get a sight picture. THEN you perform the trigger press, and re-holster the pistol.
It sounds simple, but placing one accurate shot (inside a 6-inch plate or 3×5 card, or in the 10-ring of a bullseye target) in less than two seconds is not as easy as it sounds. For the novice, you’re likely to do so by luck rather than design! If you can get this drill down to 1.5 seconds or less with reliable accuracy from concealment, you’ve attained considerable skill.
Bill Jordan, the legendary Border Patrol agent, US Marine, gun writer and competitive shooter, recommended this drill constitute 90 percent of a policeman’s shooting practice. In his experience, it wasn’t the person with the first hit but rather the person who landed the first accurate hit that tended to win gunfights. “If the first one’s in,” he wrote, “the rest are sure to follow!”
Next is the Bill Drill, a rapid fire drill conceived of (purportedly) by Bill Wilson. Wilson, for those unaware, is a longtime master-level competitive shooter and gunsmith. He founded Wilson Combat, a company whose products (about the best 1911s money can buy) are of no small esteem.

The Bill Drill seems simple, but like the First Shot drill, this isn’t the easiest of shooting drills to perform perfectly.
You draw from the holster (or go from low-ready) and deliver 6 shots into the target from 7 yards. If using an IPSC silhouette, all six shots should be in the “A” zone. If using a smaller target, all six should be in the black field of an NRA bullseye, inside the 9-ring of other bullseye targets, or all inside a 6-inch paper plate.
This drill works a number of skills. Besides the draw and trigger control, it also practices sight re-acquisition and recoil control, as well as discipline to not shoot without the correct sight picture. With a larger caliber than 9mm, you may find yourself fighting the muzzle rise. Even with a large double-action 9mm pistol like a Beretta or CZ 75, it’s no mean feat to become truly skilled at this drill.
While two seconds is the common goal, completing a clean Bill Drill – with all six in the target zone – in four seconds is still impressive. Don’t be discouraged if you find you have to start at 6 or 7 seconds; even masters have to put in work to stay good at this drill.
Think of this last one ess as a single drill as much as a workout routine. This shooting drill isn’t the squat or the dead lift or bench; this drill is leg day. The Dot Torture drill isn’t done for time, it’s done for score. The drill is a series of shots into 2-inch circles, with a total course of fire of 50 rounds. Speed isn’t the goal, but consistent accuracy is.
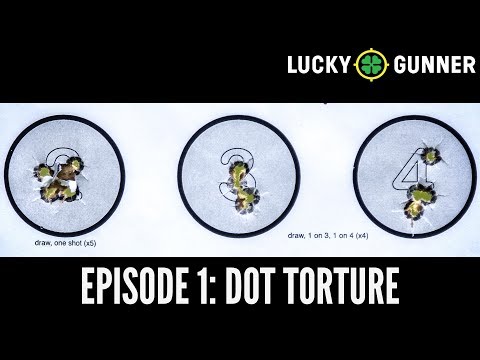
Scoring is simple: if you can’t get all 50 in the circles, you fail. Therefore, start close and take your time. If that means you start at two yards, it means two yards until you can do it at three yards.
Get a dot torture target, and put it on your stand. You can order them online, or find a printable one. They look like this:

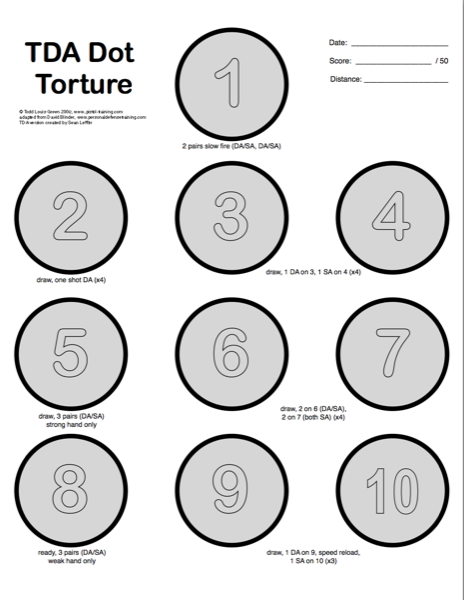
The course of fire is as follows:
Draw and fire five rounds into circle 1, like the Bill Drill just shy one horse, so to speak.
Draw and fire a single shot into circle 2. Repeat four more times, five rounds total.
Draw and fire one round into circle three, transition to circle 4 and fire one shot. Repeat this step three teams, for four rounds per circle.
Draw and fire five rounds into circle 5 using only your strong hand.
Draw and fire two rounds into circle 6, and two into circle 7. Repeat this three more times. You should put 16 rounds total into these targets.
Circle 8 starts at low ready. At the low ready position, fire five rounds into circle 8 using only the weak hand.
Draw and fire one round into target 9, and do a tactical reload before putting one round into target 10.
Some shooters modify the Dot Torture drill for double-action semi-autos, by changing the first course of fire to two controlled pairs and the weak-hand drill to three controlled pairs from the weak hand. That much is up to you; while a good idea, the truth is the standard method will work DA trigger skills too.
There are many, many more shooting drills out there, of course, but these three work all the fundamentals. If you can become truly proficient at these, you’ll be head and shoulders above most pistol shooters.
Feel like there’s a better shooting drill for self-defense and competition that I missed? Sound off in the comments!