


There are few things more frustrating than wasting good ammo trying to get your rifle zeroed. If you just can’t seem to find the paper or can’t chase that zero down, turning expensive ammunition into nothing but noise gets old really fast.
Since I’m constantly bolting optics onto loaner rifles, I thought I’d share how I get zeroed at 100 yards with as few rounds fired as possible.

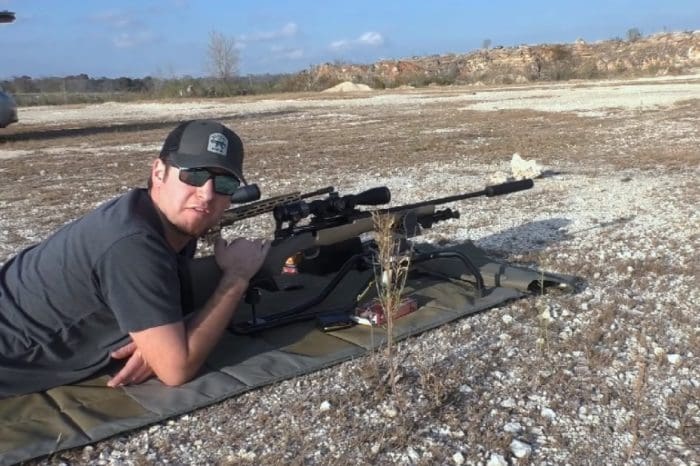
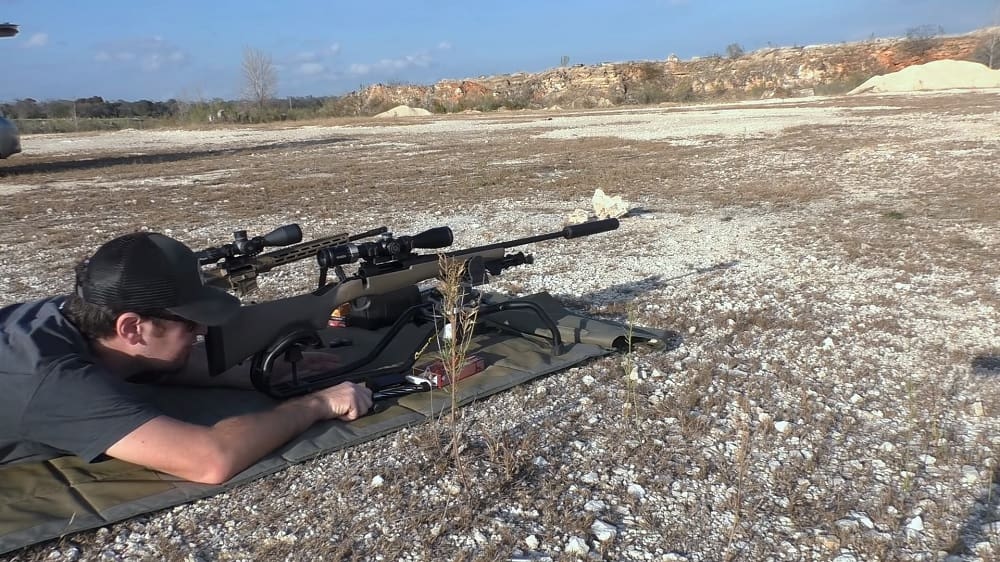
First and foremost — non-negotiable to this process, actually — is a rock-solid rifle rest. Jon Wayne Taylor and I have gravitated to the Caldwell Stinger this year, but there are many Lead Sled type options and other inexpensive ones that use straps and clamps to keep things stable.
Keep in mind you don’t actually have to shoot from this rest. You need to shoot in as accurate a manner as you and your rifle are capable of, but the rest is only needed for holding the rifle absolutely steady while you’re making adjustments to your optic.
Bore Sighting
Once your scope is properly mounted, your first step is to establish a rough zero. The only goal of this step is to land your first round anywhere at all on the paper.
If you’re shooting a bolt action rifle, remove the bolt. If you’re shooting an AR platform rifle, remove the upper receiver, then remove the bolt carrier.
With the rifle or upper (or whatever assembly contains the barrel and mounted optic) on the rest or otherwise held absolutely as rock steady as physically possible, look right down through the barrel at the target.

The chamber end will appear to be a larger circle and the muzzle end a smaller one. To ensure you’re looking straight down the centerline of the bore, center that smaller muzzle circle in the larger chamber circle.
Adjust your rifle rest set-up until you have the target — again…visible through the barrel — centered in the bore. It’s more difficult to be precise with this if you have a short barrel with a large bore that it is with a long barrel and a small bore, though seeing the target while using the barrel as a zero-magnification telescope is easier. Try to get your eye closer to the chamber if you’re having trouble seeing your target through the barrel.
Once your barrel is on target, it’s time to get your rifle scope on the target, too. Most important: DO NOT MOVE the rifle AT ALL during this process…or it won’t work.
Run the turrets until the reticle is centered on the bullseye. Usually that’s clockwise on the elevation turret to move the reticle up and clockwise on the windage turret to move the reticle right, but knowing which is which doesn’t much matter. Just turn ’em and watch the reticle move and move it to the center of the target.
Move your eye back down, look through the barrel again and confirm that the target is still visible in the center of the bore when you look through it.
Boom. You’re now bore sighted.
Keep in mind this is a [very] rough zero, but is should be more than good enough to get your shot on the paper. You can also use a laser bore sighter to accomplish this, but they can be difficult to spot at 100 yards in daylight. If it’s visible, though, it’s even easier than looking down the bore.
Shooting and adjusting
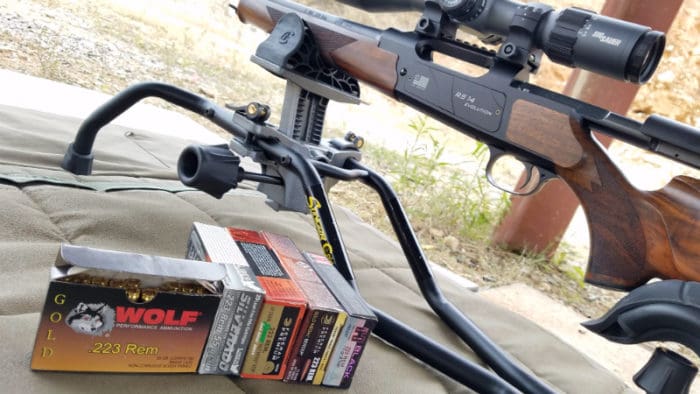
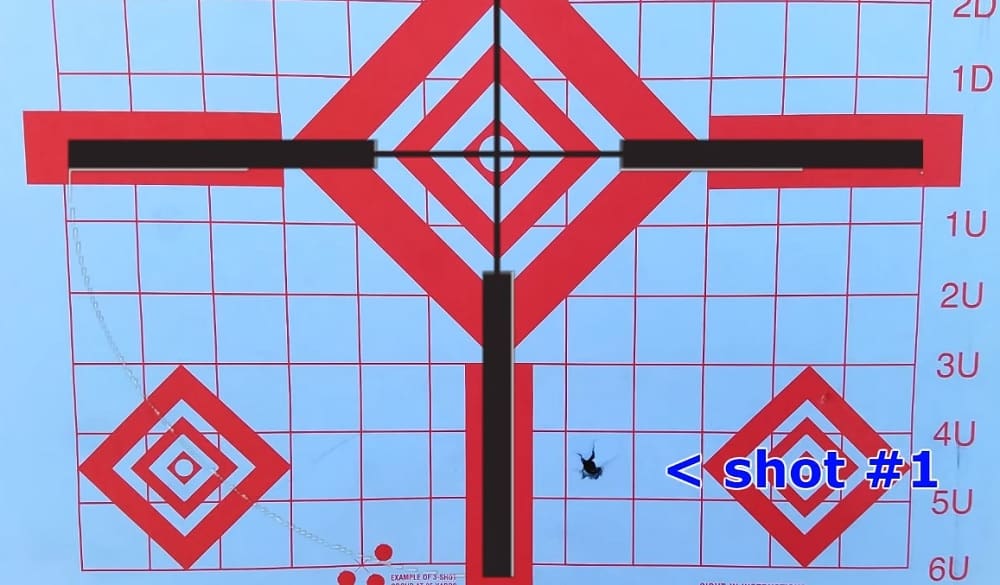
Get yourself and the rifle stable — remember those fundamentals — and fire a shot. If you know your rifle and ammo combination is extremely accurate and feel confident you made a good shot, one round can suffice. If it’s a new gun or one that puts up a bit of a spread, fire three to five shots to create a group. You’ll use the center of this group for the next step.
Re-adjust the rest (or put the rifle back on it if you weren’t shooting from it) so the reticle is, once again, perfectly centered on the bullseye.
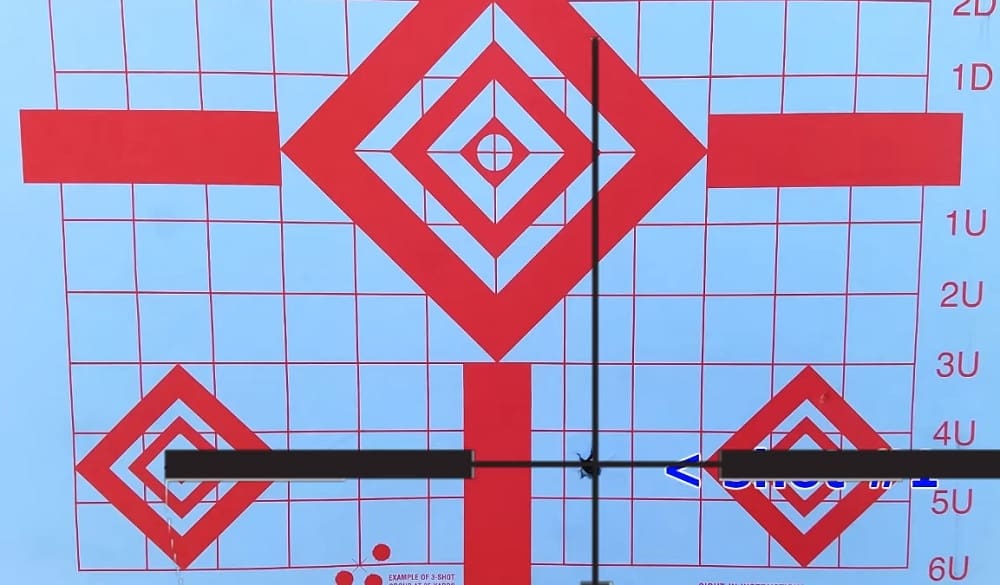
Now, dial the turrets until the crosshair is on your bullet hole (or centered in your shot group).
Congratulations. You’re zeroed!
At least…in theory. You’ve matched up your scope’s point of aim with your rifle’s point of impact, and that’s what this game is really all about. It’s nice to confirm things with another shot(s), though, and do any fine-tuning that may be needed.
You may also want to consider tapping your turrets with a little tool or a round of ammo or something. Not enough to move the rifle at all, of course, but enough to unstick the widgets inside the scope just in case your hardware is old, cheap, etc. Then make sure it’s still centered on that bullet hole.
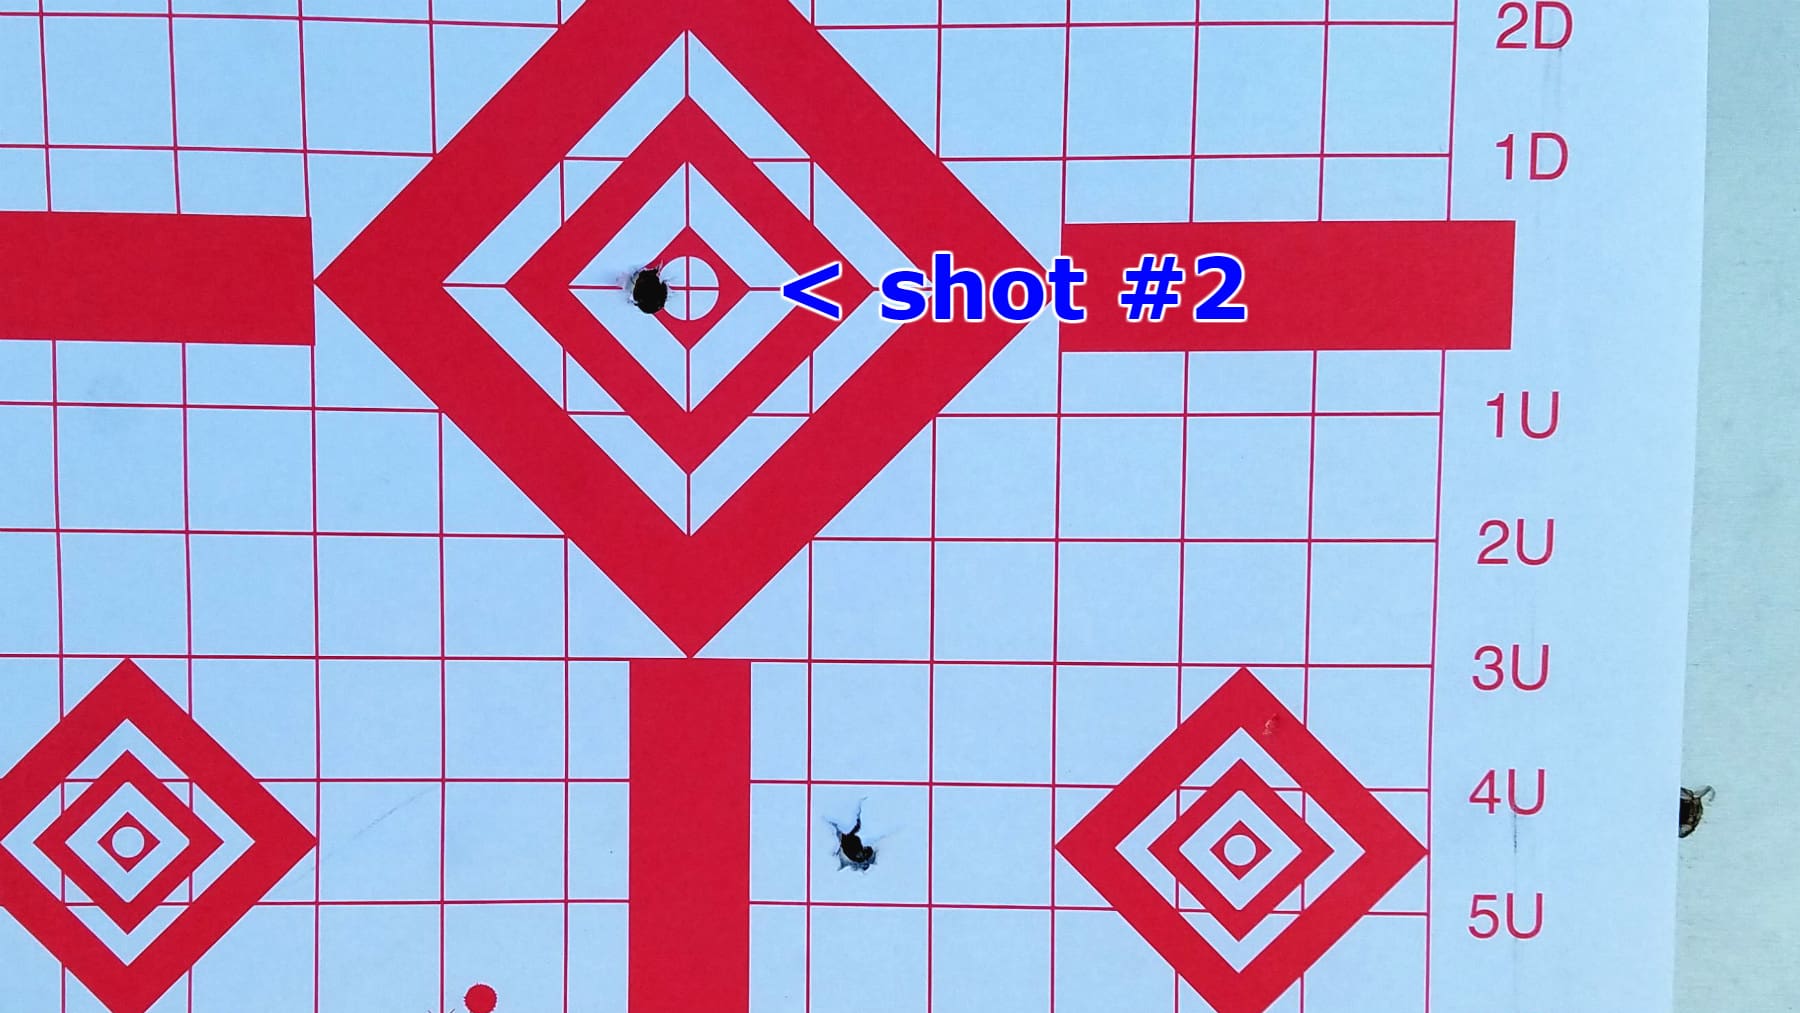
Bingo! I got lucky when I chose to go through this process on camera for the video above — the confirmation shot was effectively dead-on with this ~1 MOA rifle (which I’d normally give the 5-shot group treatment). “In real life” I’d expect to do a final fine-tuning if I want this rifle and ammo combination to be truly dead-on zeroed.
There you have it: a straightforward, easy zeroing process for jumping right to 100 yards, sighting in, getting your first shot on paper, and zeroing your scope quickly. And all while using as few as one single round of ammo.