


(This post is an entry in our spring content contest. If you’d like a chance to win a Beretta APX pistol, click here for details.)
By BLoving
Dedicated People of the Gun rarely leave well enough alone. We tend to be tinkerers, we love disassembling, reassembling and generally playing with our guns. In doing so, we like to dream of how to make them better – either in function or appearance. We will seek ways to personalize them to our specific tastes.
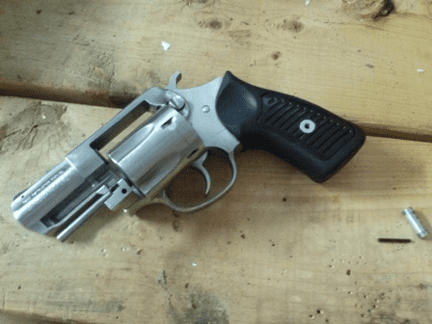
A small part of the appeal of revolvers to people like me is the ease with which the grips can be changed – often all that is needed is a screwdriver and a few seconds to make a factory issued revolver a reflection of ourselves as well as a better fit for our hand.
While cleaning out my garage some weeks ago, I came across a shed elk antler – truthfully, I don’t remember where I got it, it may have been salvaged from a neighbor’s trash. In any case, I knew I wanted to do something special with it. Here is what I did after rediscovering it:
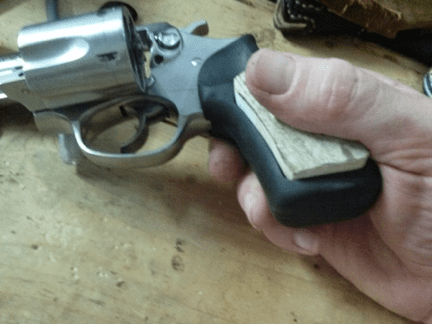
The grip panels of Ruger double-action revolvers like the Super Redhawk, GP100 and SP101 are typically thin scales of black plastic fitted flush within a neoprene sleeve-like grip, held in place with a single screw. Functional, but kind of boring. Aftermarket scales of many different materials are available, exotic hardwoods, mother-of-pearl, bone – even polished stone like jade or hematite. I decided a set of elk antler inserts would look great on my trusty snubbie.
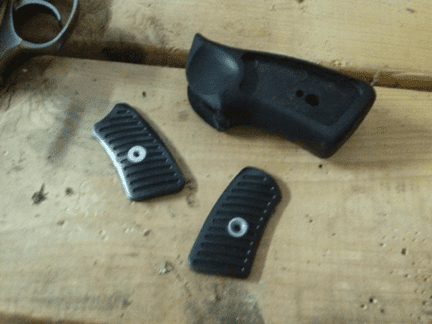
One screw out later and I had the panels off to use as templates for the new inserts.
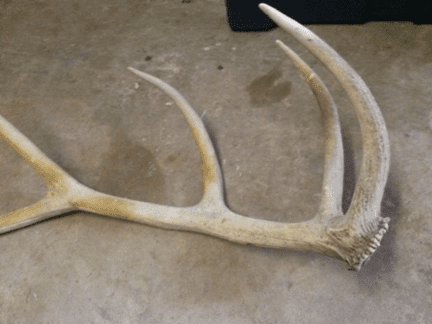
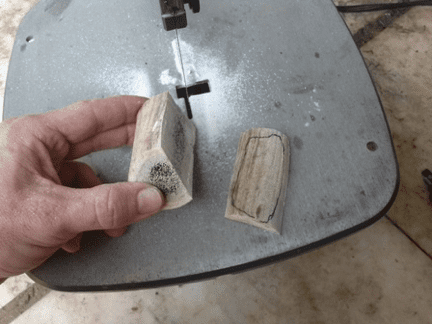
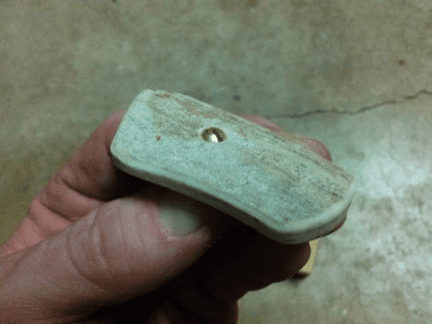
This is the antler I had to work with. The tricky part with antler is finding a flat(ish) part of it’s circumference that still has a bit of grainy texture for that rustic character.
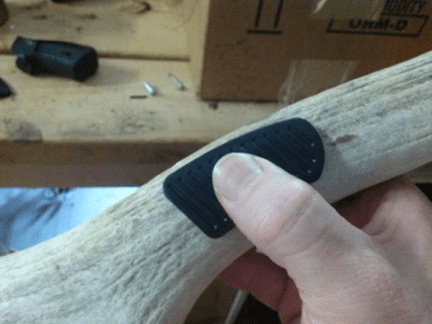
Just take one of the panels and feel around on the antler with it till you find a spot you like…
And mark it out widely to give yourself plenty of room to mess up.

Bust out the ol’ hand saw…

Antler is tough stuff! Wood cuts much more easily, so go slow and be careful!

Looking at the pieces end-on, I draw a line well below the edge to give myself a nice thick scale (but not too thick) to cut out the final shape.

I wanted to use my band saw to slice the antler, but naturally, the damn thing broke just as I started cutting. So, out comes the scroll saw instead – without a guide or guard.
Kids, don’t try this part at home without the proper tools! You experienced woodworkers out there know how risky this next scene is.
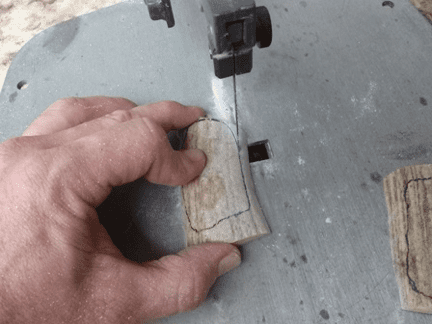
Now I use the scales to closely trace the final shape onto the rough antler blocks…
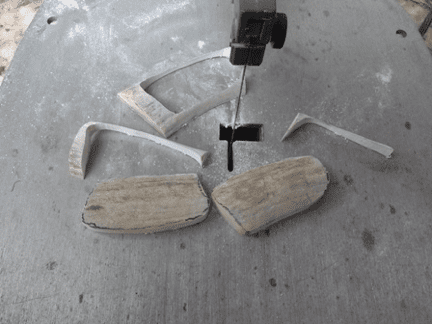
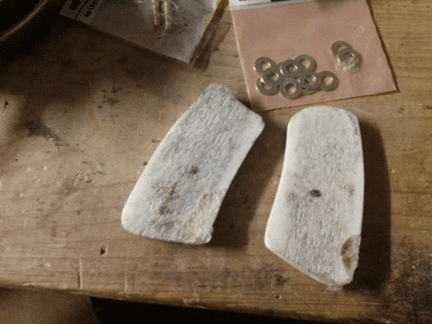
And slice out that!
Check the fit – yup, way too thick! As expected.
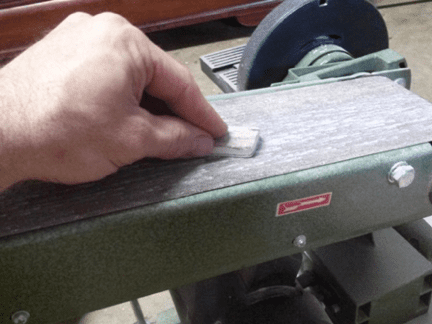
Well, that’s what God made belt sanders for…
That looks about right… Now to bevel those edges a bit…
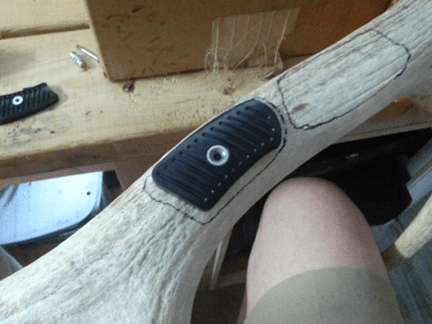
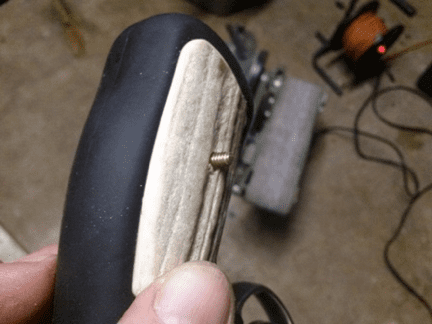
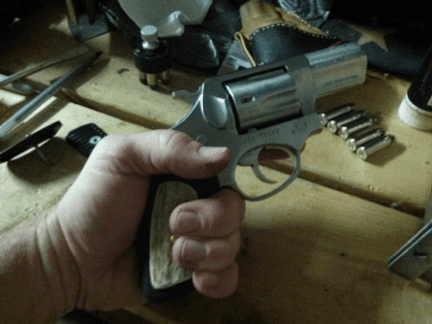
The final fit had the panels setting proud of the neoprene grip.
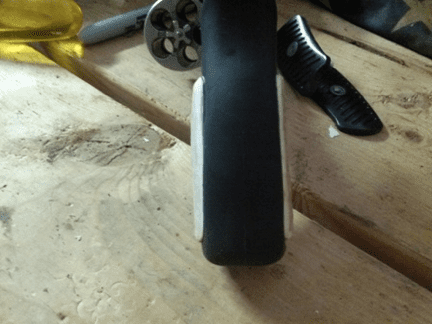
I considered sanding them a bit more so they would fit flush like the originals – but hefting the gun in my hand, well, it felt GOOD. I decided to keep them thick and tried not to worry about how much more my little snubbie would print under a shirt.
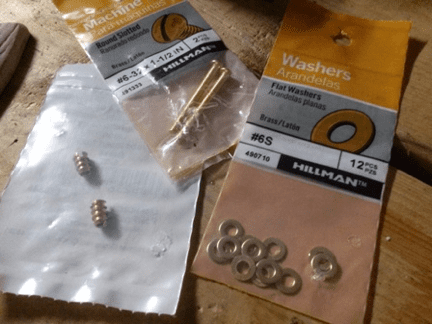
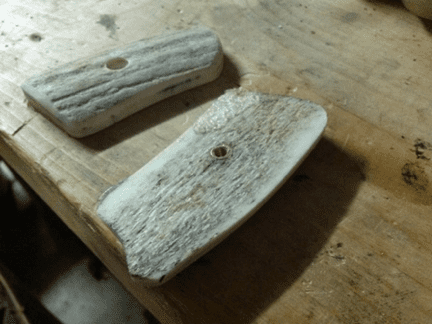
For the hardware, I chose brass instead of the original steel because it’s pretty and I knew I was going to need to do a bit of cutting to get the fit right. Pay no attention to those washers – turned out I didn’t need them.
Using a lead from a mechanical pencil, I marked the opposite panel where the screw hole needed to be drilled on the inside of each scale.
The threaded insert would be screwed into the inside of the left panel.
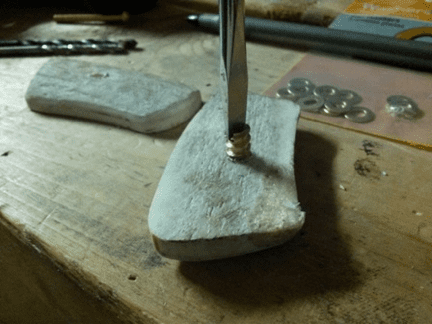
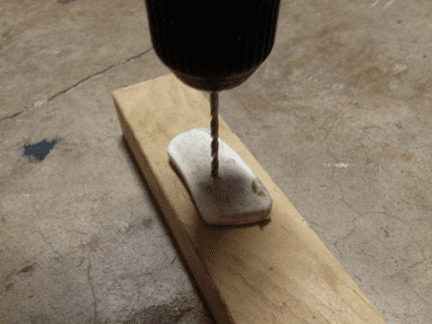
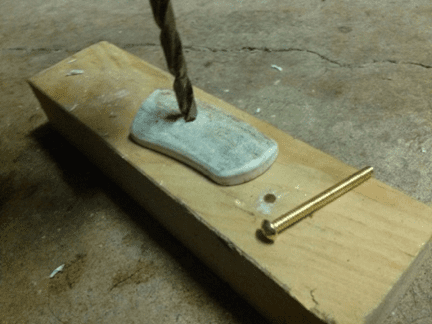
After drilling a hole just slightly smaller than the inserts threads, I was about to learn a hard lesson…
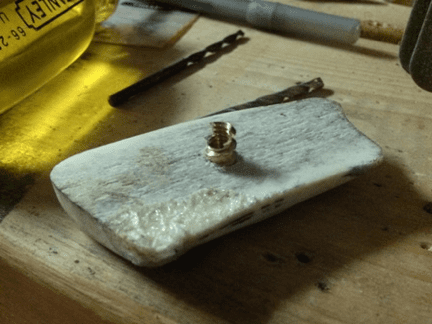
Yup. The damn thing broke – remember how tough I said antler is? Soft brass threads don’t bite well in antler. I didn’t take pictures of me fighting and cursing to get the insert deep enough into the scale to assuage my ego but after it was as far in as I dared to risk, I ground off the remainder carefully with the disk on the belt sander.
Using a slightly larger bit, I countersunk the screw hole on the right scale so the head would not protrude too much.
Perfect.
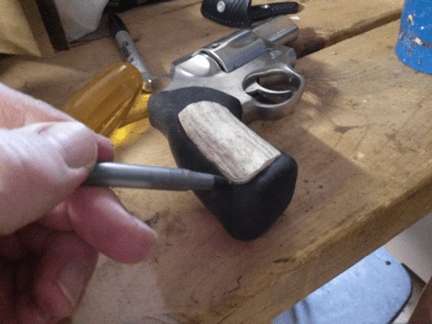
Checking the fit and screw alignment…
About seven threads too long – a quick snip with some wire cutters and a few millimeters taken off with the disk sander to shorten the screw. Pro Tip: wear leather gloves or wrap the screw when using a disk sander! Less than two seconds was all it took for that brass to get HOT! Having shortened it to my liking, I cleaned up the tip with a whetstone so the threads would screw in properly.
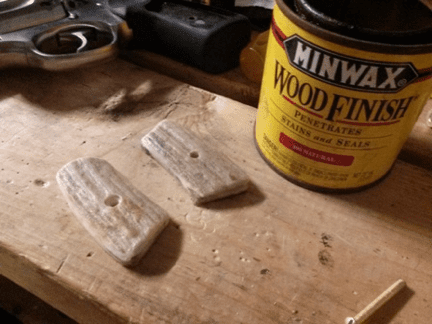
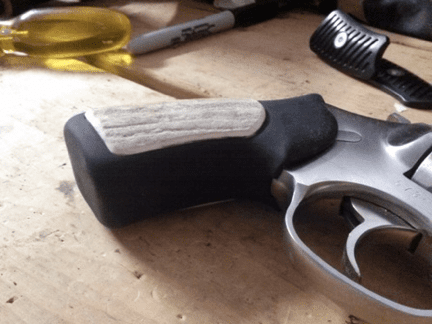
After everything seemed to be in order, I applied a natural stain finish to the scale to make the color “pop” a bit.
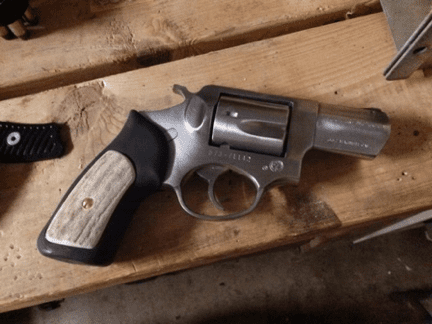
And here is the final result!
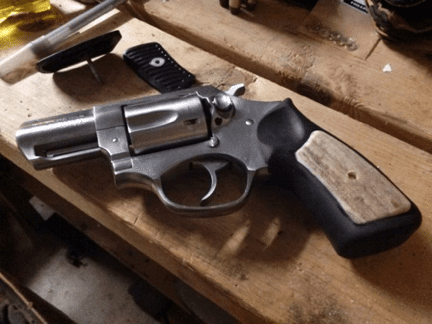
With as much handling as this piece gets, I figure the finish on the antler will become hand polished and brighter with age, hence, I didn’t apply a glossier finish; preferring to see what it will do on it’s own with time and daily carrying.
Just remember, your everyday carry piece is a very personal choice, we depend on them with our very lives. It is only natural that you might want to make yours reflect who you are, whether that means making your own grips or buying them – get creative! A little vanity is not always a bad thing.