


If you hate your GLOCK sights, the prescription is easy: buy a 1911.
Just kidding! Well, obviously…you can change them!

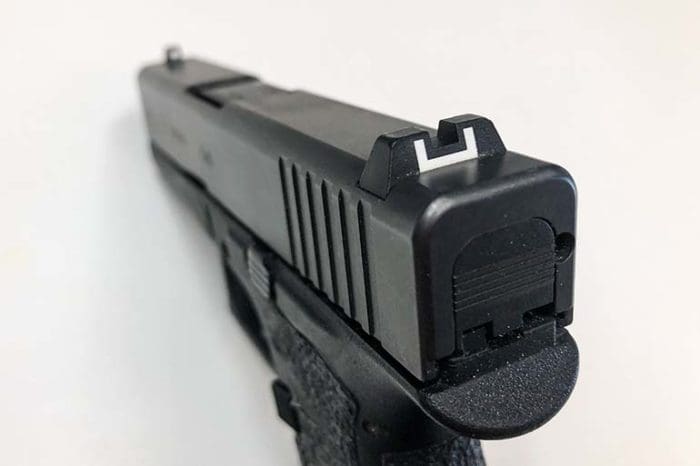
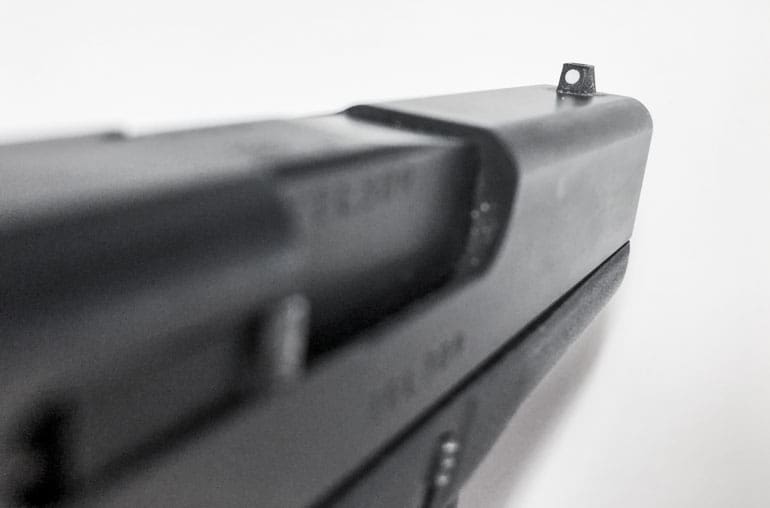
The stock sights are made of plastic and not beloved by many. They’re on the fragile side, and some people find the stock sights on almost any gun aren’t the easiest to get a good sight picture with. By no means is that limited to GLOCK A lot of OEM sights out there leave much to be desired.
Granted, the GLOCK Gen4 and Gen5 pistols can be ordered from the factory with steel sights or tritium night sights, but most of the GLOCKs you’ll find in stores wear the plastic sights as standard.
With that said, before you go picking up a new pair to slap on your GLOCK 19 (or what have you), you should first consider what you’ll use the pistol for. Is it a target gun, home defense, concealed carry, or a self-defense pistol? All of the above?
Okay, now that you know what you’re getting into, it’s time to shop for the right sights. As it happens, everyone and their brother makes GLOCK replacement sights, so you will find no shortage of makes/models to choose from.
For a target pistol, one of the best options is to get a sight set with a black rear and fiber optic front sight. Since fiber optic rods capture ambient light, they’re perfect for range use. The black rear sight contrasts with the front sight, making for an easy sight picture.
For instance, here’s a decent set from Sevigny Performance:

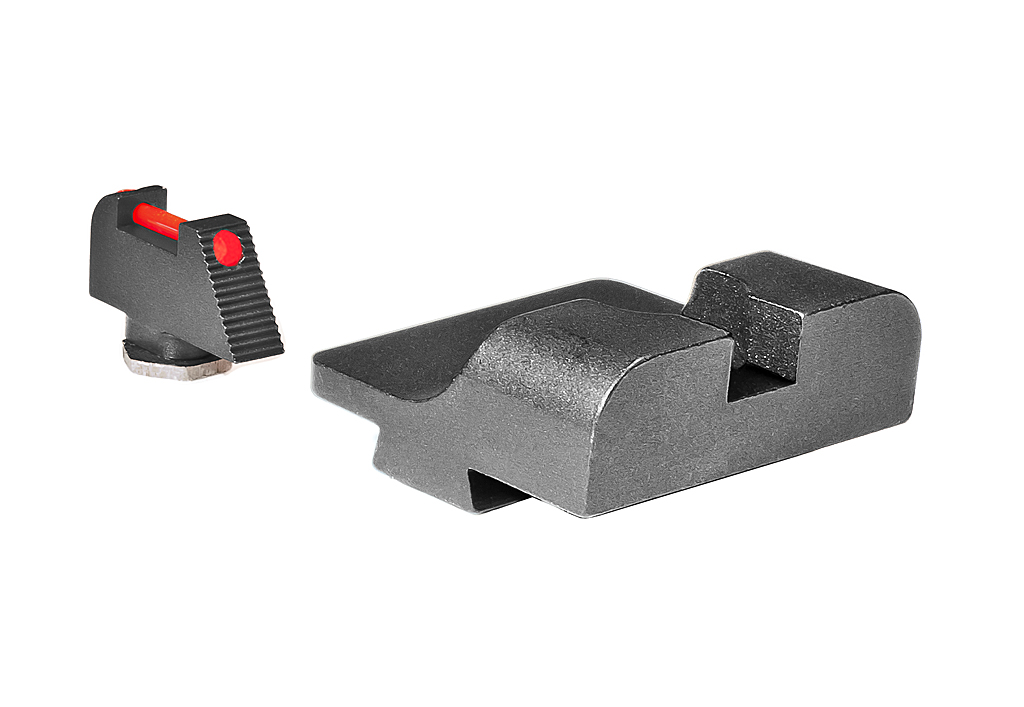
Bear in mind, many other companies make a black steel rear/fiber optic front sight set for GLOCKs. This is just one example. For target use, a black rear sight also pairs well with a brass bead front sight.
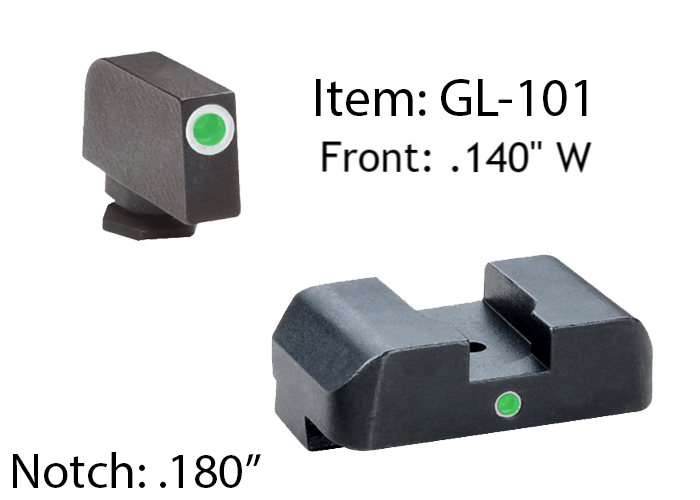
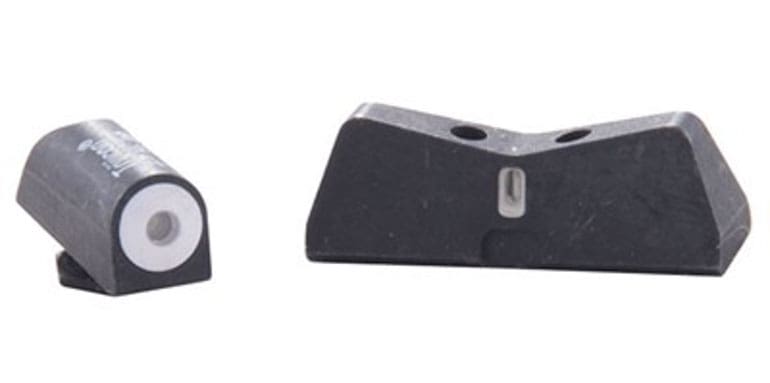
For a self-defense pistol, tritium night sights are the best practice. You can opt for standard dots, which are just white in daylight, or a night/day set. The latter will have two concentric rings in the front sight, with a contrasting outer ring. The rear sight will usually have fiber optic rods or tritium inserts, though it depends on who makes it.
Some great examples include the Ameriglo GLOCK Tritium I-Dot set:

XS Big Dot sights:

TruGlo TFO sights combine tritium and fiber optic rods.


Again, these are just a few examples. Plenty of other companies besides these make similar sets for GLOCK pistols, and many are excellent. HiViz, Meprolight, Dawson Precision, just to name a few.
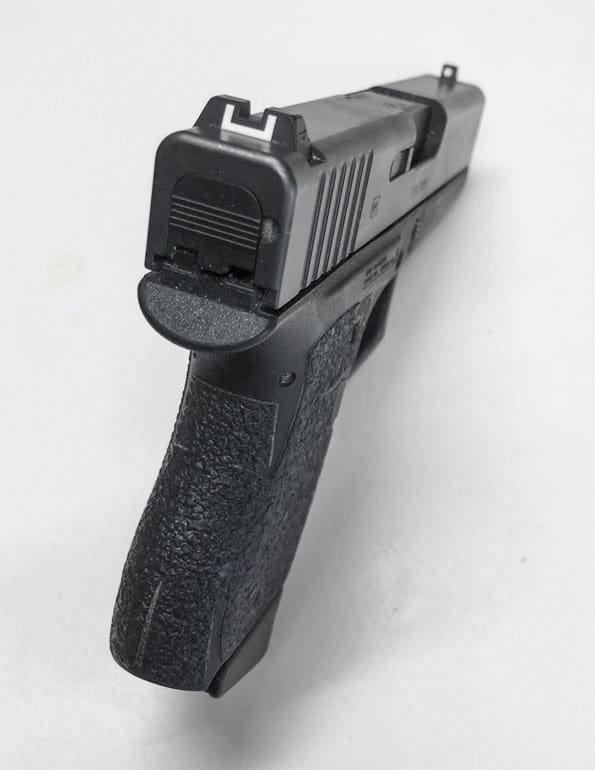
Once you’ve selected your new GLOCK sights, it’s time to install them. If you’re the DIY type, it’s not hard to change them yourself, but some tools will be required.
It’s best to change sights with the slide of the pistol held in a vise, with some sort of material between the slide and the jaws to prevent marring. Nylon is good. Leather works, too or – in a pinch – a couple layers of cardboard. However, it isn’t 100 percent necessary; you can change the sights using any flat surface, but a vise makes it easier.

The front sight is held in place by a 3/16″ hex bolt. A ¼” drive and socket could work, though you need a deep socket or an extension to reach it. A nut driver or a GLOCK front sight tool can also be employed.

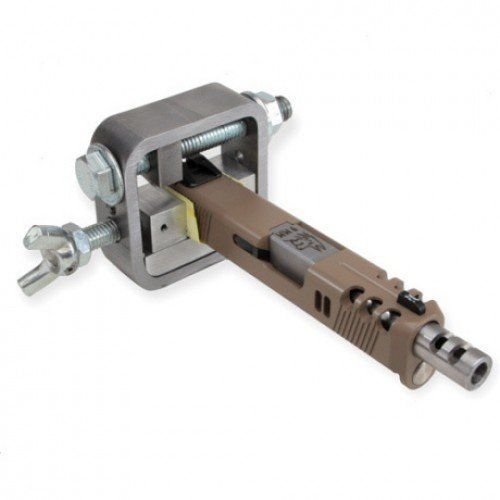
The rear sight is dovetailed, so it will need to be drifted out. The tools for this task are either a punch (brass, nylon or nylon-tipped are recommended, as these won’t mar the sights) and a hammer (non-marring is best) or, alternatively, you can buy a sight-pusher tool.
The latter is the best practice, as a sight pusher – basically a clamp with a jig for pushing the sight – makes the process the easiest and won’t mar the slide nor the sights themselves. Aftermarket sights aren’t cheap, so you want to take care not to damage them. A sight pusher also makes for the most precise alignment though plenty of folks change sights without one and don’t have any issues.
Here’s an example of one, the cleverly-titled Sight Master Sight Pusher Tool, available for $57 at Amazon:

Also, if installing night sights, you want to take care not to break those tritium vials. Tritium is radioactive – which is bad – but the good news is that tritium emits very low levels of beta radiation. The amount of tritium in a handgun sight is small, and tritium’s beta particles are so low-energy that they can’t even penetrate skin. It’s only dangerous if ingested through skin contact, breathing, drinking or swallowing. So be careful not to damage your night sights.

To change the sights, field strip the pistol. Using a nut driver or socket, loosen and remove the front sight. Most GLOCK sights from aftermarket producers include a nut, so the original doesn’t need to be retained. Some people keep them with the OEM sights in case they wish to sell the pistol later on.
If you have one, clamp the slide in the vise with a protective material between the jaws to keep from marring the slide. Make sure to leave a few millimeters of slide above the vise jaws.
If you’re drifting the sight out by hand, use your punch to push the sight out. You can drift them left-to-right or right-to-left; with GLOCKs, it doesn’t matter. Standard Glock sights don’t include a set screw, so you won’t have to worry about that.
However, if you don’t have a vise…here’s the redneck method. You’ll want to put something under the slide like a rag or cardboard to protect the finish. Press the slide down with the heel of your hand, while holding the punch in place against the rear sight. Push down hard; you don’t want the slide to move. There are some table-top jigs that can be purchased to aid in the process, but – again – it can be done by hand. Hit the punch until it drifts far enough out to pull by hand.
Sight pushers either can be clamped into a vise or can be used without one. Either way, you clamp the slide into place and drift the sight in or out.
Once you have the front and rear sights pulled, clean the rear sight dovetail and front sight hole with some denatured alcohol (rubbing alcohol) and wipe clean with a clean rag. Let it dry for a little bit, and now it’s time for the new sights!
Since the front sight is bolted in place, rather than drifted, it’s aligned once the bolt is tightened. A good practice is to put a little bit of blue Loctite on the bolt so vibrations don’t knock it loose.
Now, and important part of installing sights is making sure that the sights are properly aligned. You can eyeball it, or you can take some steps to make sure. I like to run a strip of blue masking tape from the front sight to the rear sight. Cut it to the width of the front sight, and all the guess work is taken out.
If using a sight pusher, start the sight in the dovetail (it should push up to one-third of the way into the dovetail by hand) and inserting the slide into the pusher. Clamp the slide, and commence to tightening. Once seated and in place, it’s a good idea to back the set screw out, give it a bit of blue Loctite, and tighten down.
If drifting in hand, you drift the new rear sight in just like the old one. Once aligned, blue Loctite, set screw, you get the idea. Again, a best practice is to use a vise but you can drift it in by hand in the manner described. Plenty of people have installed sights that way without issue, but a vise or a sight pusher makes the process faster and easier.
Once you’ve got your new sights installed, hit the range and sight in. Most rear sights can be adjusted for windage, but some – such as a competition-style sight – can be adjusted for elevation as well. Since the front sight is fixed, it doesn’t go anywhere.