


My good friend had been encouraging me to accompany him to the Government Training Institute – Legion‘s Precision Rifle With Elevated Shooting Course. His urging finally produced a result and I signed up for the latest iteration of this training session, held at the GTI Legion training facility just outside of the Savannah River Site.
The buildings included in the GTI Legion complex were intended to be a part of the nuclear materials-producing SRS. Fortunately for those who enjoy shooting across great distances and from great heights, that purpose was never realized.

The Precision Rifle With Elevated Shooting Course was, to say the least, incredibly thorough. In fact, I can do no better than to quote from the GTI course description to illustrate the course’s complexity:
The Precision Rifle training class covers topics needed to effectively shoot mid to long ranges. The class will cover equipment, ballistics, range estimation, environmental conditions, and angular units of measure. If you are looking to make ethical shots on game at extended ranges, or just enjoy shooting targets at long range, this class will cover all the information necessary. The second day of the Precision Rifle With Elevated Shooting course is spent in our 135 foot / 10 floor elevated shooting tower that gives our students the opportunity to learn to shoot from high angles.
Though there were a number of competitive shooters along with trained military and law enforcement marksmen and women among my classmates, there were a few of us who were hunters or weekend range shooters.
Most significantly, some of the students had never practiced at the range, or attempted shots at game much beyond 300 yards. I for one was glad of the company of other neophytes, but I still experienced a good measure of performance anxiety as the course began.
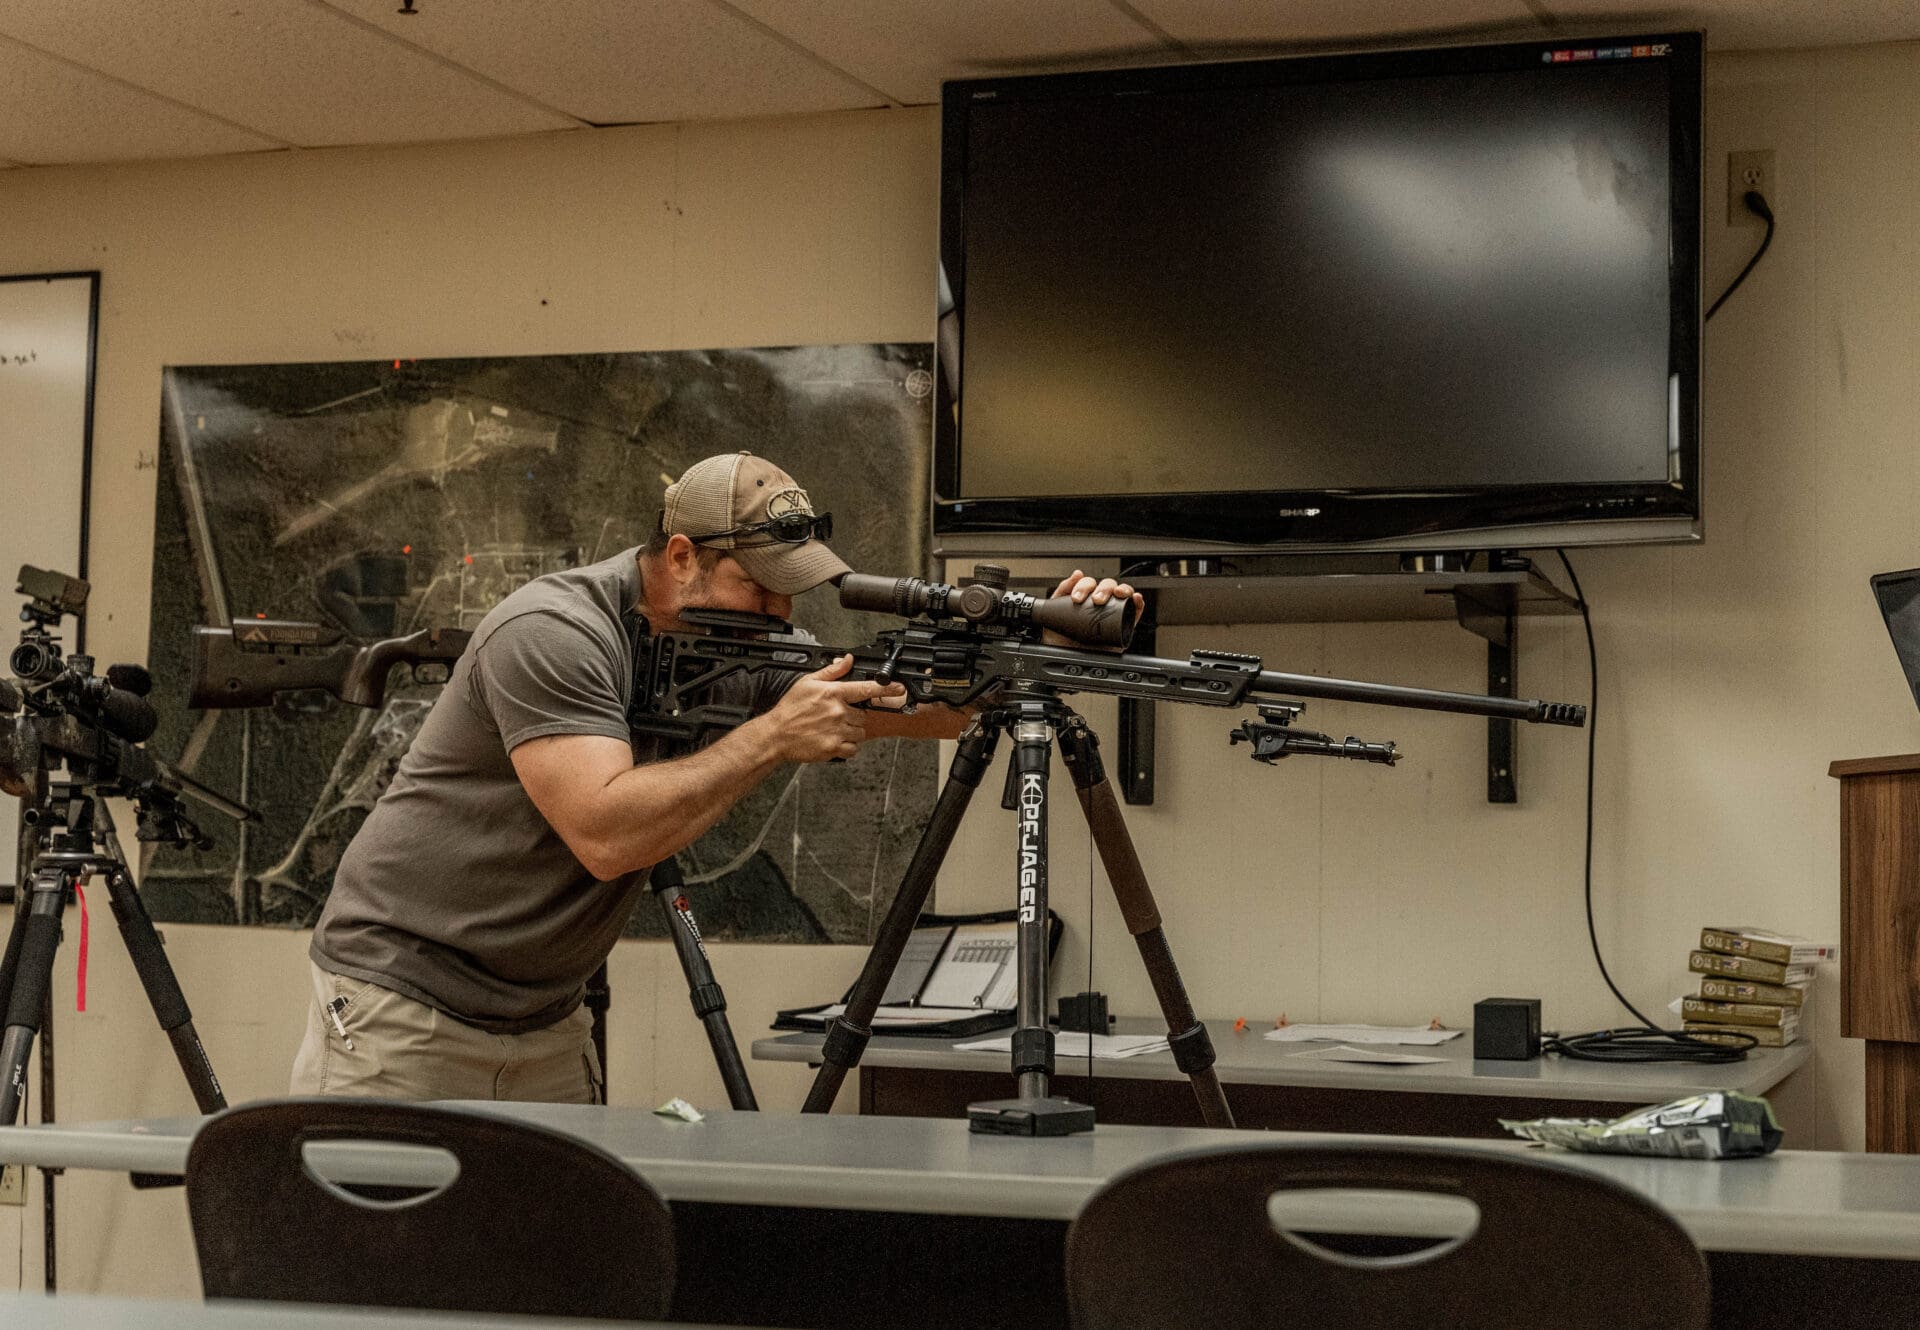
Both days commenced with classroom instruction that included theory and practice. The first order of business included introductions and a detailed safety discussion.
Instructors, Chris Walker and Tommy Goodson spent considerable time helping us to re-think our shooting practices. From Tommy’s description of the “natural respiratory pause” (i.e. the point at which a shooter empties their lungs) . . .


…to Chris’s mantra that, from any shooting position, you must make sure you are “getting as much contact with the earth as possible,” all instruction was designed to help the students learn how to be as stable as possible when firing a shot.

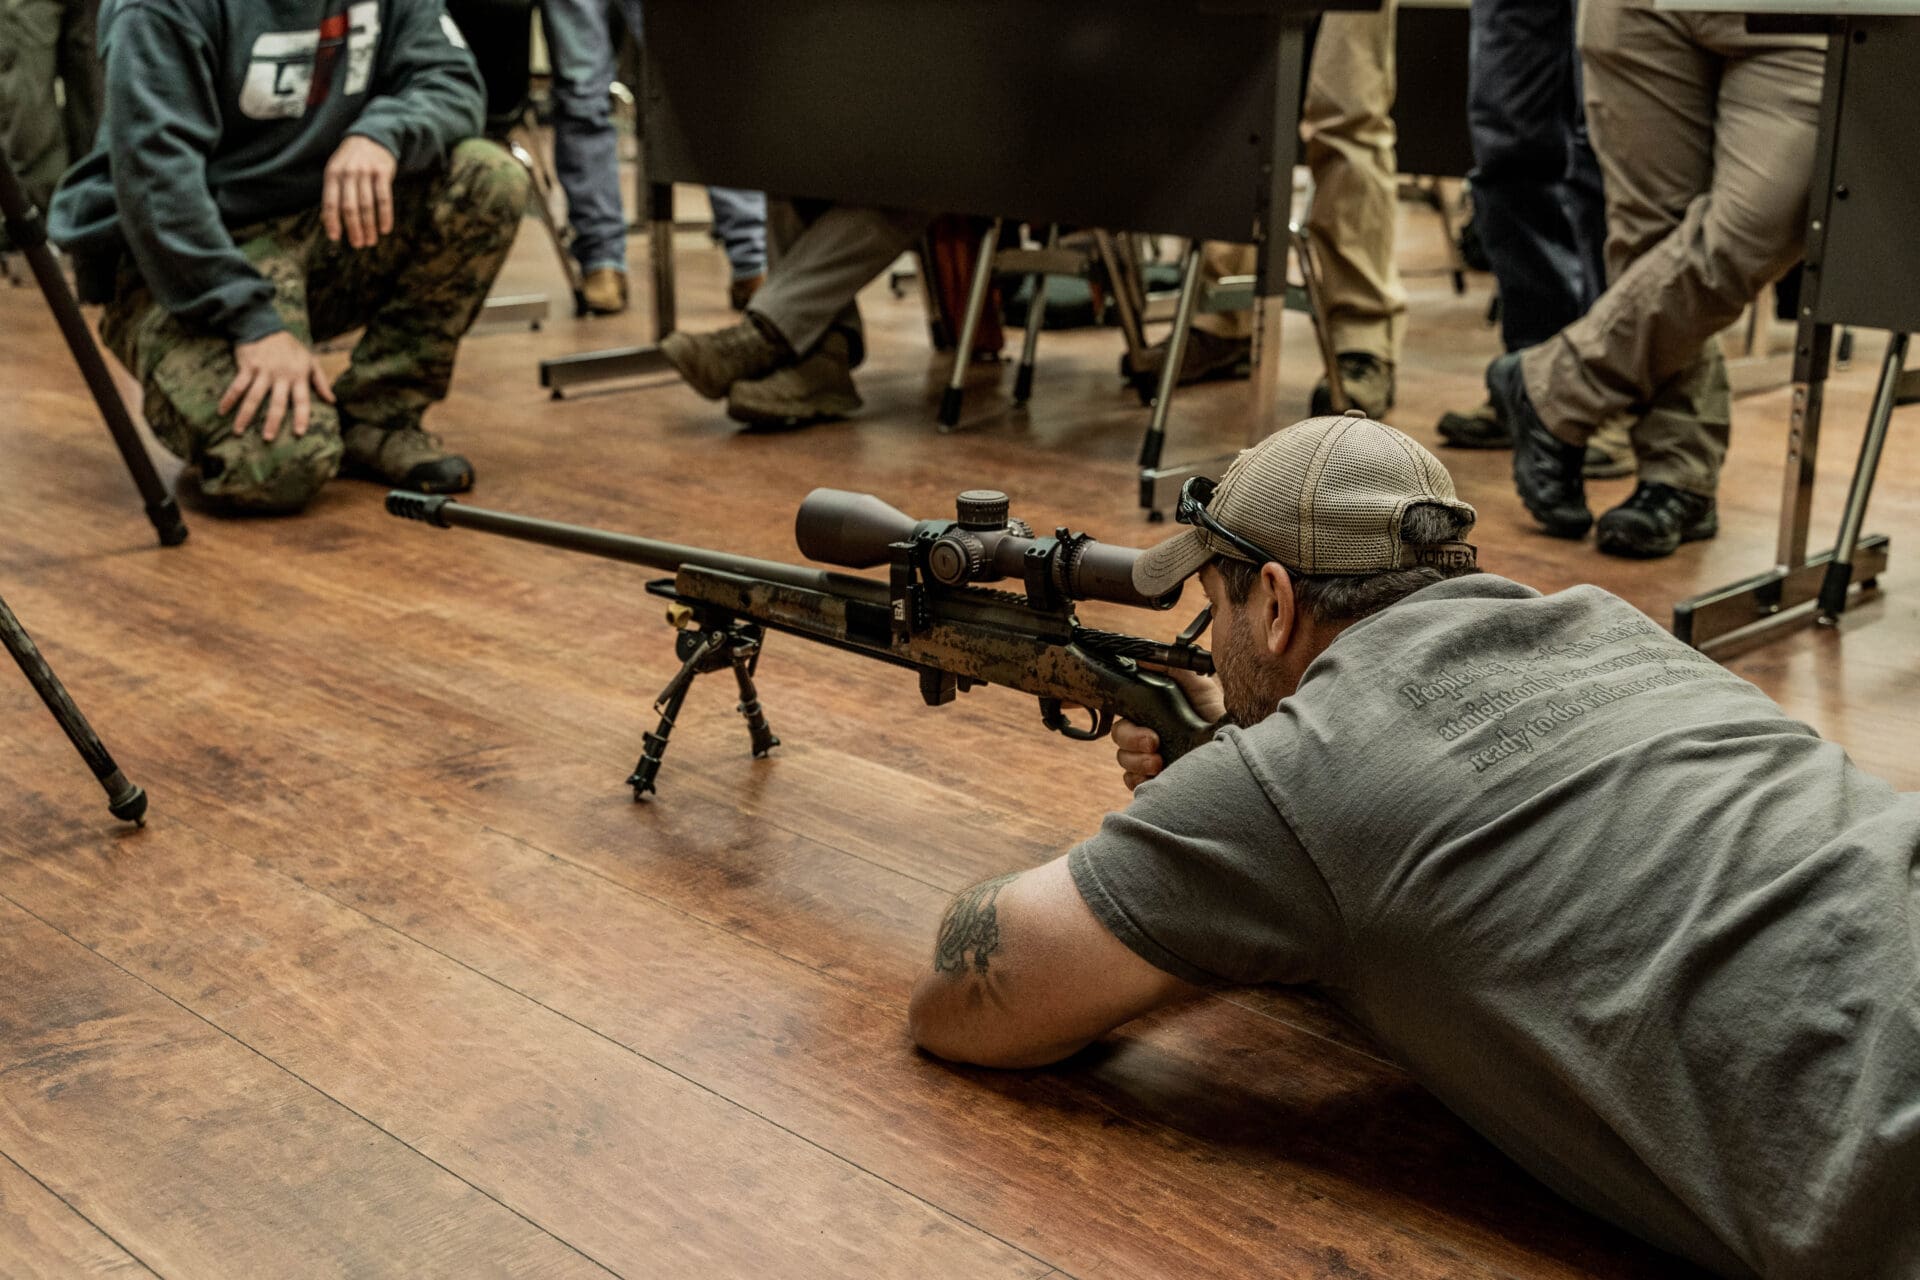
I can say that, for me, the most revolutionary piece of instruction regarded how we should be mounting our rifle. For stability, and thus accuracy, we were told the rifle butt needed to be as centrally located as possible. In other words, the butt needed to be moved as close to the center of the chest as possible, rather than cupped just inside the shoulder pocket.

I had never heard of this concept/practice before. I thought maybe I was the only person in the classroom to have been totally ignorant of this, but when I asked my friend later, he told me he had never heard that advice before taking the course either. Live and learn.
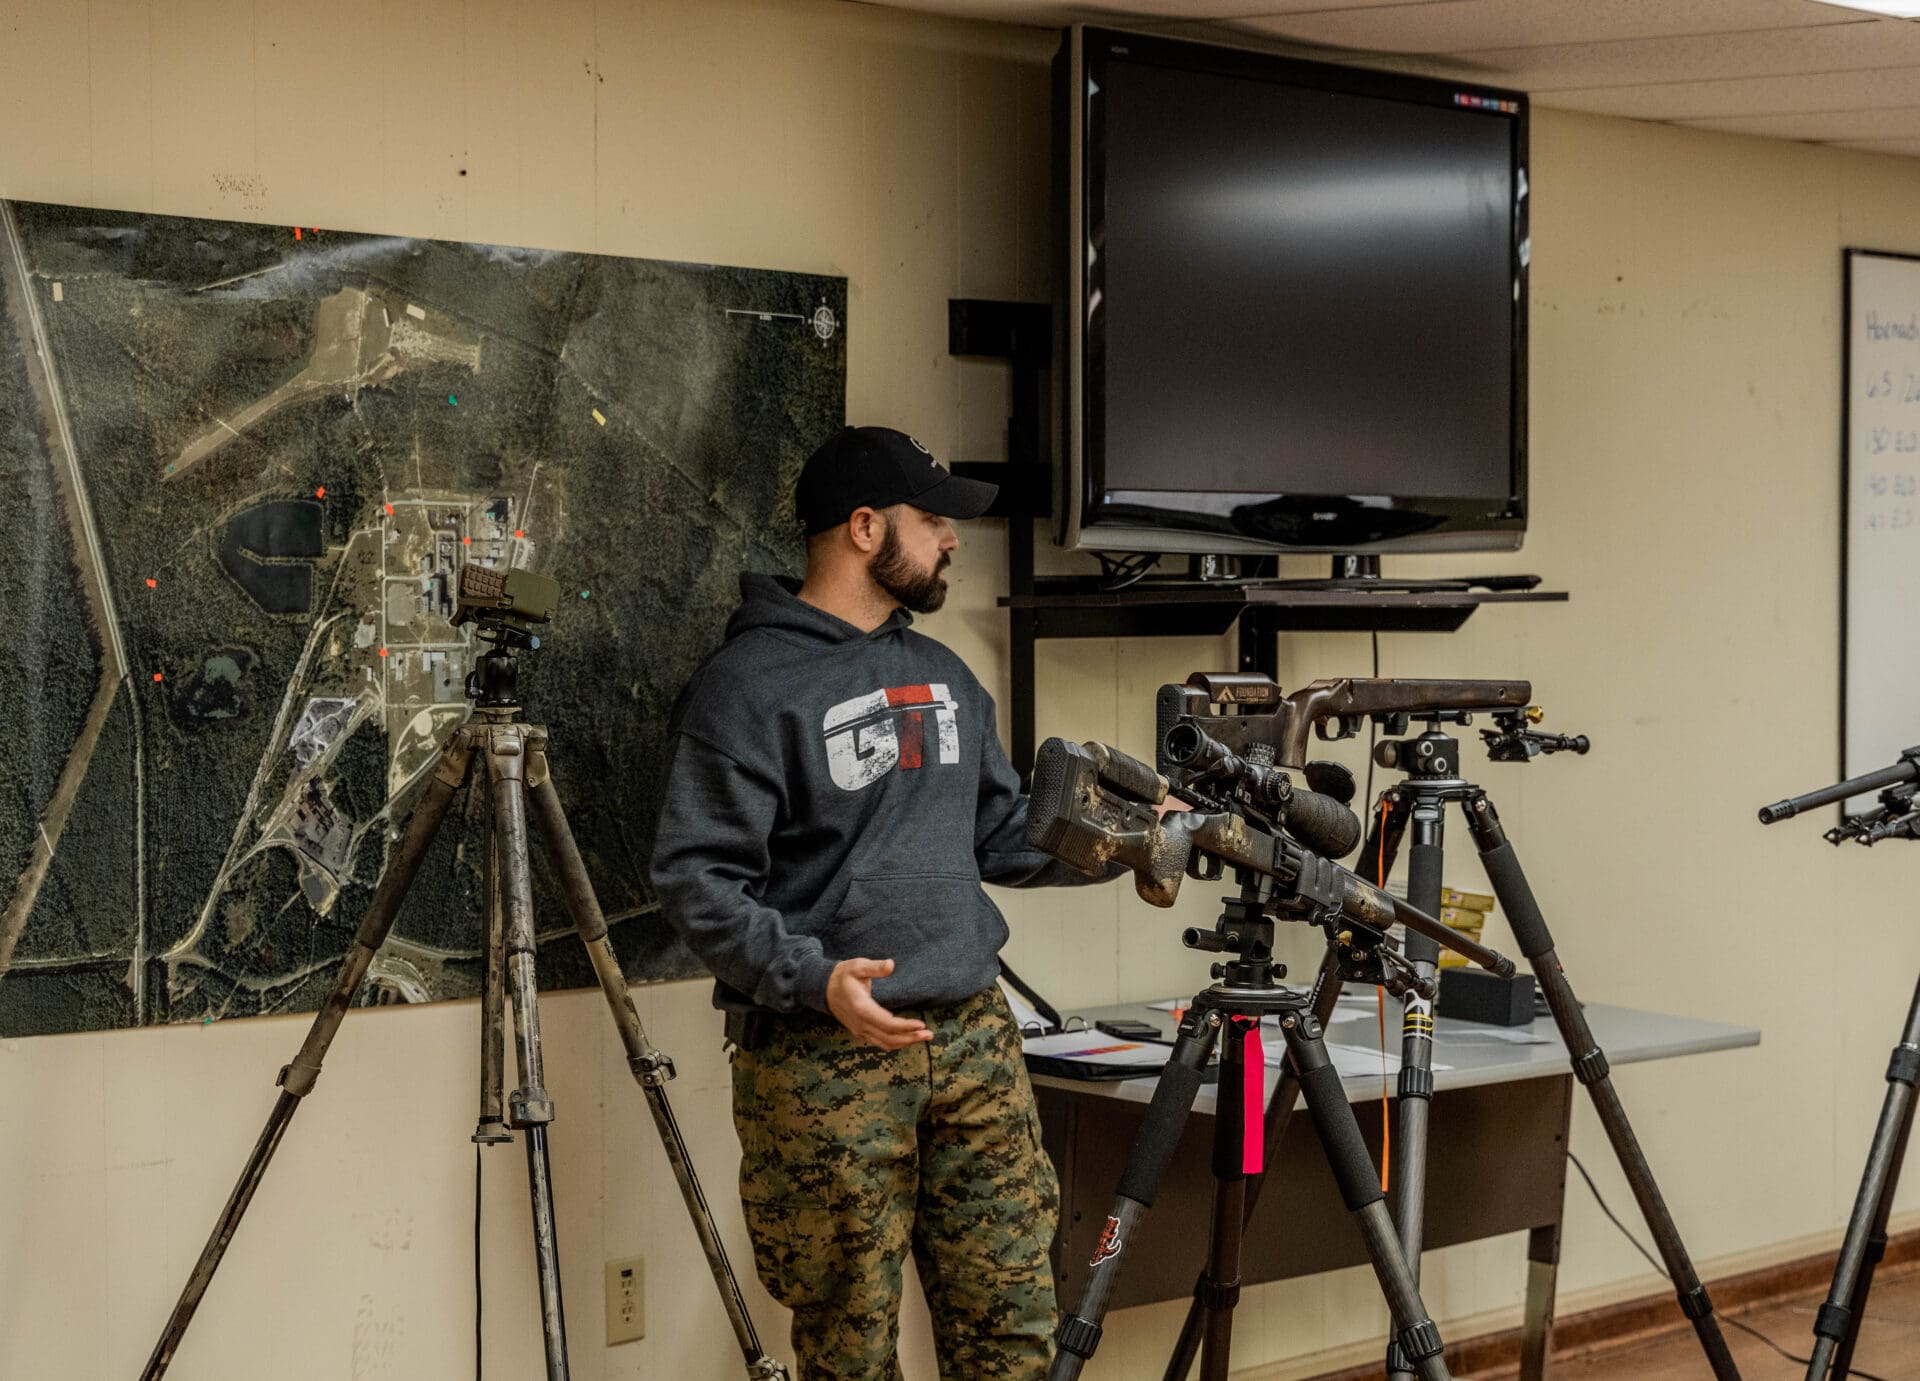
Classroom time was also utilized to help us understand the problems we would encounter if we had improperly mounted riflescopes. This included the occurrence of a shadow along one edge, rather than seeing an entirely clear field of view.
I have experienced this quite often. Tommy explained that such misalignment of the eye with the riflescope would cause an impact shift of 180 degrees relative to the area of shadowing.
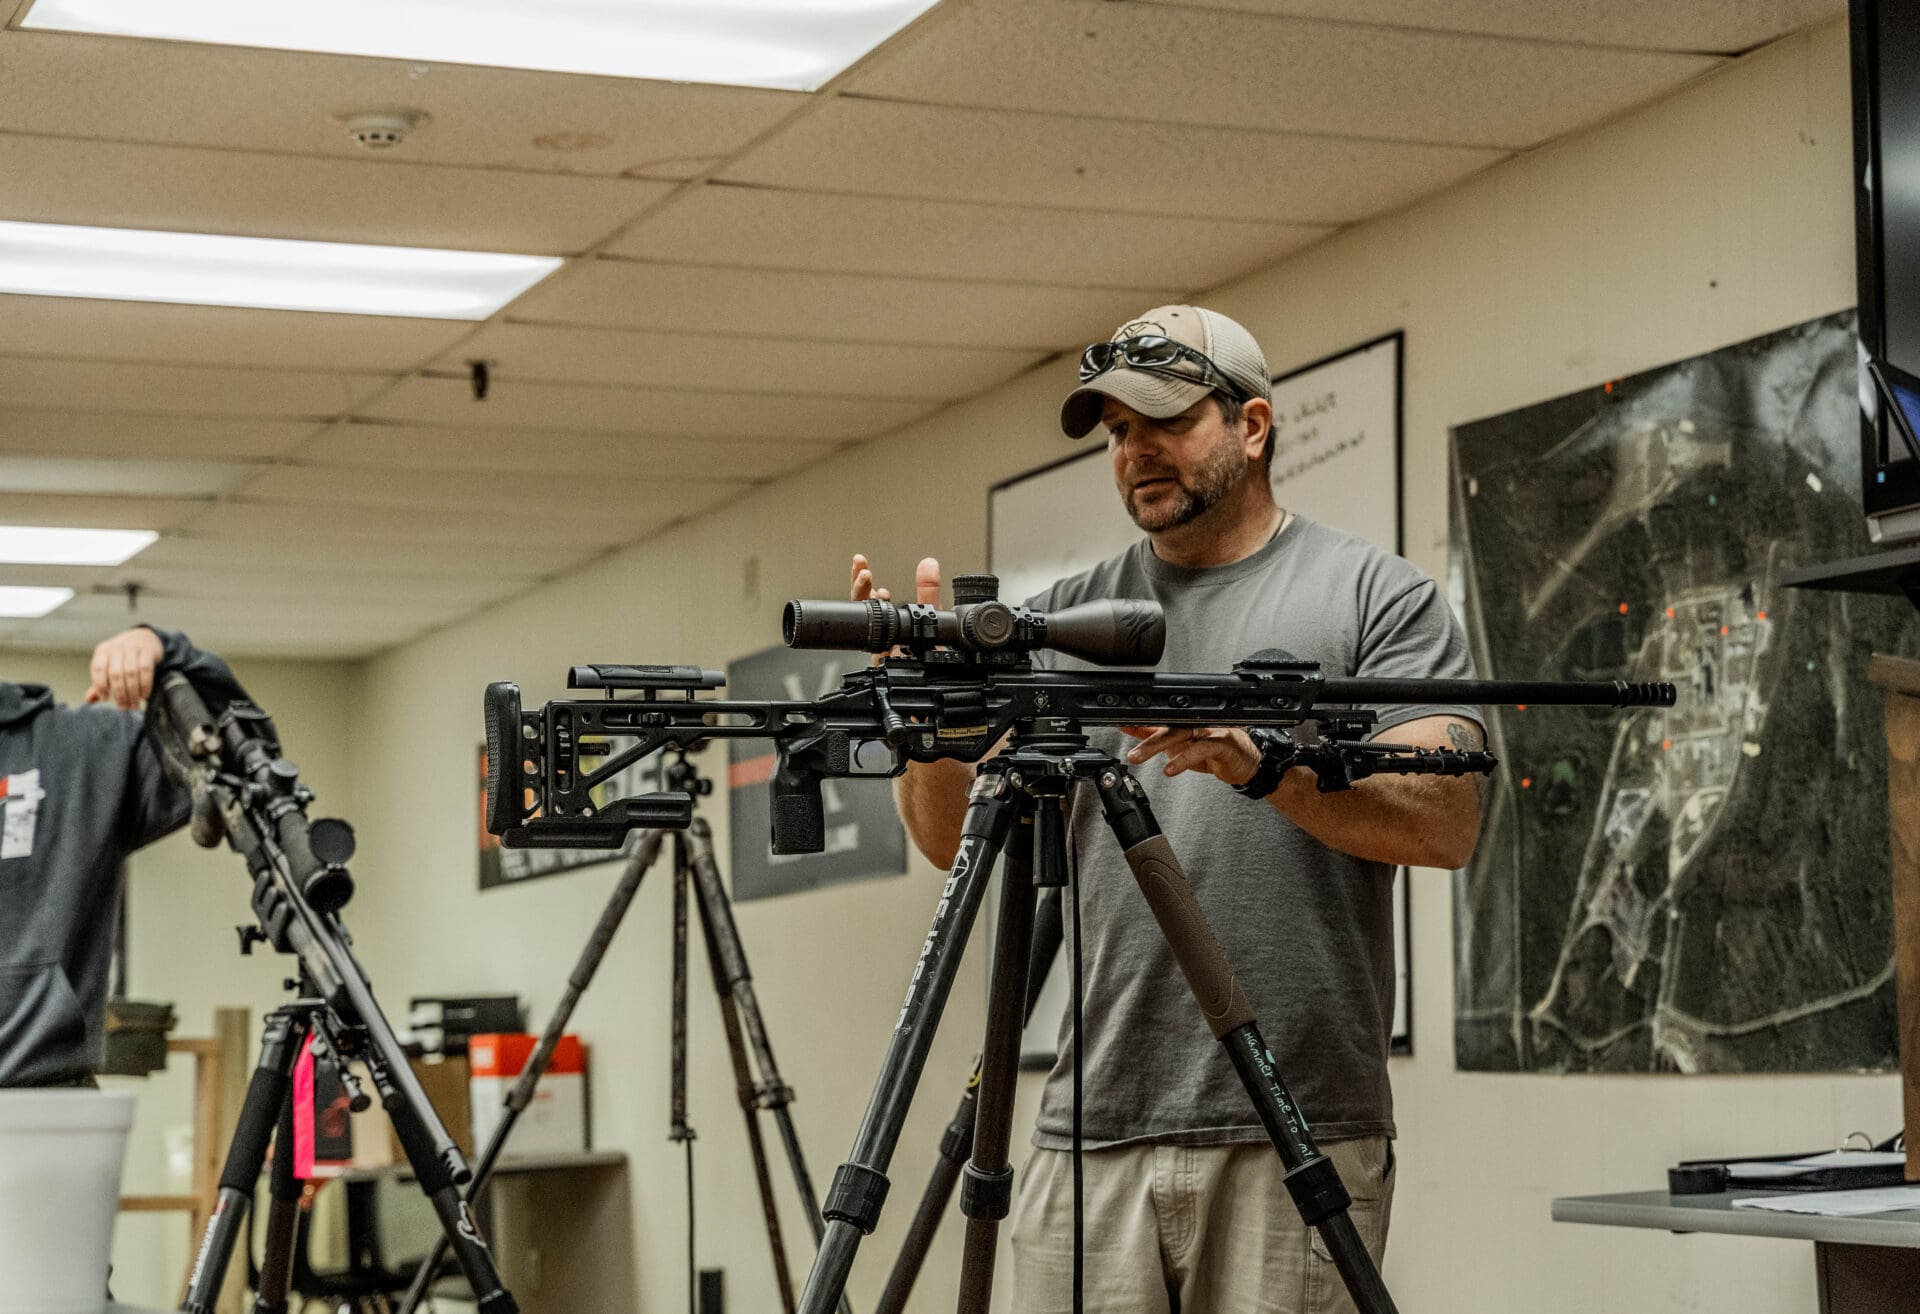

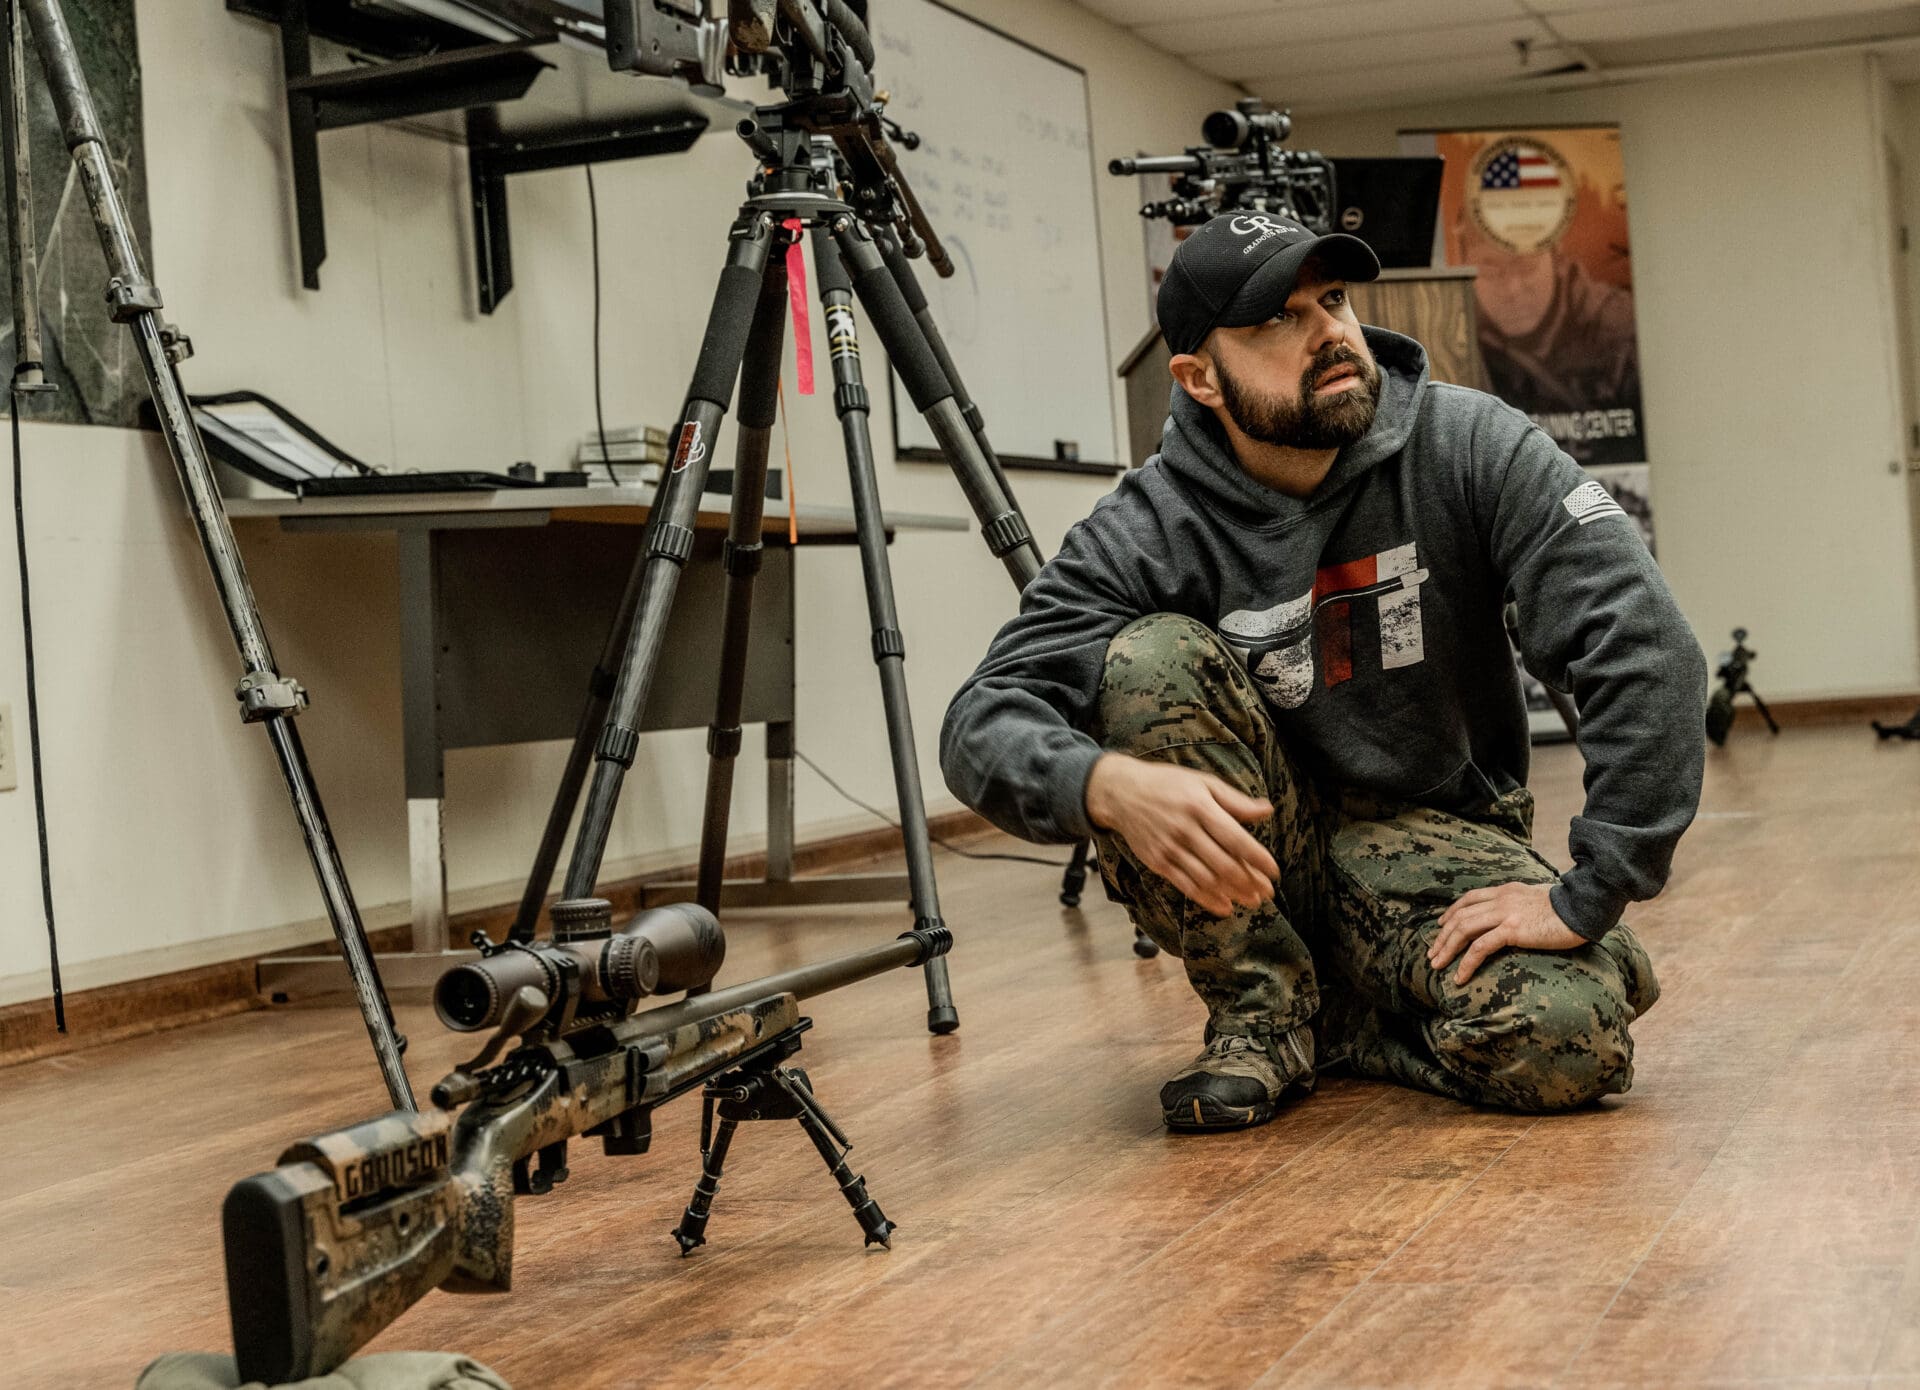
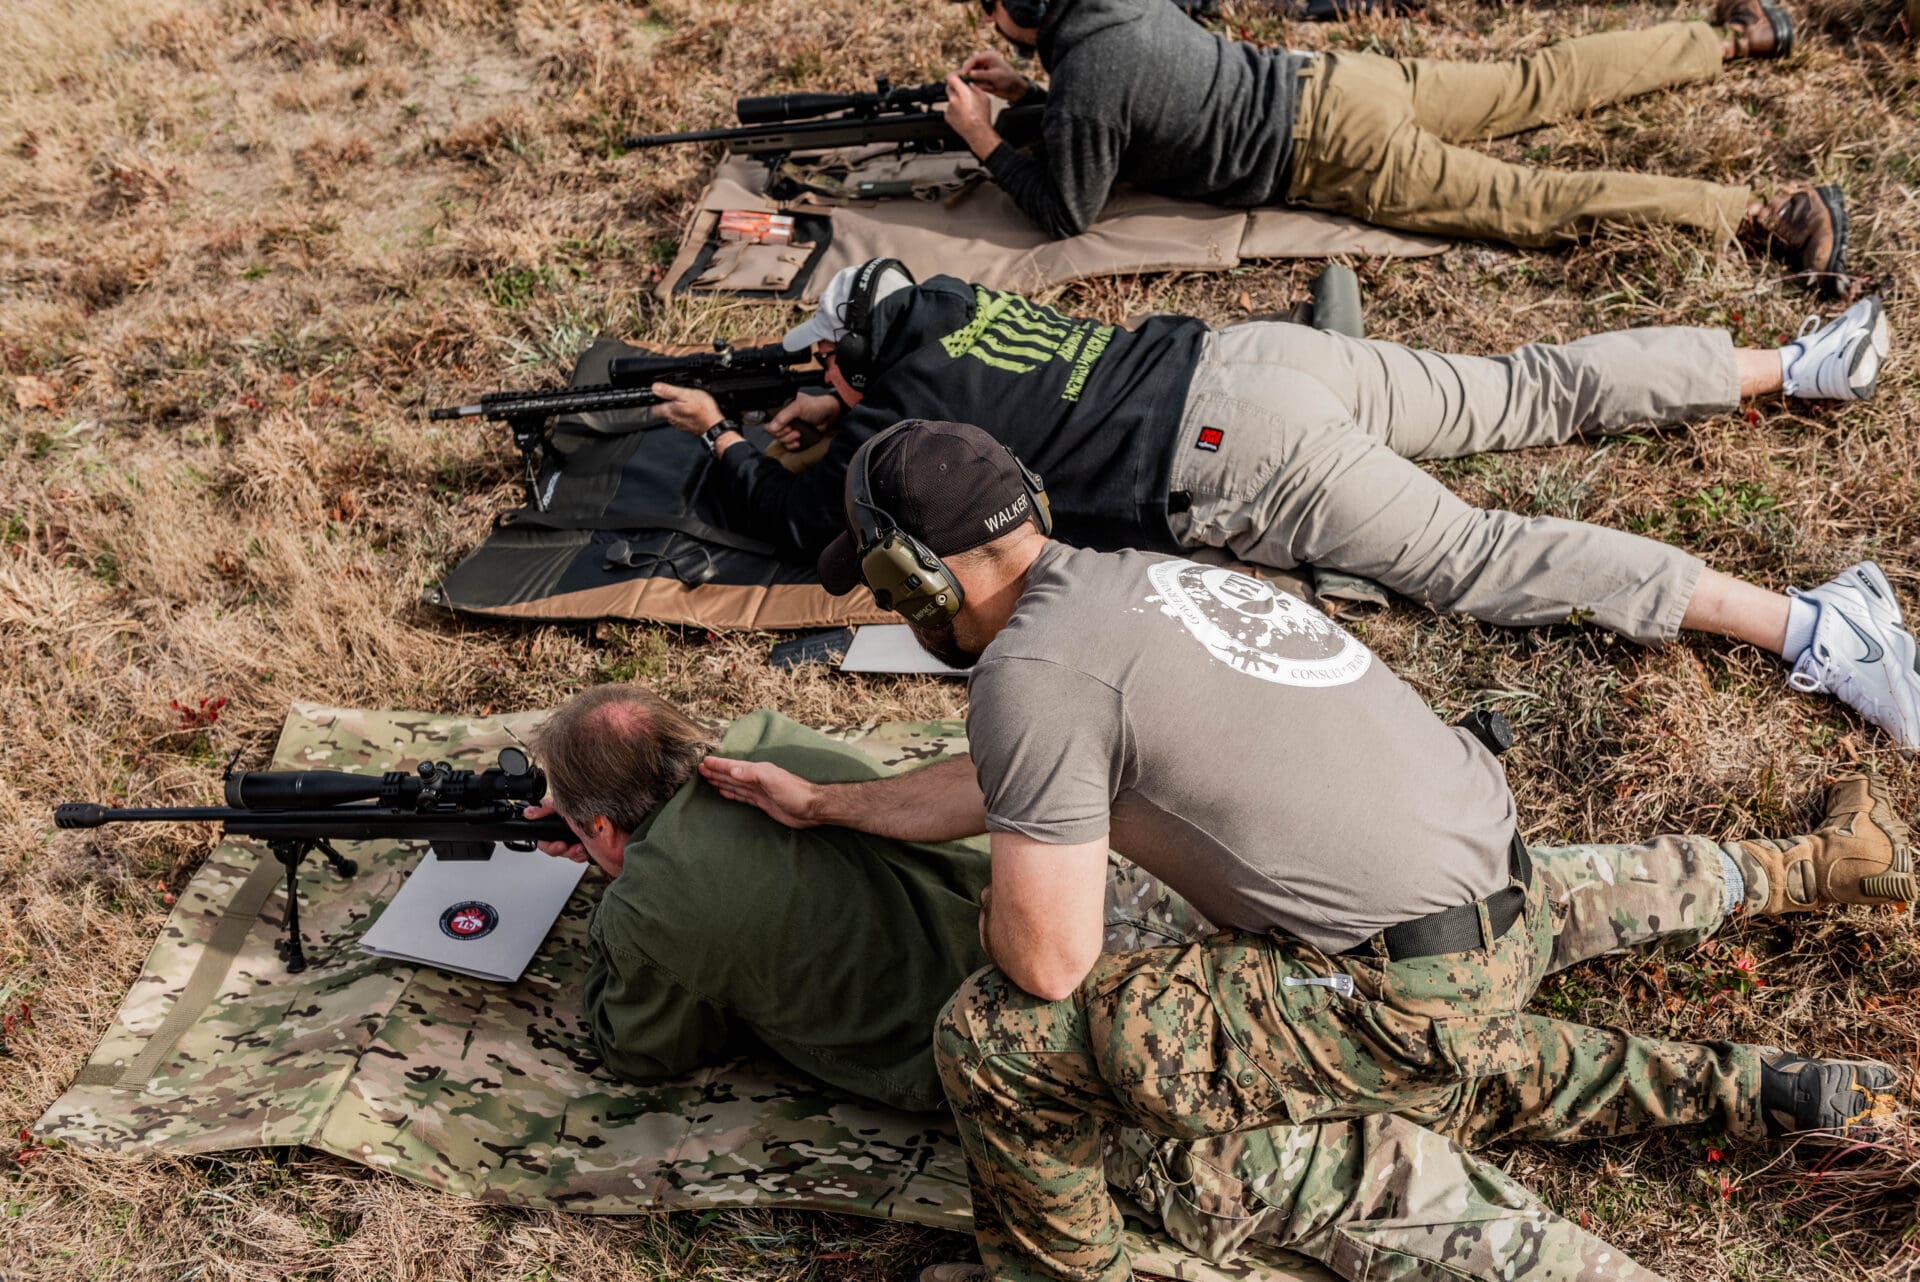
Both instructors utilized a number of tripod-mounted rifles to demonstrate how to adjust stances to best position yourself for shooting at targets located at various angles.

This particular information would be invaluable on day two when we would be shooting only from the rooftop of a 10-story building.

But, I’ve gotten ahead of myself.
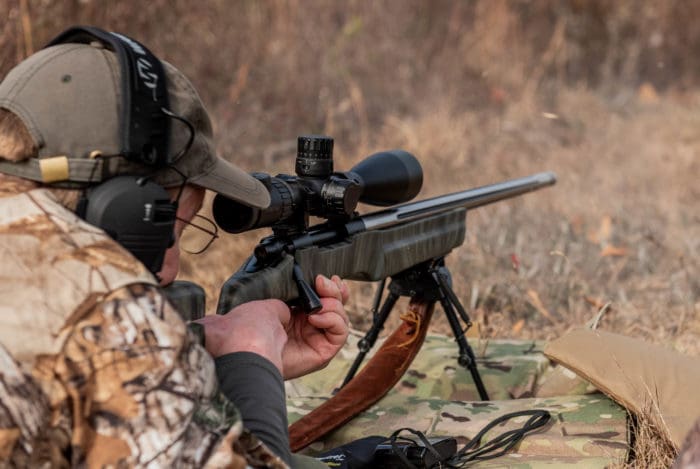
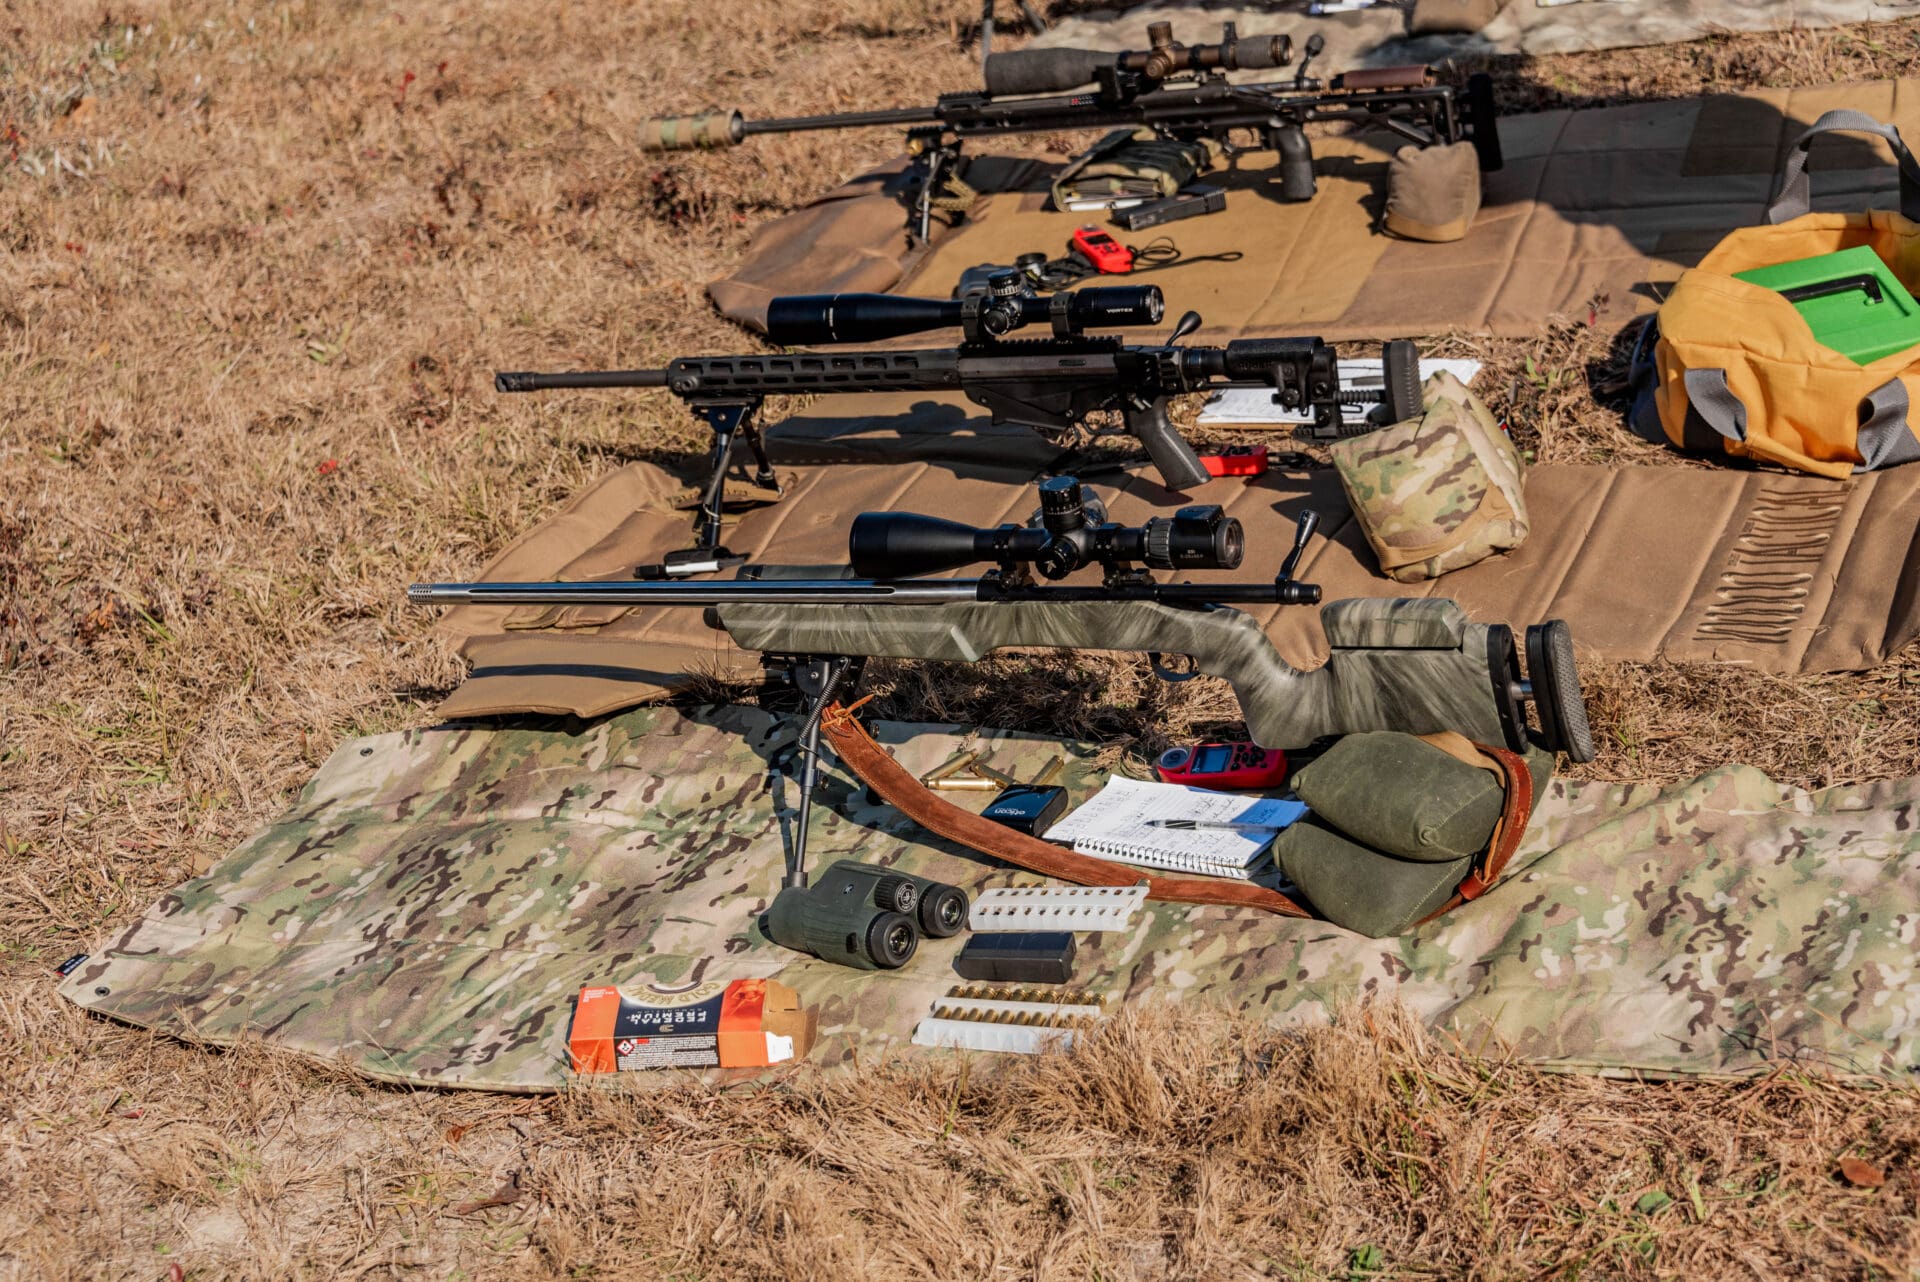
With day one’s classroom time completed, we loaded into our vehicles for the drive to the range. Here is where I need to give a shout out to MG Arms for their extremely accurate, and powerful, MG Arms Banshee in .300 Winchester Magnum.


Unlike some of the other shooters, I never ran out of bullet energy for even the longest shots (700+ yards).
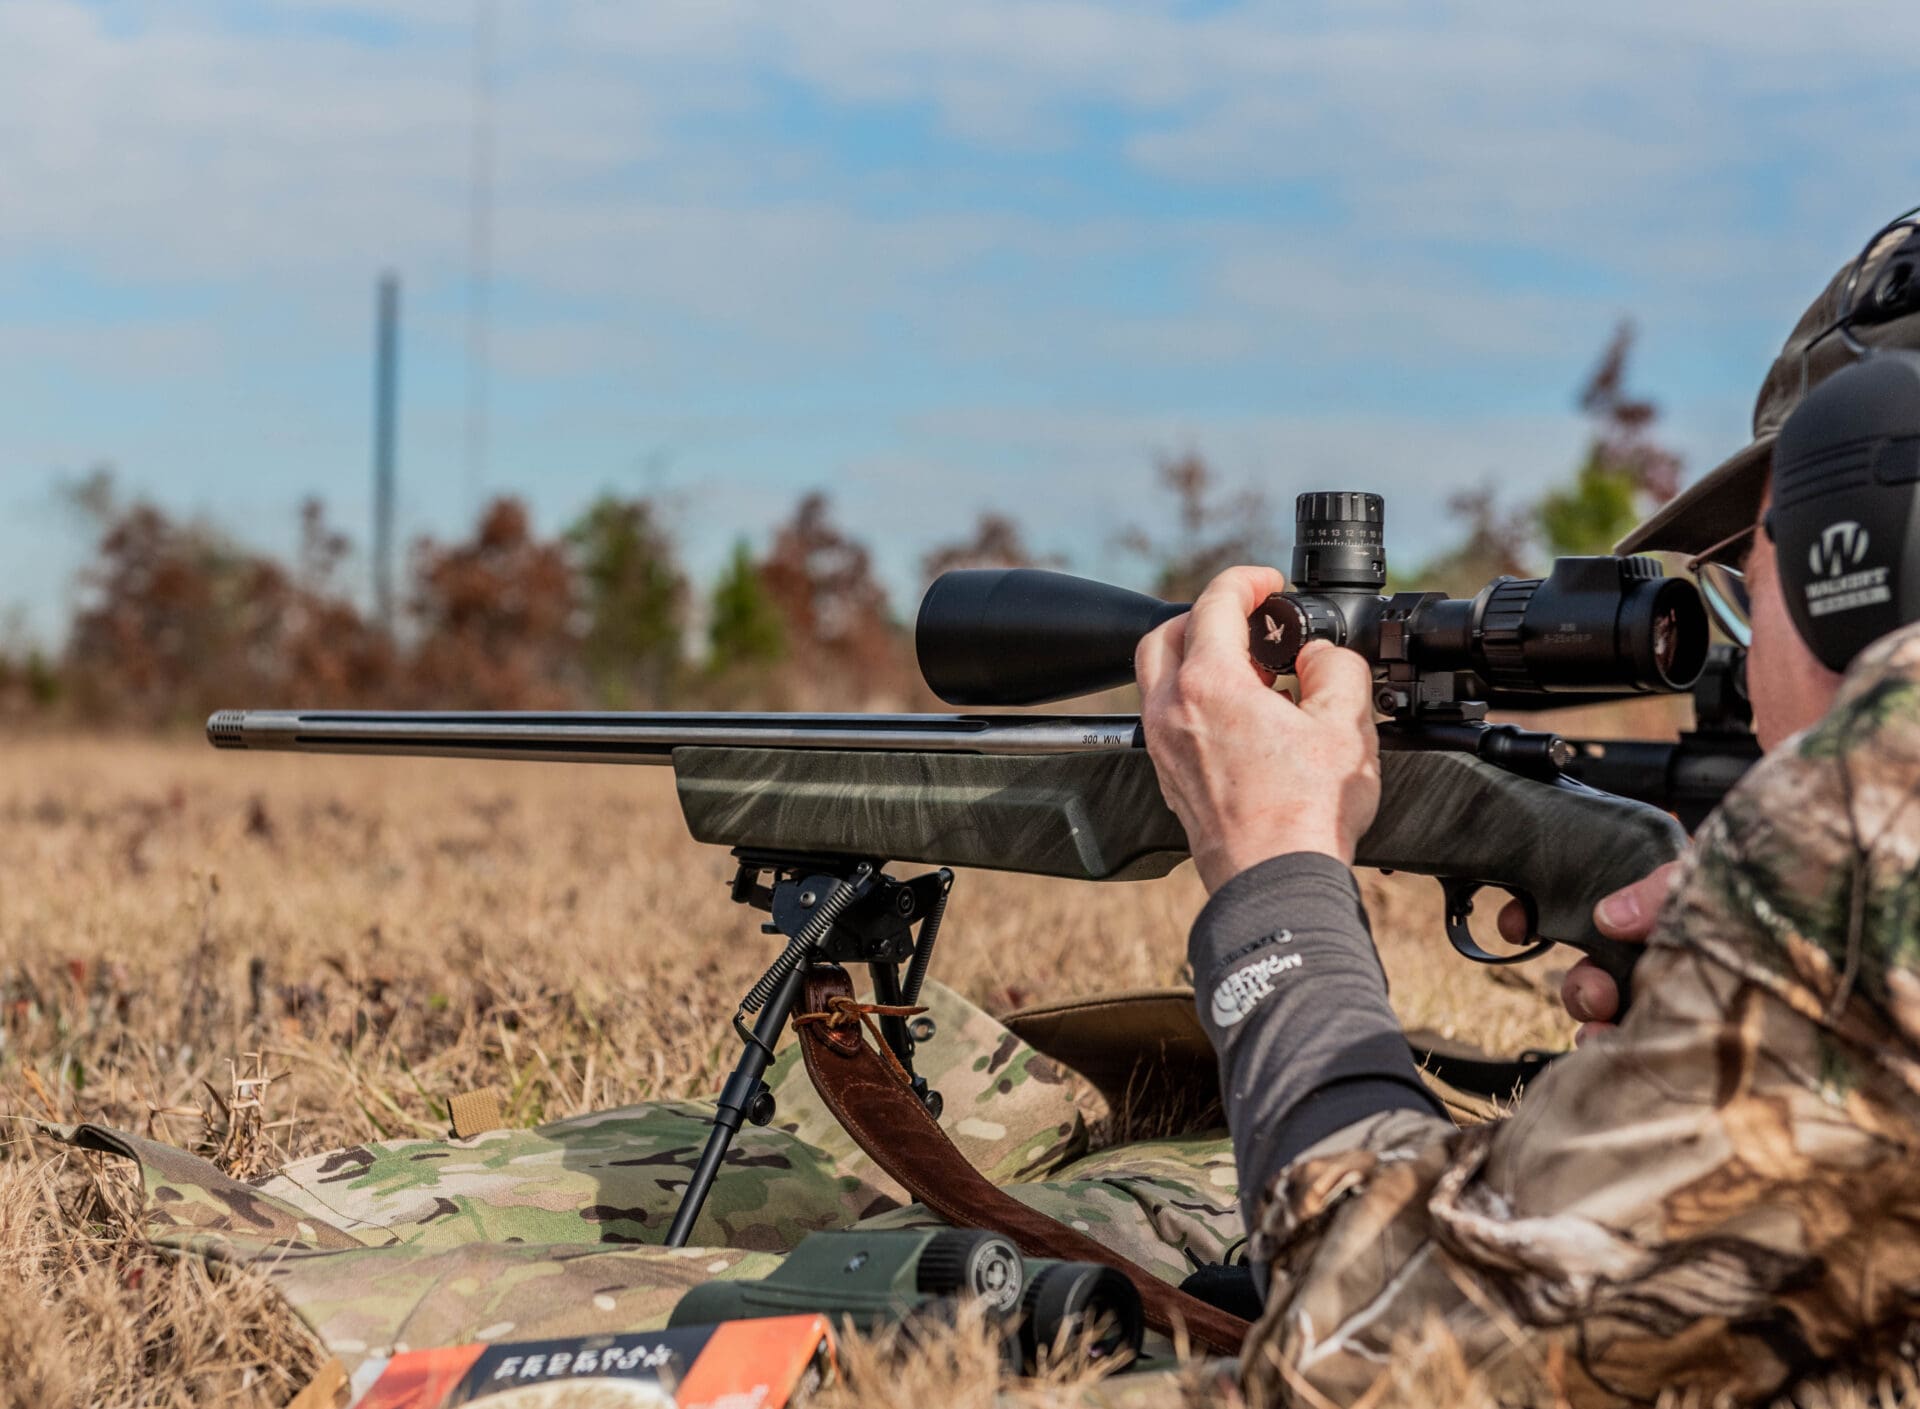

Also, the great ballistic coefficient and aerodynamics of the Sierra MatchKing BTHP bullets that capped the Federal Premium ammunition helped to reduce somewhat the adjustments necessary for elevation and windage. This may sound like an advertisement for both the Banshee rifle and the Federal ammunition, but the proof was in the impact.
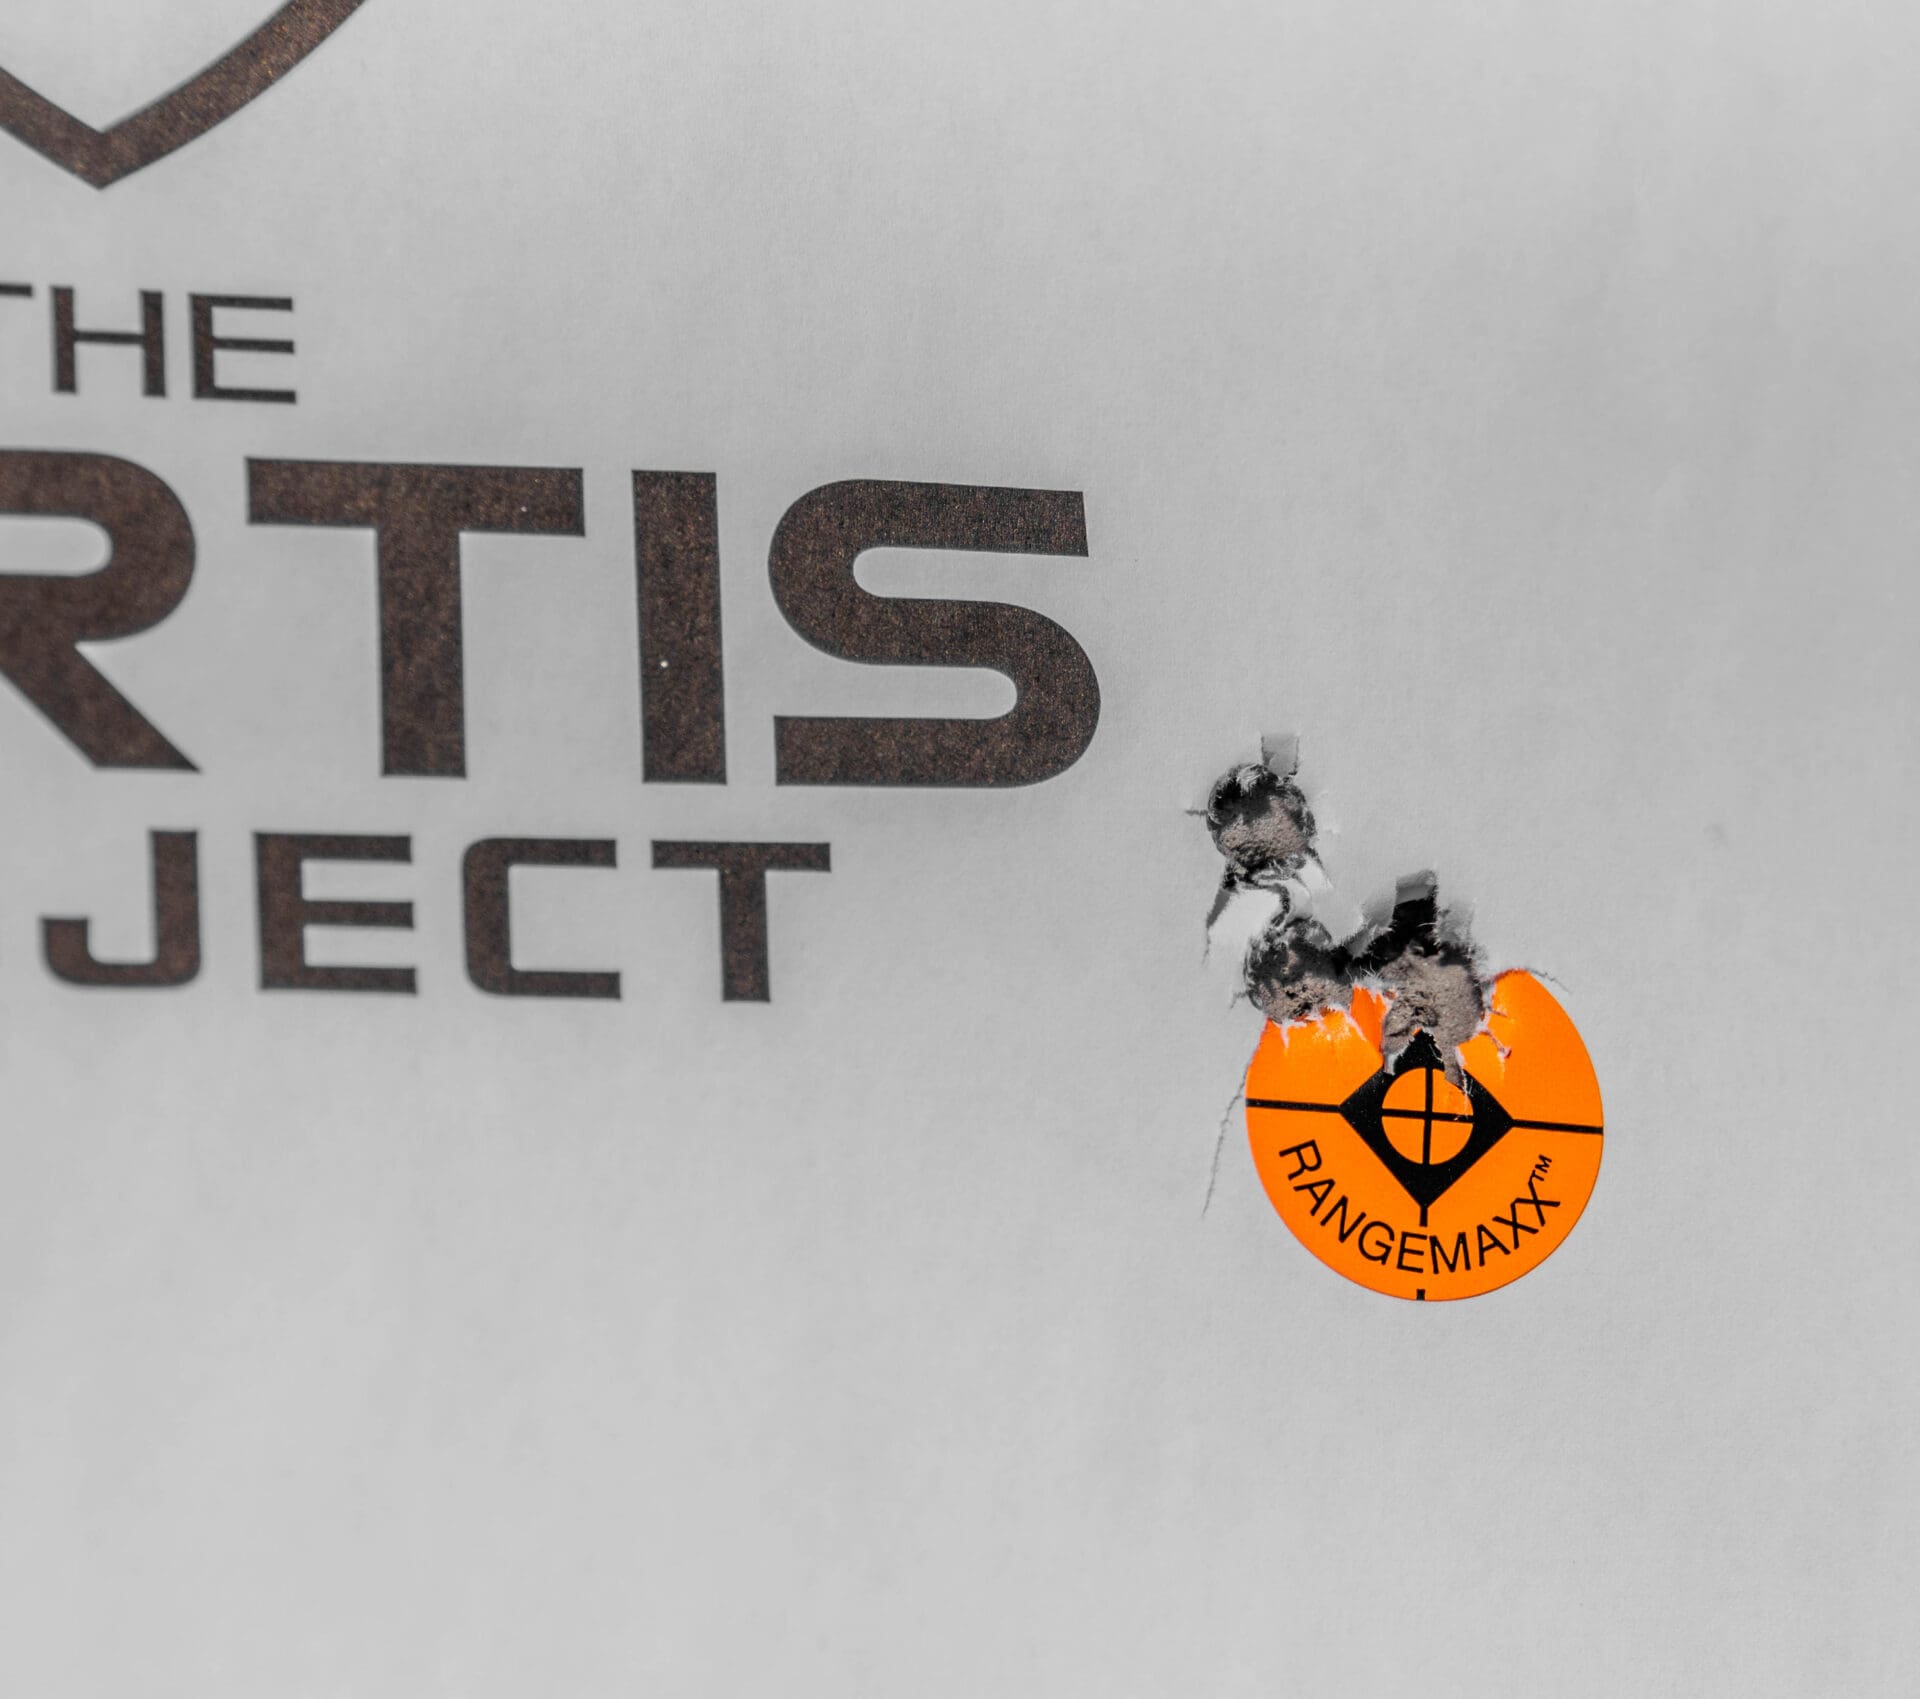
Here’s what I wrote in my notebook, with Chris Walker as my spotter/witness: “450-yard target, two shots fired, two impacts; moved to 600-yard target, two shots, two impacts; moved to 700-yard target, two shots, two impacts, last dead-center!”
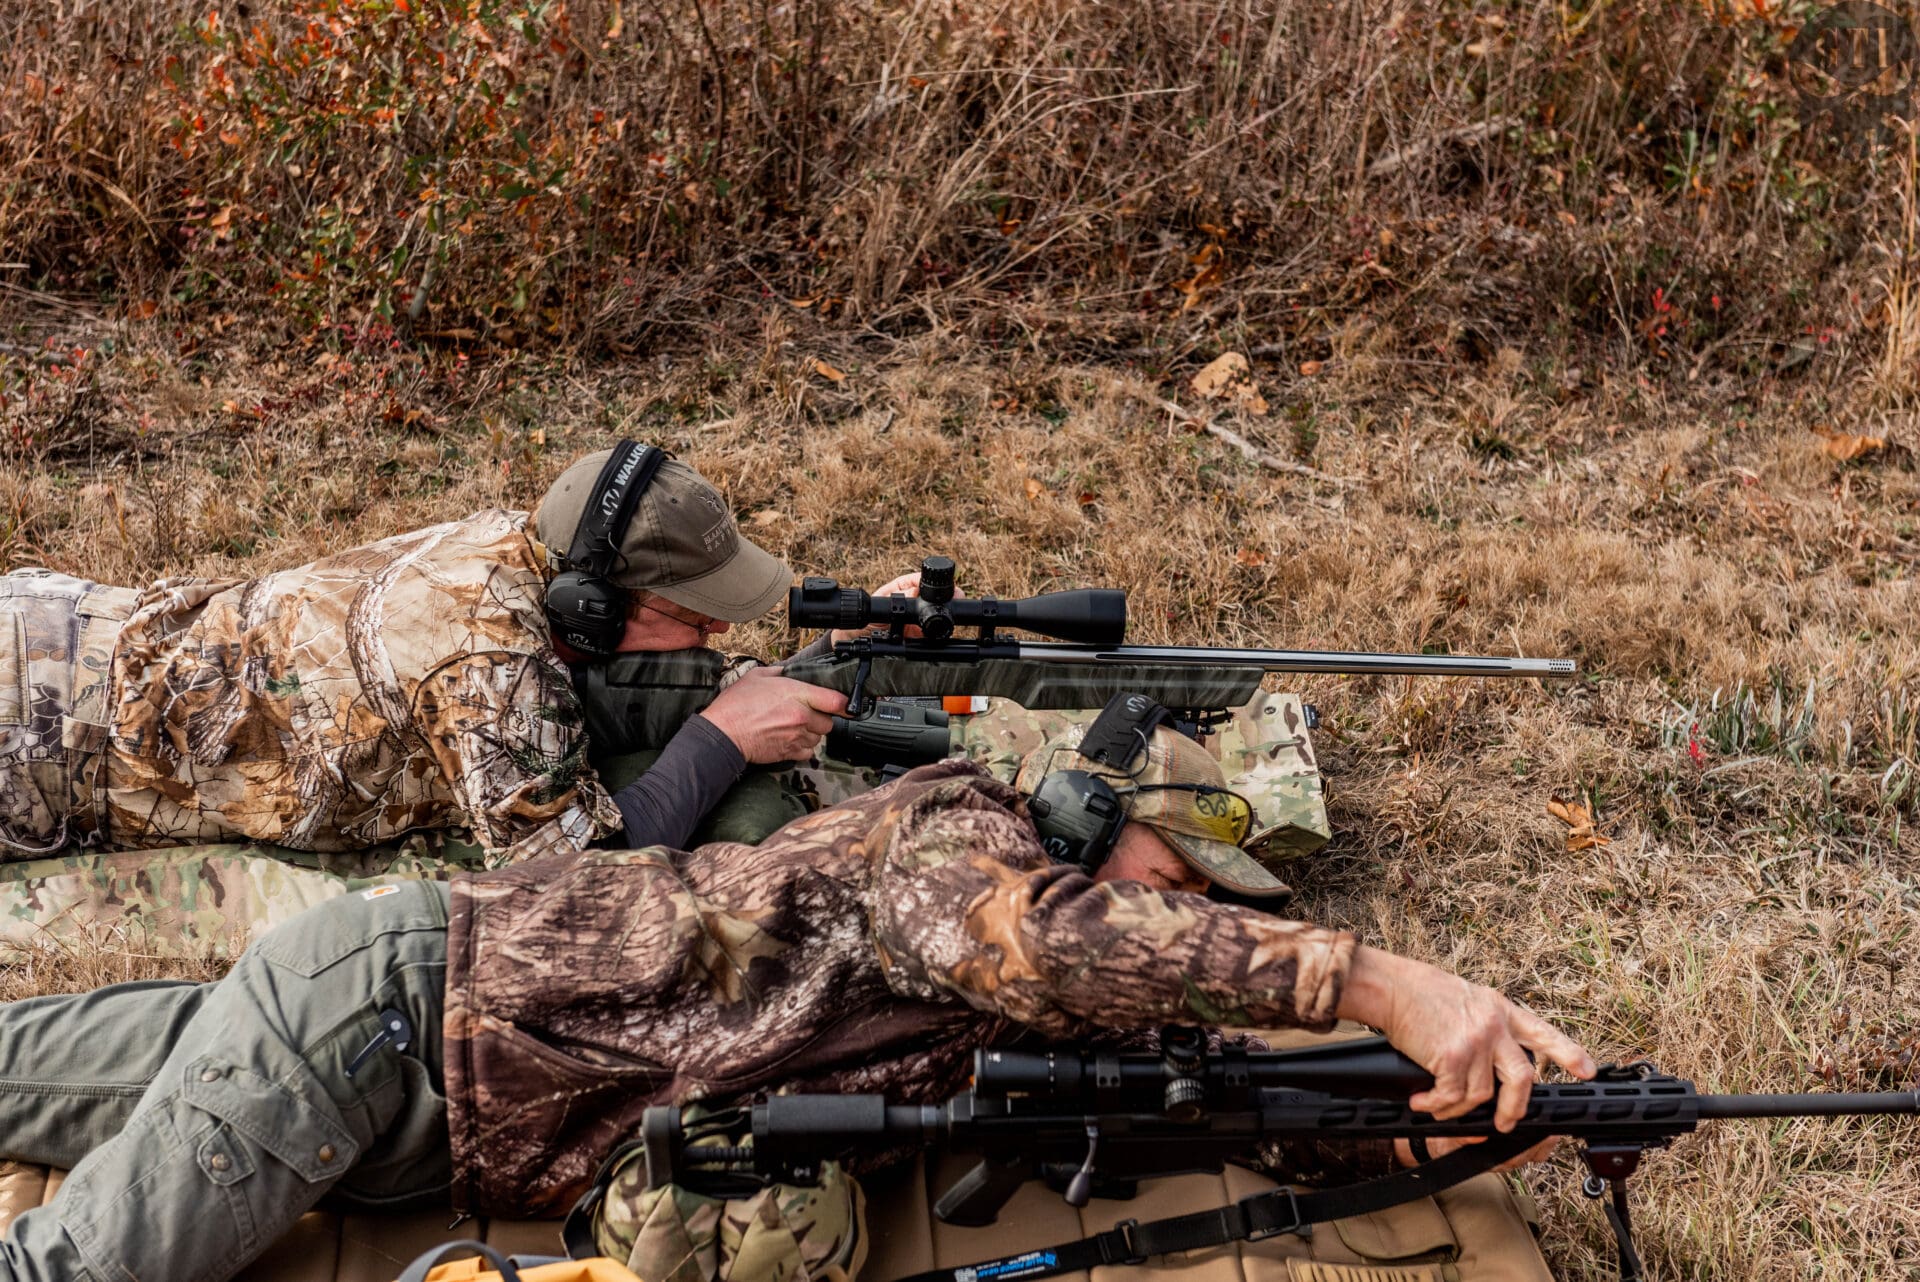

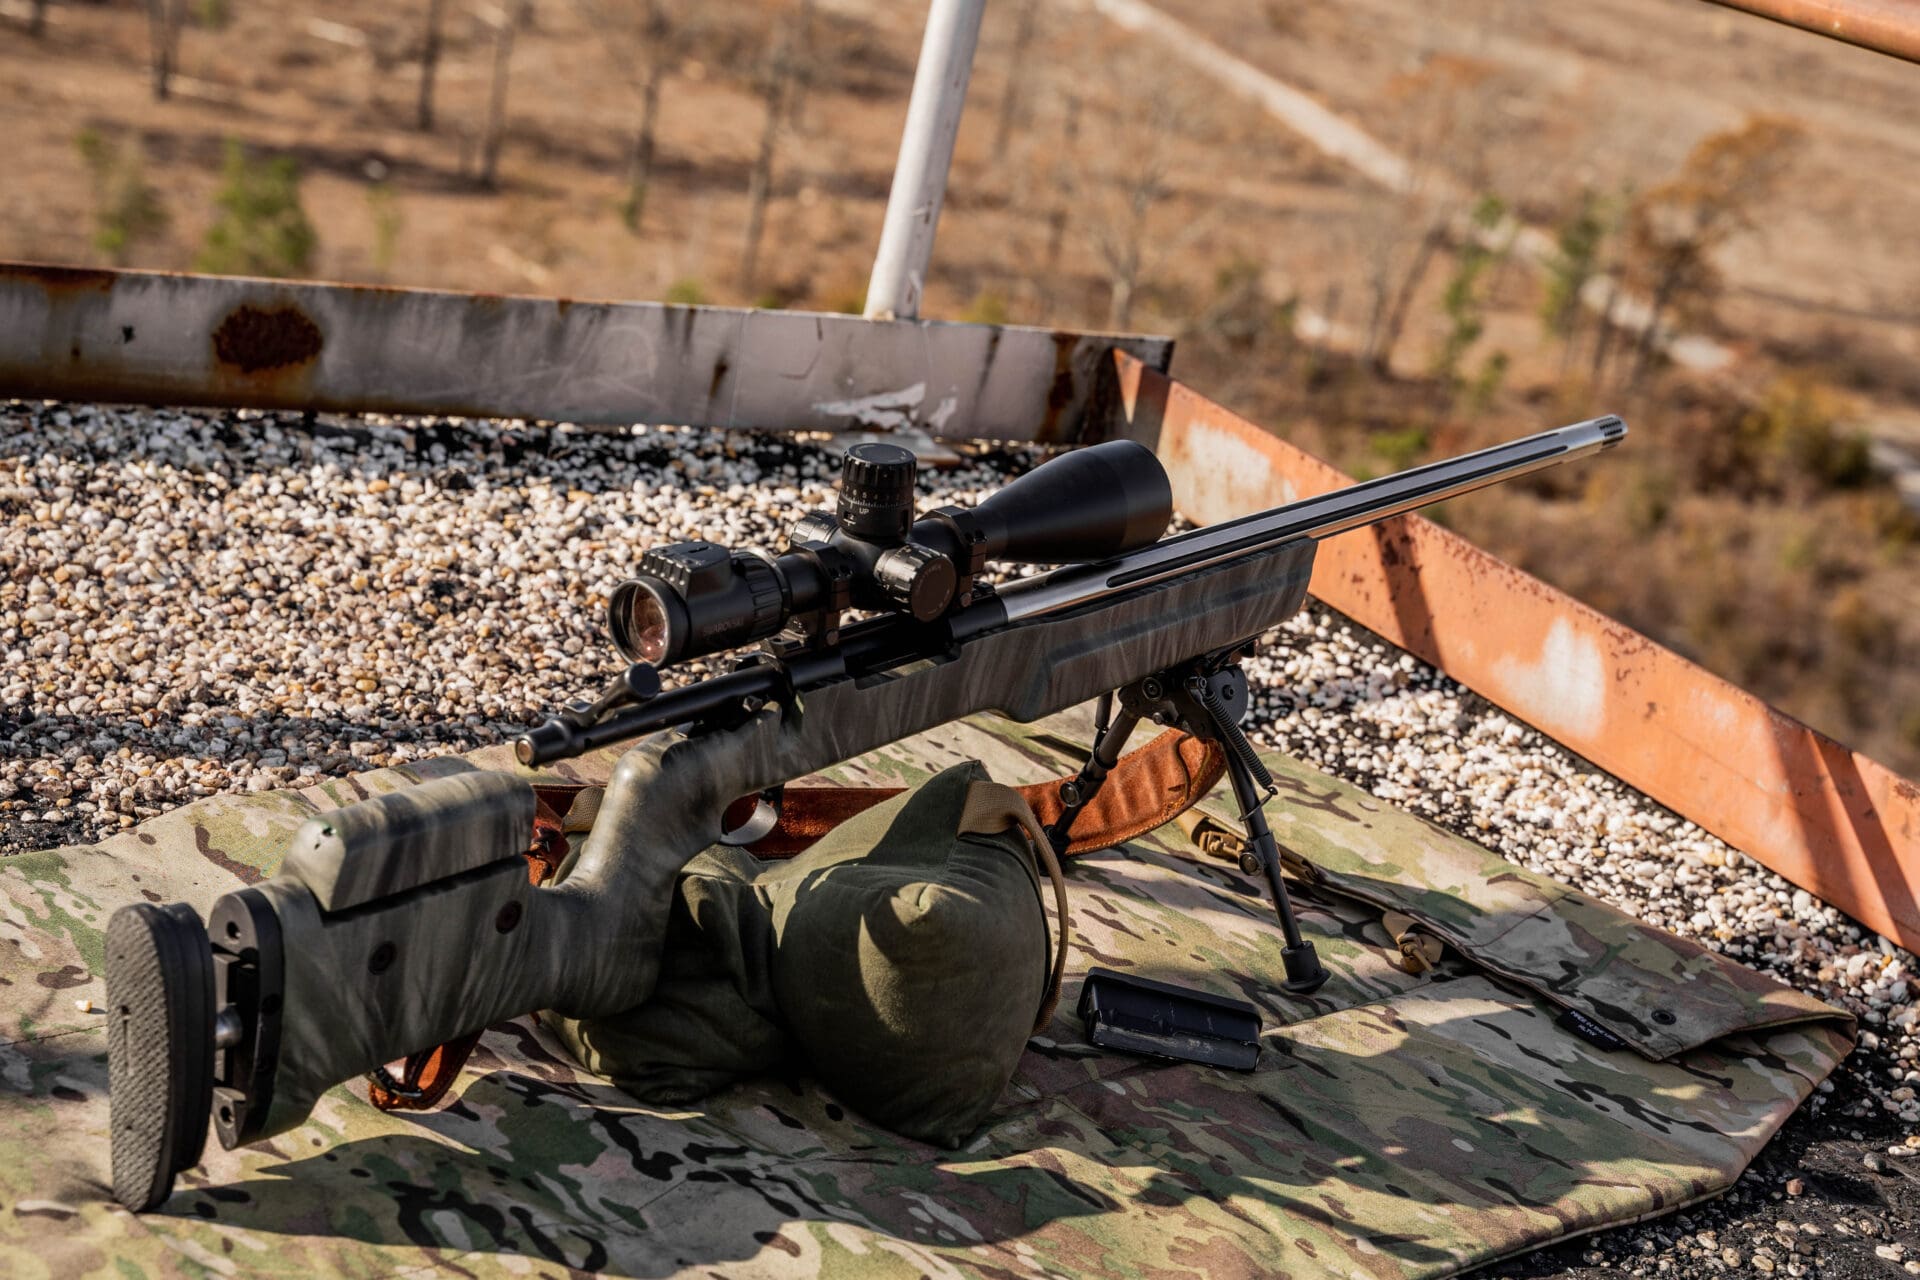
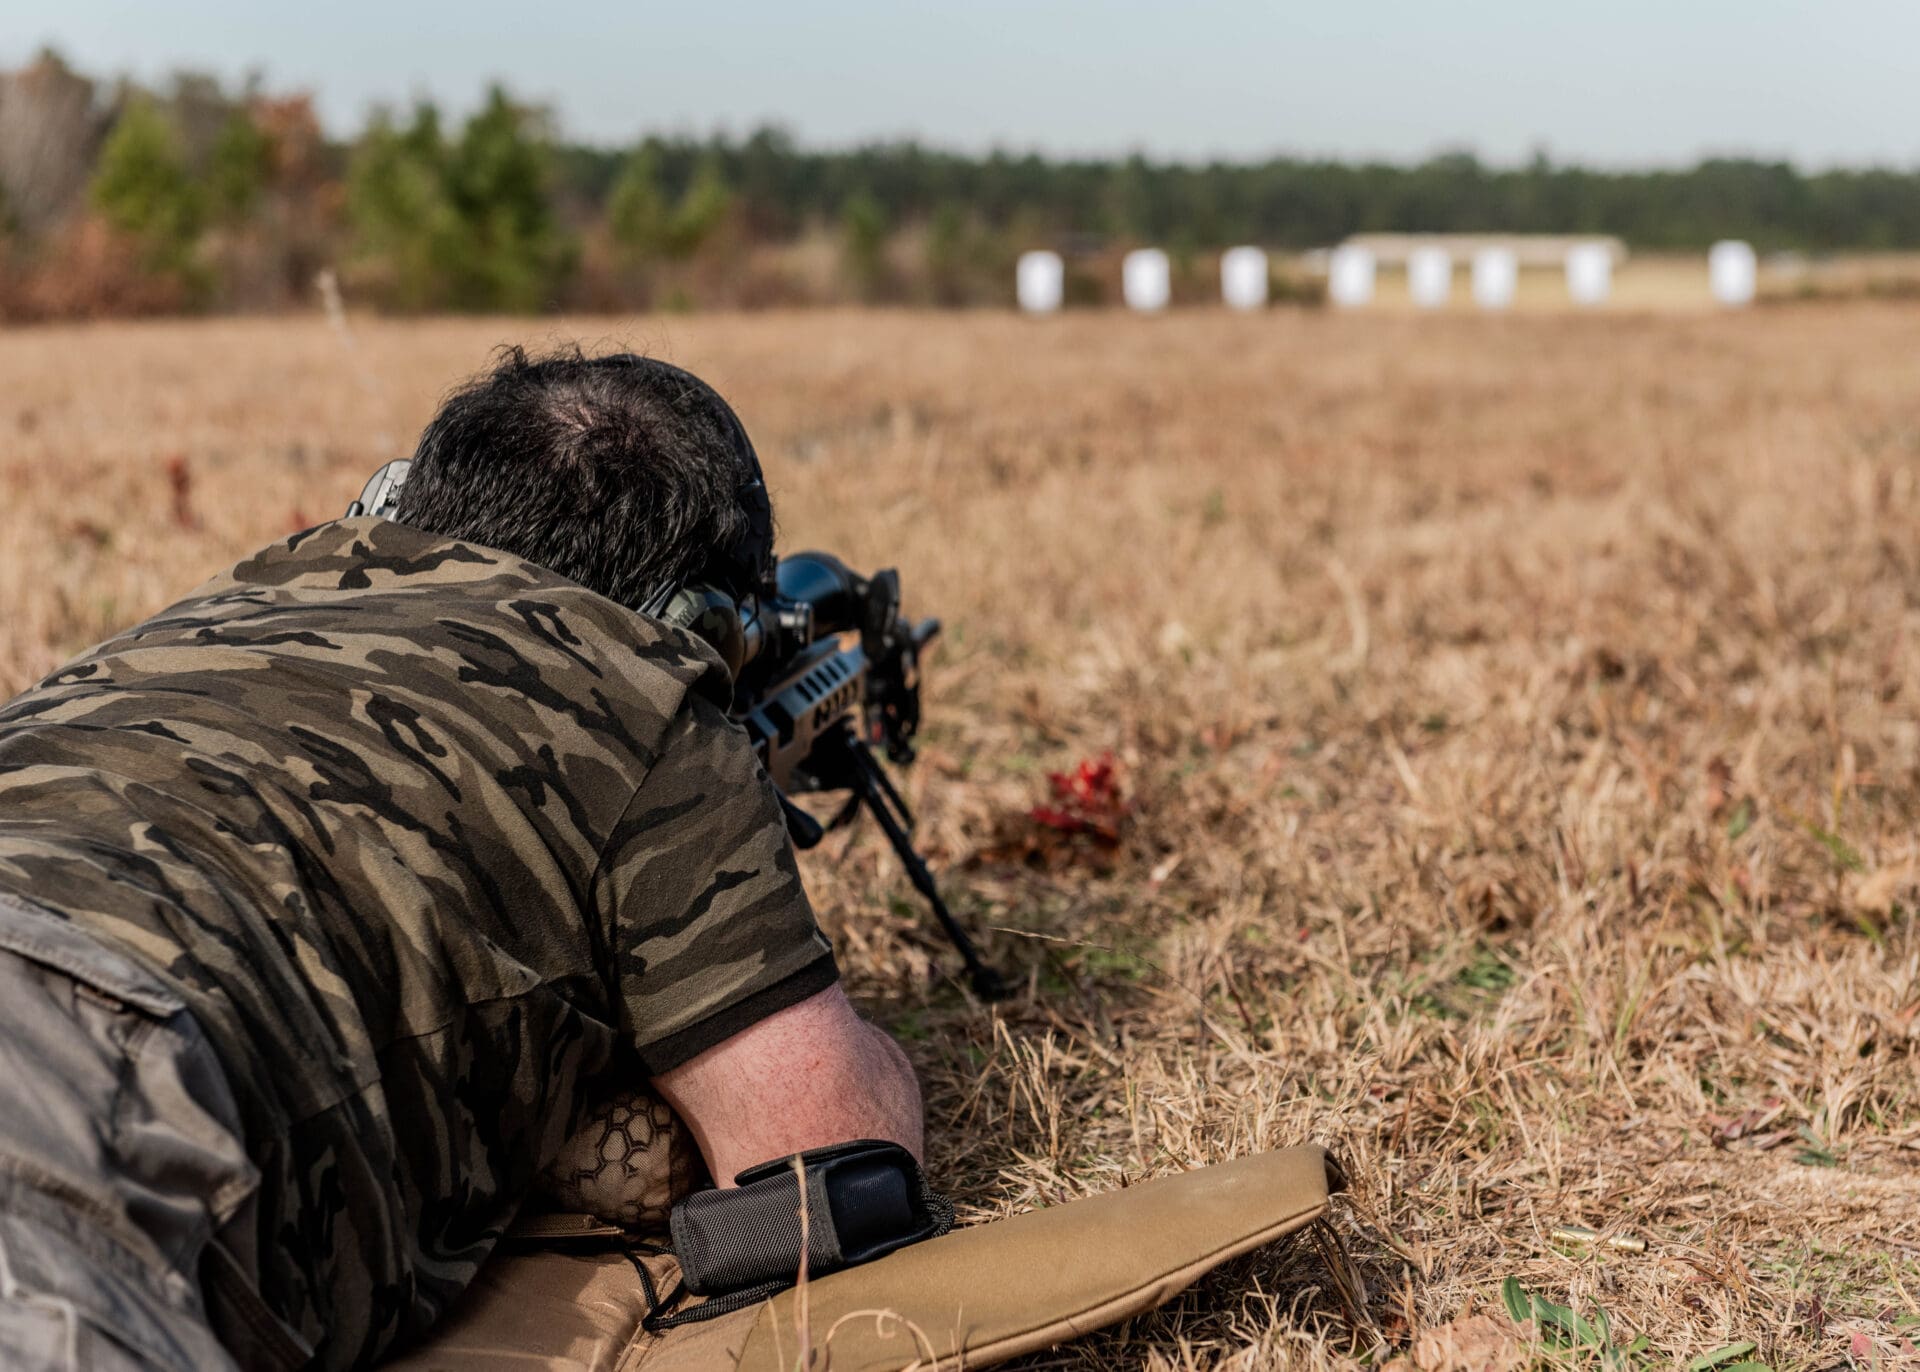
Firing from the prone position, using the techniques learned in the classroom from Chris and Tommy, mated with the rifle and ammunition specifically designed for long-range work, I was able to hit targets measuring 12 x 18 inches at ranges never before attempted by yours truly.
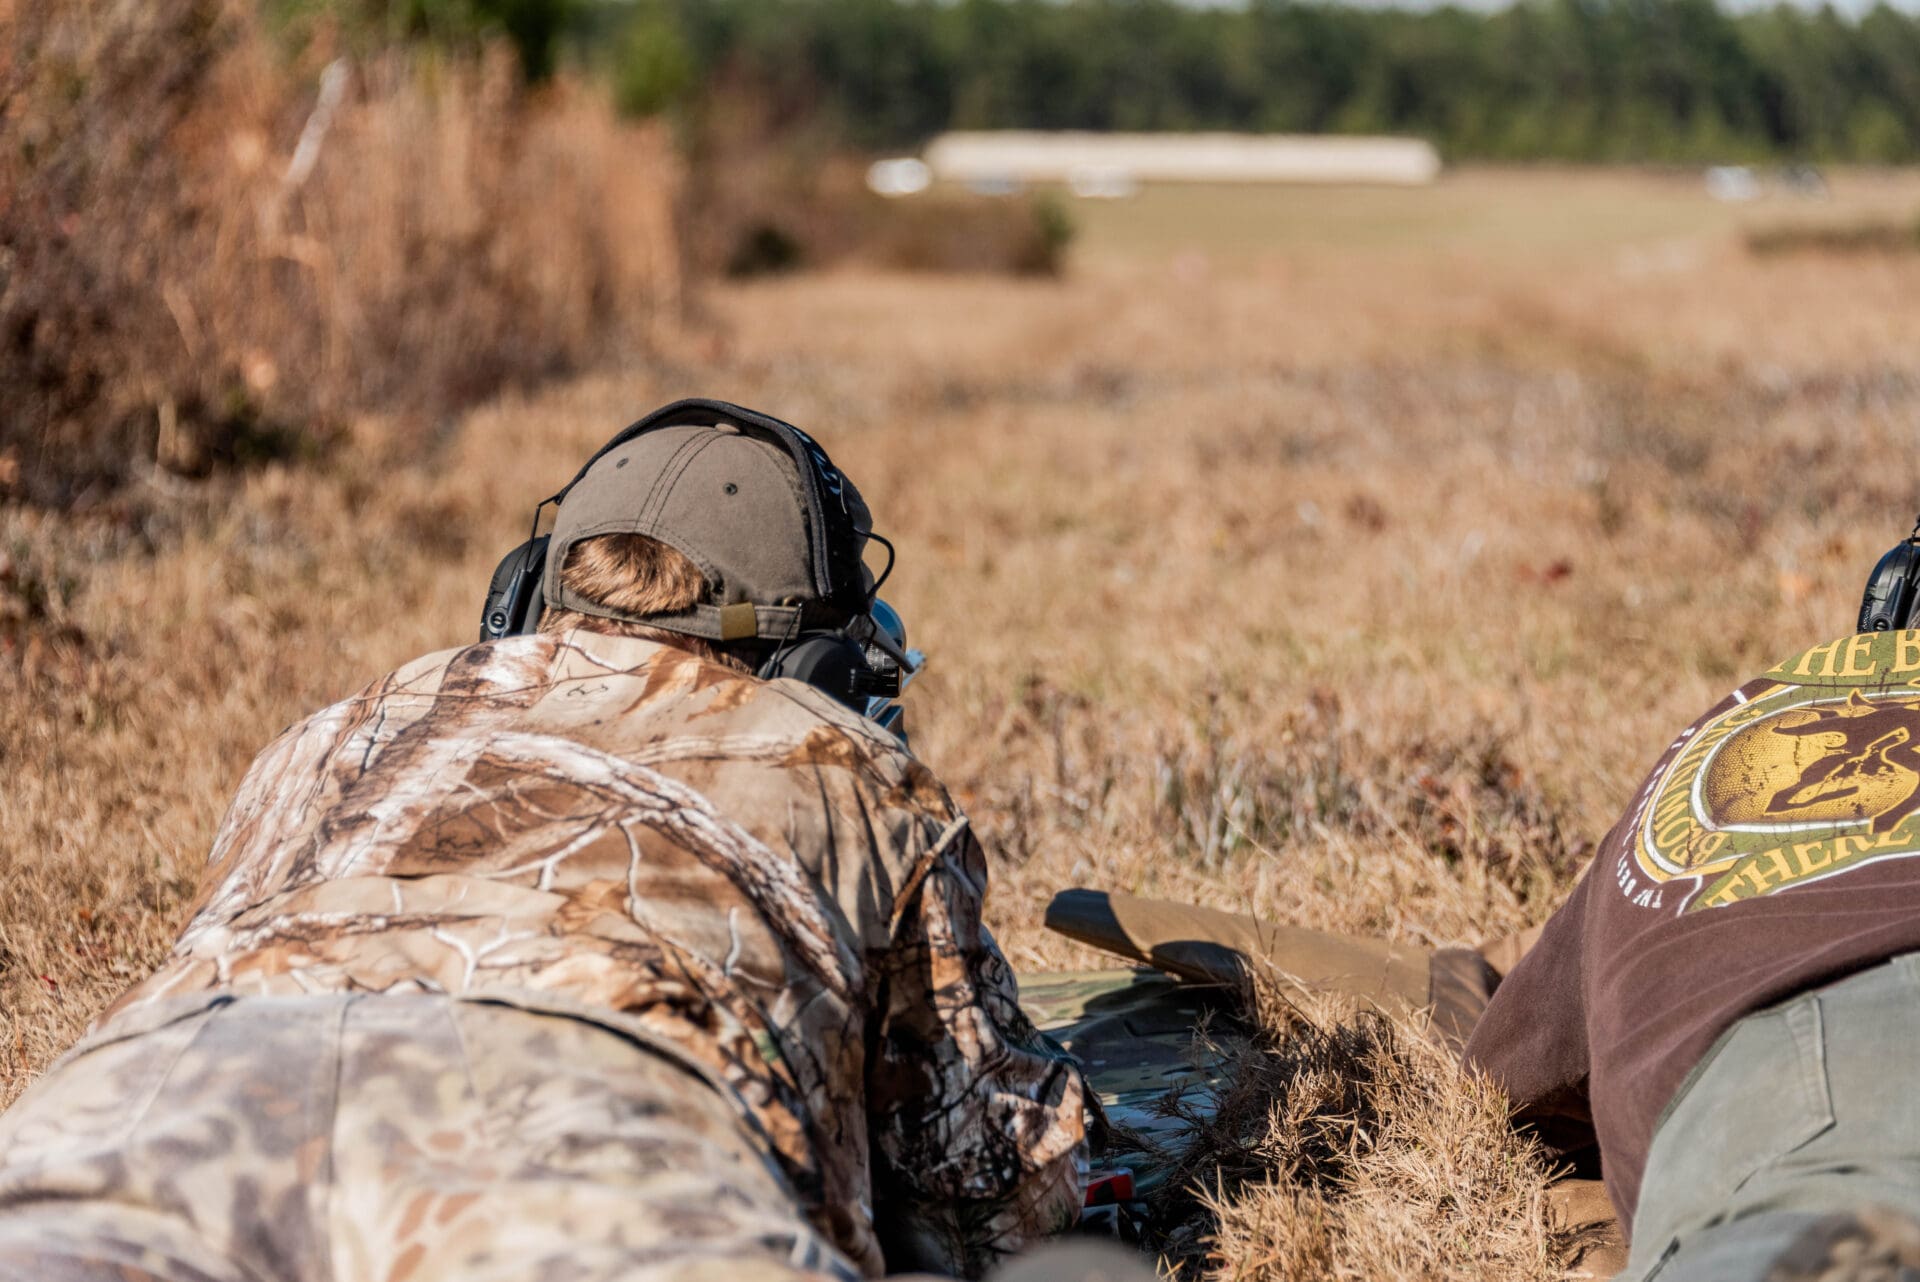
And I wasn’t alone. Up-and-down the line of shooters . . .
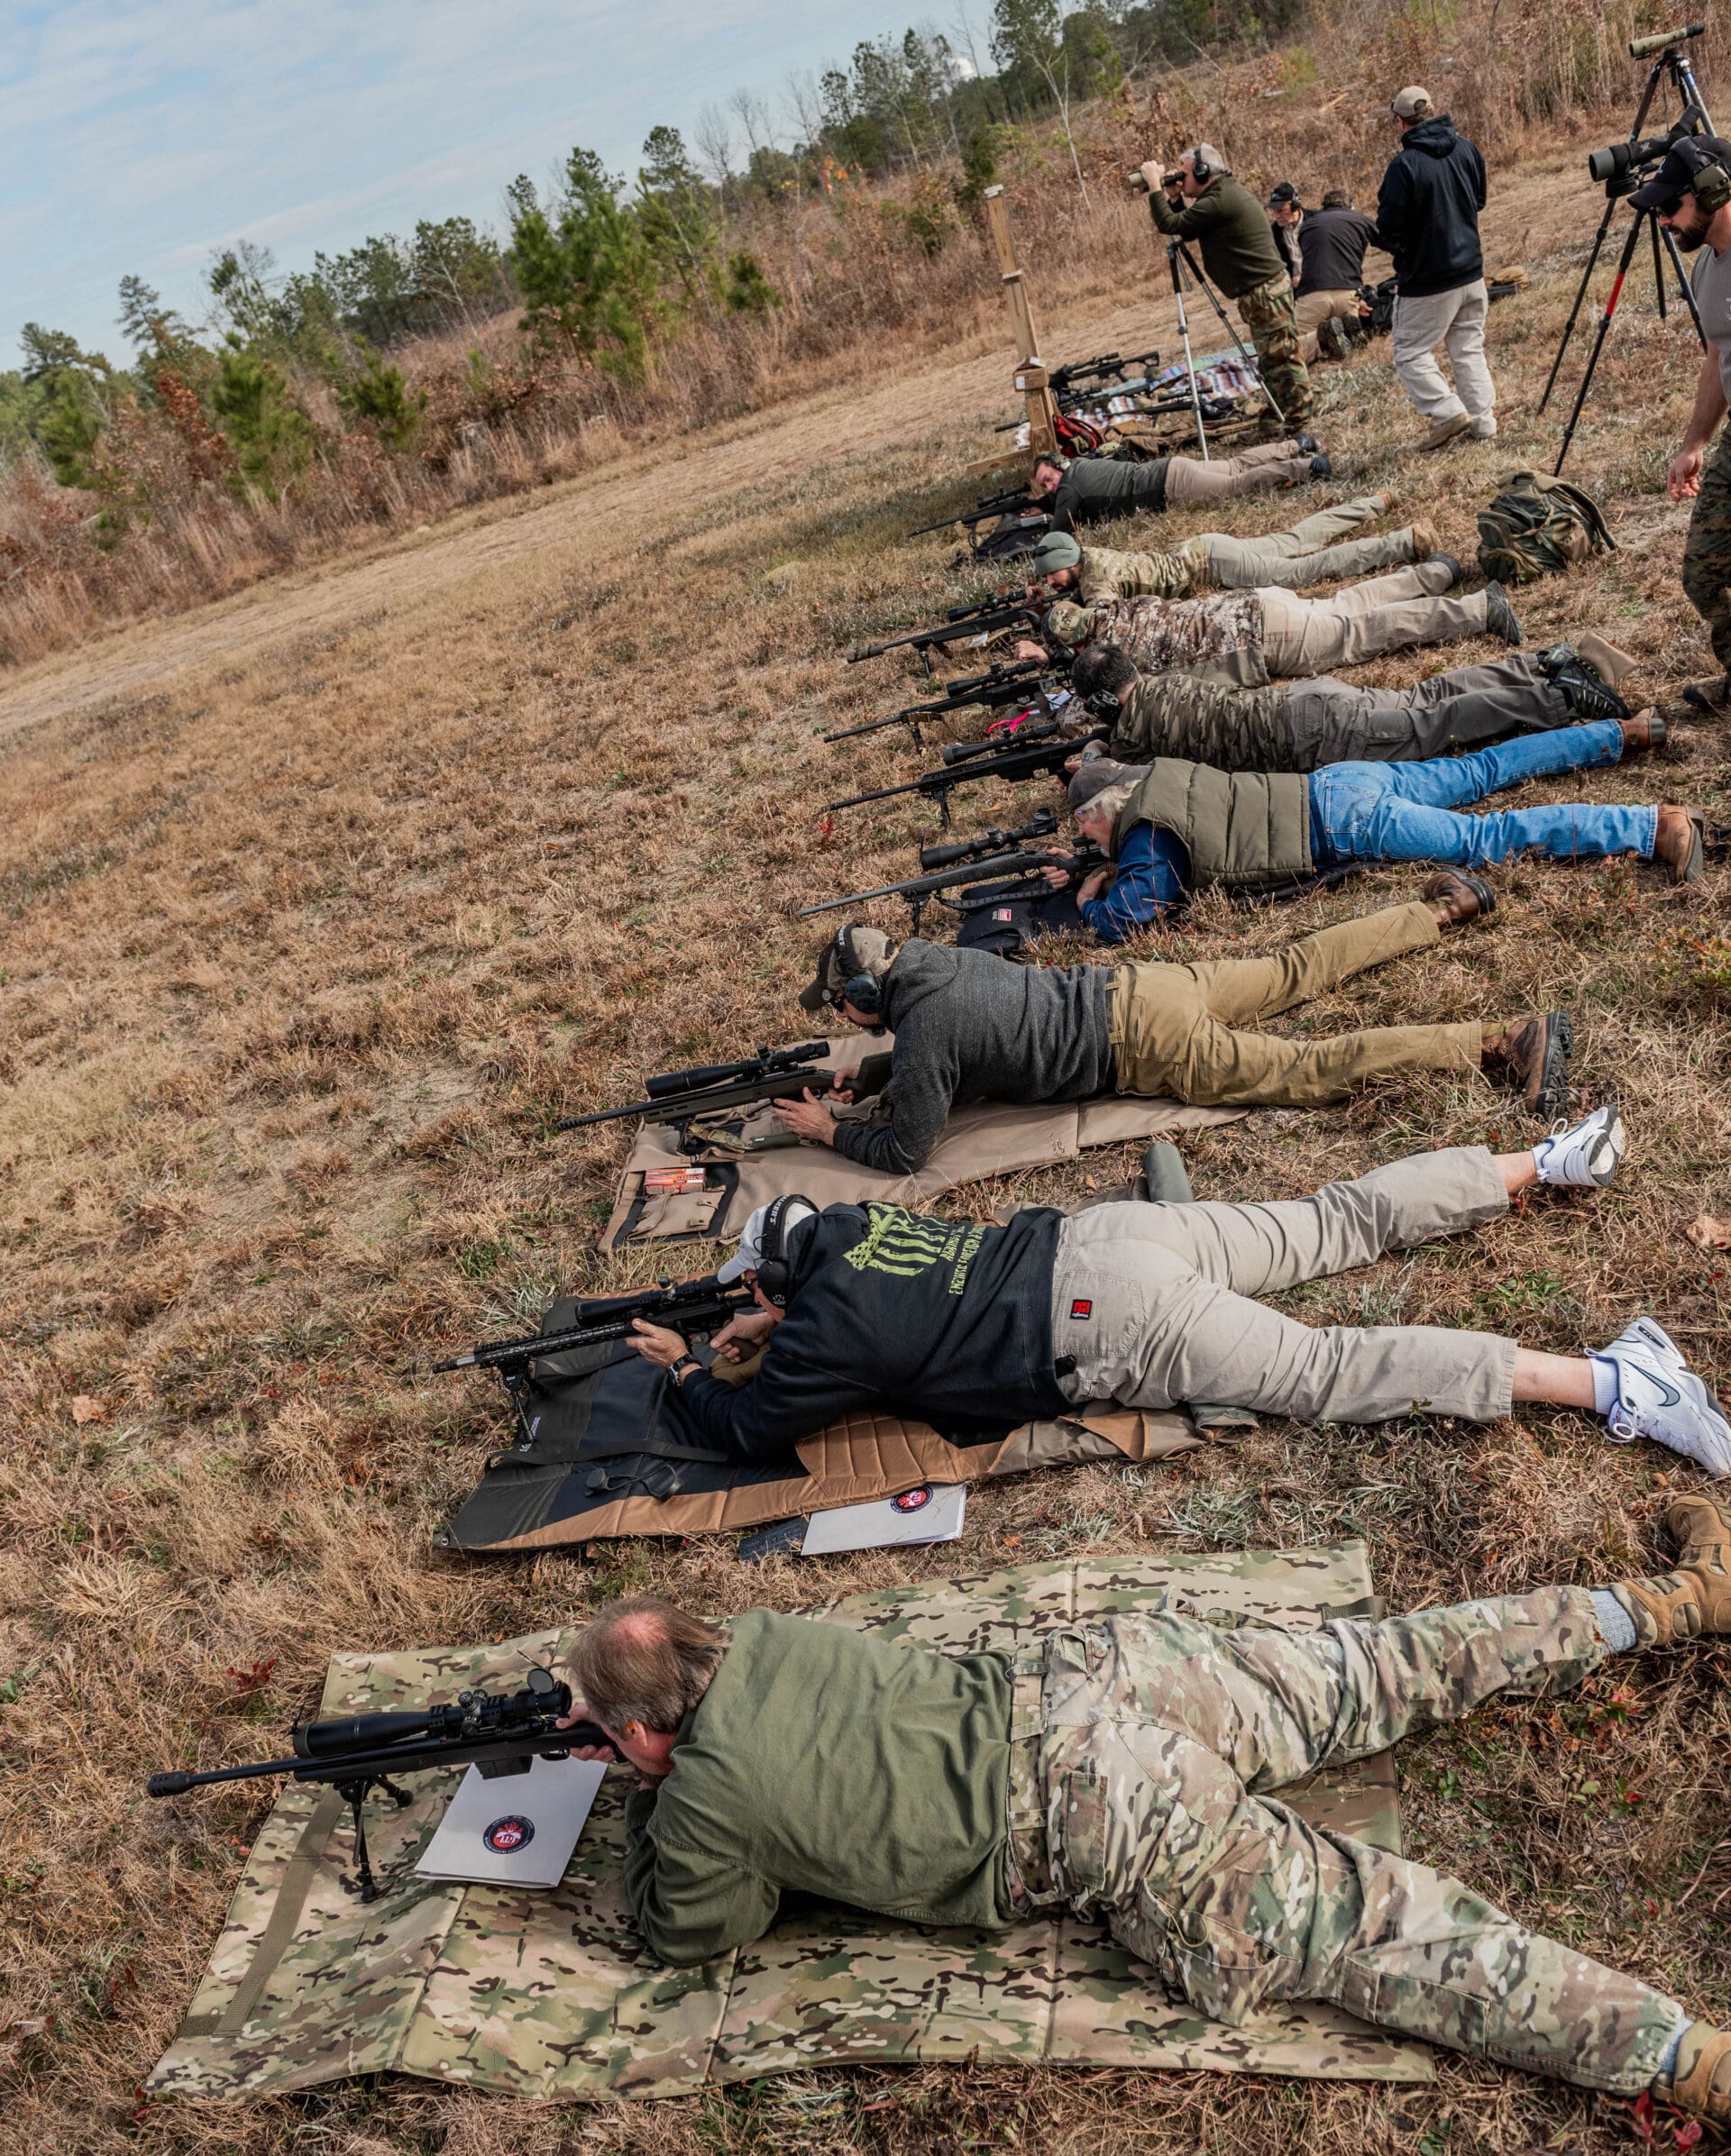

…Chris and Tommy were working with the participants, helping them score hit after hit on increasingly distant targets.
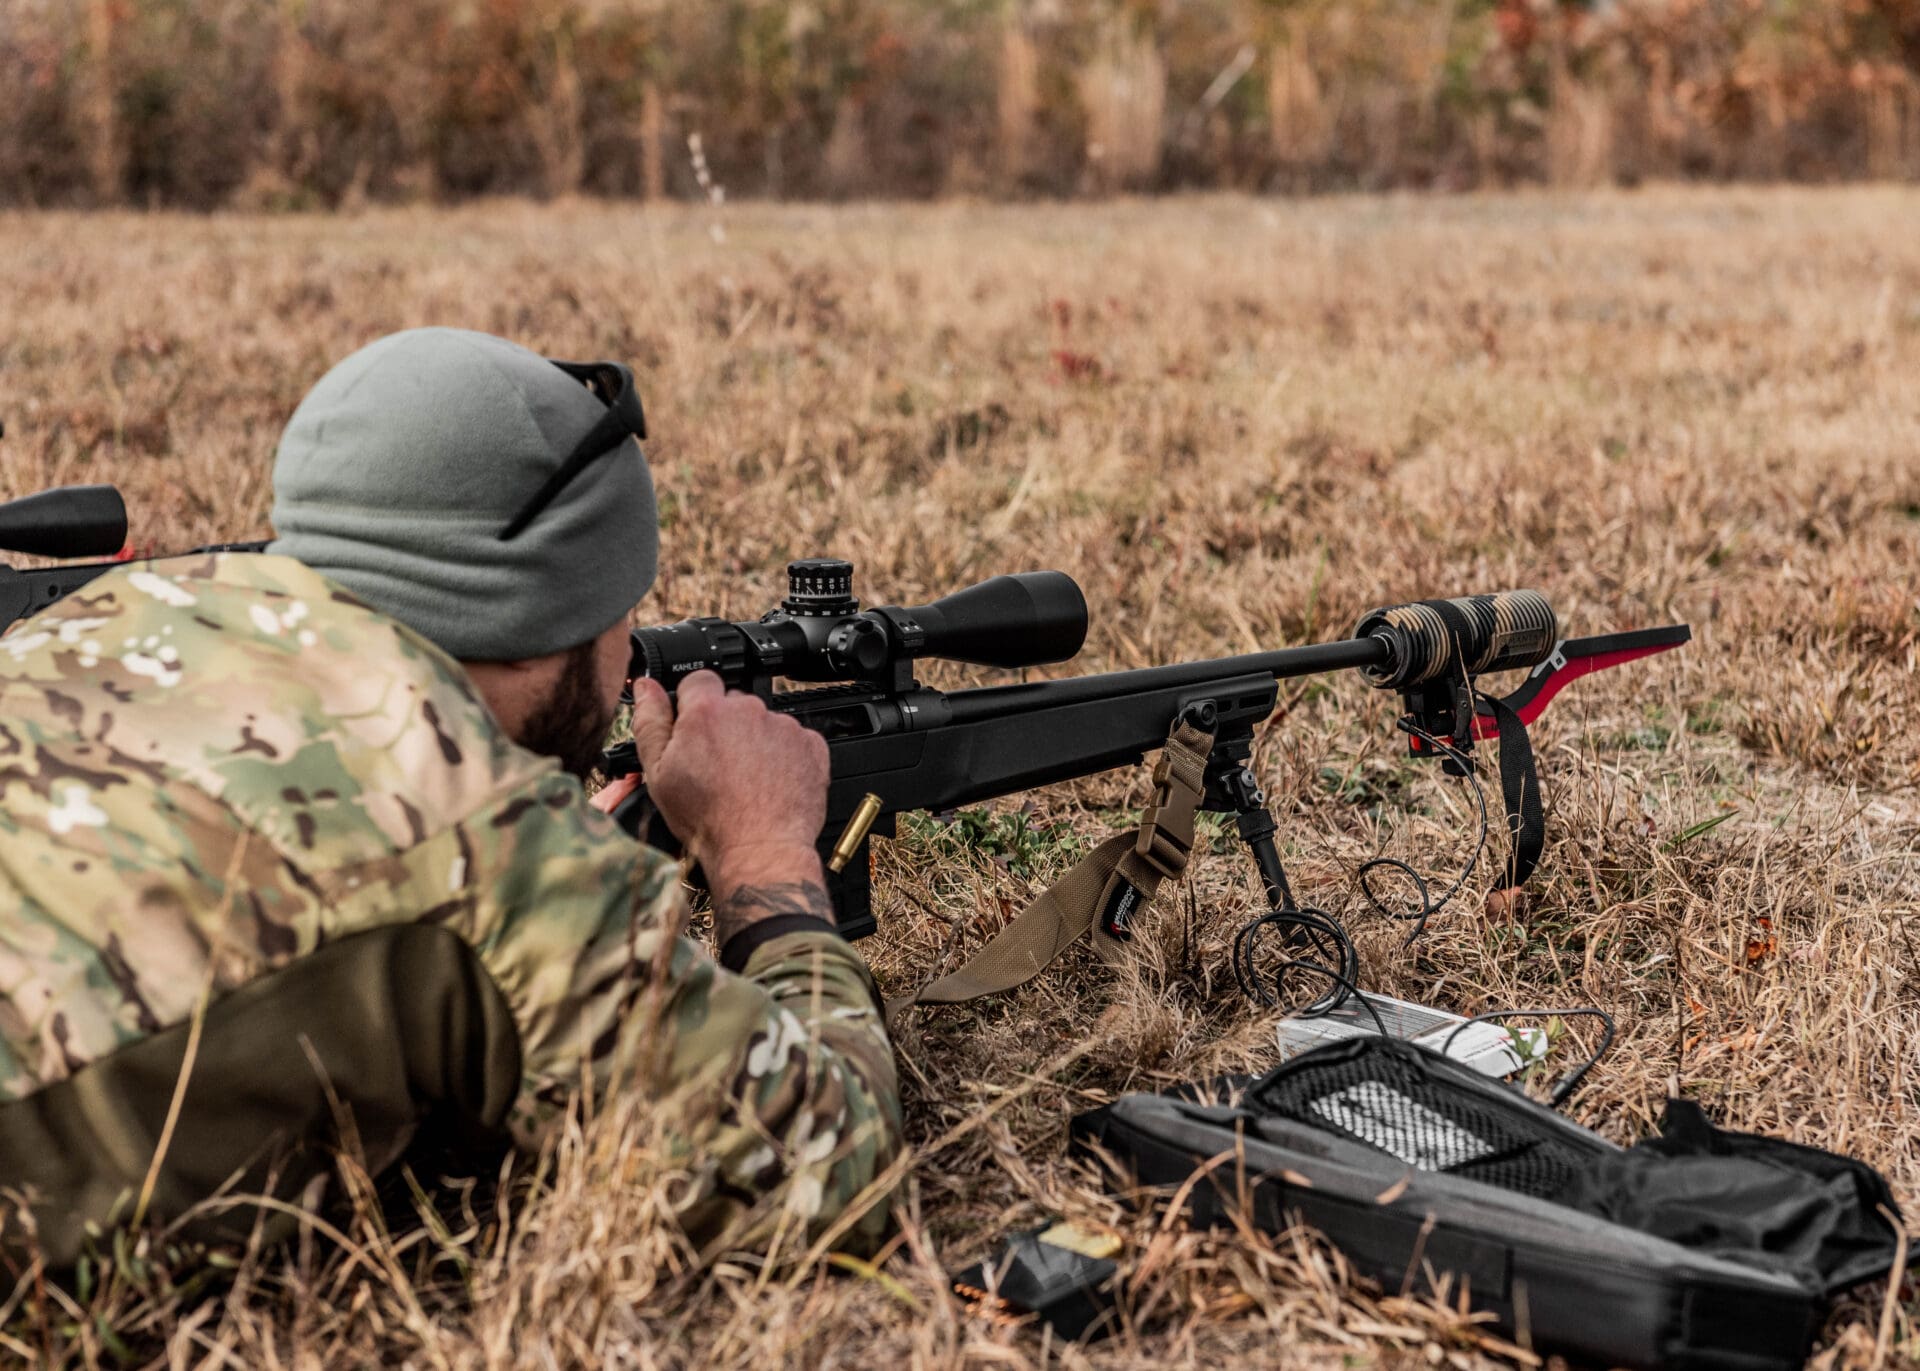
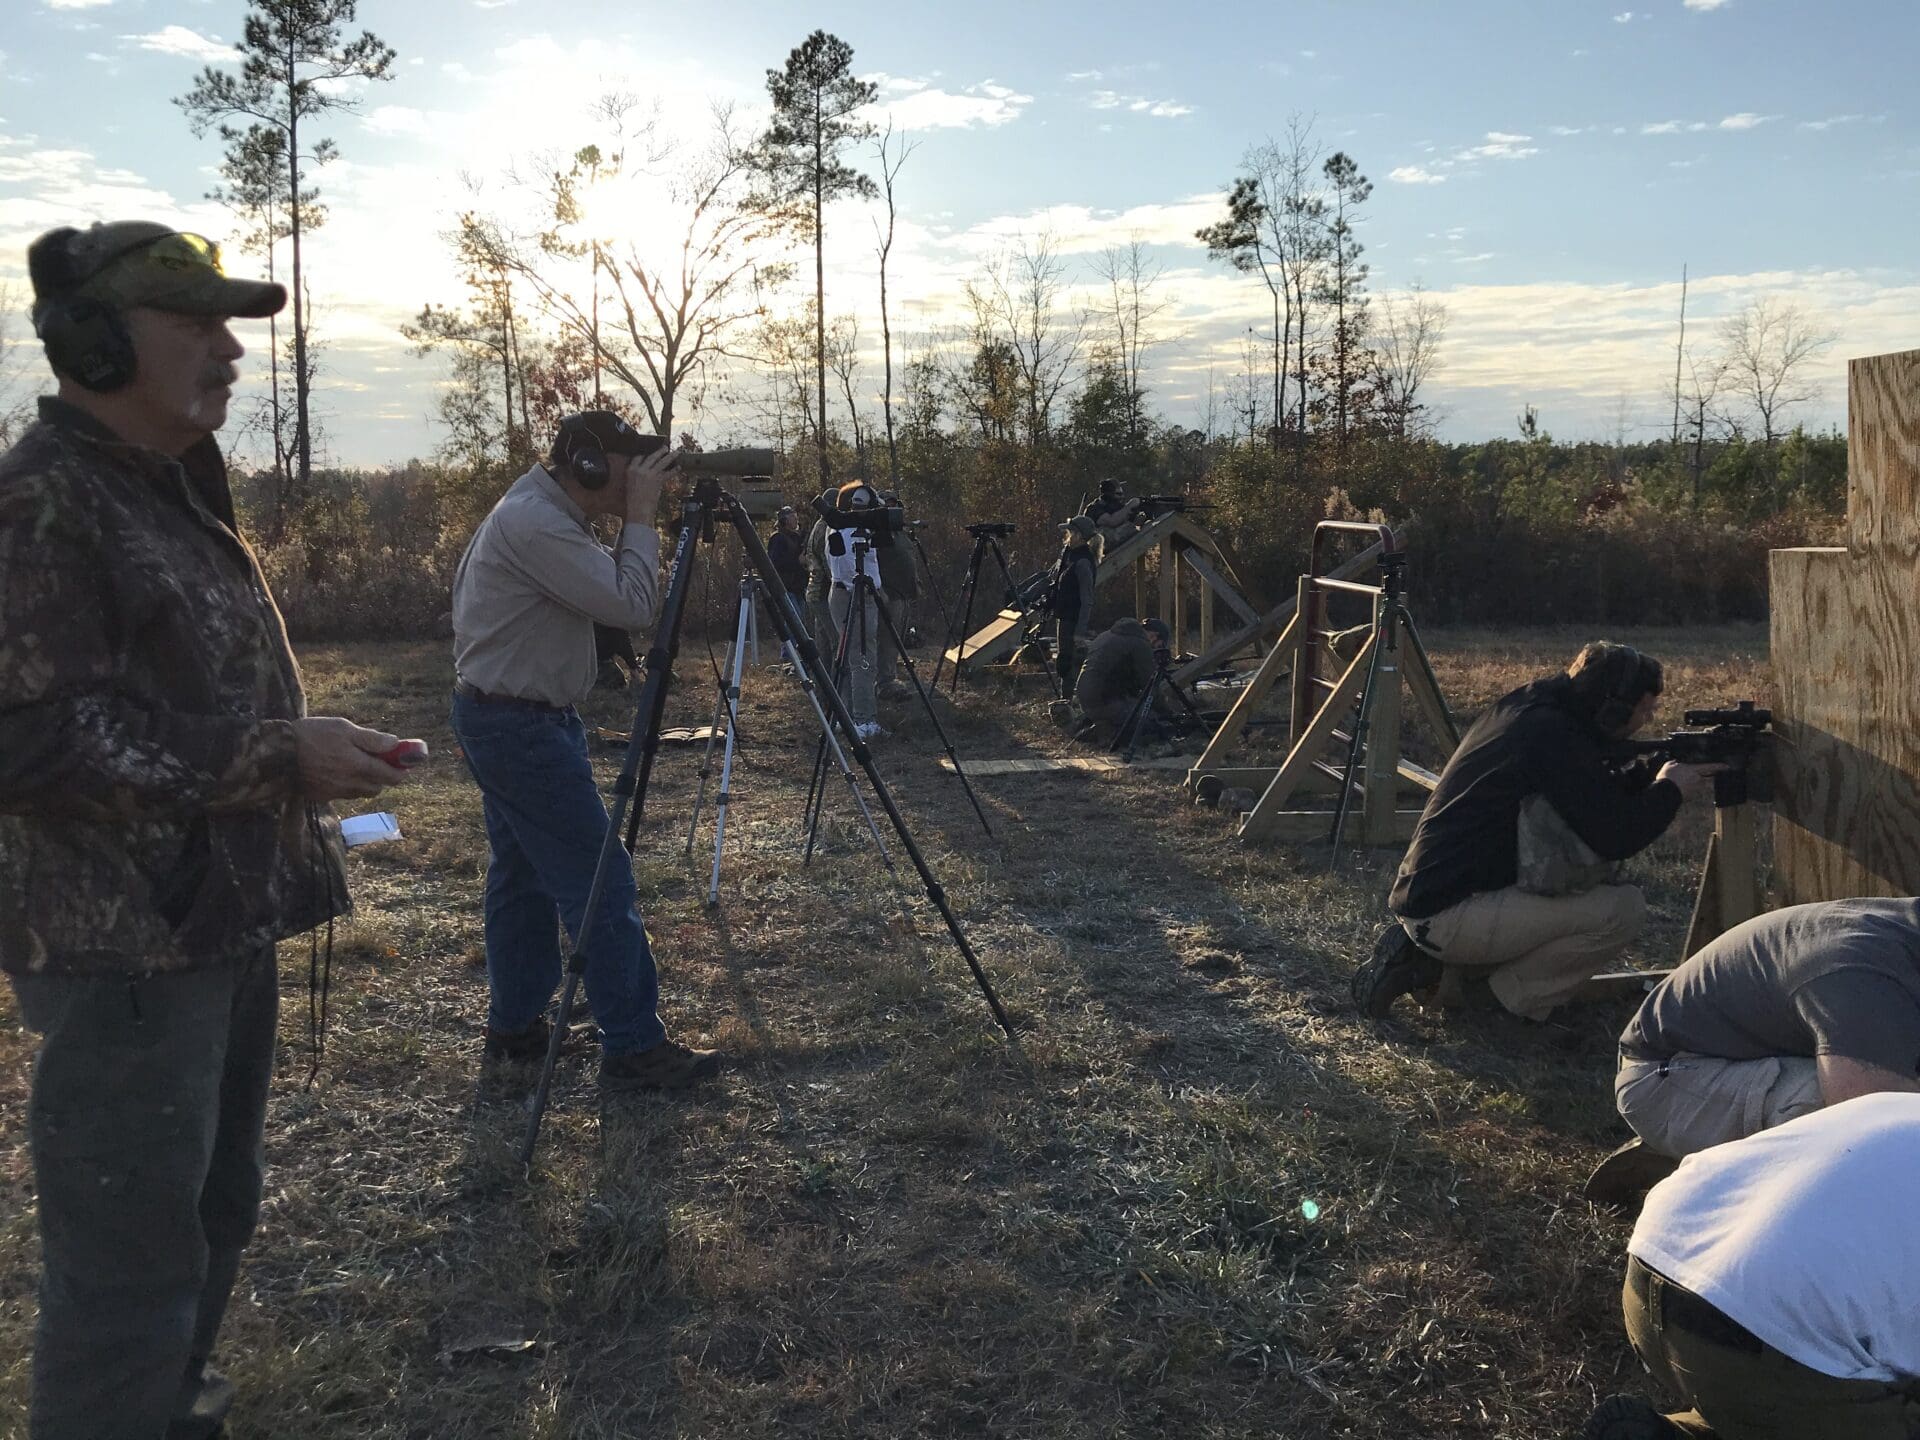
Much of the range session of day one was spent zeroing our rifles using paper targets at 100 yards.


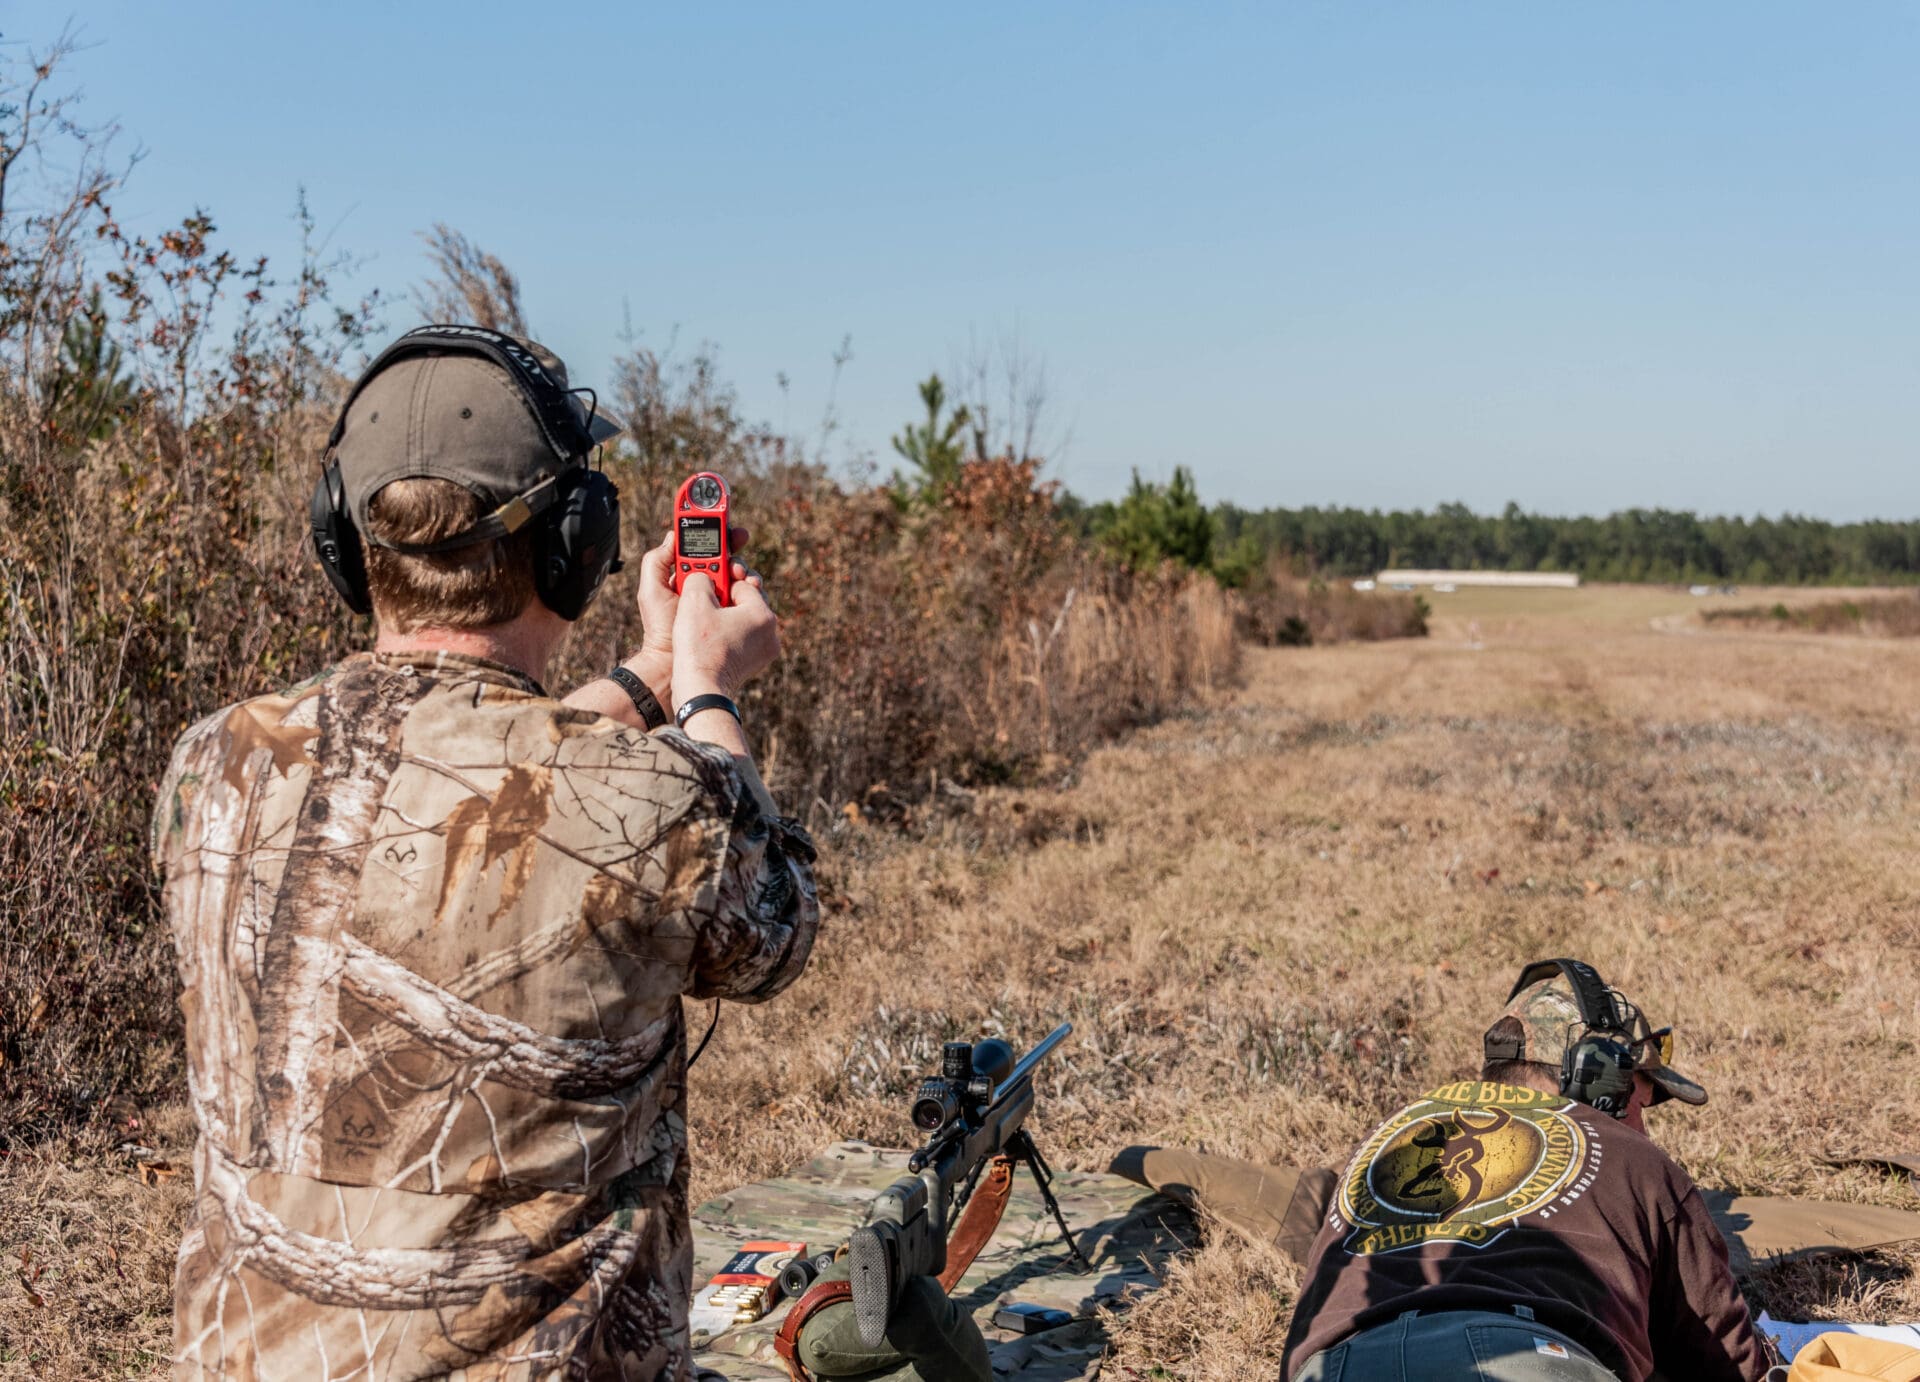
We also checked velocities with a chronograph . . .

…and learned to use our various rangefinders (mine being a Vortex Fury HD 5000 model).
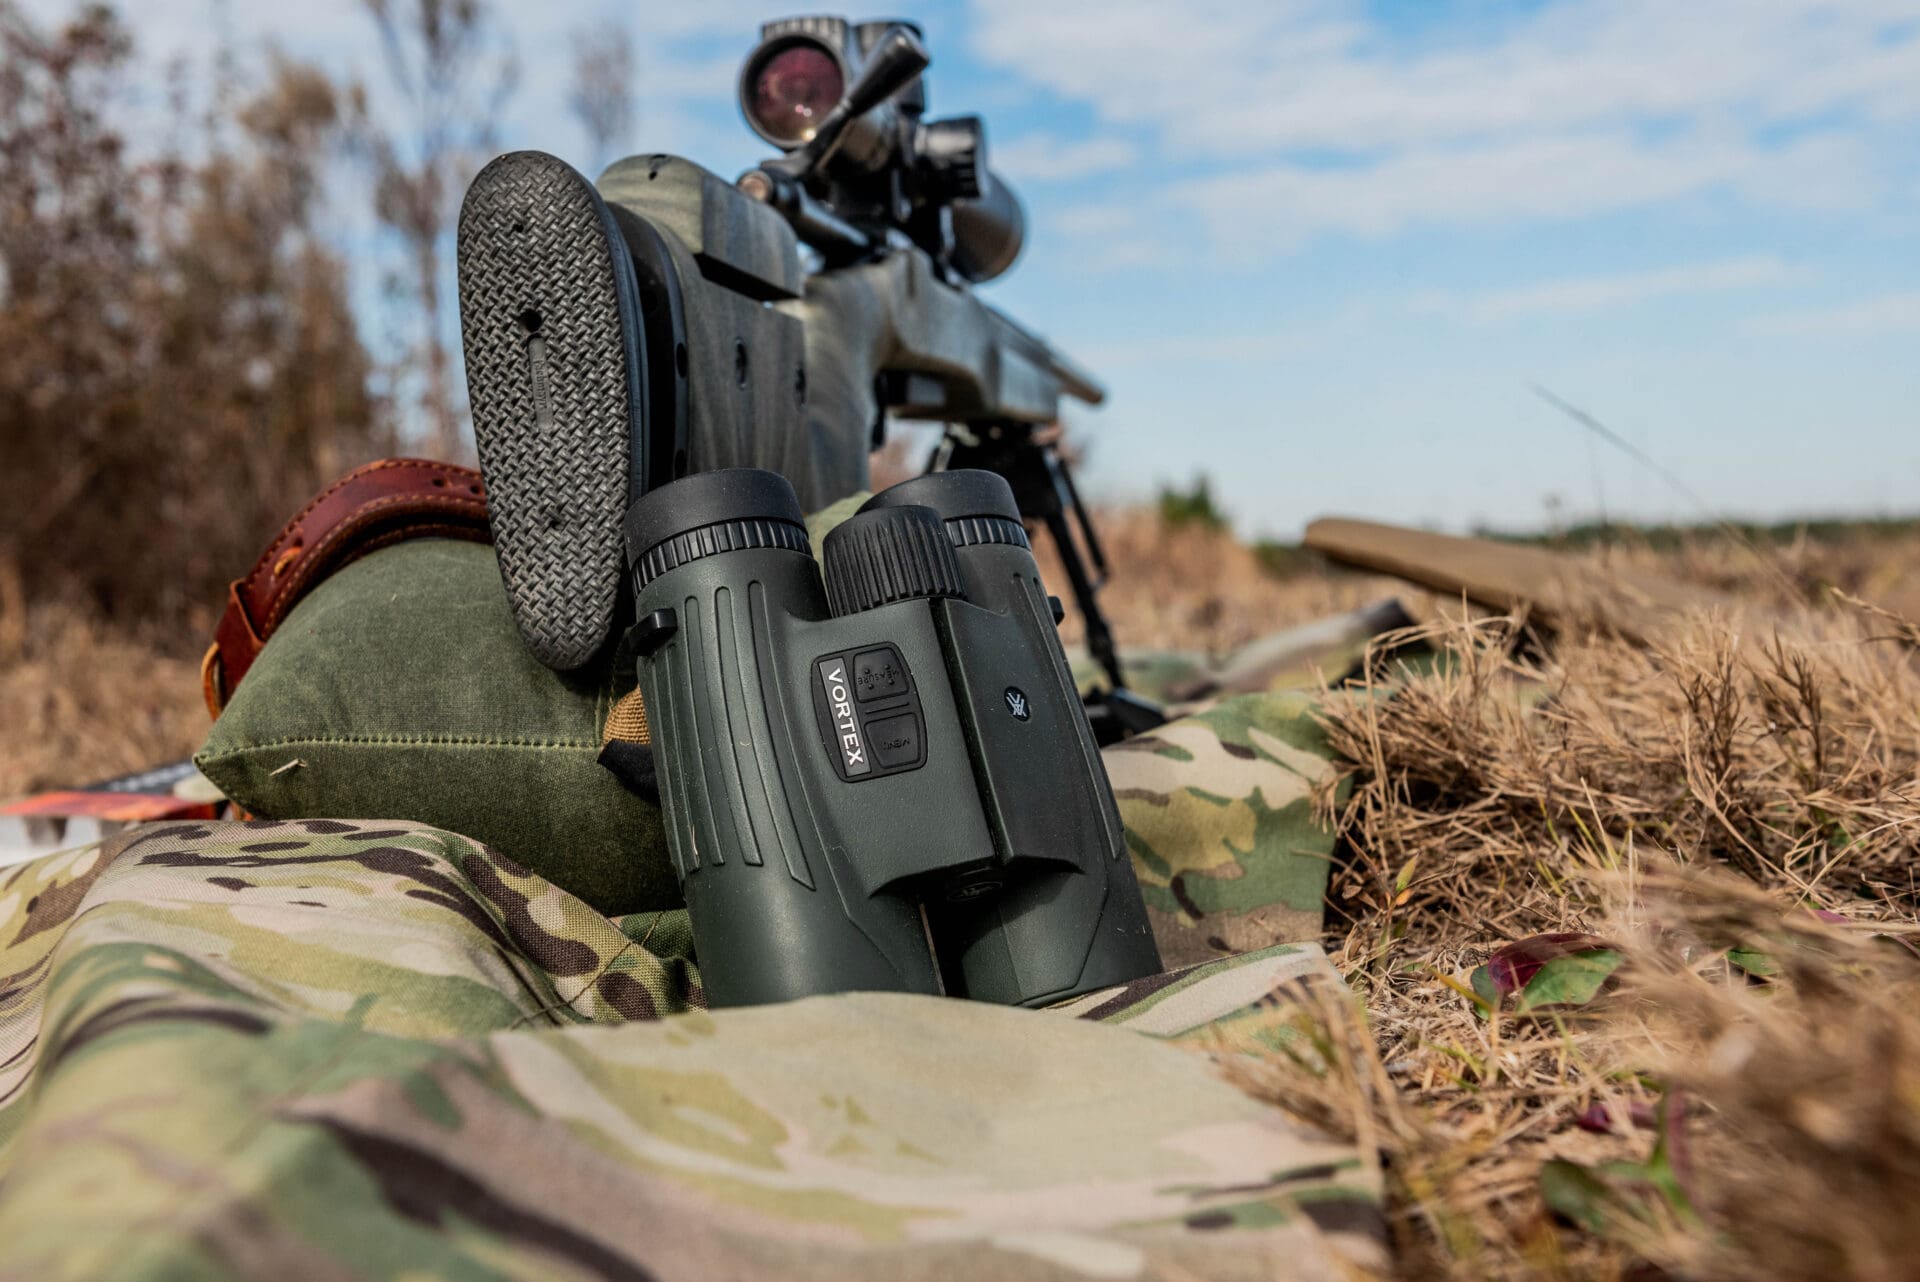

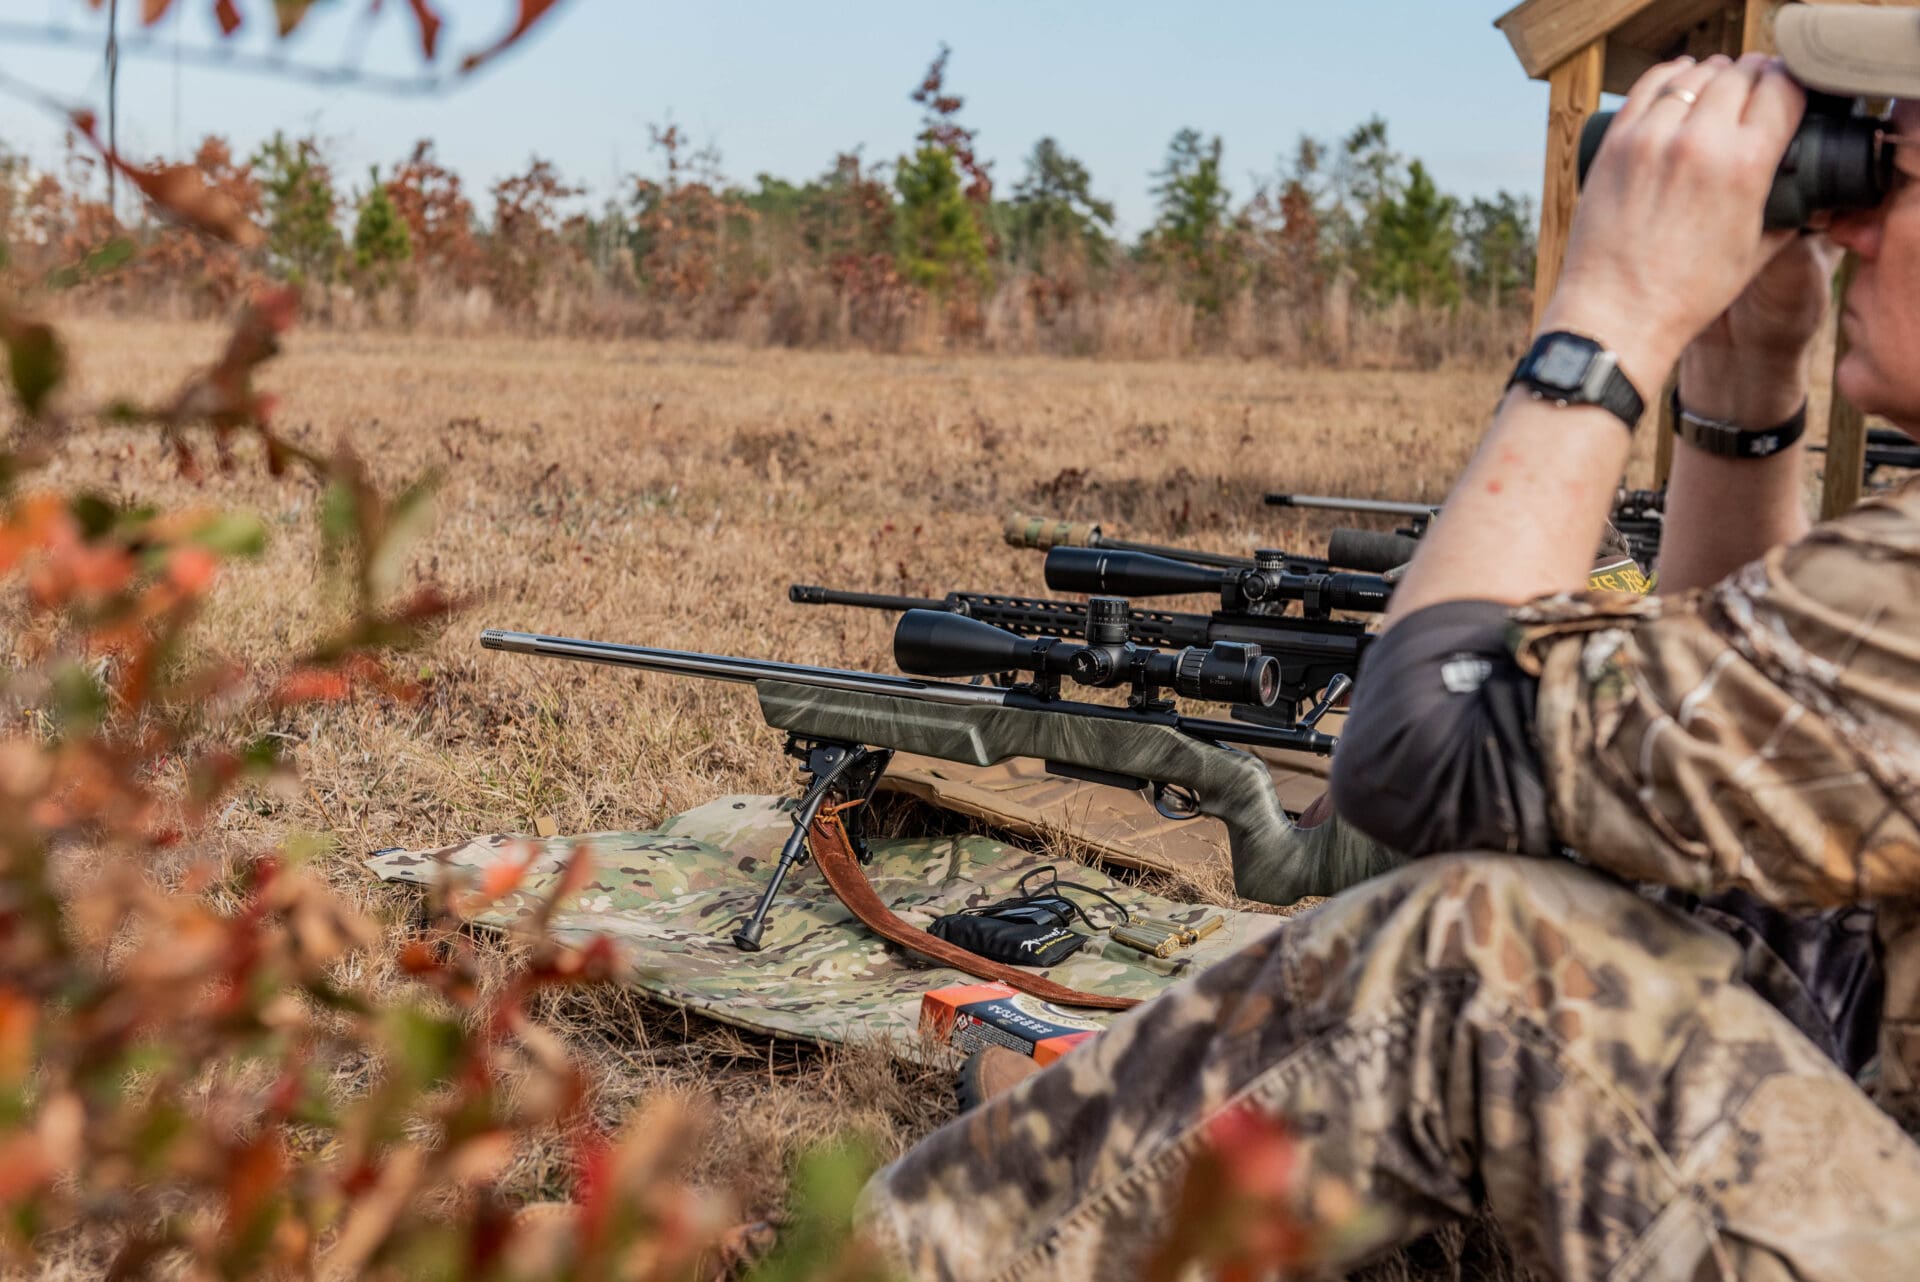

My pads and support bags were from Armageddon Gear (Ultralight Shooting Pad) and Waxed Canvas Optimized (Game Changer Support Bag).
I can’t emphasize enough the difference it made for me to be able to depend on first rate gear.
A last piece of equipment that accounted for a great deal of the successful shots made by all of the participants was the Kestrel 5700 Elite Meter With Applied Ballistics (TTAG review here).
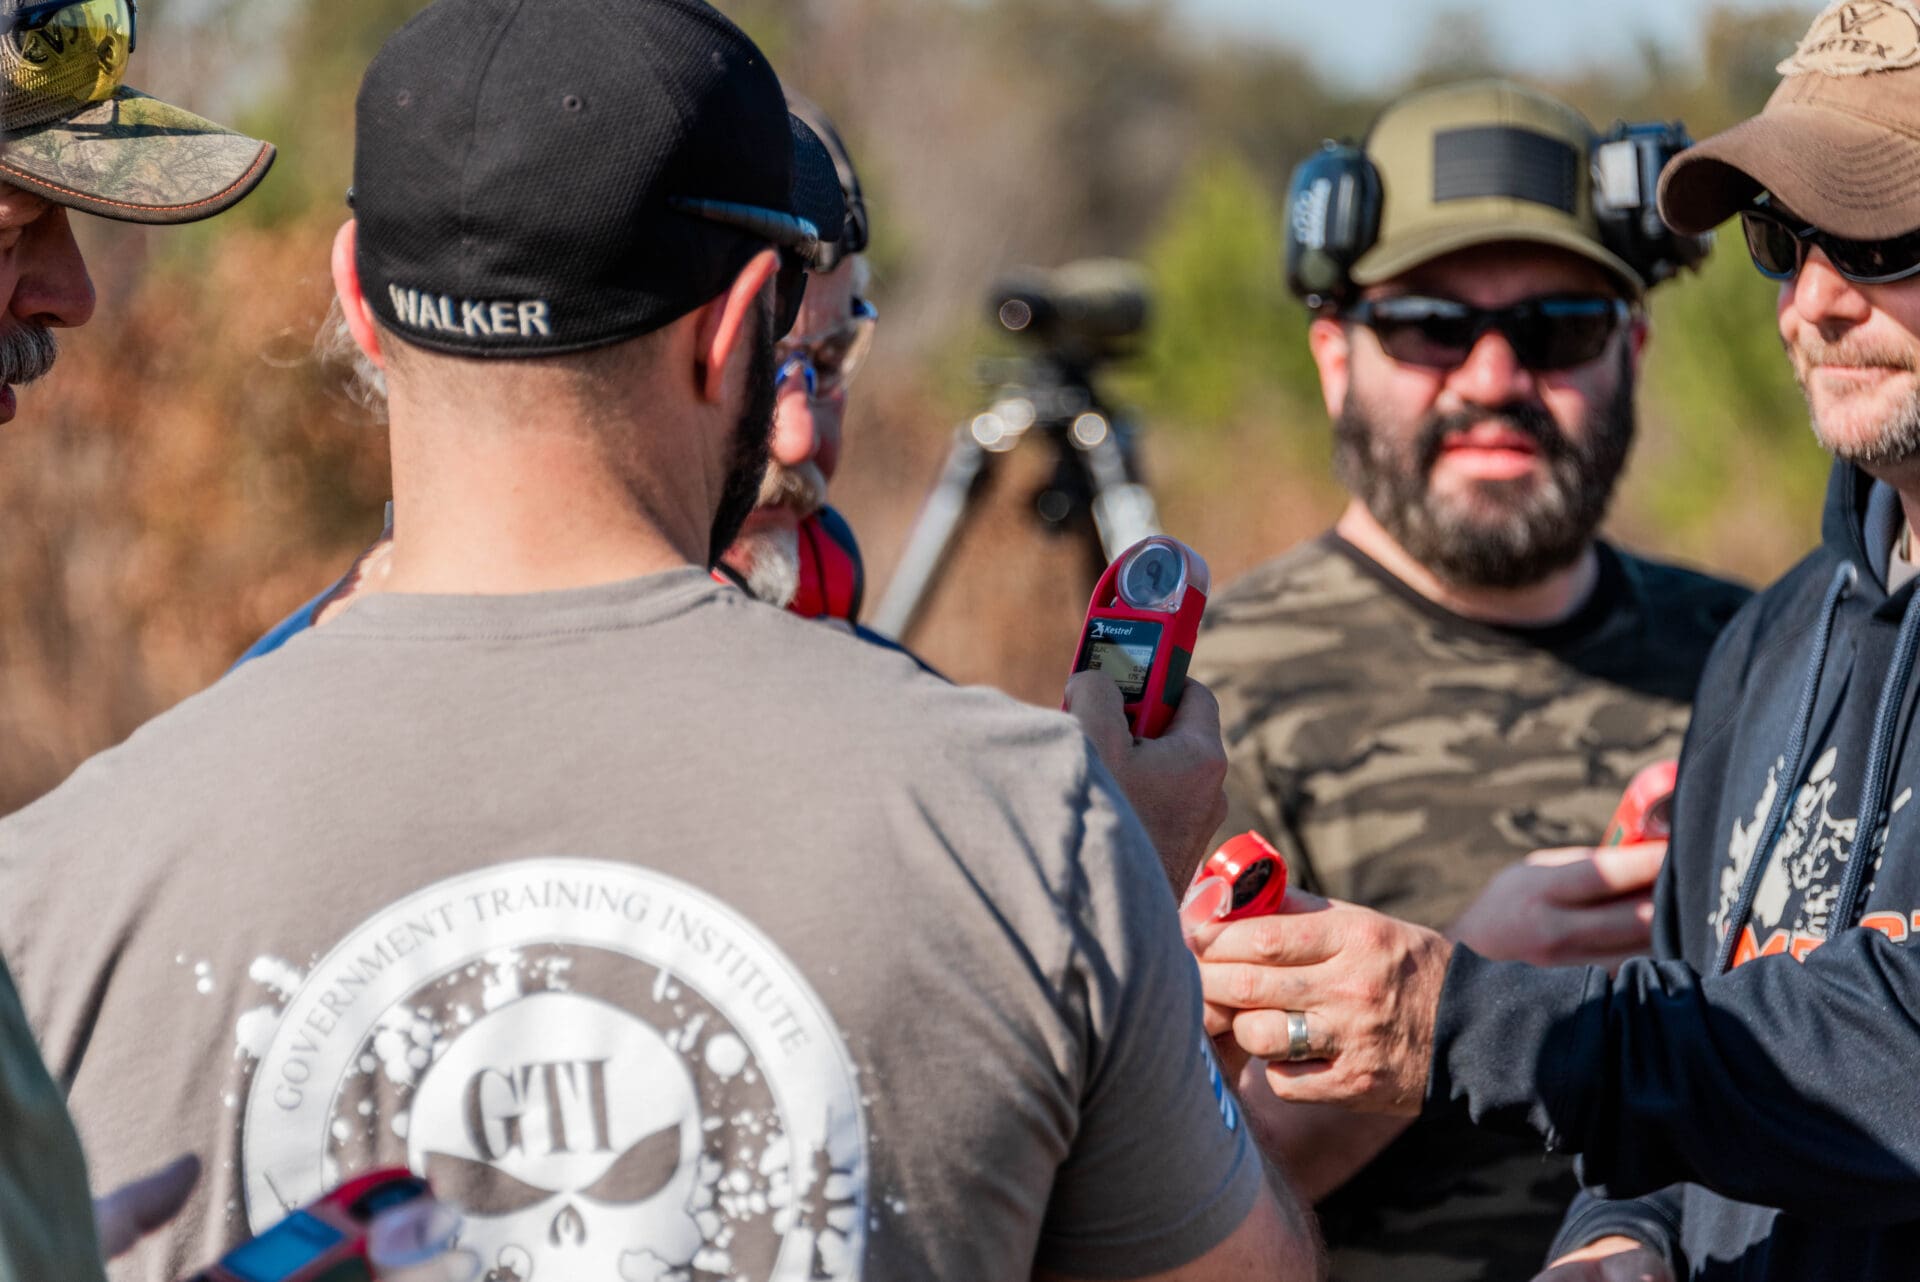
The magic of the Kestrel, at least for our application, was in those last three words. This small, handheld device allowed us to quickly (at least after some practice) calculate elevation and windage adjustments necessary to strike targets located at the various distances.
For me, in combination with the Vortex binocular/rangefinder, the Kestrel provided an accurate ballistic solution in seconds. It was amazing for this newbie.

We spent most of this first session firing from the prone position at increasingly distant targets. However, as sunset approached, we moved to the next stage of our training involving various obstacles. These included shooting from inclines . . .

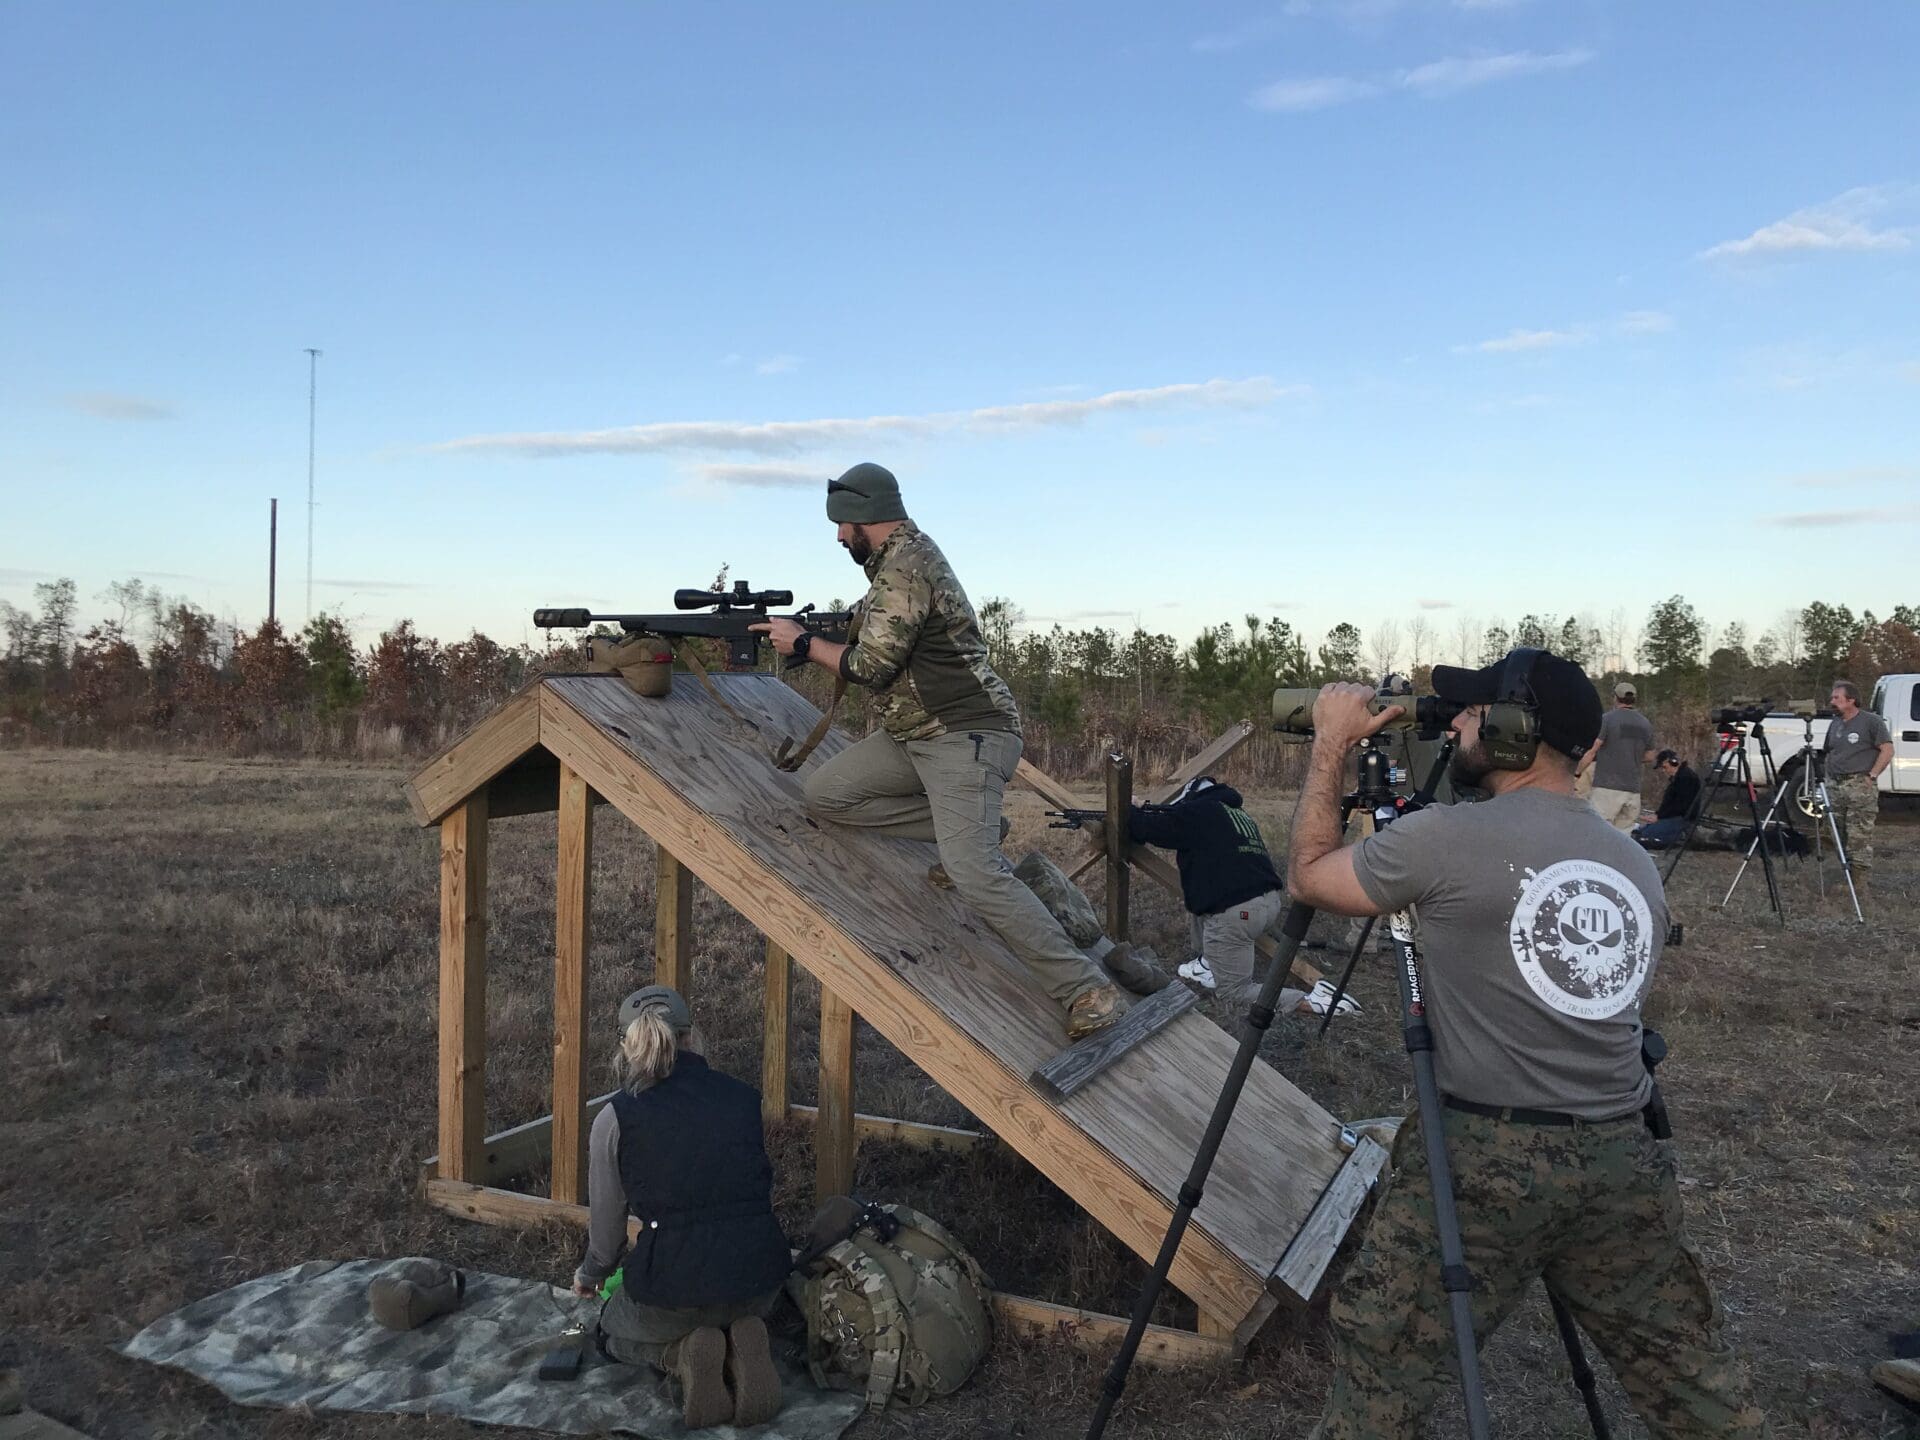
…simulated fences and walls, and even one barrier built in the shape of the so-called ‘hedge hogs’ encountered by the Allied troops on the beaches of Normandy.
The day ended with an hour’s drive home. As we drove, I reflected on the fact that in the space of eight hours, the instructors at GTI – Legion had taken a new recruit and made him capable of hitting targets at previously unimaginable distances. I was able to impact those targets even when firing from barriers that demanded some extremely involved body contortions.
Day two would present a different array of challenges – wind variation around buildings and weird and wonderful shot angles. However, as we drove, I relived hearing Chris, positioned behind his spotting scope repeatedly call out “impact!”
Unless otherwise noted, all images are courtesy of David Young.
Mike Arnold writes about firearms and hunting at his blog Mike Arnold, Outdoor Writer.