


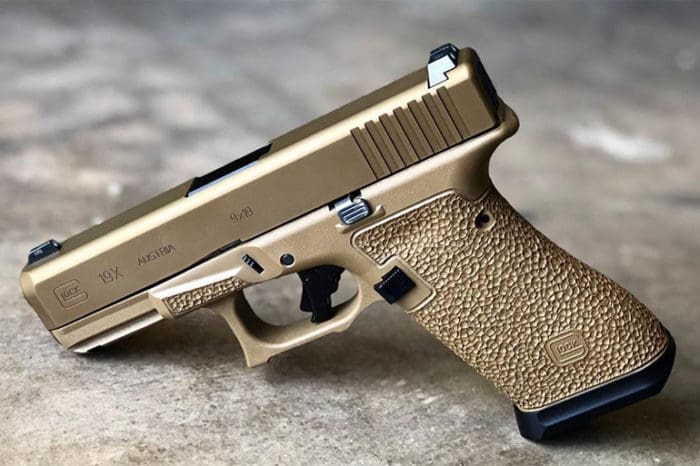
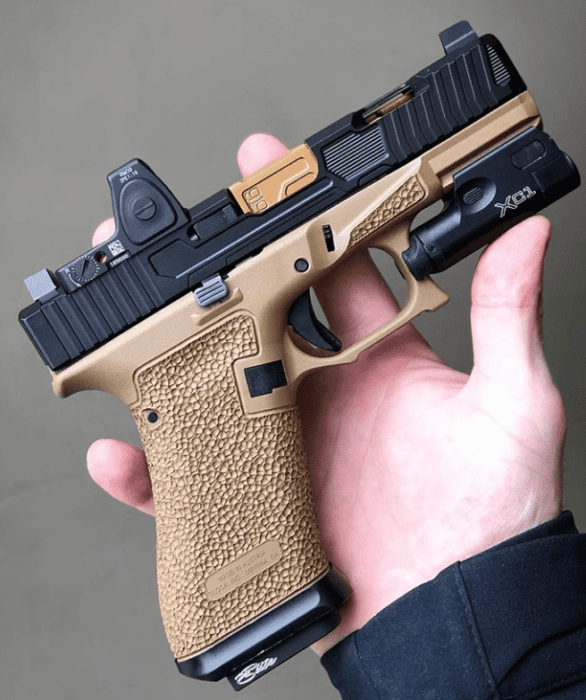
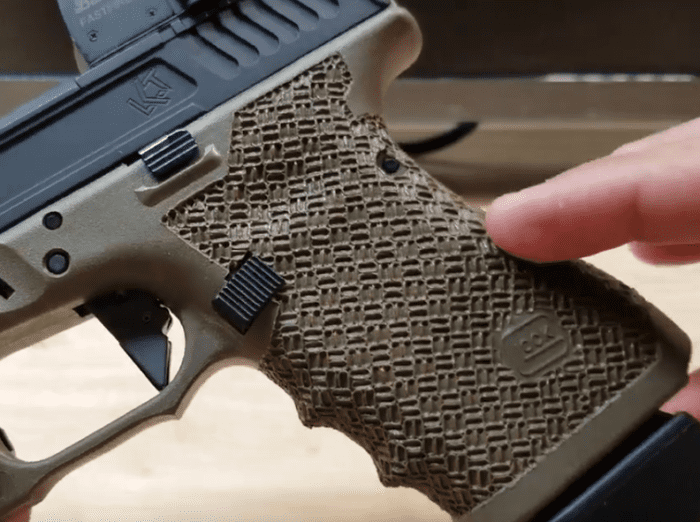
‘Stippling’ is melting the plastic exterior of a polymer gun with the intent of improving the texture for a better grip. Below is a good example from Polinger_Firearms.

This article is not a step-by-step “how-to” on stippling jobs: There are too many good YouTube videos demonstrating how to stipple, and I’ve linked my favorites in the appropriate sections below. This article has more to do with where to start, how to progress, and little tips and tricks that may help you along the way.
Health Warning: You are melting/burning plastic. This creates toxic fumes. Wear a mask rated to filter out the fumes, have a fan blowing, open a window, work outside – do something to minimize/eliminate how much of these fumes you breathe in.
What can you stipple? Any GLOCK handgun, Smith & Wesson M&P, Springfield XD, any polymer SIG, AR-15 grips, PMAGs. Basically, anything with a polymer frame, or plastic in general.
Why should you stipple? Aesthetics aside, stippling is a permanent way to improve the grip texture of a firearm. A common counter to this is grip tape or Talon grips. I’ve used both extensively and they never last. If you don’t plan to sell your gun, then stippling is an excellent way to improve the aggressiveness of the texture of the grip without having to worry about it wearing off.
What should you stipple with? You stipple with a soldering iron or wood burning tool. Wood burning kits, like this one, are, in my opinion, the best option. They’re inexpensive, have adjustable temperature and interchangeable tips.
The adjustable temperature will give you more control since not all polymer melts the same. The interchangeable tips give you lots of options for different textures and designs. That being said, none of those features are absolutely necessary. The most common and basic stippling pattern can be accomplished with an old soldering iron that has a fixed pointed tip.
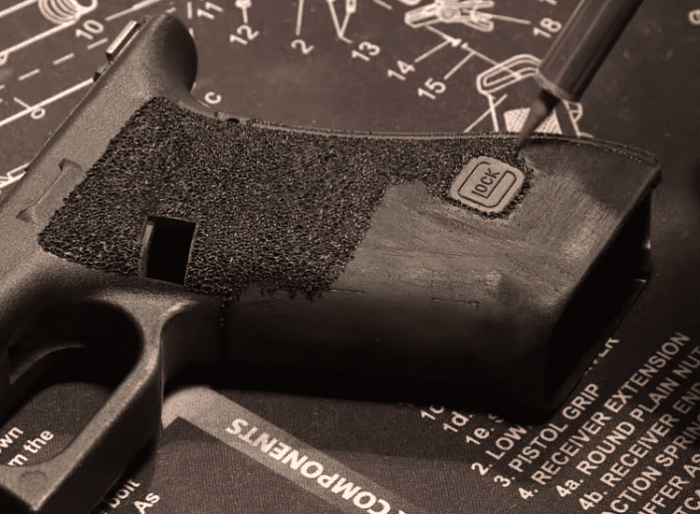
Do you need to prep the grip before stippling? No, you don’t need to. Plenty of stipplers stipple right over the stock GLOCK texture. That being said, I think you should. By removing the stock texture and sanding it down to an even, smooth finish you improve the consistency of the stipple. Sanding it to 220 grit is easy and can improve your results. This is also a great opportunity to do trigger guard undercuts and remove the finger grooves if desired.
What pattern should you start with? The easiest pattern is the random dot pattern.

Pain X has a great video covering the whole process. Random dot uses a pointed cone-shaped tip. Simply cover the area you want to be stippled in dots. The dots should overlap. There isn’t supposed to be any order here. This is the easiest pattern because the only thing you have to worry about is your pressure and time.
You want to be consistent with how hard and how long you press down with the iron. The time and pressure aspects of stippling are the biggest fundamentals. This pattern is a great way to practice it. Once you’re good at this, it makes more complicated patterns easier.
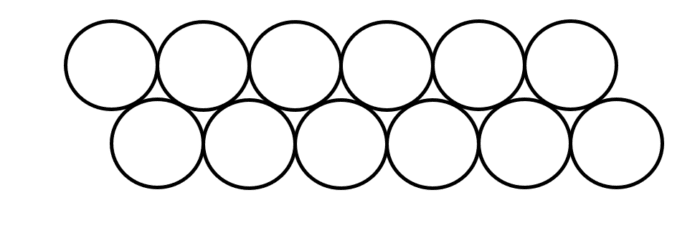
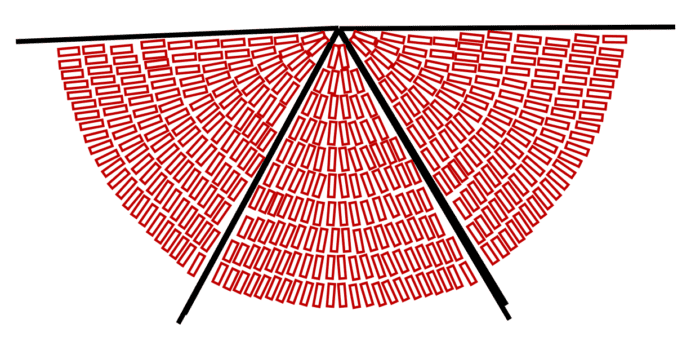
The next pattern I would try is what I call a semi-random dot pattern. The first image in this article is an example of this pattern and it’s done using a dome-shaped tip.

You line the dots up in neat rows, then go back over and touch all the major intersections.

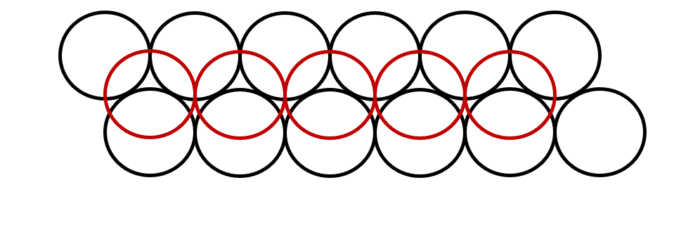

This is a good progression because it allows you to practice being ordered and precise with your stippling. If you make a mistake it’s not a big deal because you will be adding dots that randomize the pattern.
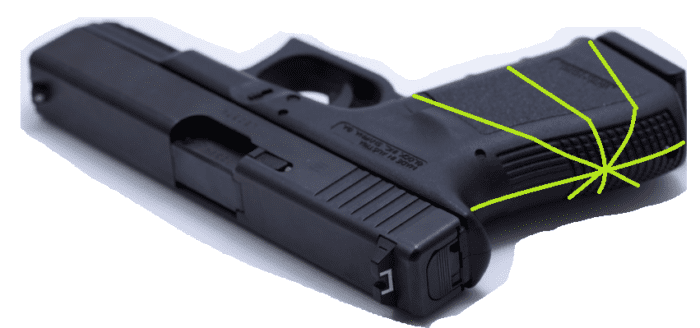
Next, I would try the starburst pattern, like this one from SuburbanHobbyist. This pattern adds layout to the process. It also gives you options for tip choice. The rectangular tip is what I commonly see used, but I’ve seen designs use the teardrop shape among others. Pick a point on the grip you want to be the center of the pattern, and draw straight lines from there.

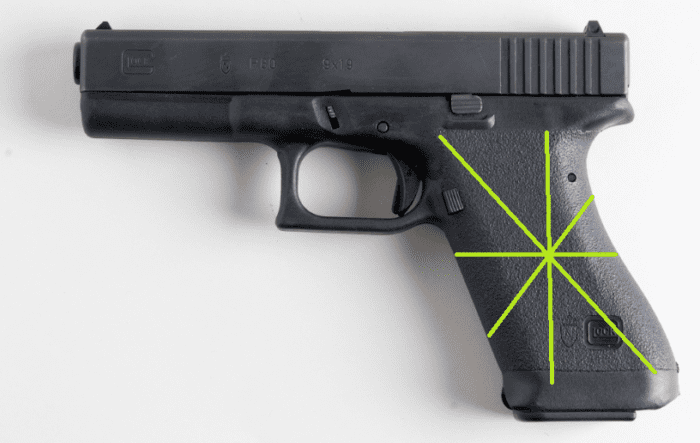

Stipple along those lines, then fill in each section. This is a culmination of all the other skills you have been practicing. These stipples are ordered and shouldn’t overlap. There is also more leeway for creativity. The design will look different depending on how you fill each section.


Although one definitely looks more like a starburst than the other, my point is there is more room for creativity here than the other two designs. You can even forego a dotted stipple pattern and create a series of straight-line stipples. Like I said, lots of room for creativity with this one. Despite all the options, the structure of the design is very simple. If you have a good layout and good fundamentals it should be easily accomplished.
One of the more challenging designs is the basket weave design.

In this design, you are creating dozens of tiny squares that line up in straight parallel rows, at an angle, on a round grip. Did I mention the human eye is unfortunately good at picking out errors in a design like this? If everything is supposed to look the same, it’s easy to spot the thing that doesn’t. So good luck hiding your mistakes. But, if your layout and fundamentals are solid, it looks great when done right.
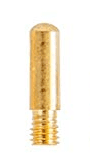
The image above is from Frank Castle Customs. One way to accomplish a pattern like this is to use a tip like this one from OTD defense. That way, all the little squares should be the same. Just don’t forget the orientation of the bit.
If you don’t have that, don’t feel like buying it, or think you can do better without, use a rectangular bit and create each individual square yourself. Pulling off this pattern without any mistakes is a great indication that you have mastered the fundamentals of stippling. Do your best to keep the iron vertical. An angled iron can distort the stipples next to it.
Borders are a great way to enhance any stipple pattern. A clean, defined border really helps the stipple pattern stand out from the rest of the gun. Dave Modz Customs has a great video on doing recessed borders. His use of stones instead of toothed bits really helps create an even, consistent border.
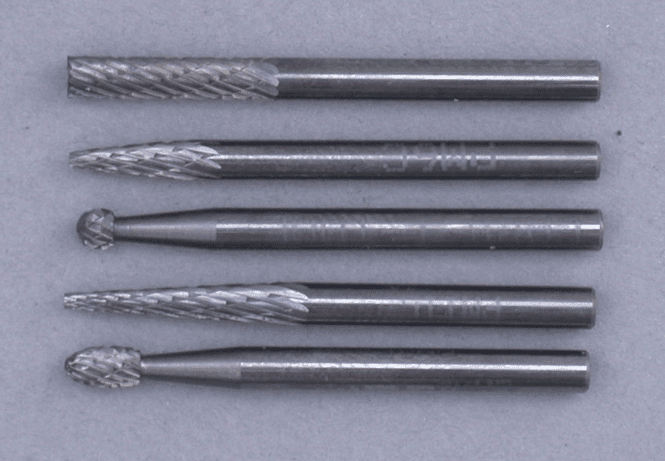

Grinding or sanding bits don’t cut as aggressively as toothed bits. A toothed bit wants to bite into the material it is cutting. This makes it easier for the bit to dig deep and take more material than wanted. Stone or grinding bits don’t have this problem. That being said, to establish his U-shaped borders, Polinger Firearms uses a carbide burr that looks something like this:


I’ve also seen wood gouges used to create U-shaped borders.
When using a Dremel tool, be aware of which way it spins. The bits will create a burr on one side. If you are aware of this, you can keep the burr consistently on the same side, like the inside of the border. Not only will this make everything more consistent, it will make cleanup easier down the line. It will also leave the outermost edge of the border the sharpest and cleanest.
Tip orientation when stippling is an important detail that is often overlooked. The iron is usually held at some sort of angle, like when you hold a pen/pencil. This angle prevents the stipple from being symmetrical. If you can keep the iron in the same orientation in relation to the grip the entire time, the pattern will be more consistent. Keeping the iron straight up and down eliminates this issue, but is hard to do, and isn’t necessary unless doing certain patterns like the basket weave.
This applies to the direction of your stipple as well. Work away from what you just stippled so that you can clearly see what you just stippled. This will keep the new stipple from bleeding into the previous one and distorting it. This is important for patterns like the basket weave or starburst where you don’t really want overlap or stipple distortion. Not a big deal for the random dot pattern.
Finding a stable way to hold the firearm is also very helpful. Travis Polinger likes to use a rolled-up towel. Other than that, you can use parts of your body, a flat surface, or anything that helps you be stable and consistent.
So that about covers the basics. Your imagination is the only limit when it comes to stippling. The key is to practice. Practice your fundamentals and different designs on something other than a real firearm. Cheap airsoft guns are a good alternative because you get to practice maneuvering all around a grip. Either way, grabbing something plastic and practicing pressure and taking your time is helpful no matter what it is.
Matt Sandy is an Austin-based gunsmith who competes in both USPSA and PRC matches.