


Read Part 1 here.
Day two of the Government Training Institute – Legion’s Precision Rifle With Elevated Shooting Course began, as with Day 1, in the classroom. The lessons reviewed stock and body positioning – as centered in the chest and as much contact with the earth as possible, respectively.
In terms of shooting from a standing position, the rifle was towards the center of the chest with legs spread wide and knees locked. Again, this differed from the standing position I had learned previously – feet approximately shoulder width and weight on balls of each foot. The increase in stability using the new (to me) methods taught in the GTI course were noticeable.

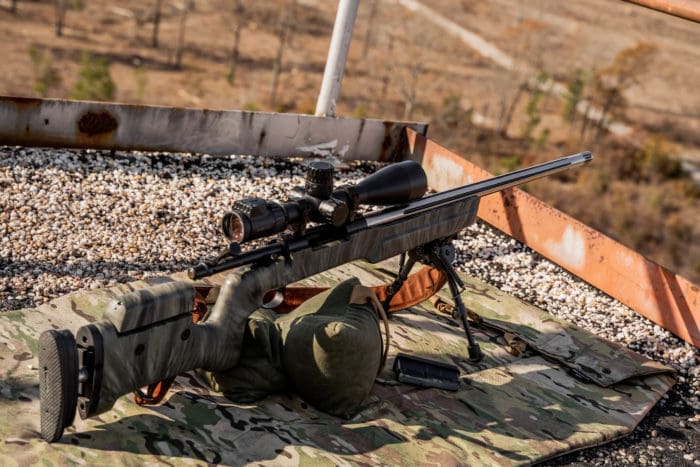
Tommy and Chris then went into novel territory not covered yet in our course. They described the effect of angled shooting on calculating distances and thus riflescope adjustments and holds. Some of the targets for Day 2 would be at extreme angles. When we reached the tower, Tommy set up one of the rifles on a tripod.

He then demonstrated the appropriate positioning to engage such a target.
Chris then coached Joe Marler of Daniel Defense on the positioning for the same target when the shooter is left-hand-challenged.

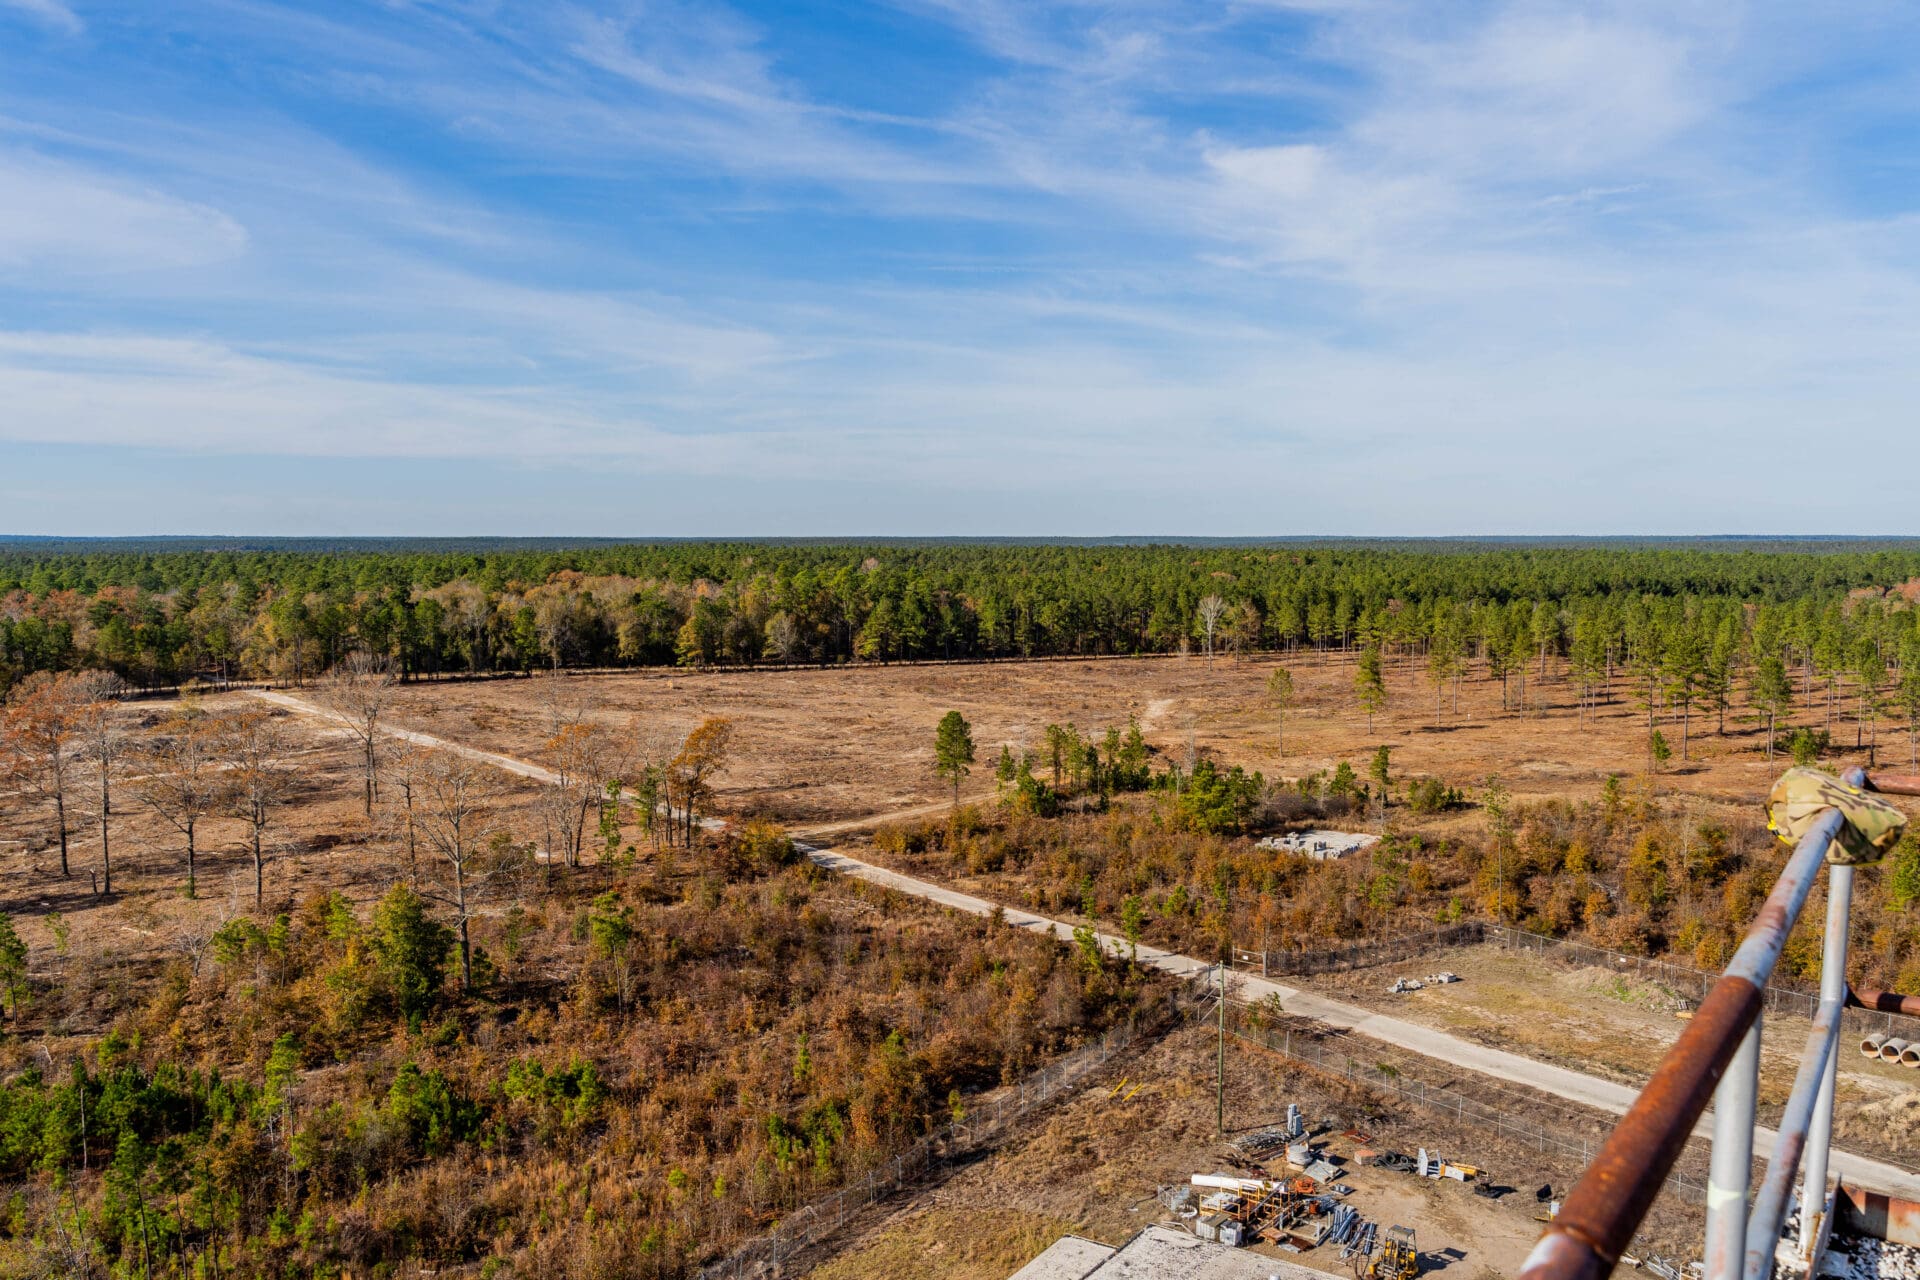
To go back a step or two, it should be pointed out that we walked up 10 flights of stairs, and then climbed a ladder to reach the roof aerie that provided our shooting positions for Day 2. (Many of us whined like three-year-olds, suggesting an elevator as an improvement for the course.)

Like Day 1, we needed to set up the ballistic solutions using our various rangefinders (mine being a Vortex Fury HD 5000) and the Kestrel 5700 Elite Meter With Applied Ballistics. Day 2 included 21 targets ranging in distance from 70-yards to ~750-yards.
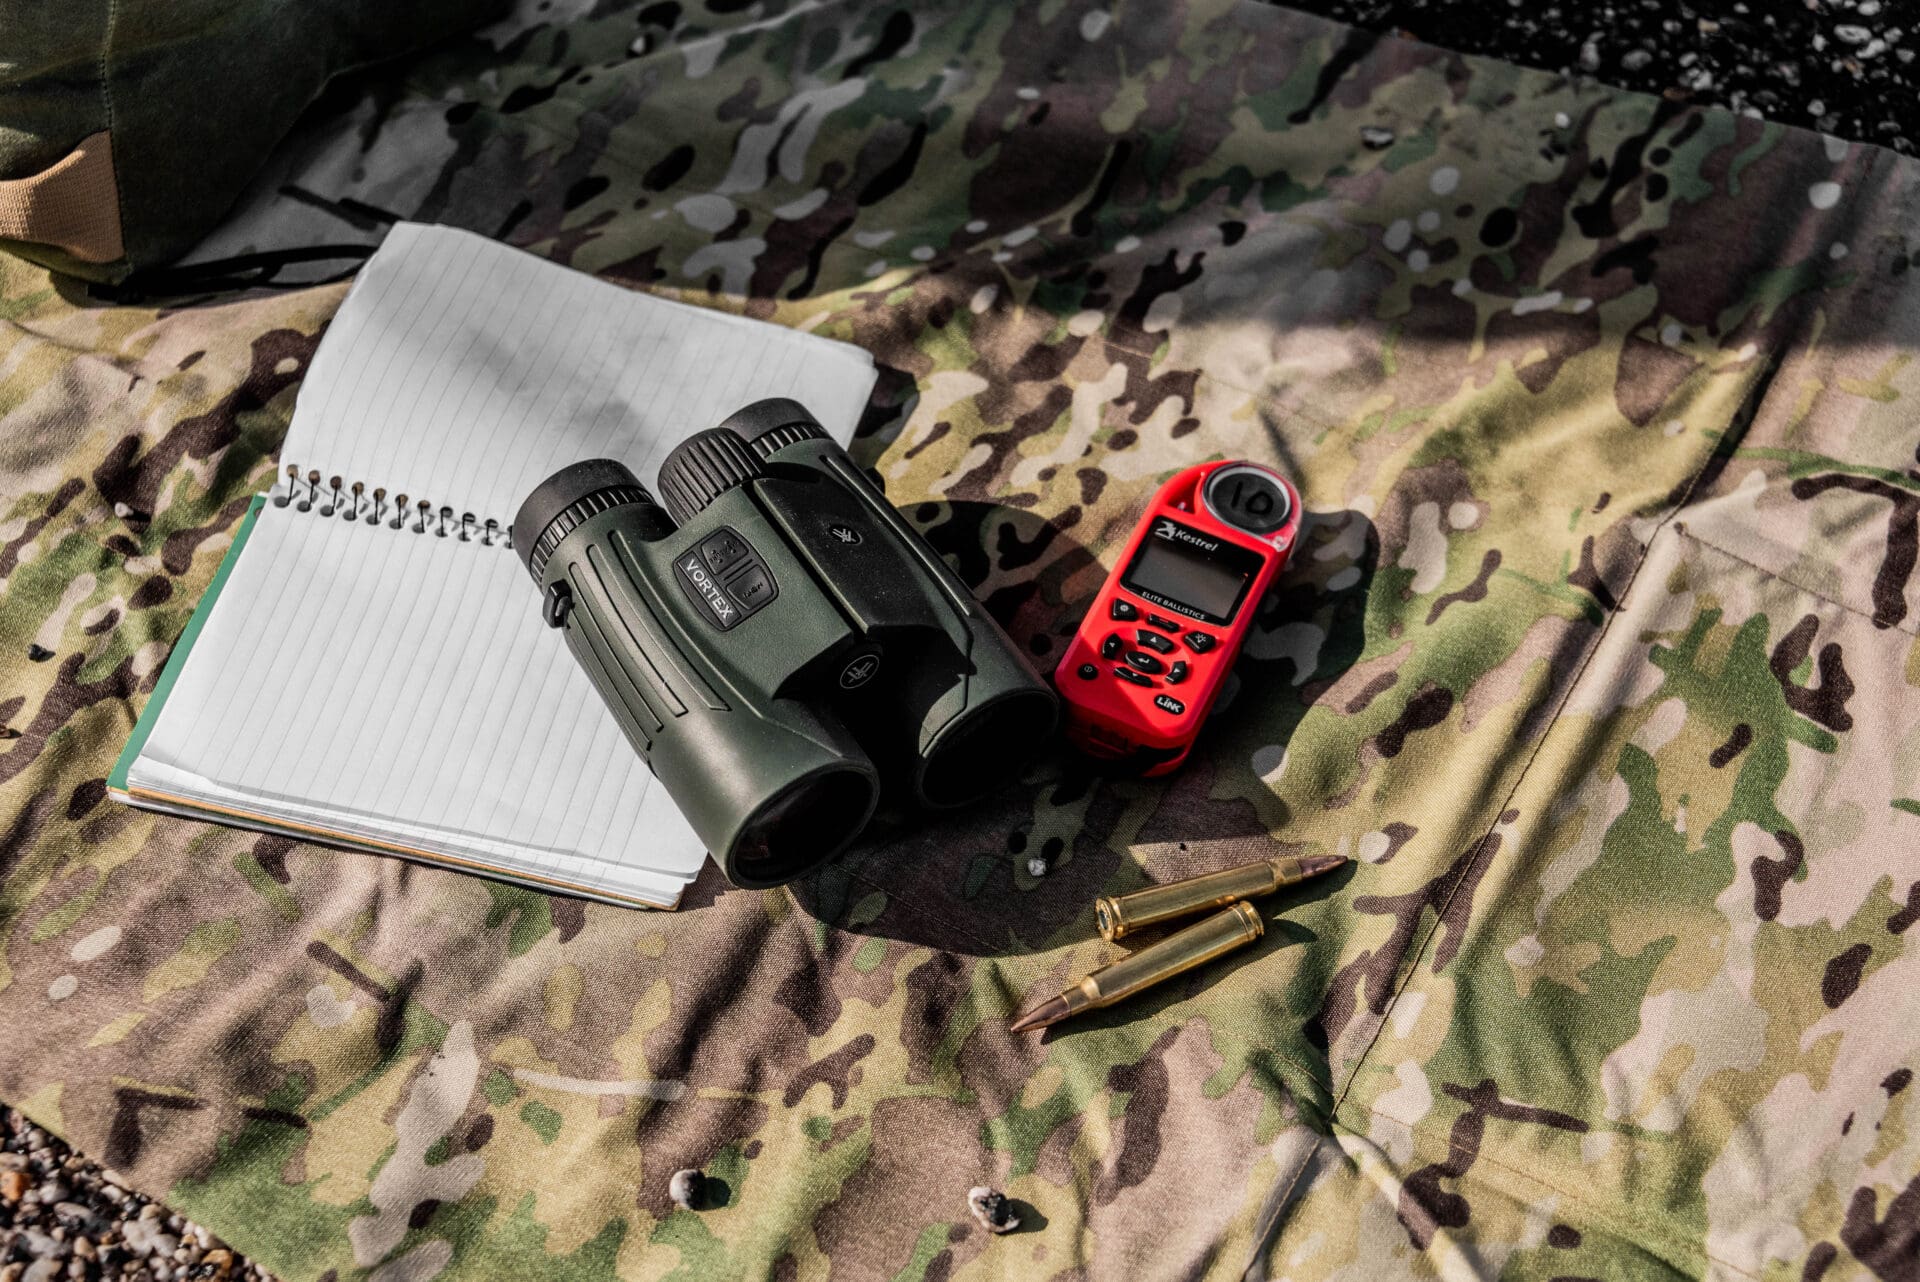
The data needed for the Kestrel calculations included wind direction and velocity, as well as the angle of shots relative to the direction of wind.
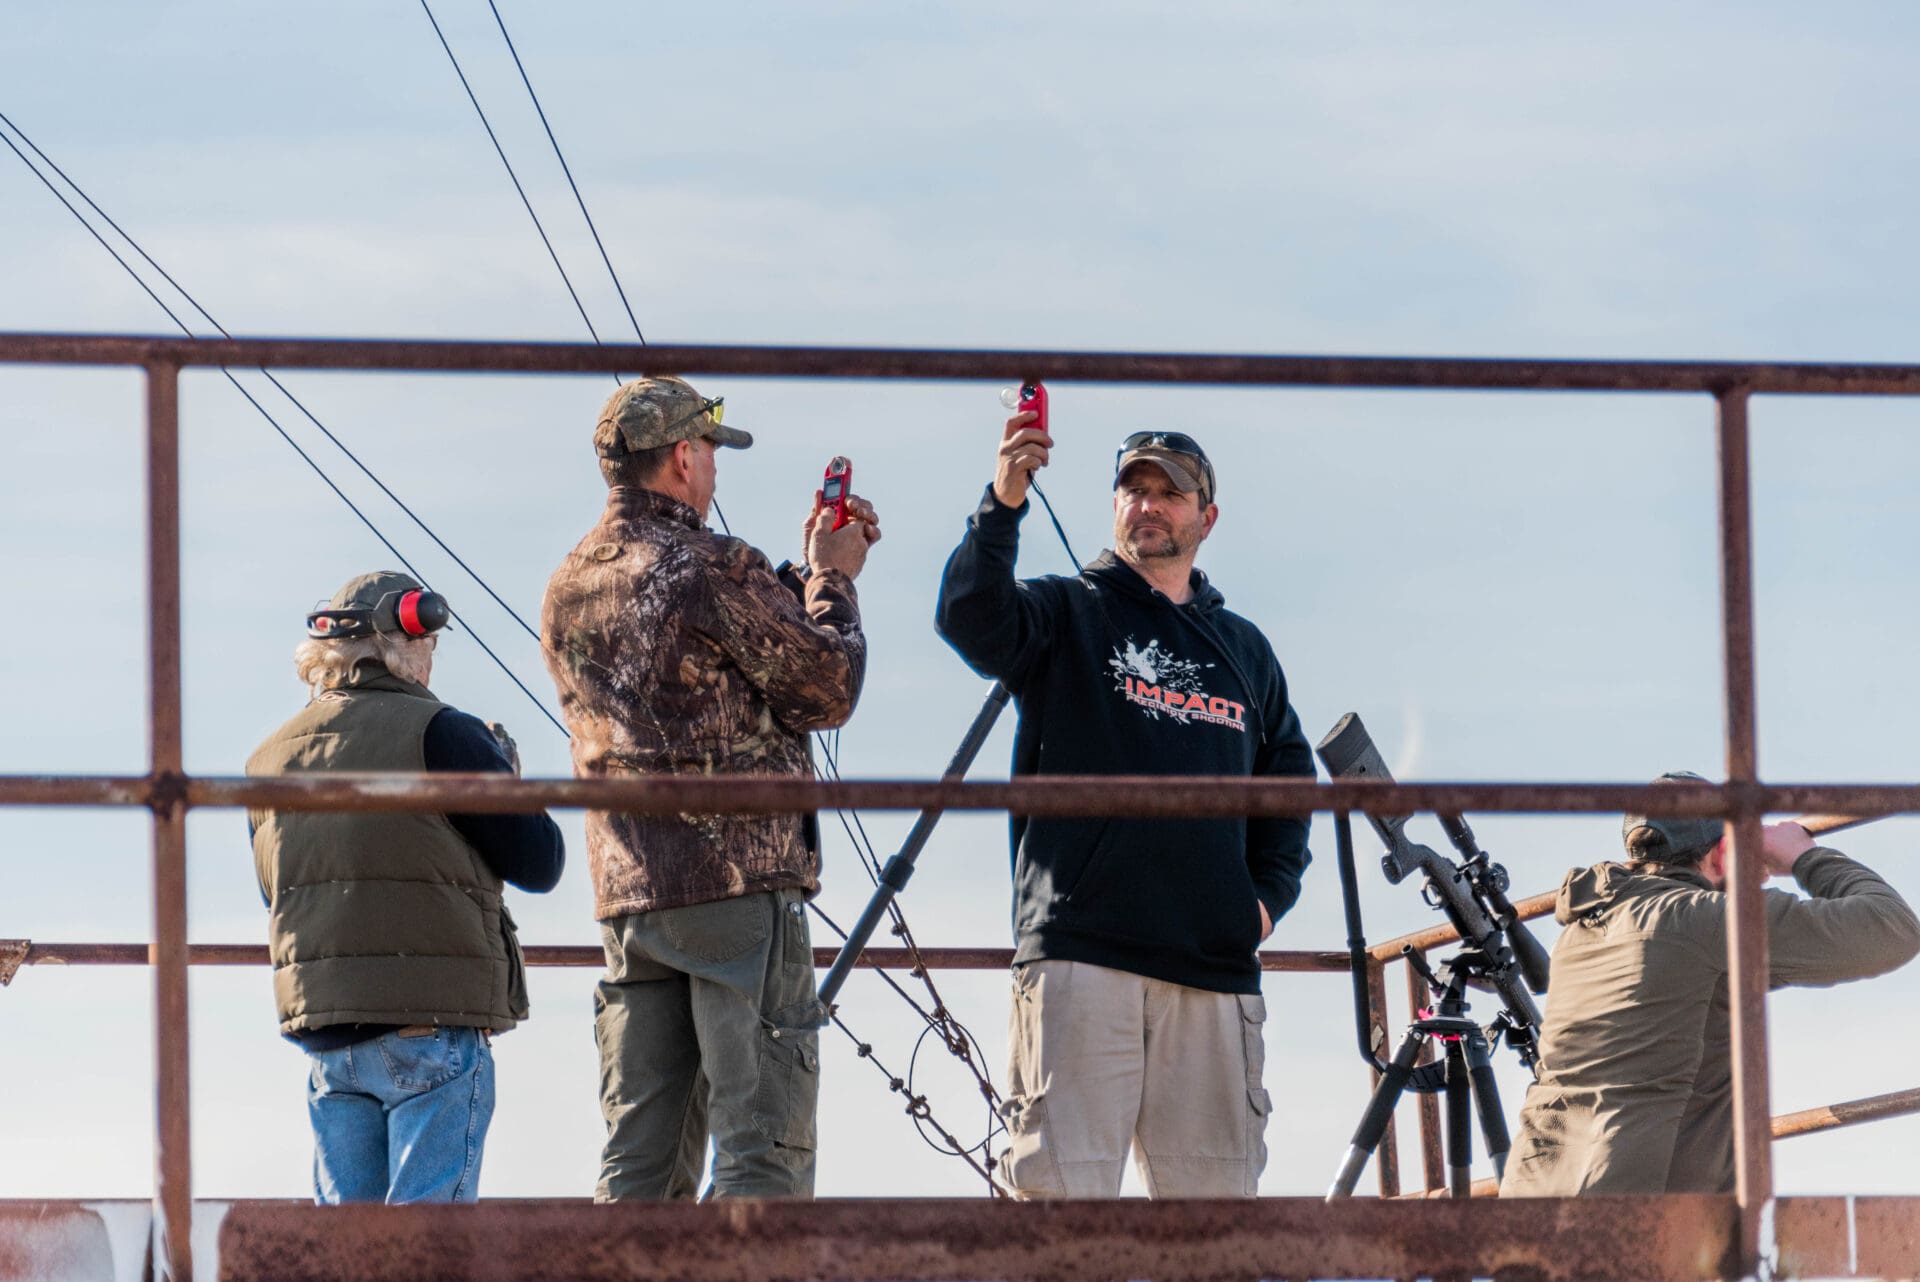
Tommy records wind speed for the Kestrel ballistic calculations . . .
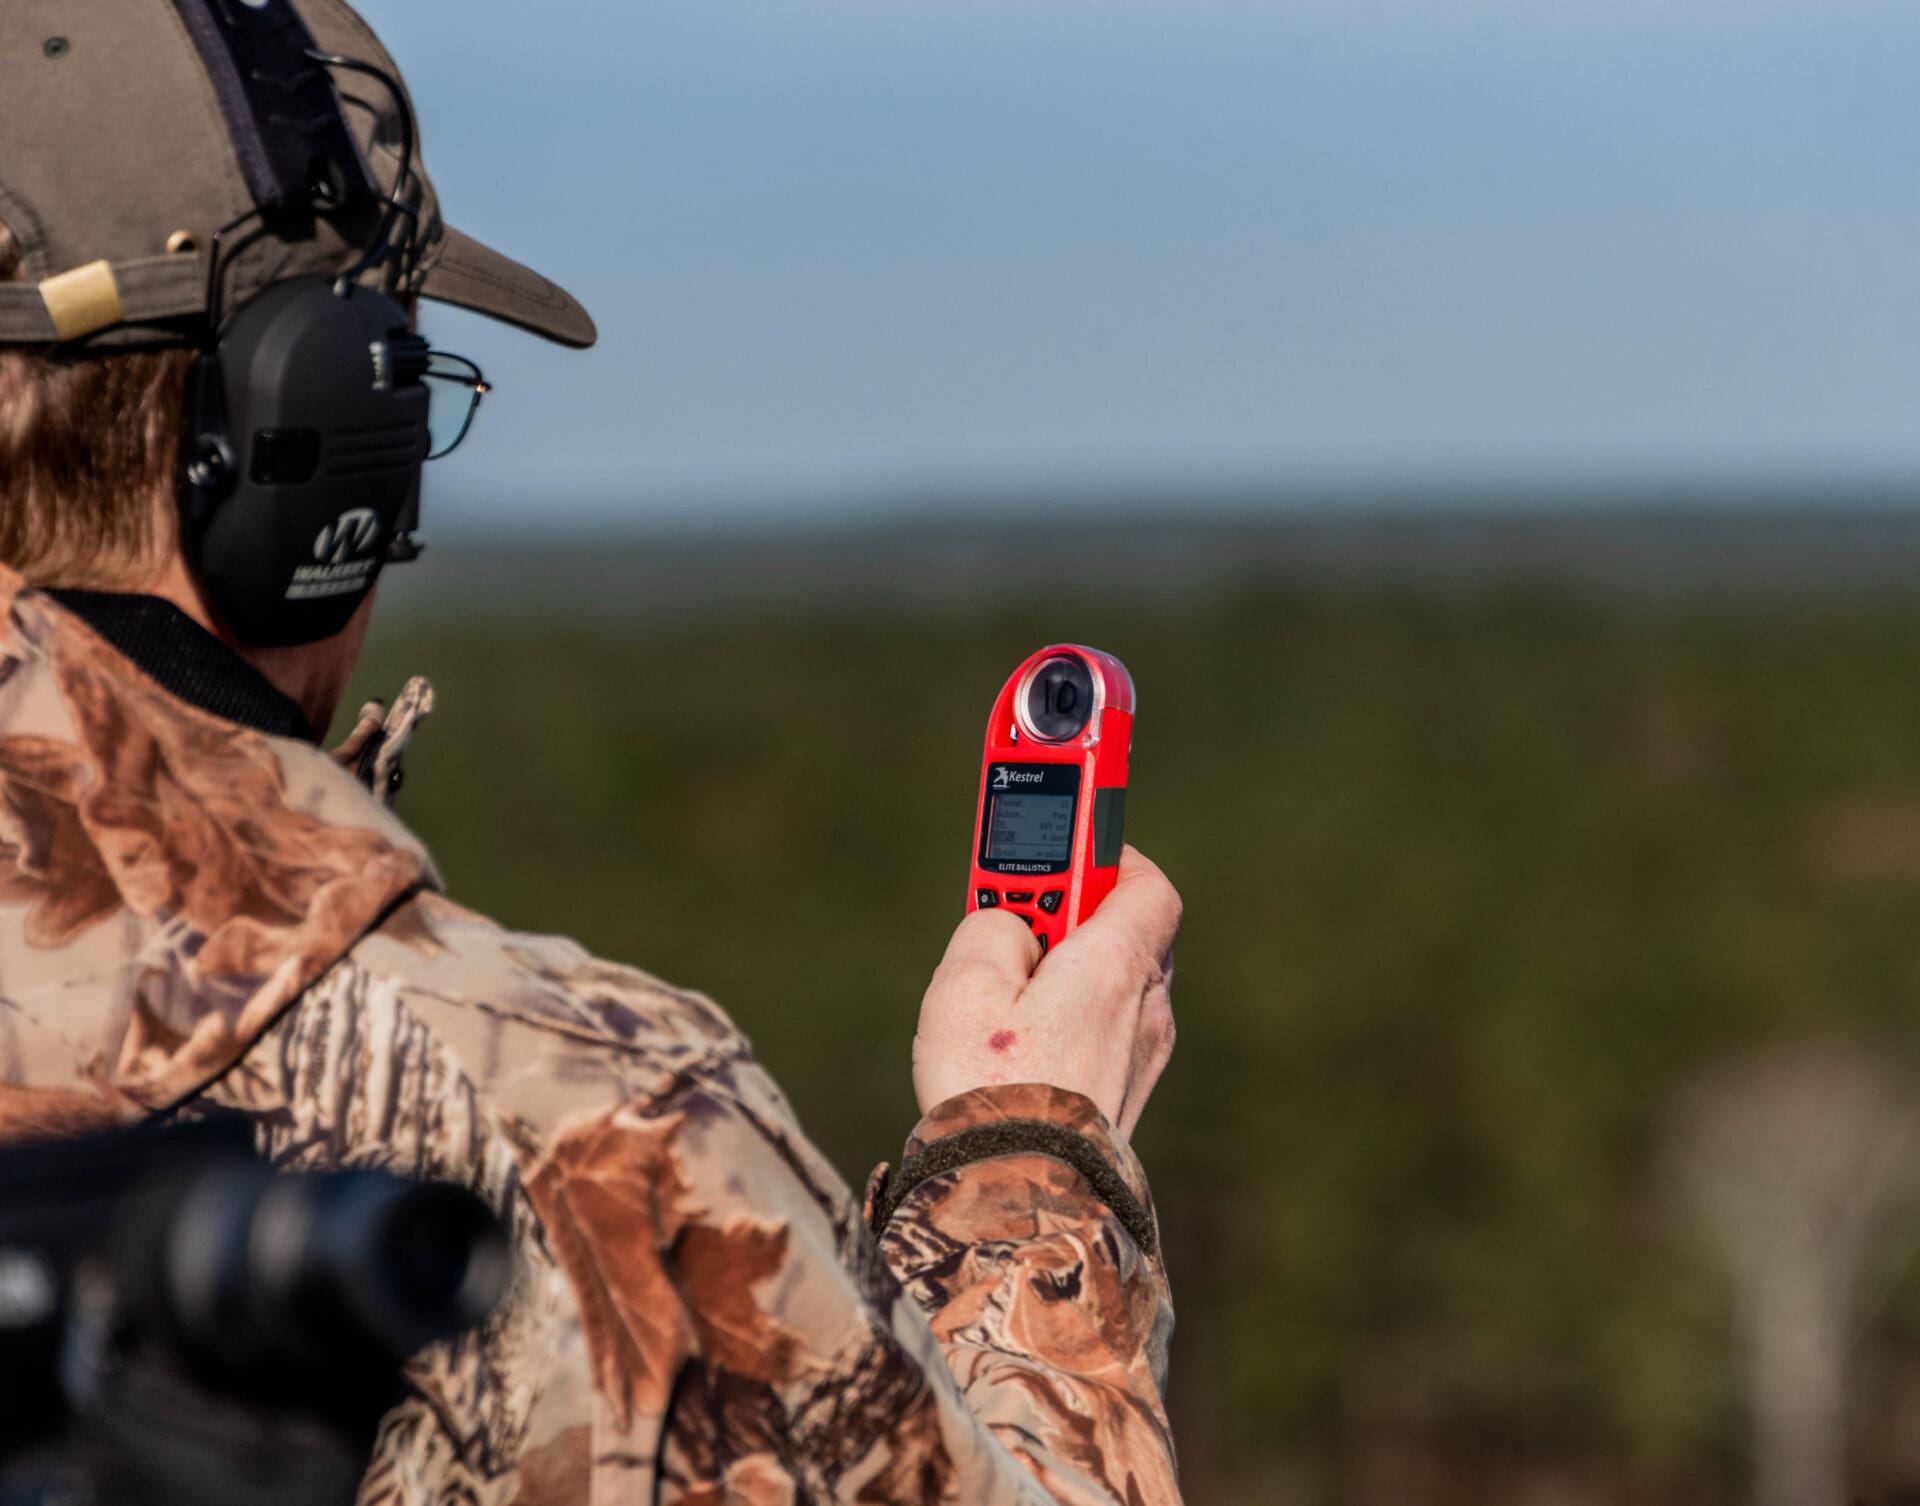

…while the author records angle of target relative to the wind direction.
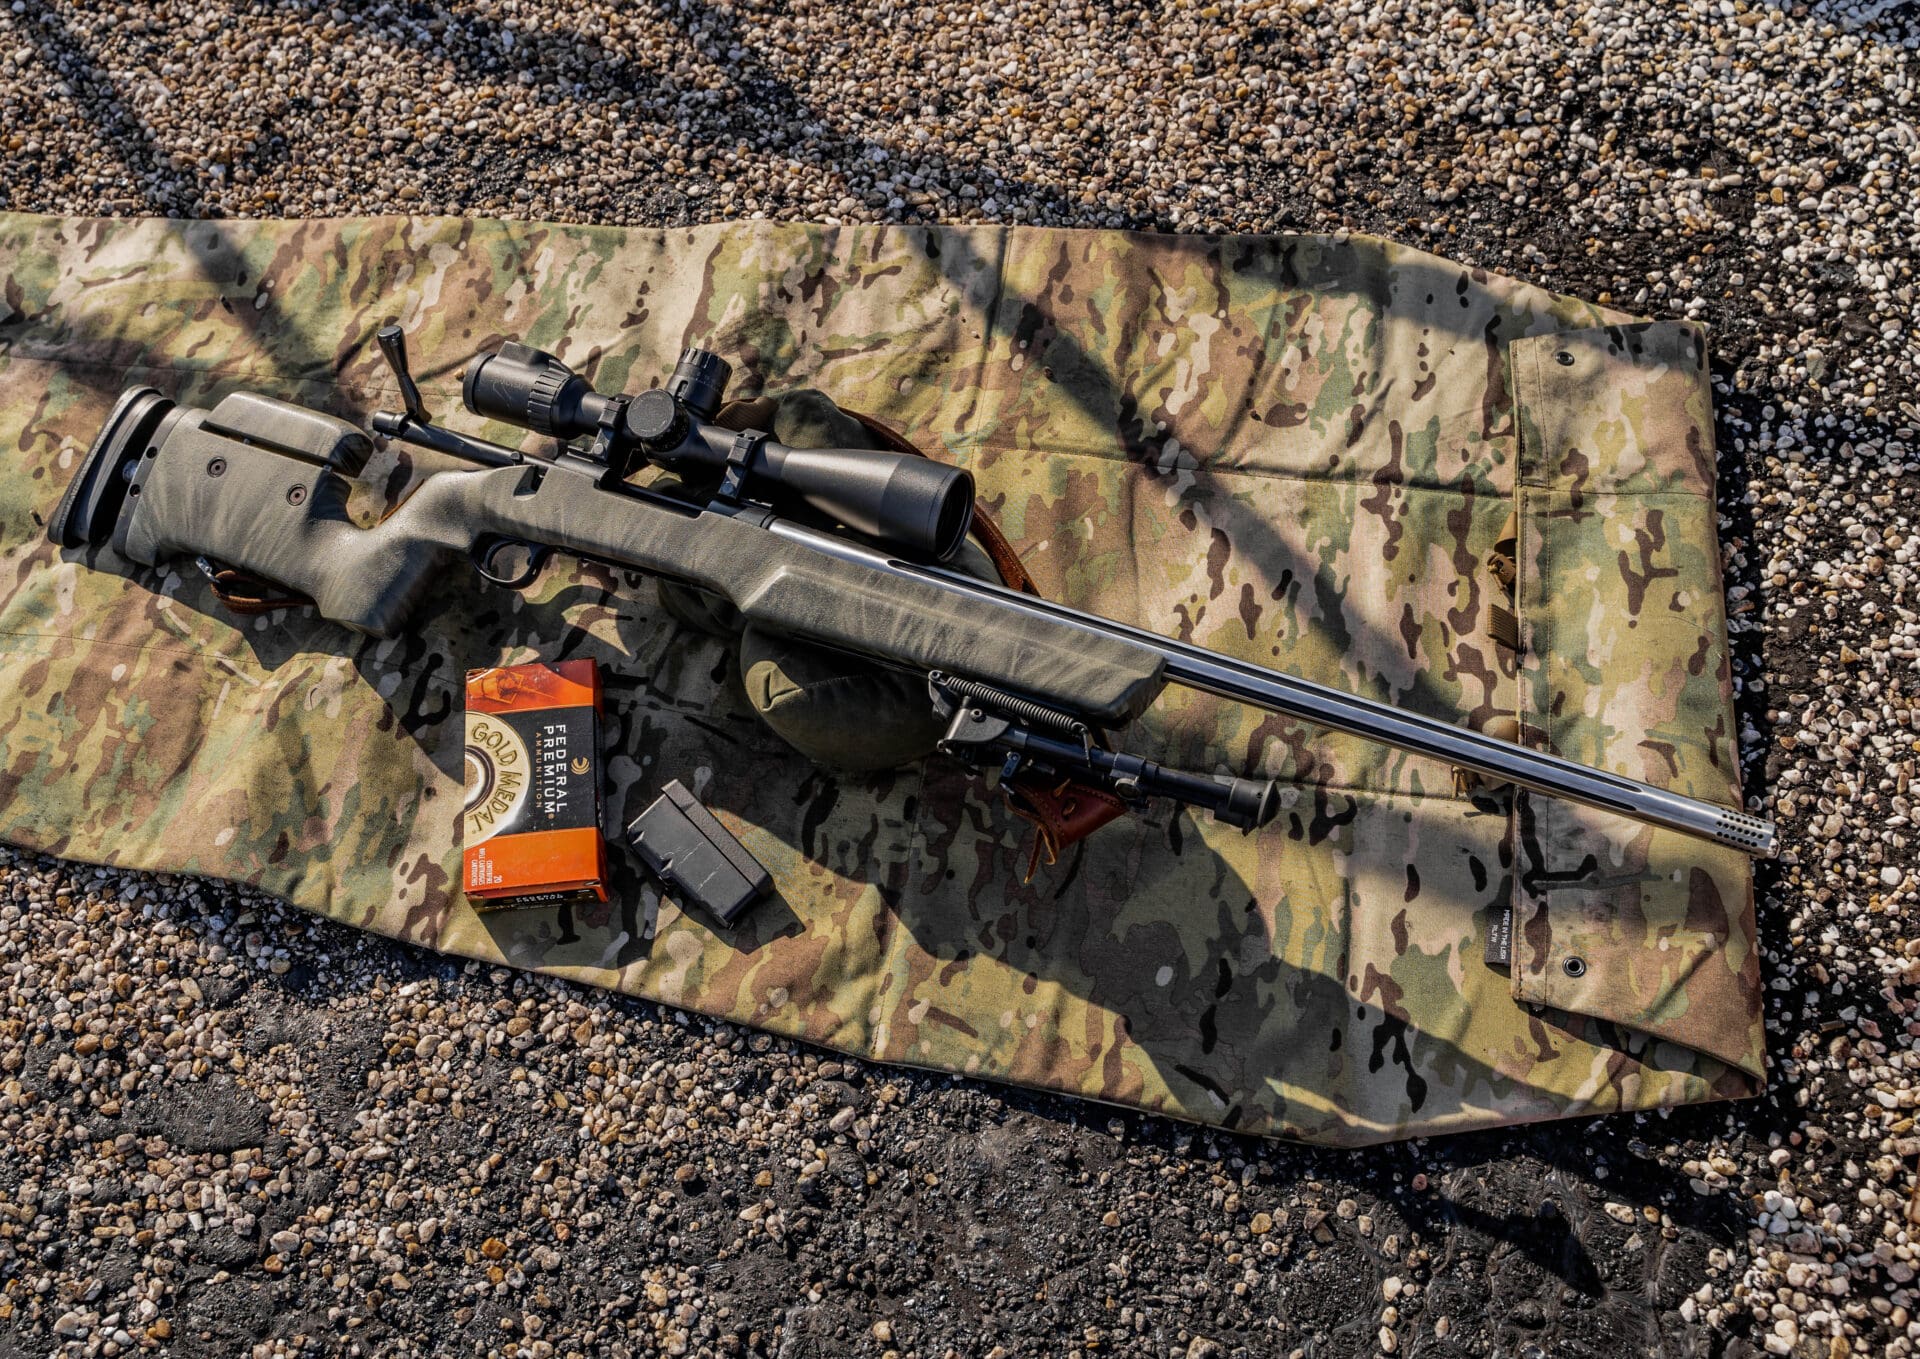
When firing at my first target, located at 456 yards, I reduced the total number of targets by one. The MG Arms Banshee in .300 Winchester Magnum, loaded with Federal Premium Ammunition – Gold Medal Match: 190 grain Sierra Matchking BTHP flattened the steel target.

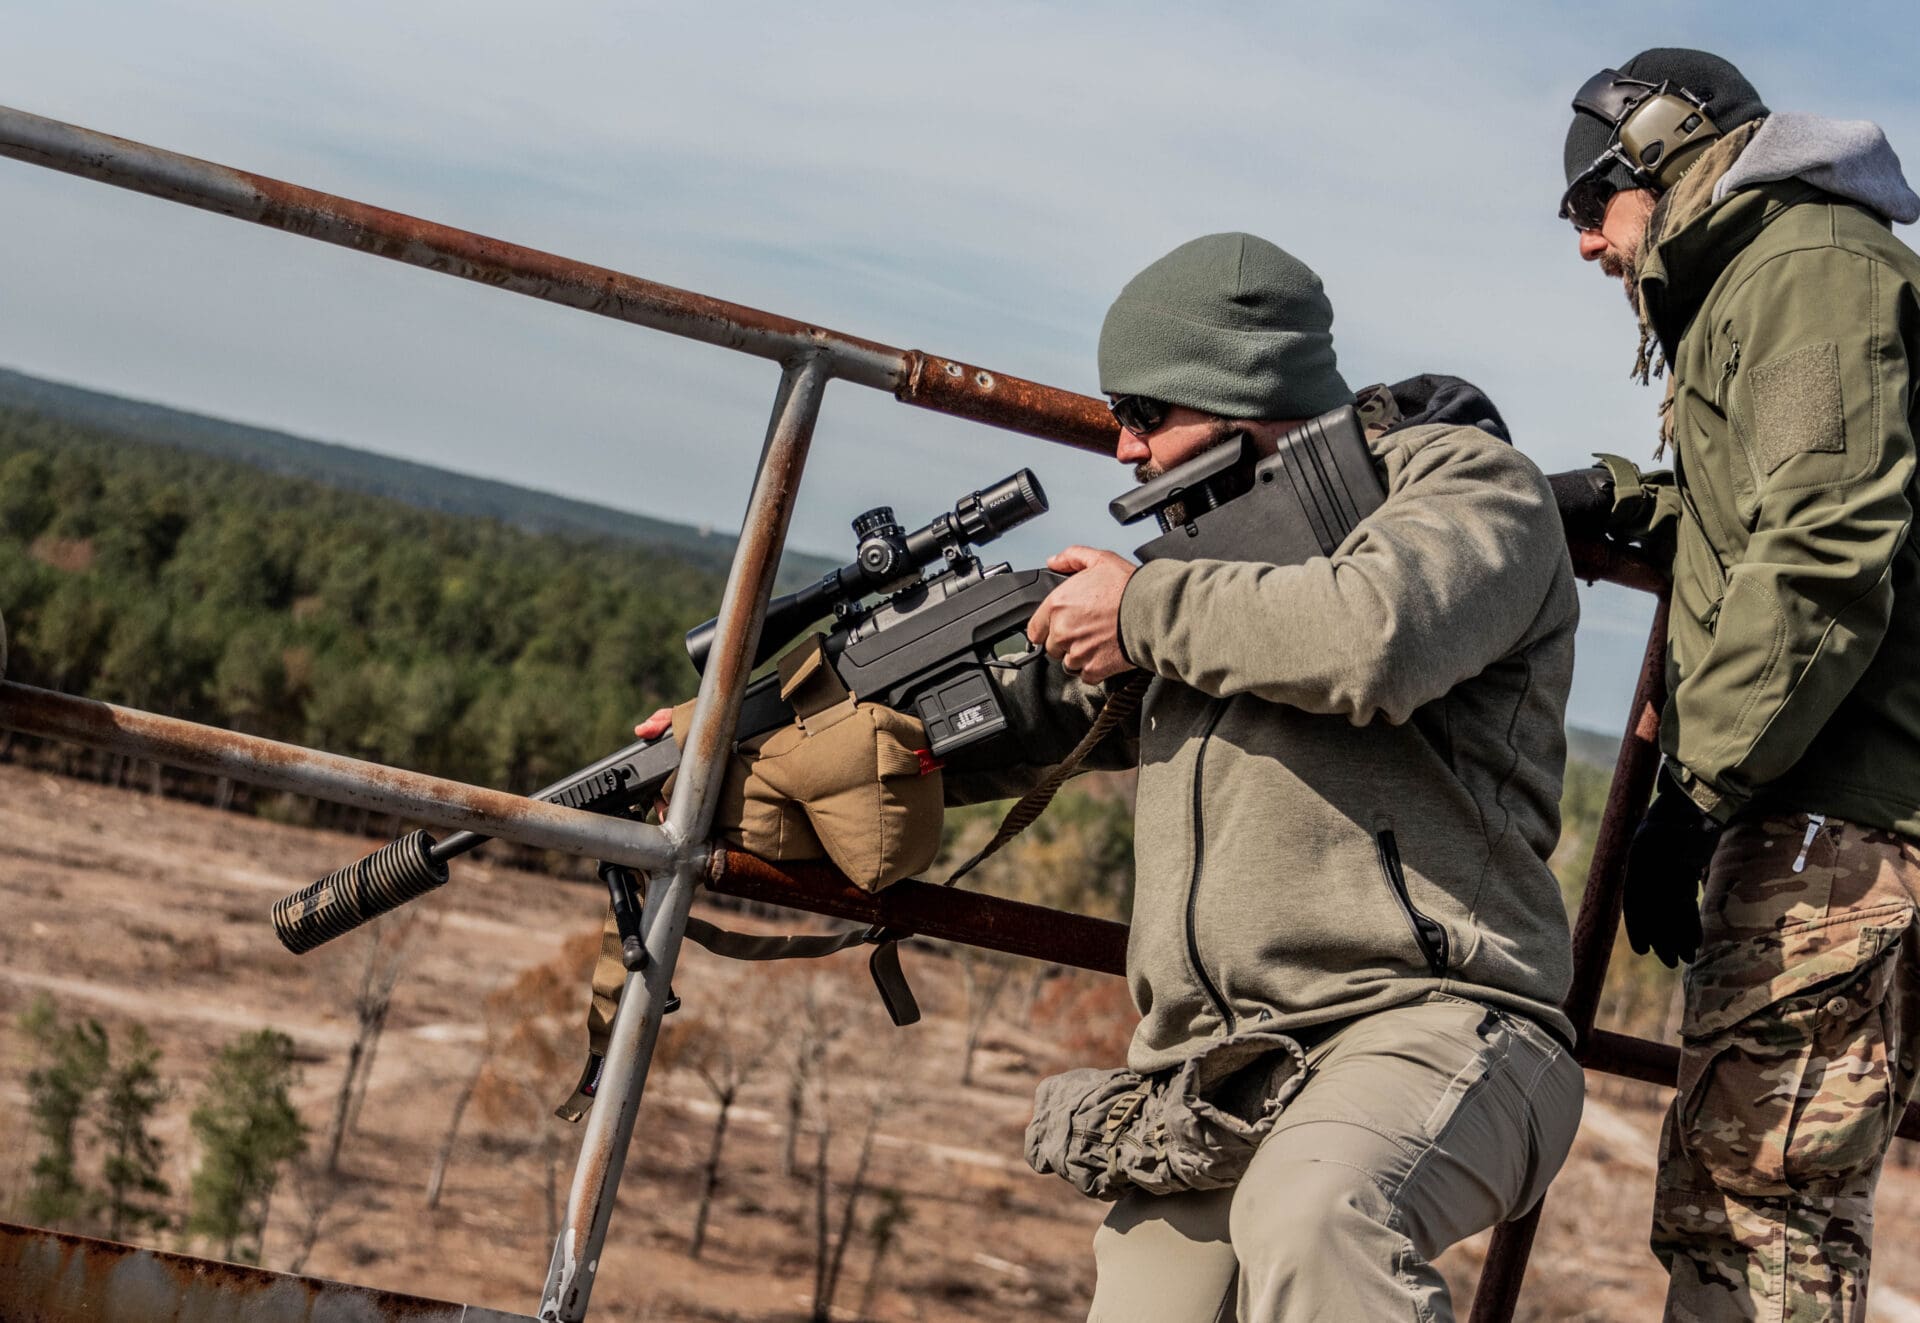
Once we had the ballistic solutions, we began our exercises. Firing from prone . . .
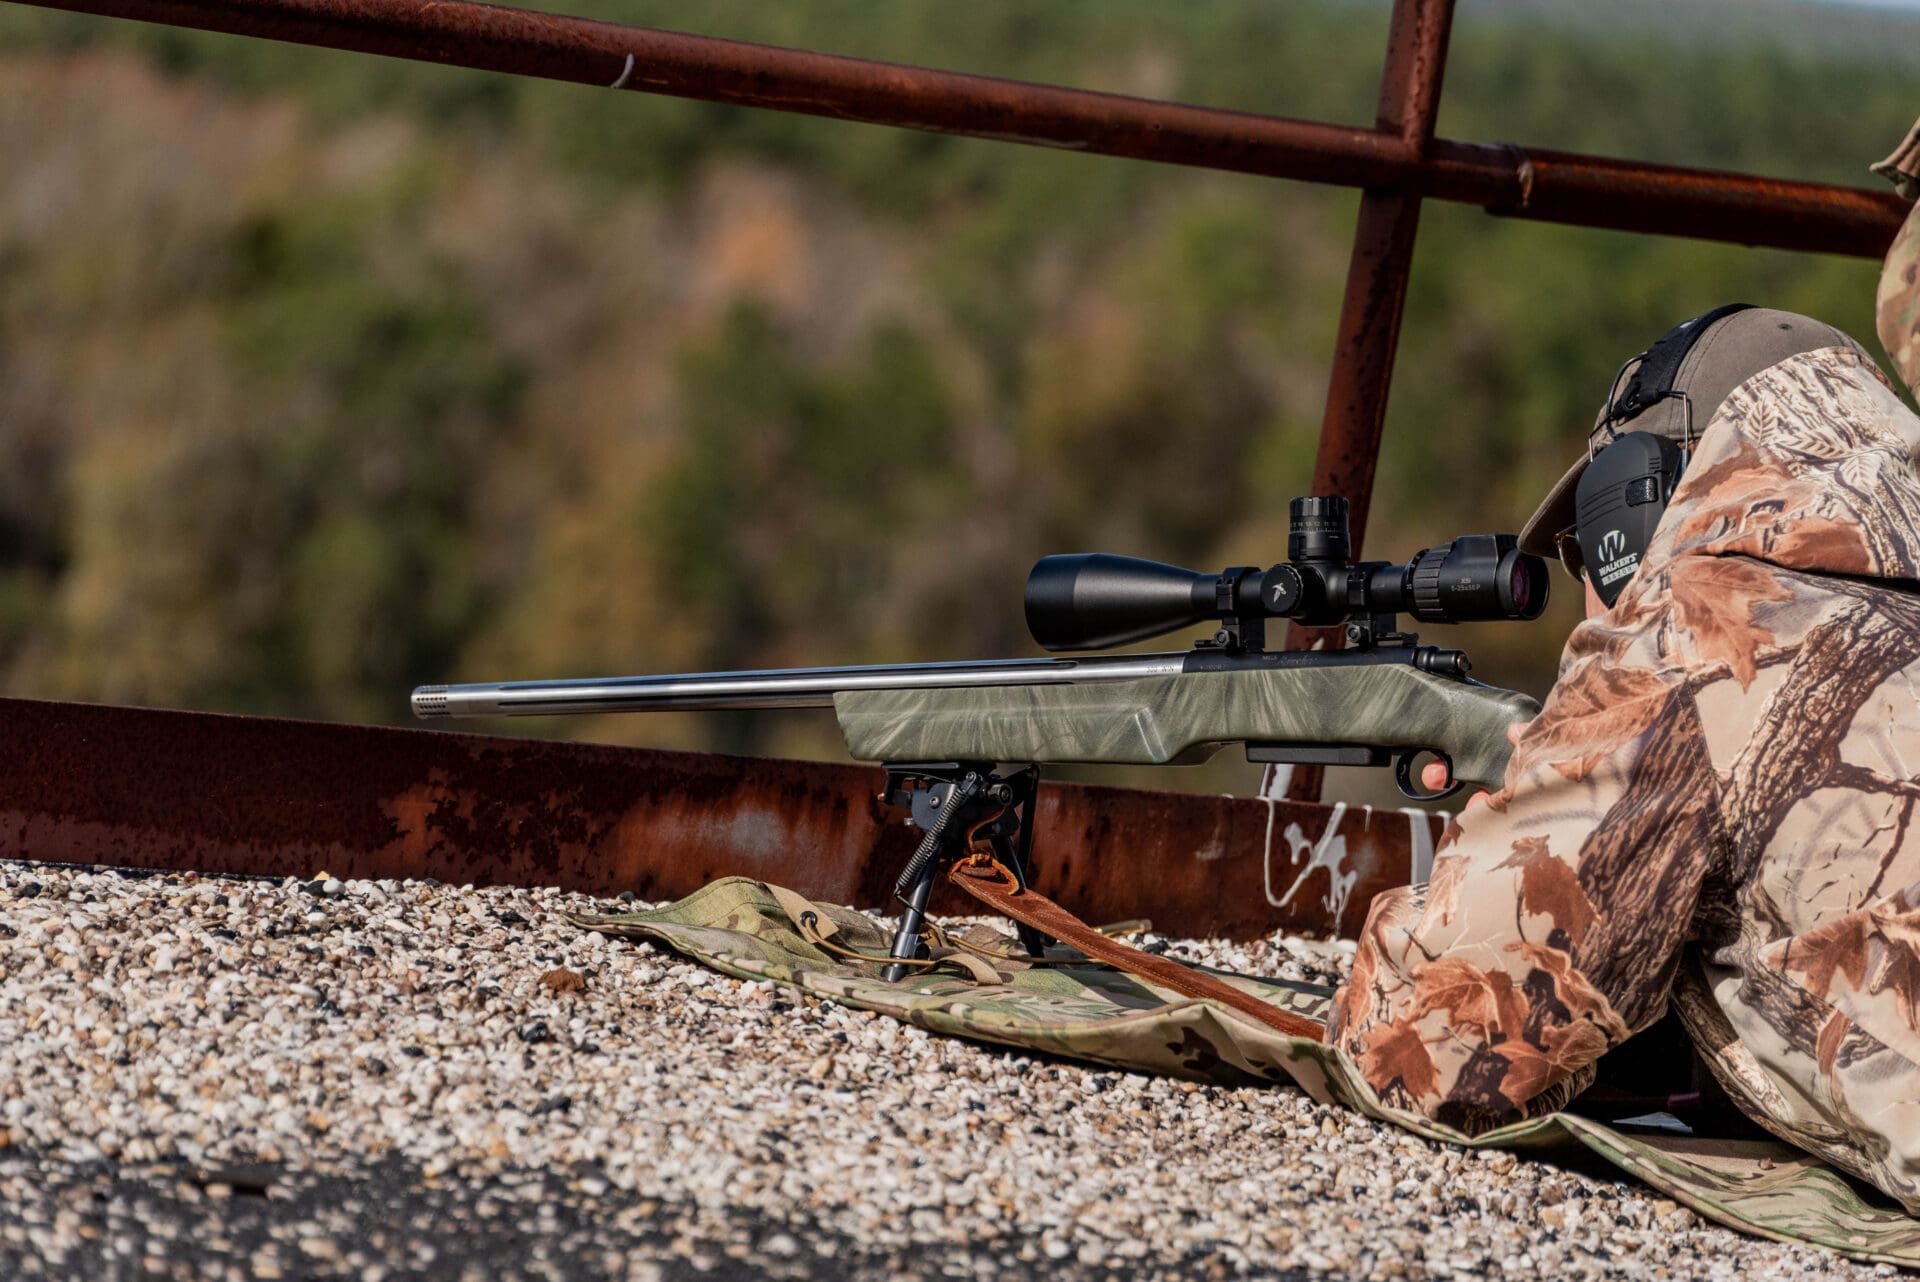
…standing . . .

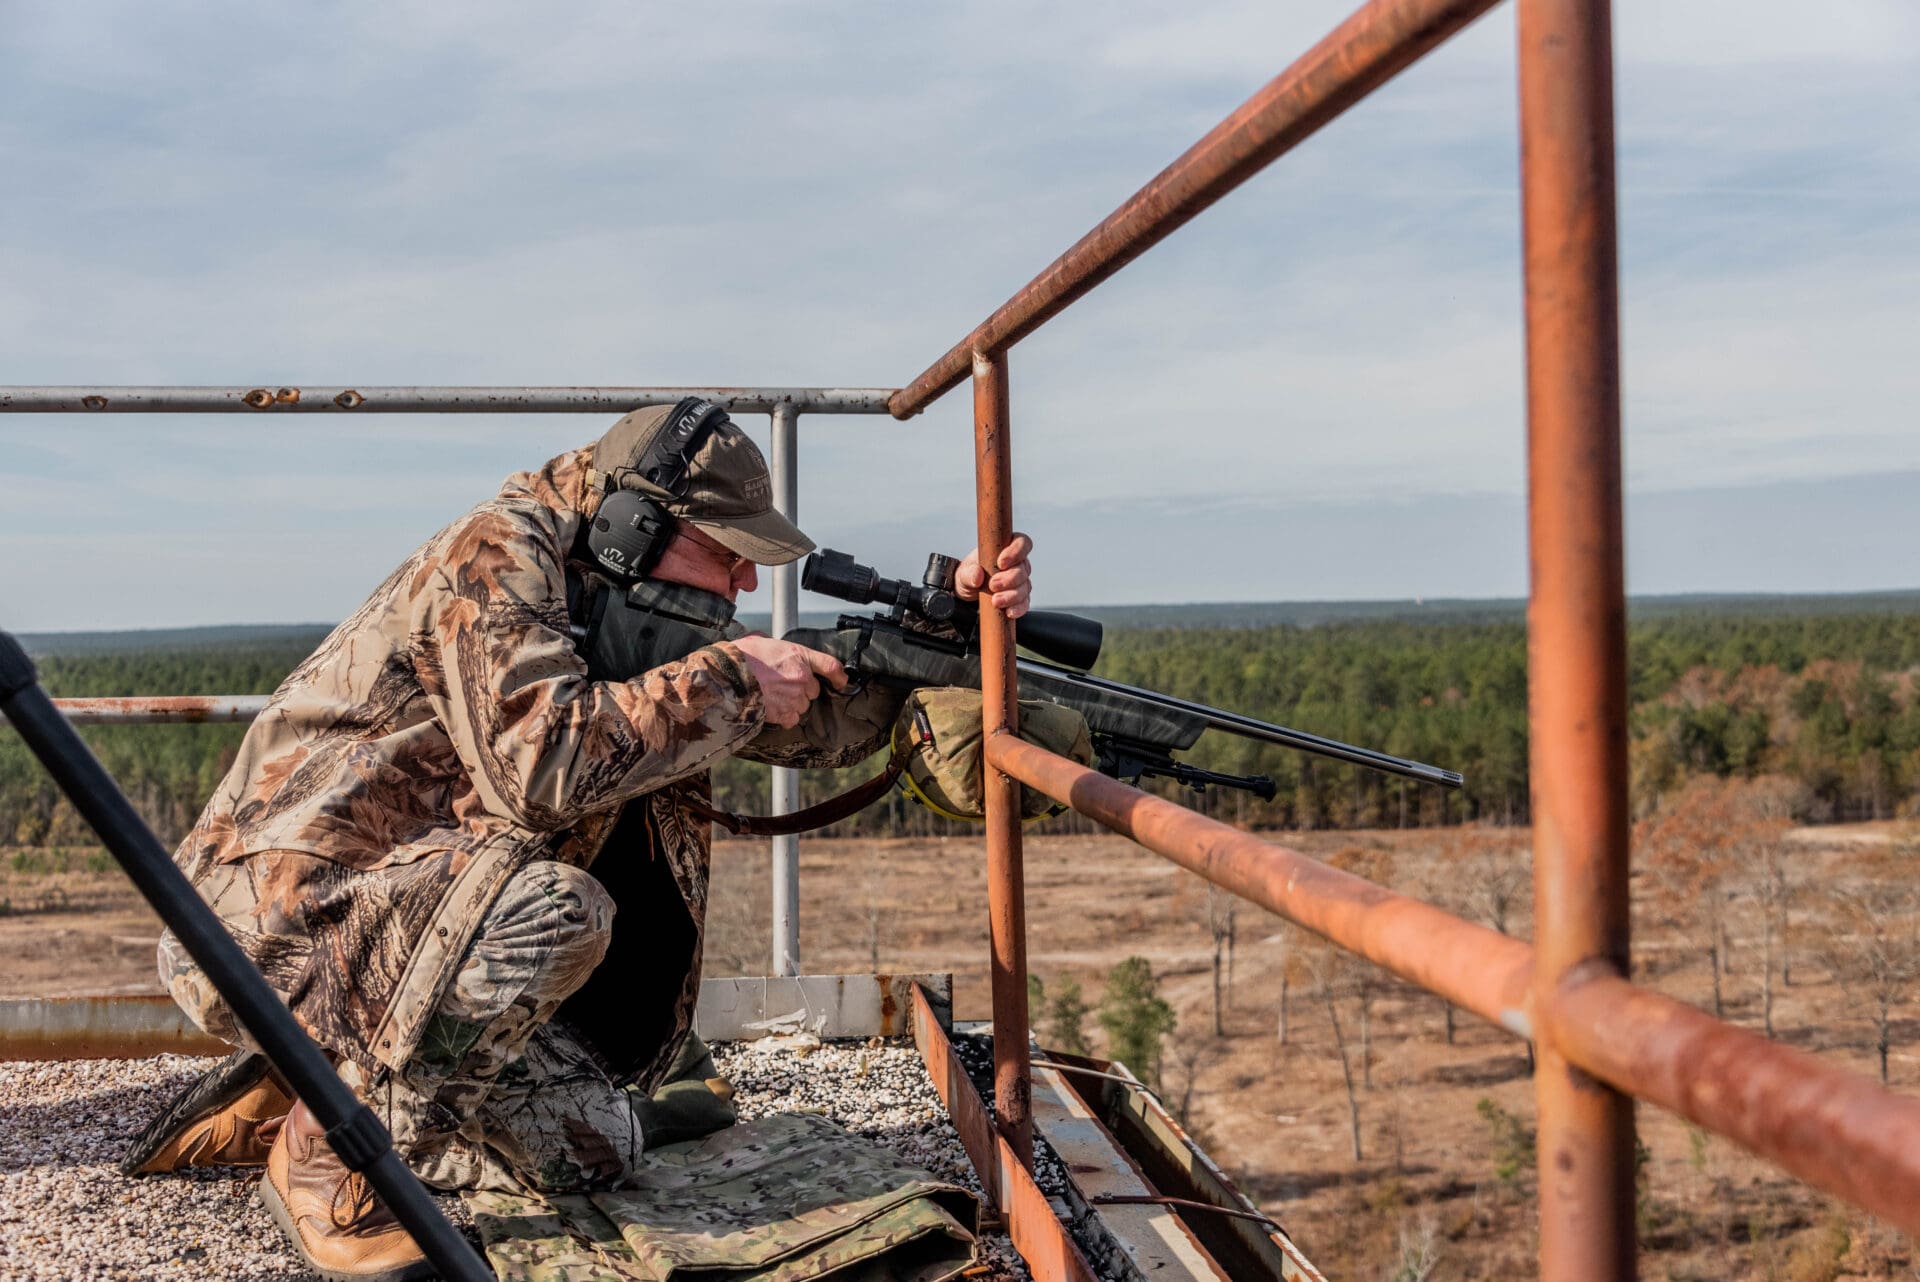
and kneeling positions at targets of wildly-differing distances and angles relative to our elevation as well as the direction of the wind.
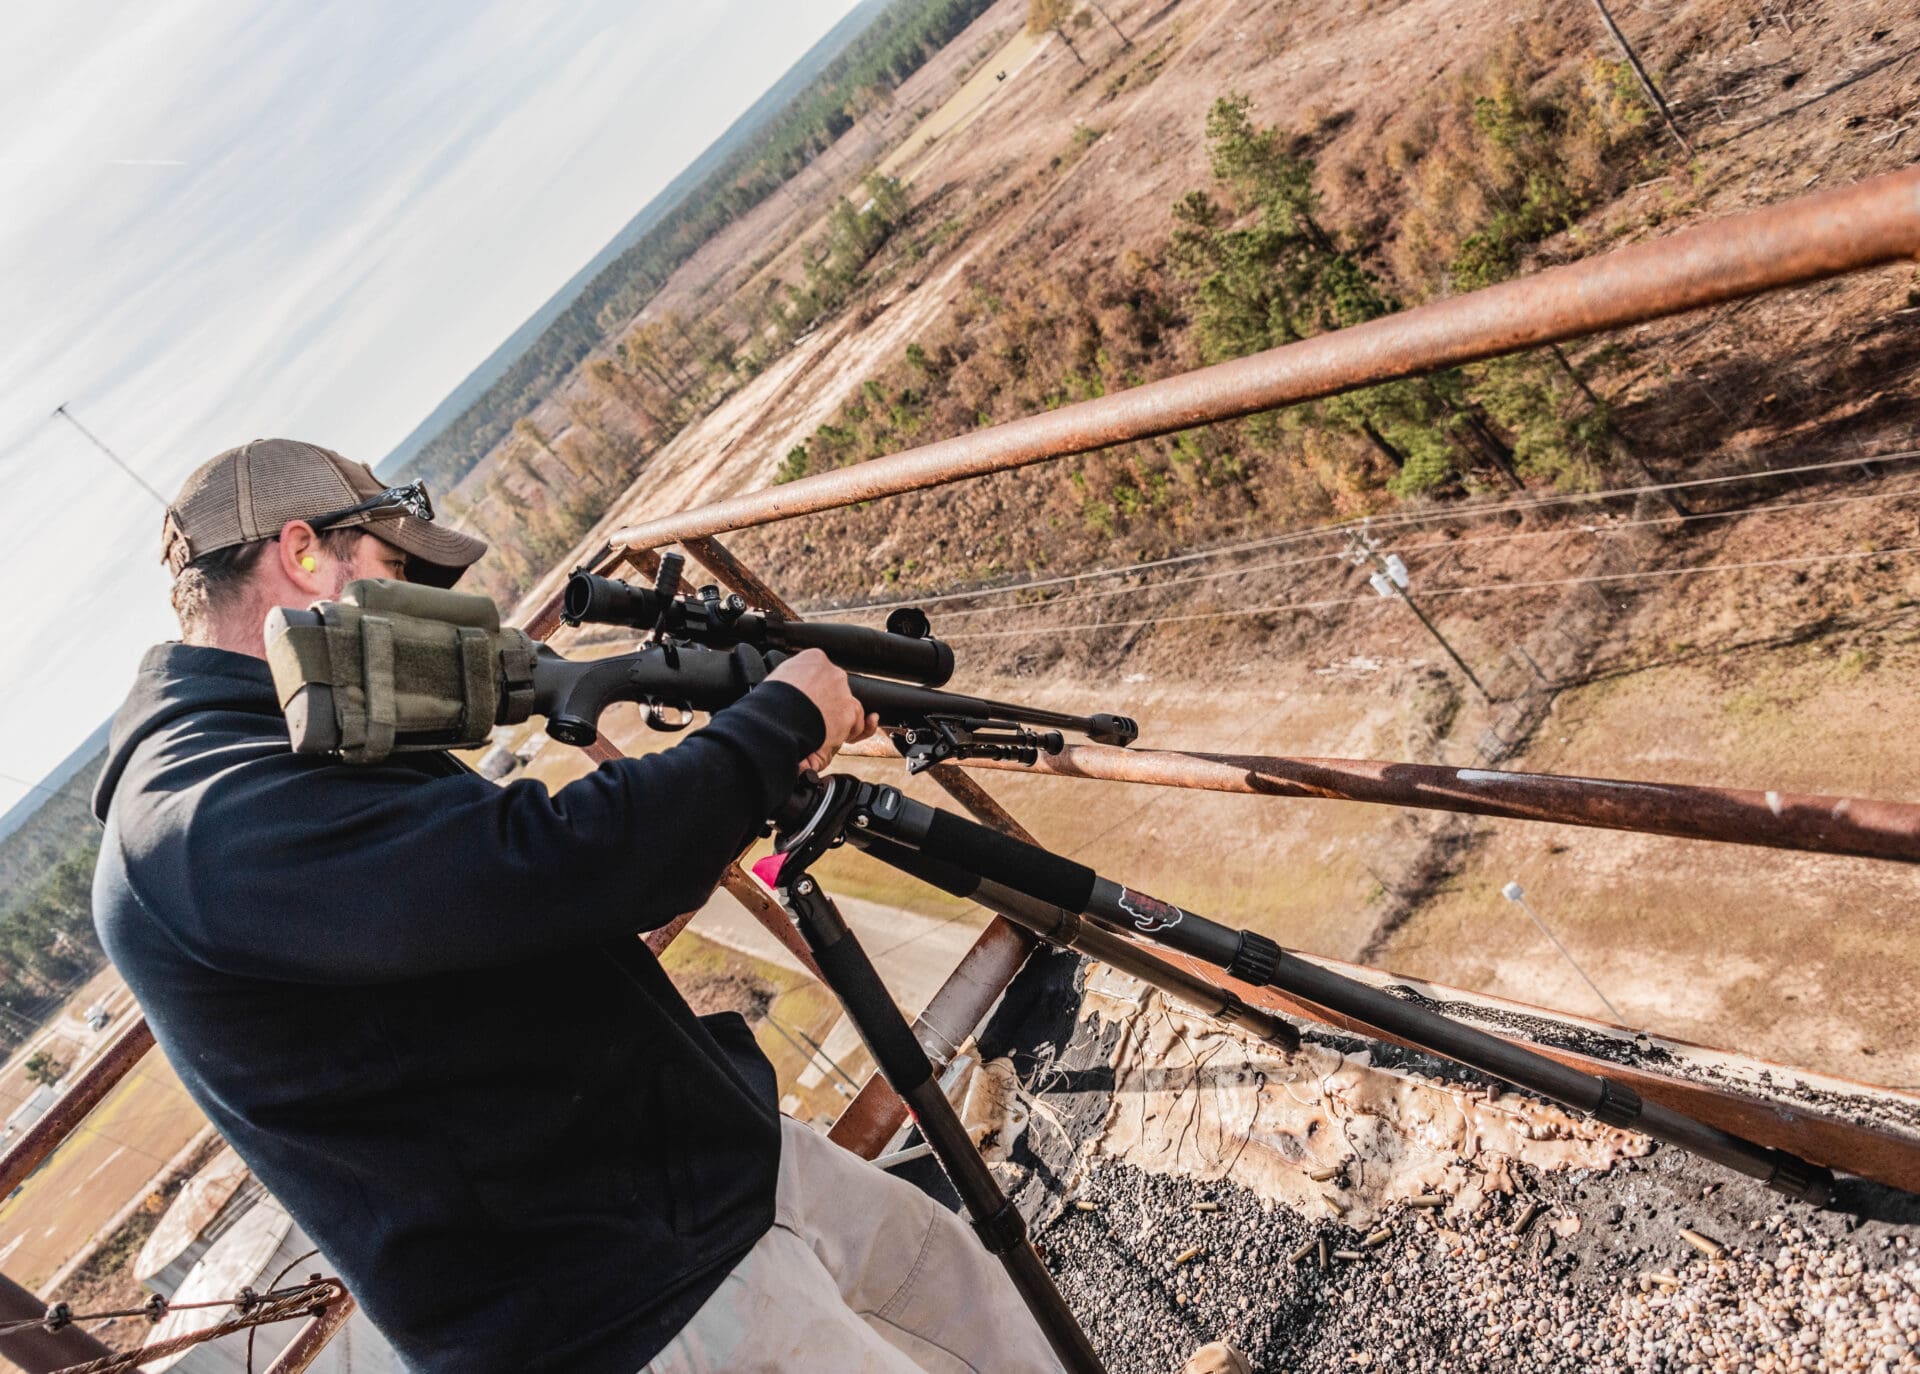
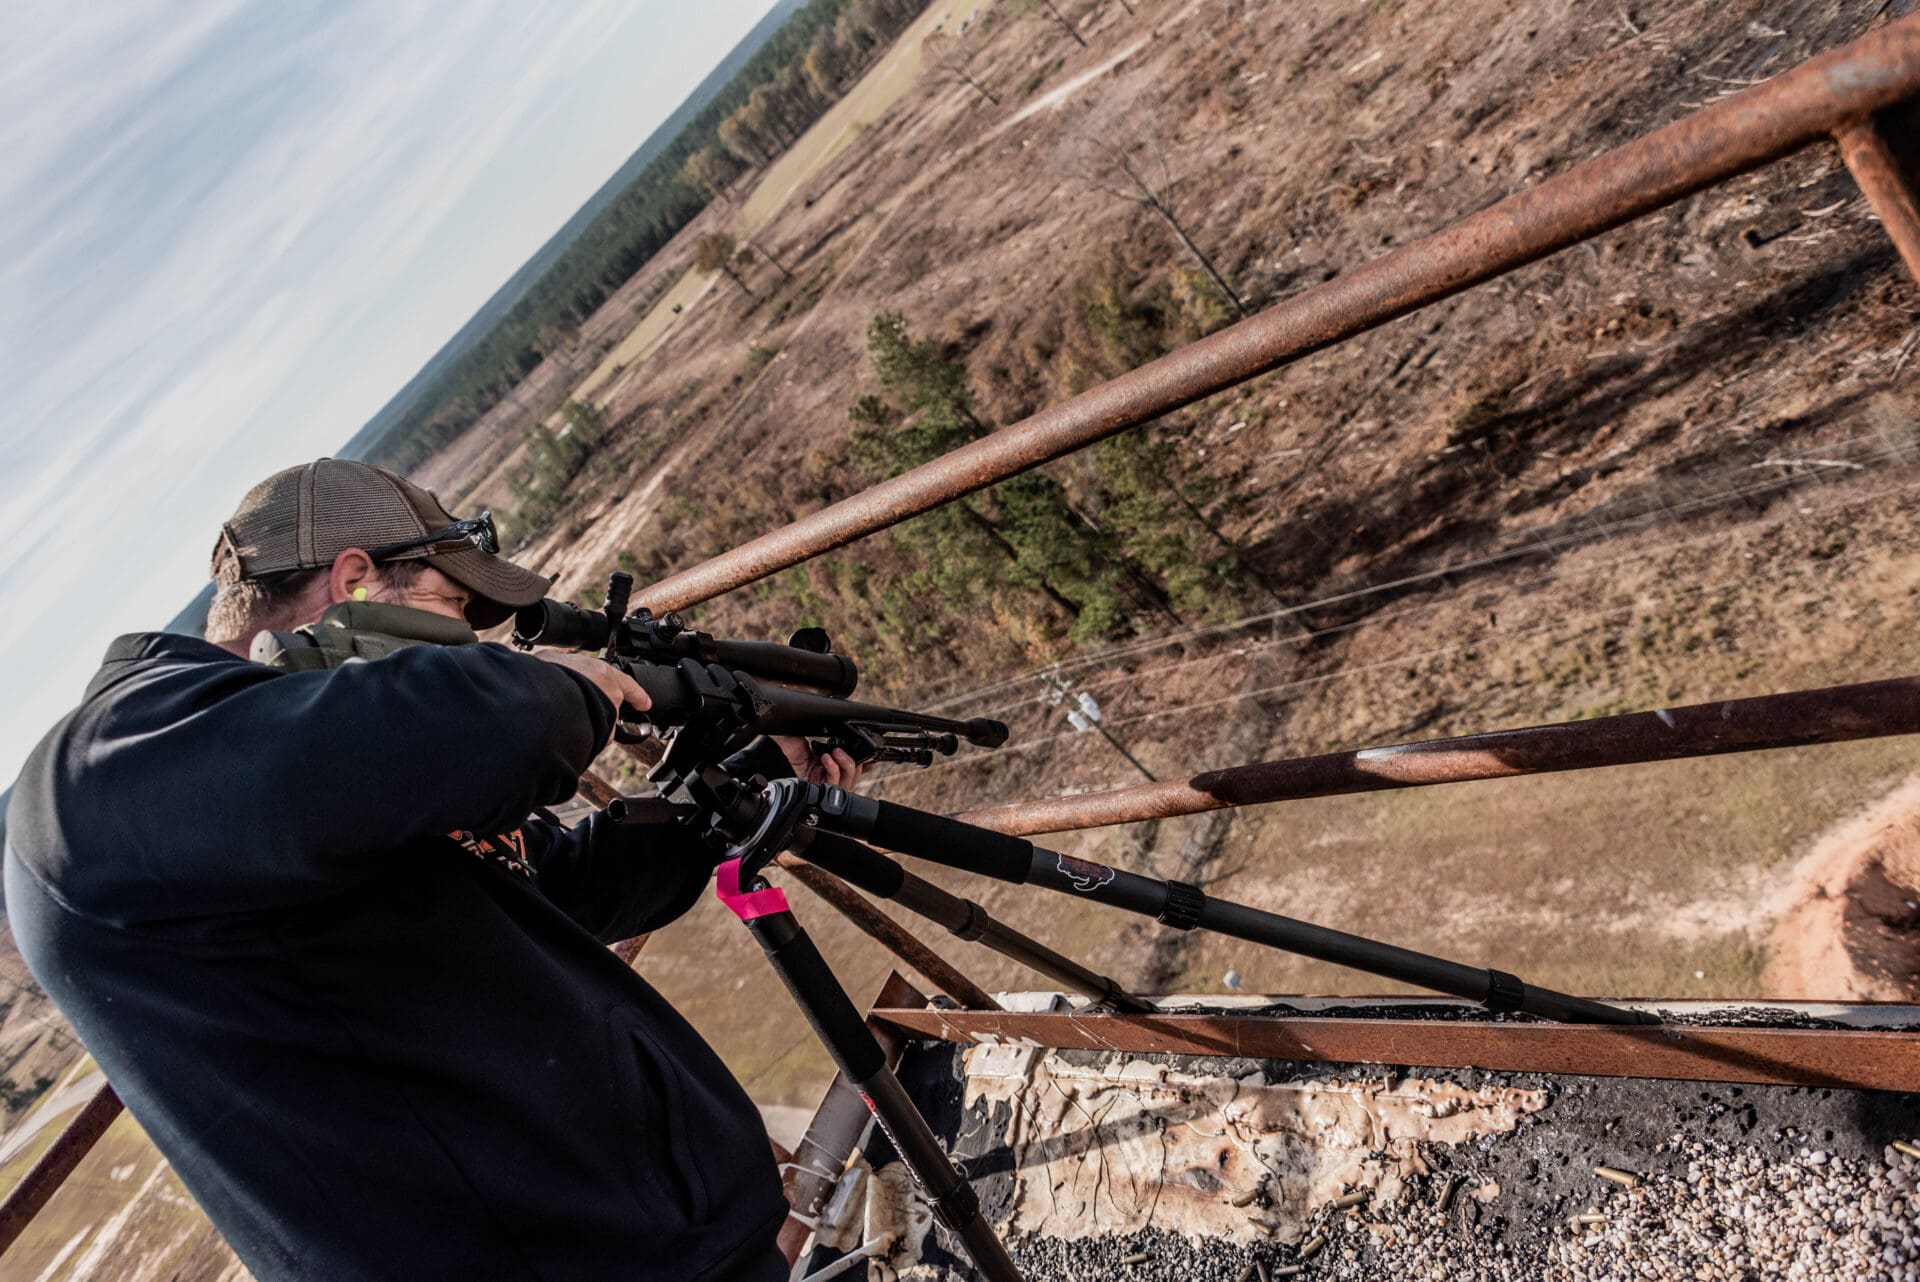
We were taught how to brace the firearm by placing our non-shooting hand across the scope and grasping the railing.
One point to make here is that a number of my classmates didn’t have either a shooting pad or support bag. As with Day 1, both were essential for accurate shooting – the pad for prone and kneeling positions, and the support bag for all positions.
Needless to say, those of us who had that gear (in my case, Armageddon Gear’s Ultralight Shooting Mat and Waxed Canvas Optimized Game Changer Support Bag) were happy to share with those who lacked them. By the end of our course, several of the shooters had gotten onto their iPhones and ordered their own.
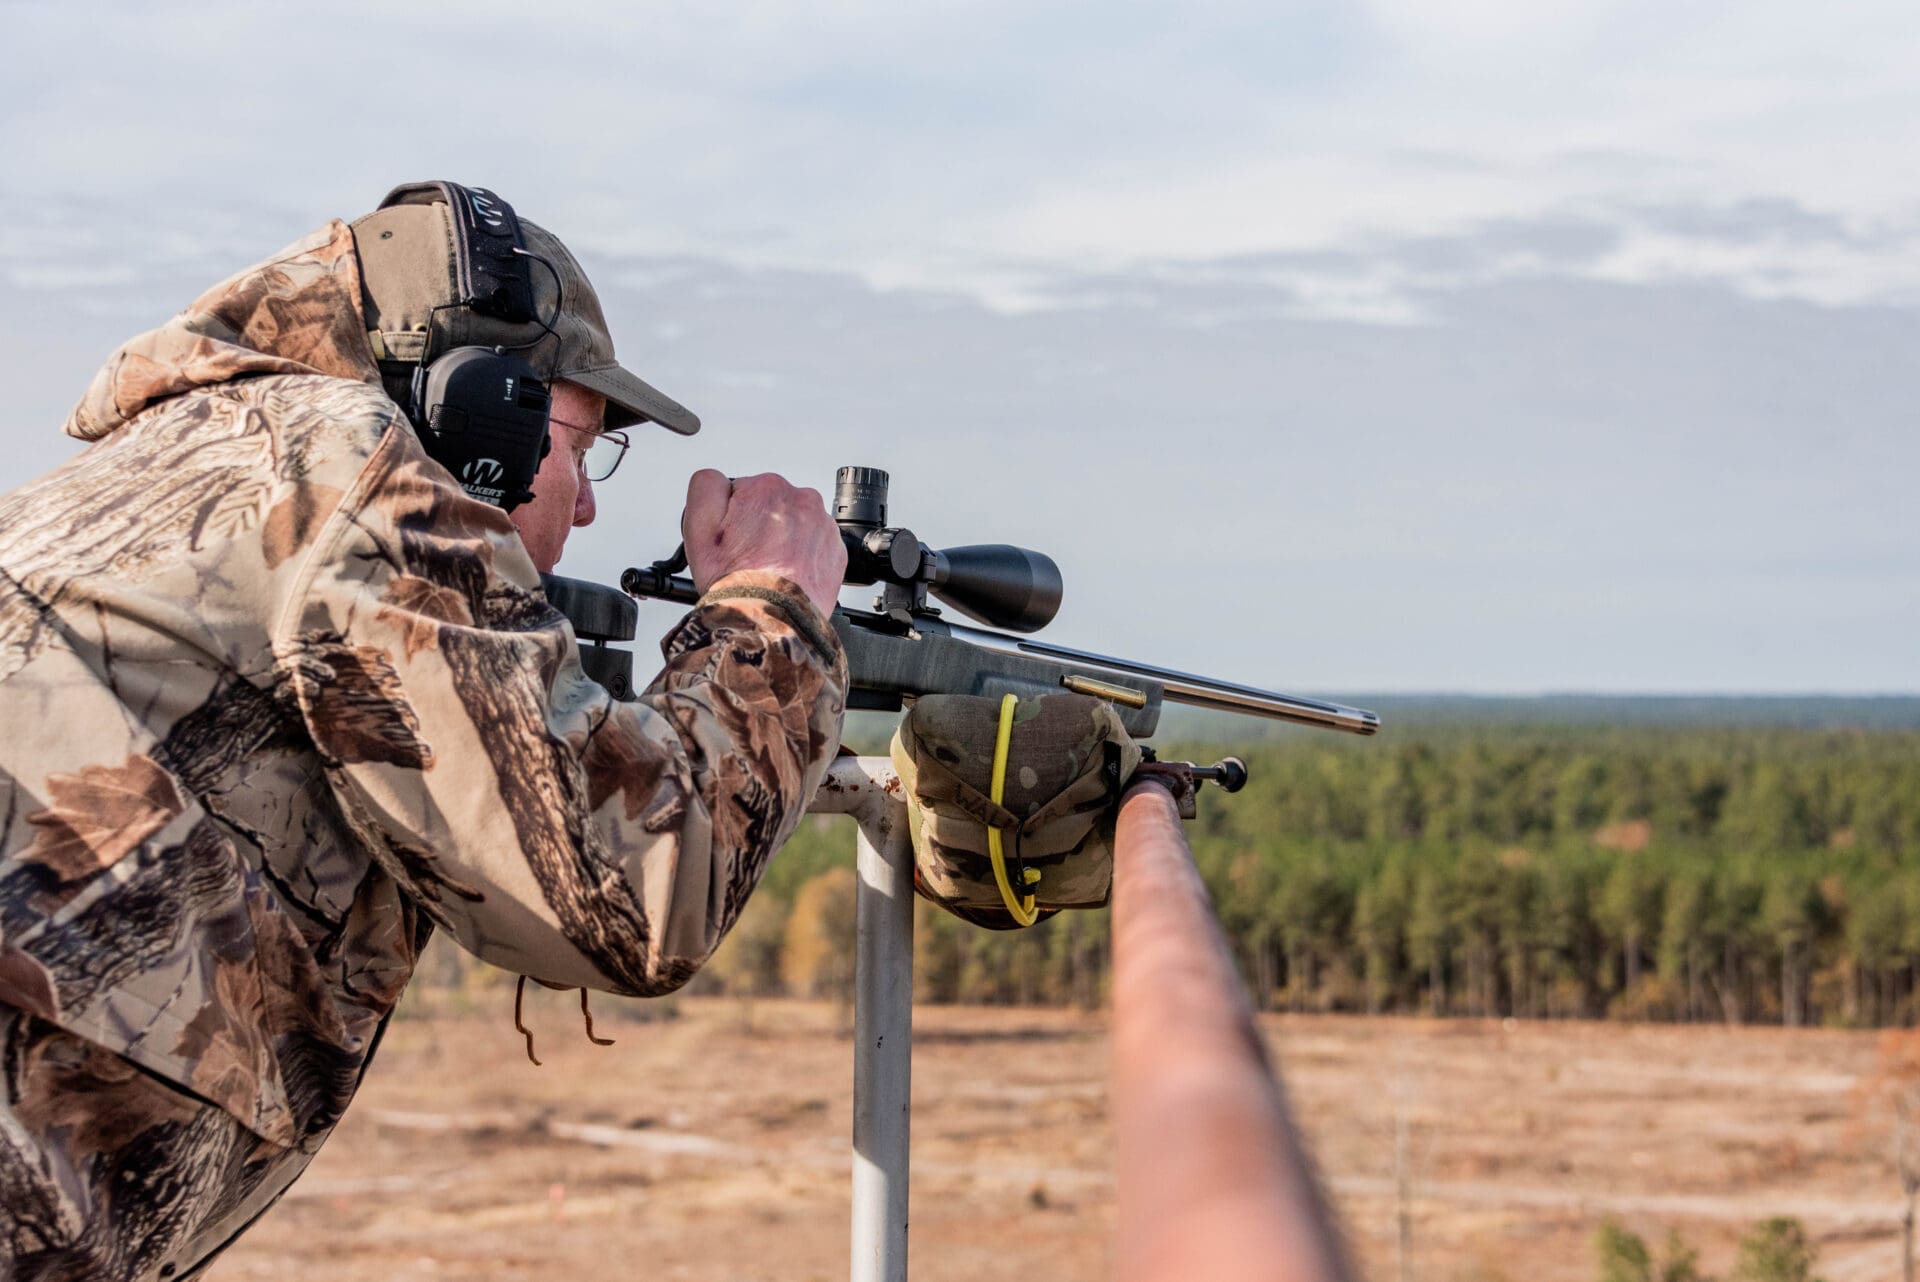
Chris and Tommy also showed participants the technique of using a tripod to stabilize the butt of the rifle.
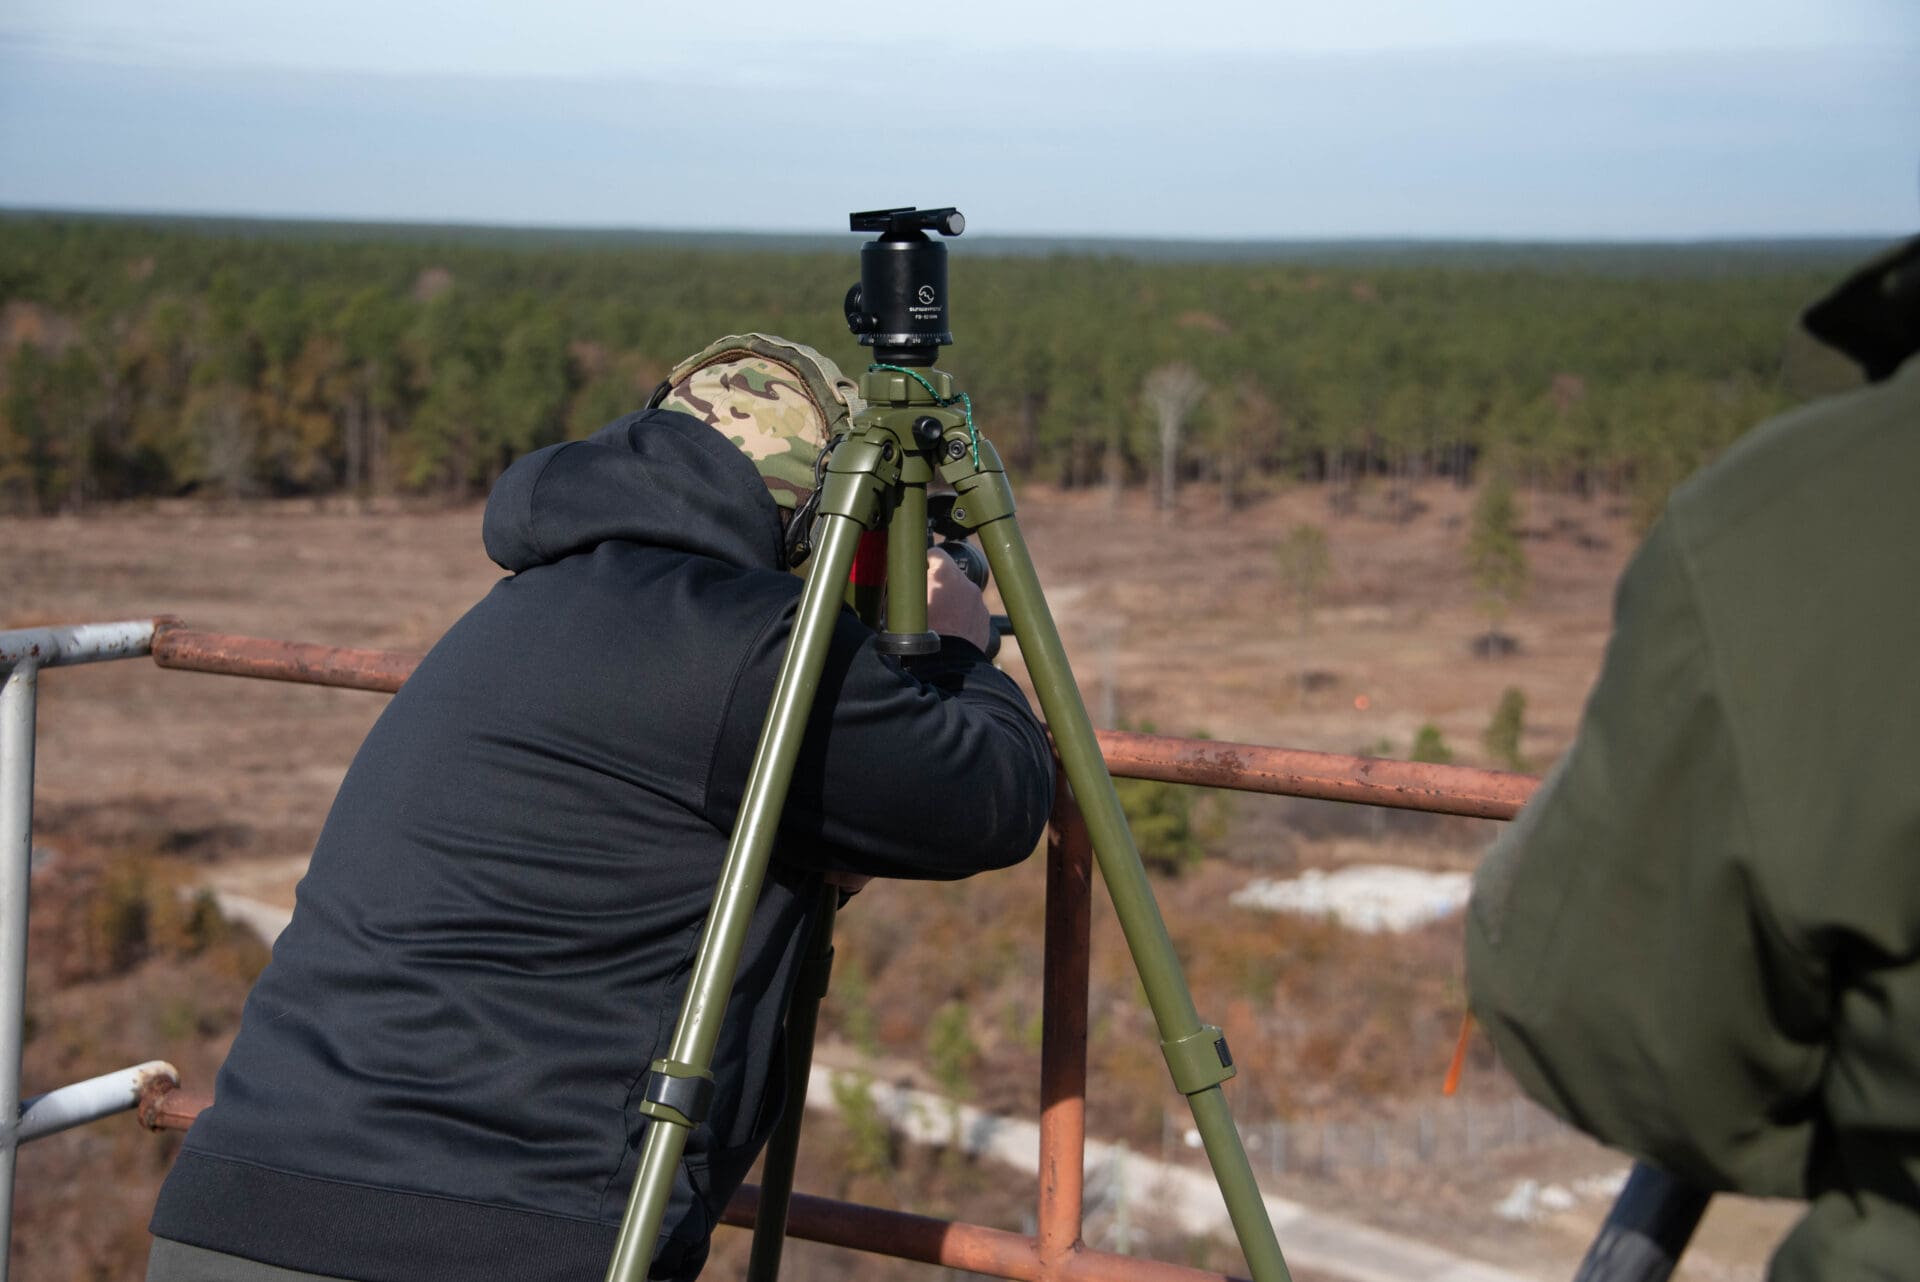
It was incredible to note the great reduction in ‘sight wobble,’ both horizontal and vertical, when employing these various techniques.
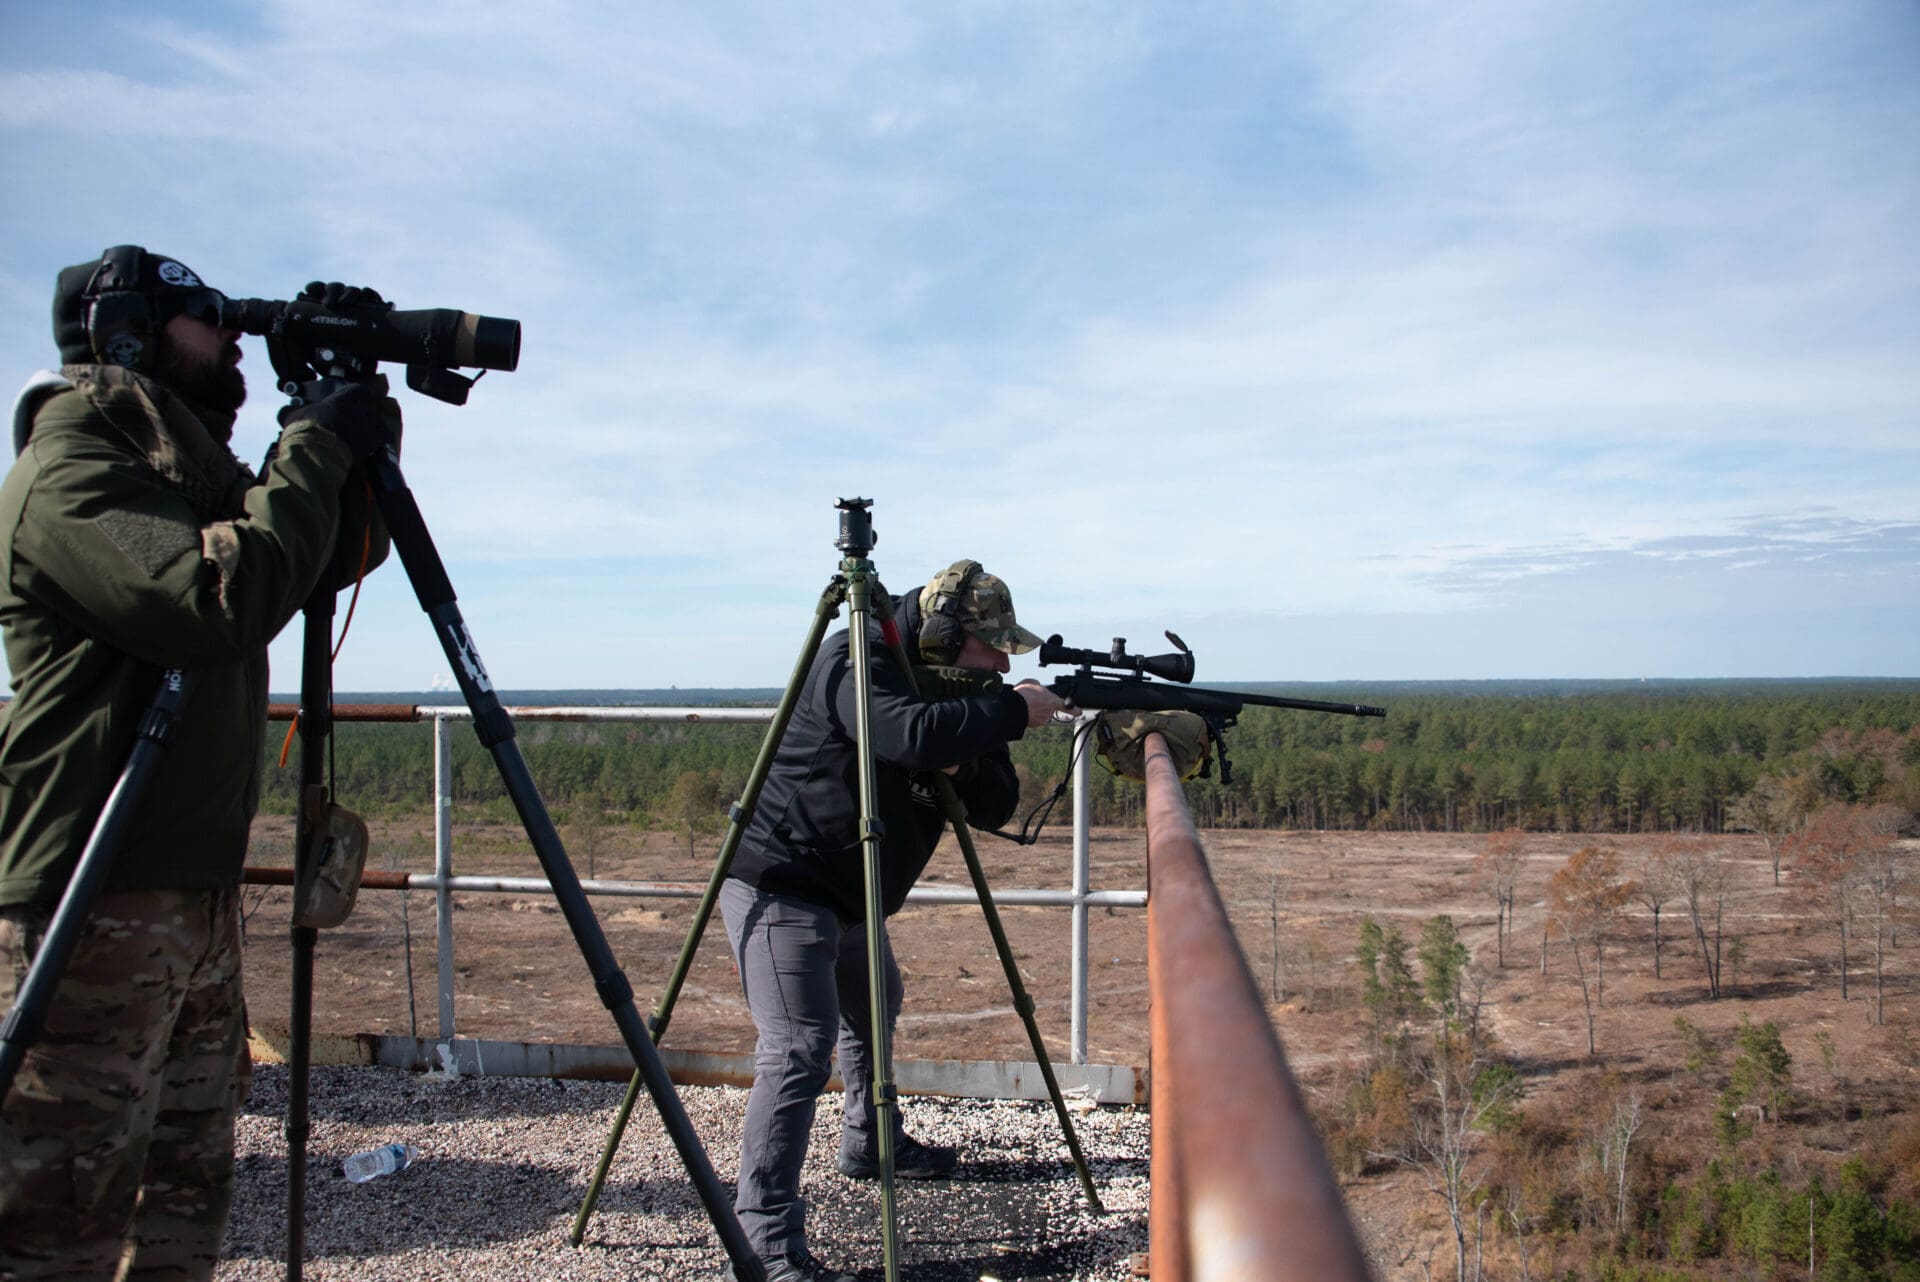
Toward the end of Day 2, we were introduced to what I thought of as the two-shooter drill. Chris Walker was the instructor in charge of this exercise. The stages of this drill were the following:
Stage 1 – Chris positioned the two selected shooters away from the stands from which they would be firing.

Stage 2 – Chris moved to his position as spotter and calls the shooters to their positions.
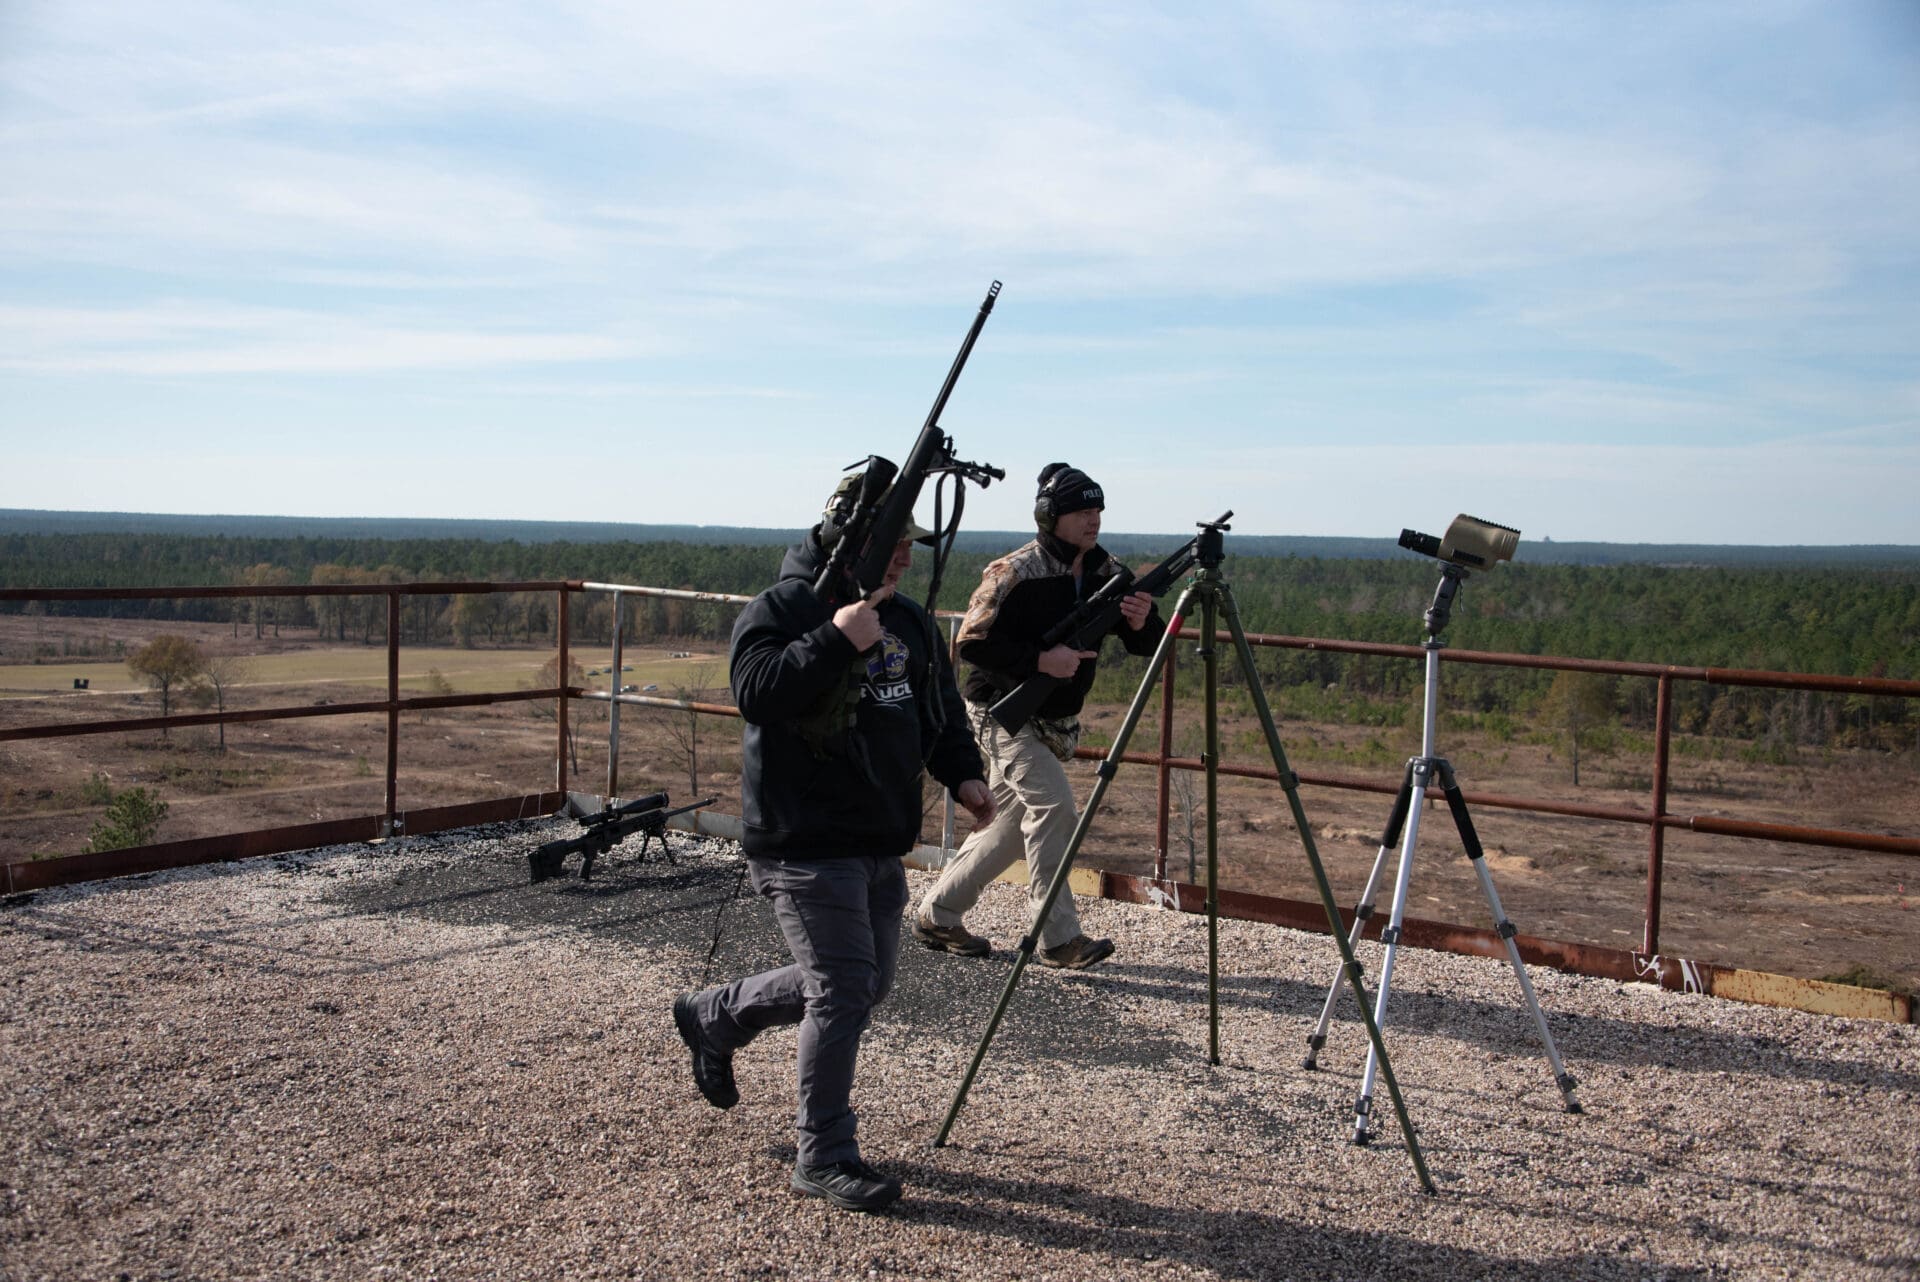
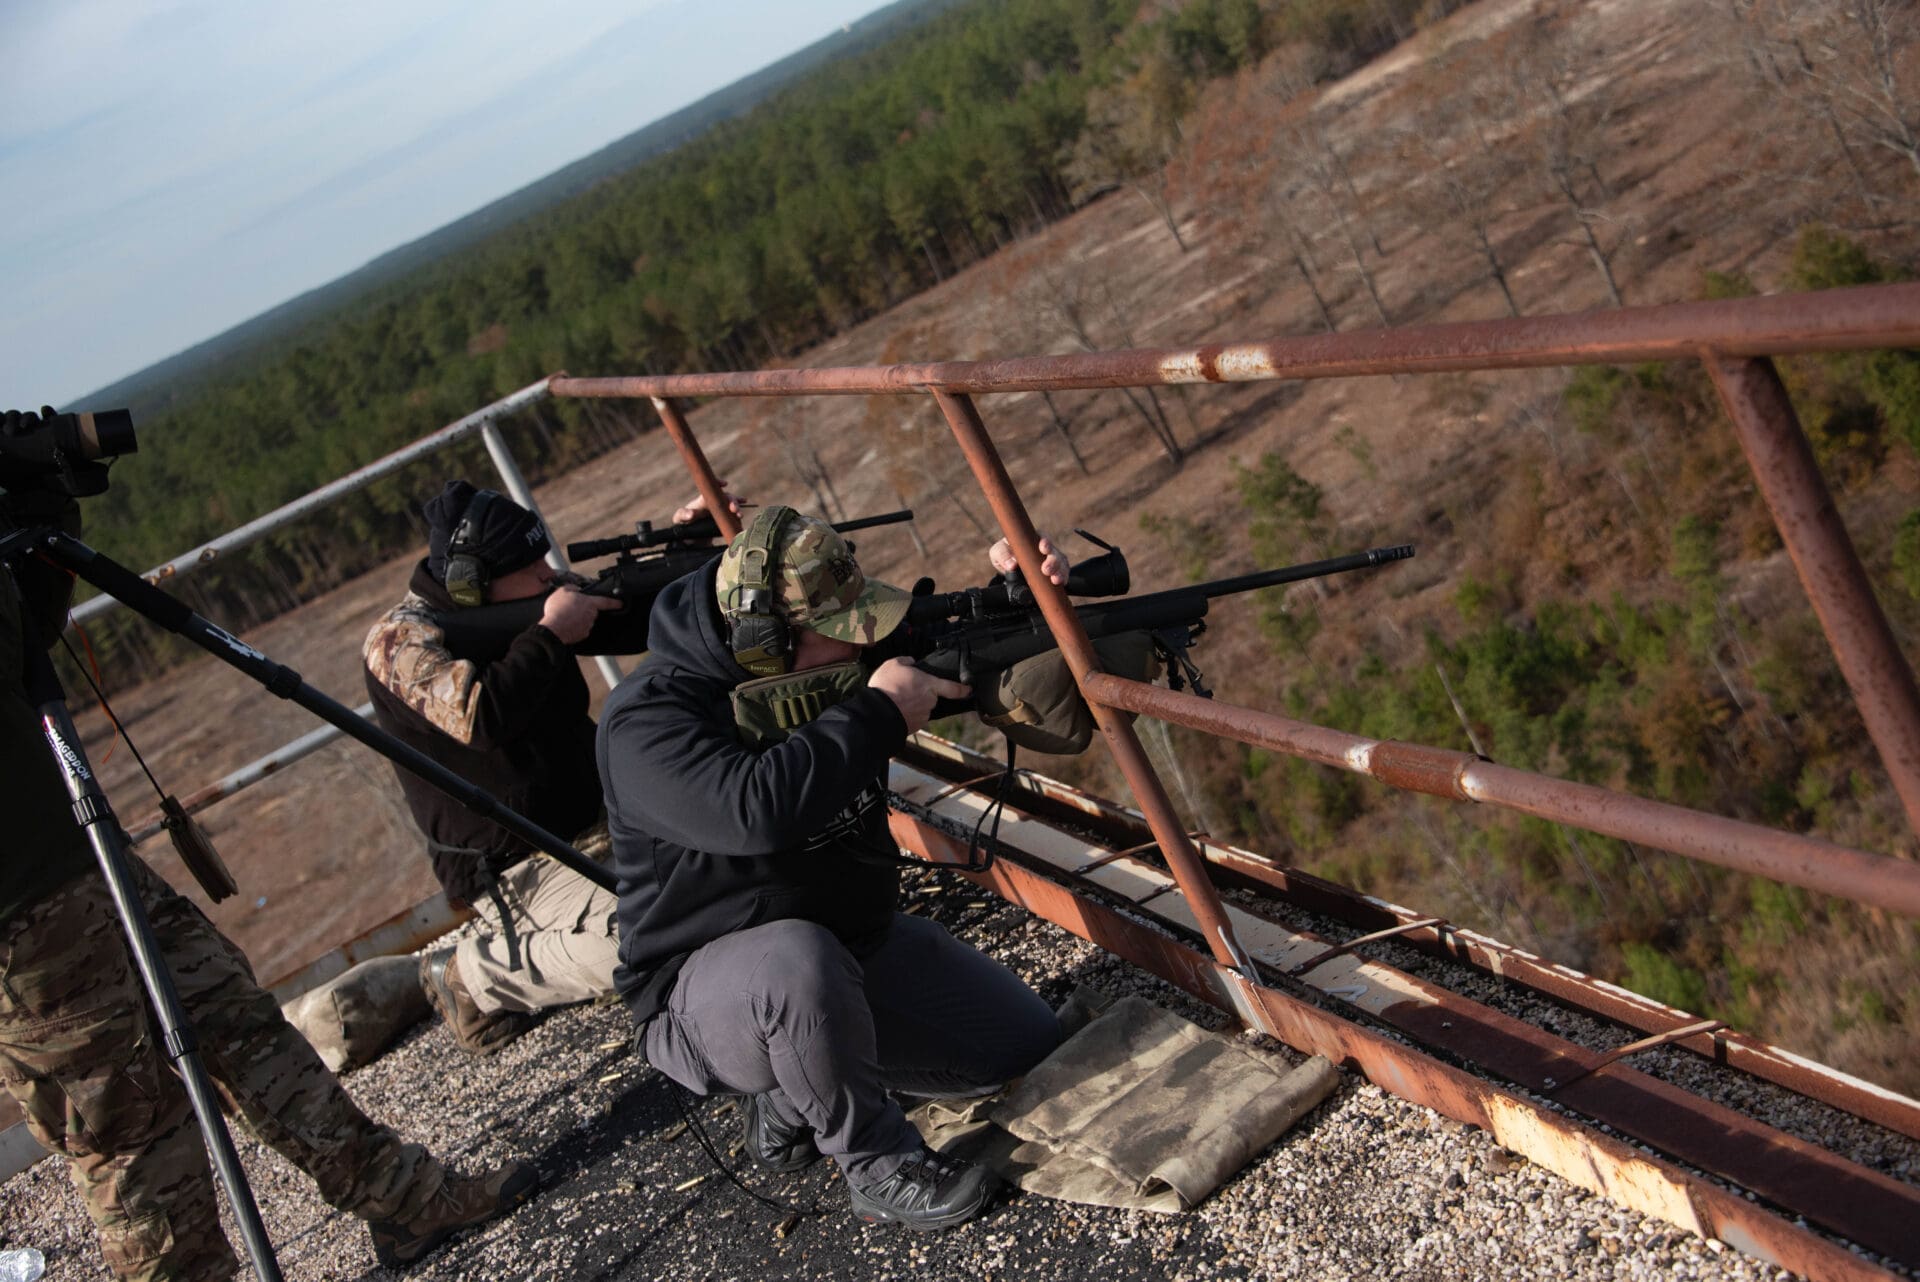
Stage 3 – The shooters move to their stations and settle into firing positions.

Stage 4 – The shooters affirm that they are ready and Chris gives the command to engage the targets to which they have been assigned.
The goal with this, and all other timed drills, was to add the last complexity to our training – pressure to perform within a limited time window. As with all the other instructional methods, this last technique proved incredibly powerful.
For me it was humbling to see how much my emotional side dictated my ability to shoot accurately. With the time pressure, I started breaking the trigger before I was in a stable shooting posture – anxiety performance once again raised its ugly head.
Conclusions
It’s probably obvious that I was incredibly impressed with the GTI Precision Rifle Course. I began the course as a hunter with no experience with any of the long-range work that I encountered during the course. Neither had I ever been exposed, through personal instruction or literature, to the techniques that would provide me the skills to engage and strike targets at distances unimaginable to me before this course.
In a word, Chris, Tommy and the facilities at GTI – Legion presented a unique opportunity to gain the confidence to shoot accurately at distances approaching eight football fields laid end-to-end.
No, I have no desire to shoot at game animals at such a distance, but if presented with a shot at a trophy within, say, 500 yards, with no possibility of stalking closer, I will be able to make an informed decision as to the likelihood of an ethical shot.
If you ever have the desire to increase your confidence in such hunting situations, or to test whether or not you might want to participate in the sport of long-range shooting, or even just want to go shoot the heck out of targets at incredible distances, check out the GTI – Legion course.
Unless otherwise noted, all images are courtesy of David Young.
Mike Arnold writes about firearms and hunting at his blog Mike Arnold, Outdoor Writer.