


Though there are those – including some military personnel and competitive shooters – who shoot at targets located from one to two miles from their firing position, I have no plans to do so. However, I am asked more and more to review firearms that are easily capable of sub-MOA accuracy out to 800 yards and more.

When I shoot at targets at these distances, or am calling shots for others firing at those ranges, it would be extremely useful to be able to visualize point-of-impact using something other than an optical spotting scope.
Even the best spotting scopes suffer from distortions at extreme distances due to vibration and heat mirage. These distortions can make it difficult to determine where shots are hitting.
I don’t believe in coincidences, but I was still pleasantly surprised when I received an email from the distributors of my LabRadar ‘chronograph’ mentioning that they were now carrying Longshot products. Listed in the email were the Longshot HAWK Smart Scope, used to transform a spotting scope into a ‘digiscope’ and the Longshot Marksman camera system that allows a shooter to see bullet impacts on targets located up to a distance of 300 yards.
This is done by placing a camera unit near the target, using WiFi to connect the camera to the shooter’s phone or tablet, and thus seeing the impacts occur in real time HD.
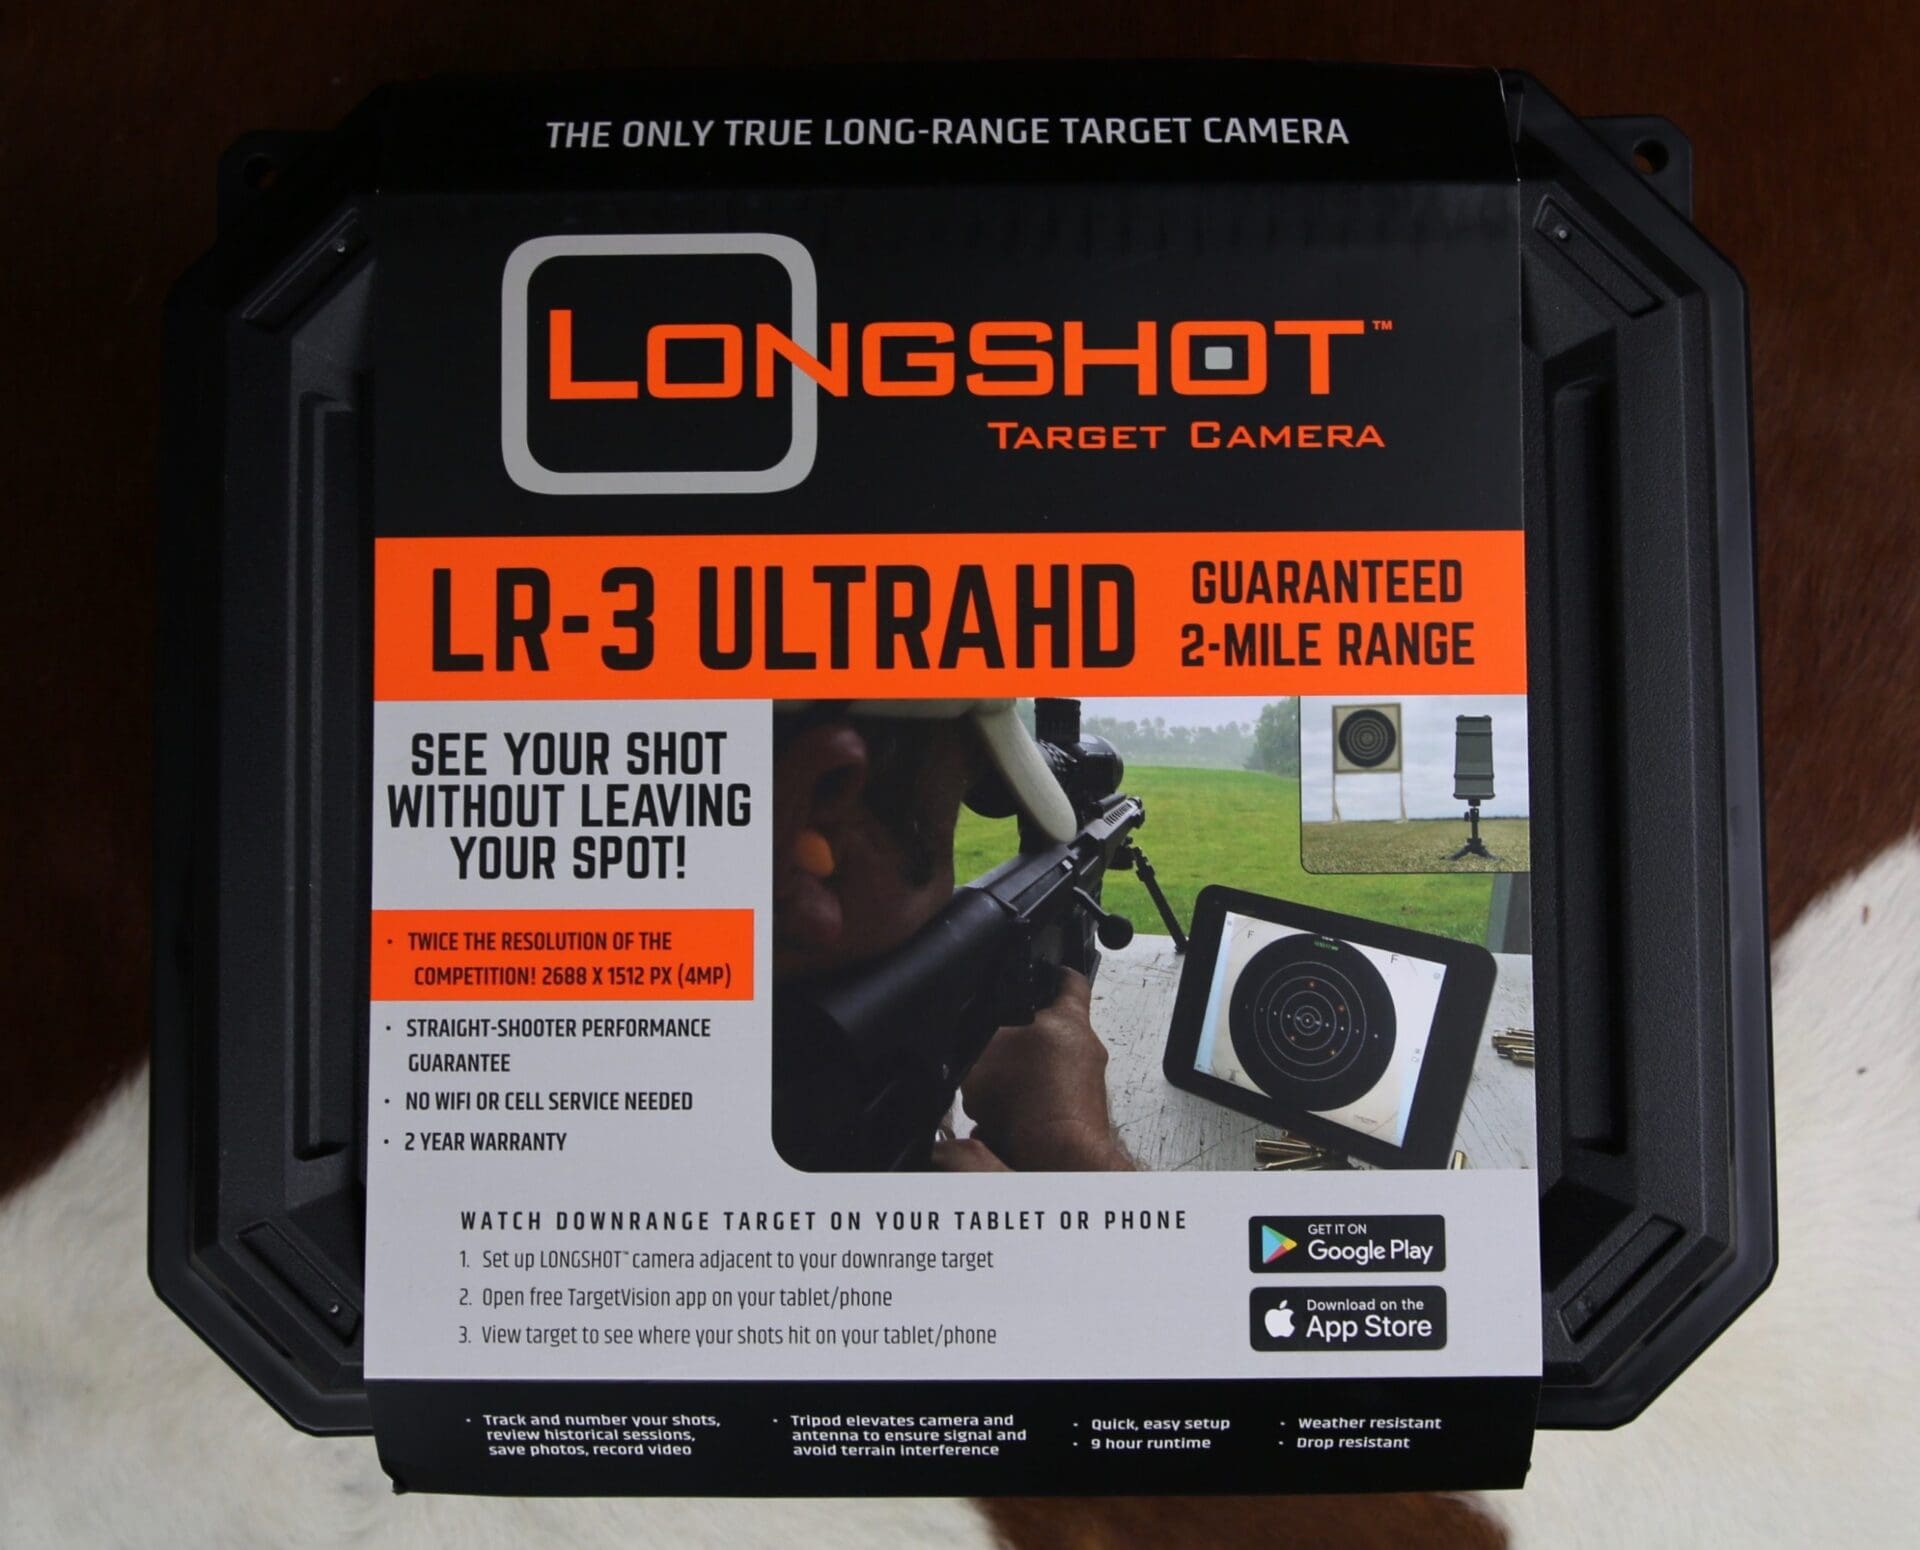
Though of interest, the above products weren’t what caught my eye. Instead, it was the Longshot LR-3 2 Mile ULTRAHD target camera. Two miles? Yep, my thought, too…pull the other one. However, if this unit worked reliably ‘only’ out to 1000 yards, that would be plenty for my reviews.

My instructions on reviewing the Longshot LR-3 were simple: “You need to test it until it fails. In other words, you need to determine its maximum range.”
But I have a problem. I live in Northeast Georgia. I don’t have a 2-mile shooting range anywhere near me. Furthermore, there isn’t even a highway or secondary road that doesn’t come equipped with frequent bends, hills and trees that line the edges where I could test the camera system without shooting.
It took me a half-day of driving all over the nearby countryside to finally find a stretch (on HWY 78) that provided an unimpeded 1.5 mile line-of-sight. That would have to do in terms of trying to “test it until it fails.”
Longshot LR-3 ULTRAHD Target Camera – Components
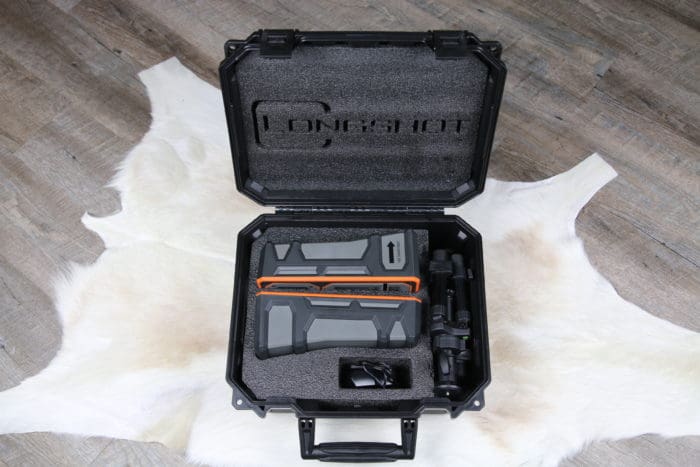
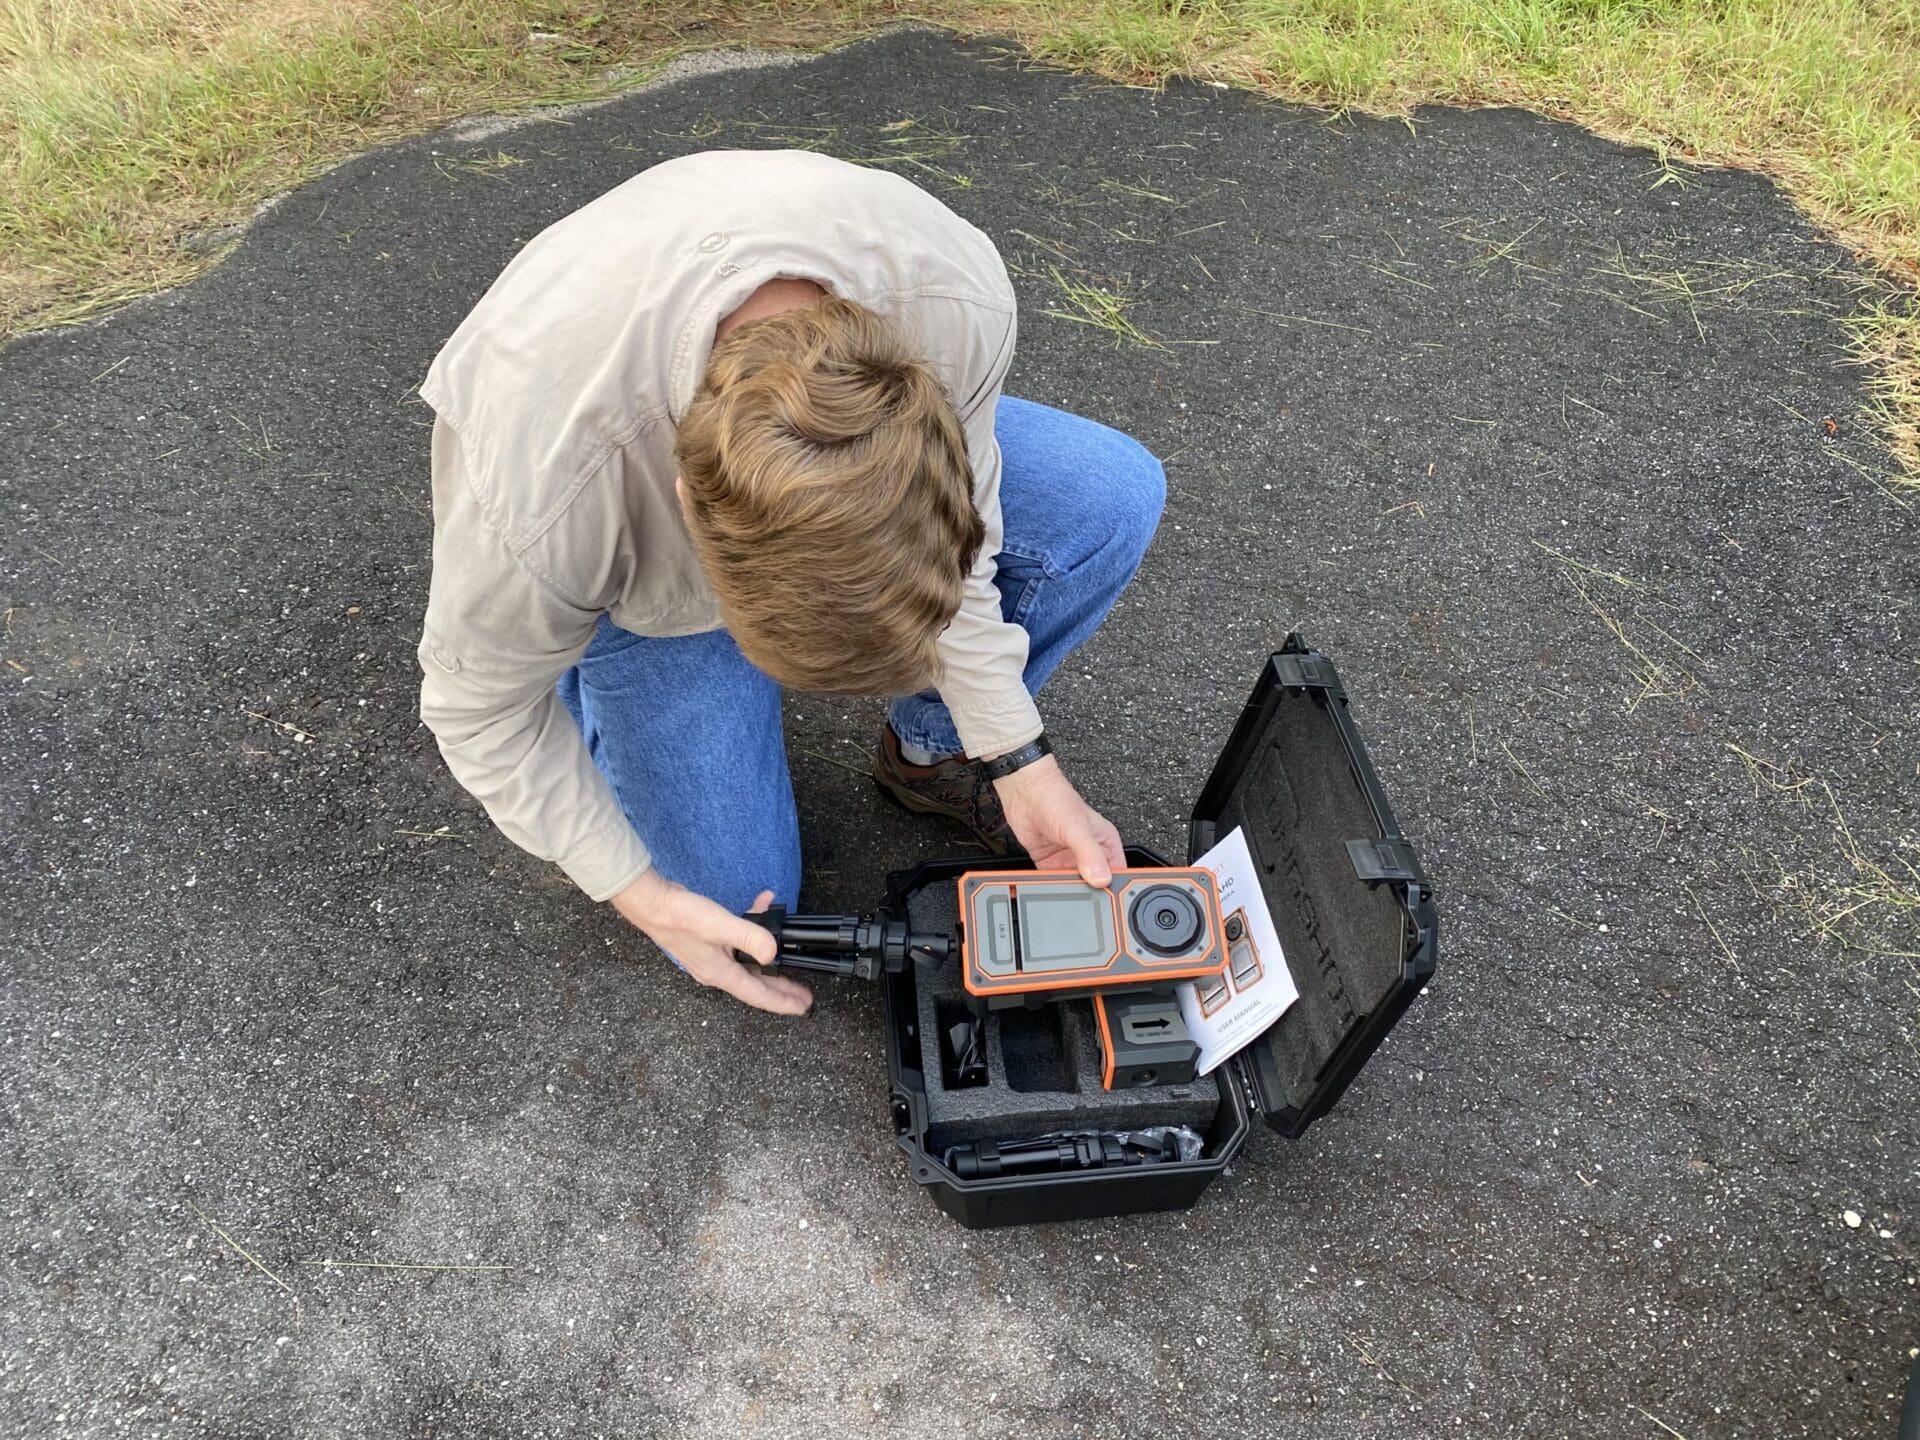
The LR-3 unit arrived packed in a heavily-padded carrying case.
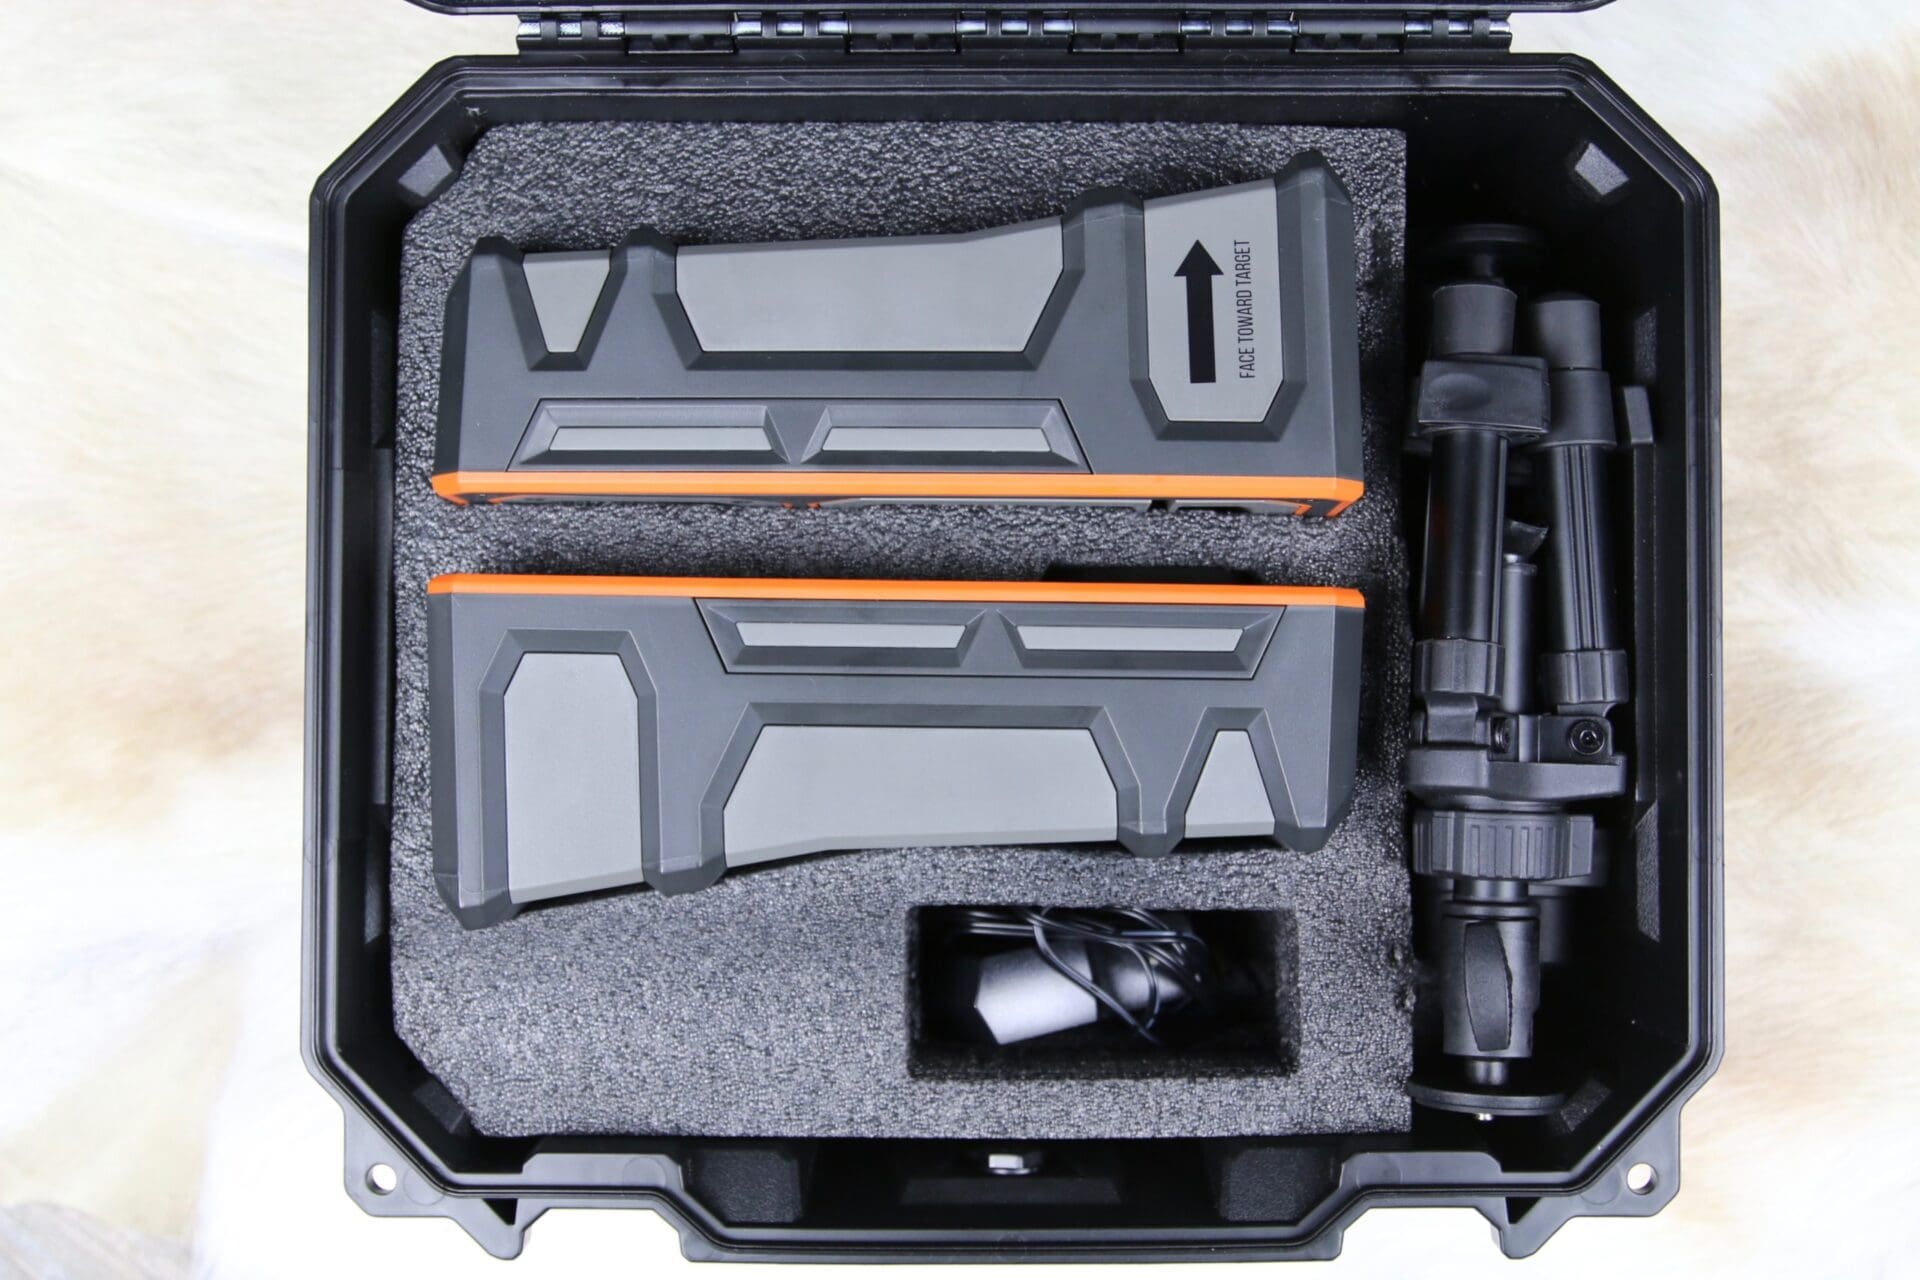
Inside the case were two short tripods for mounting the camera and receiver.
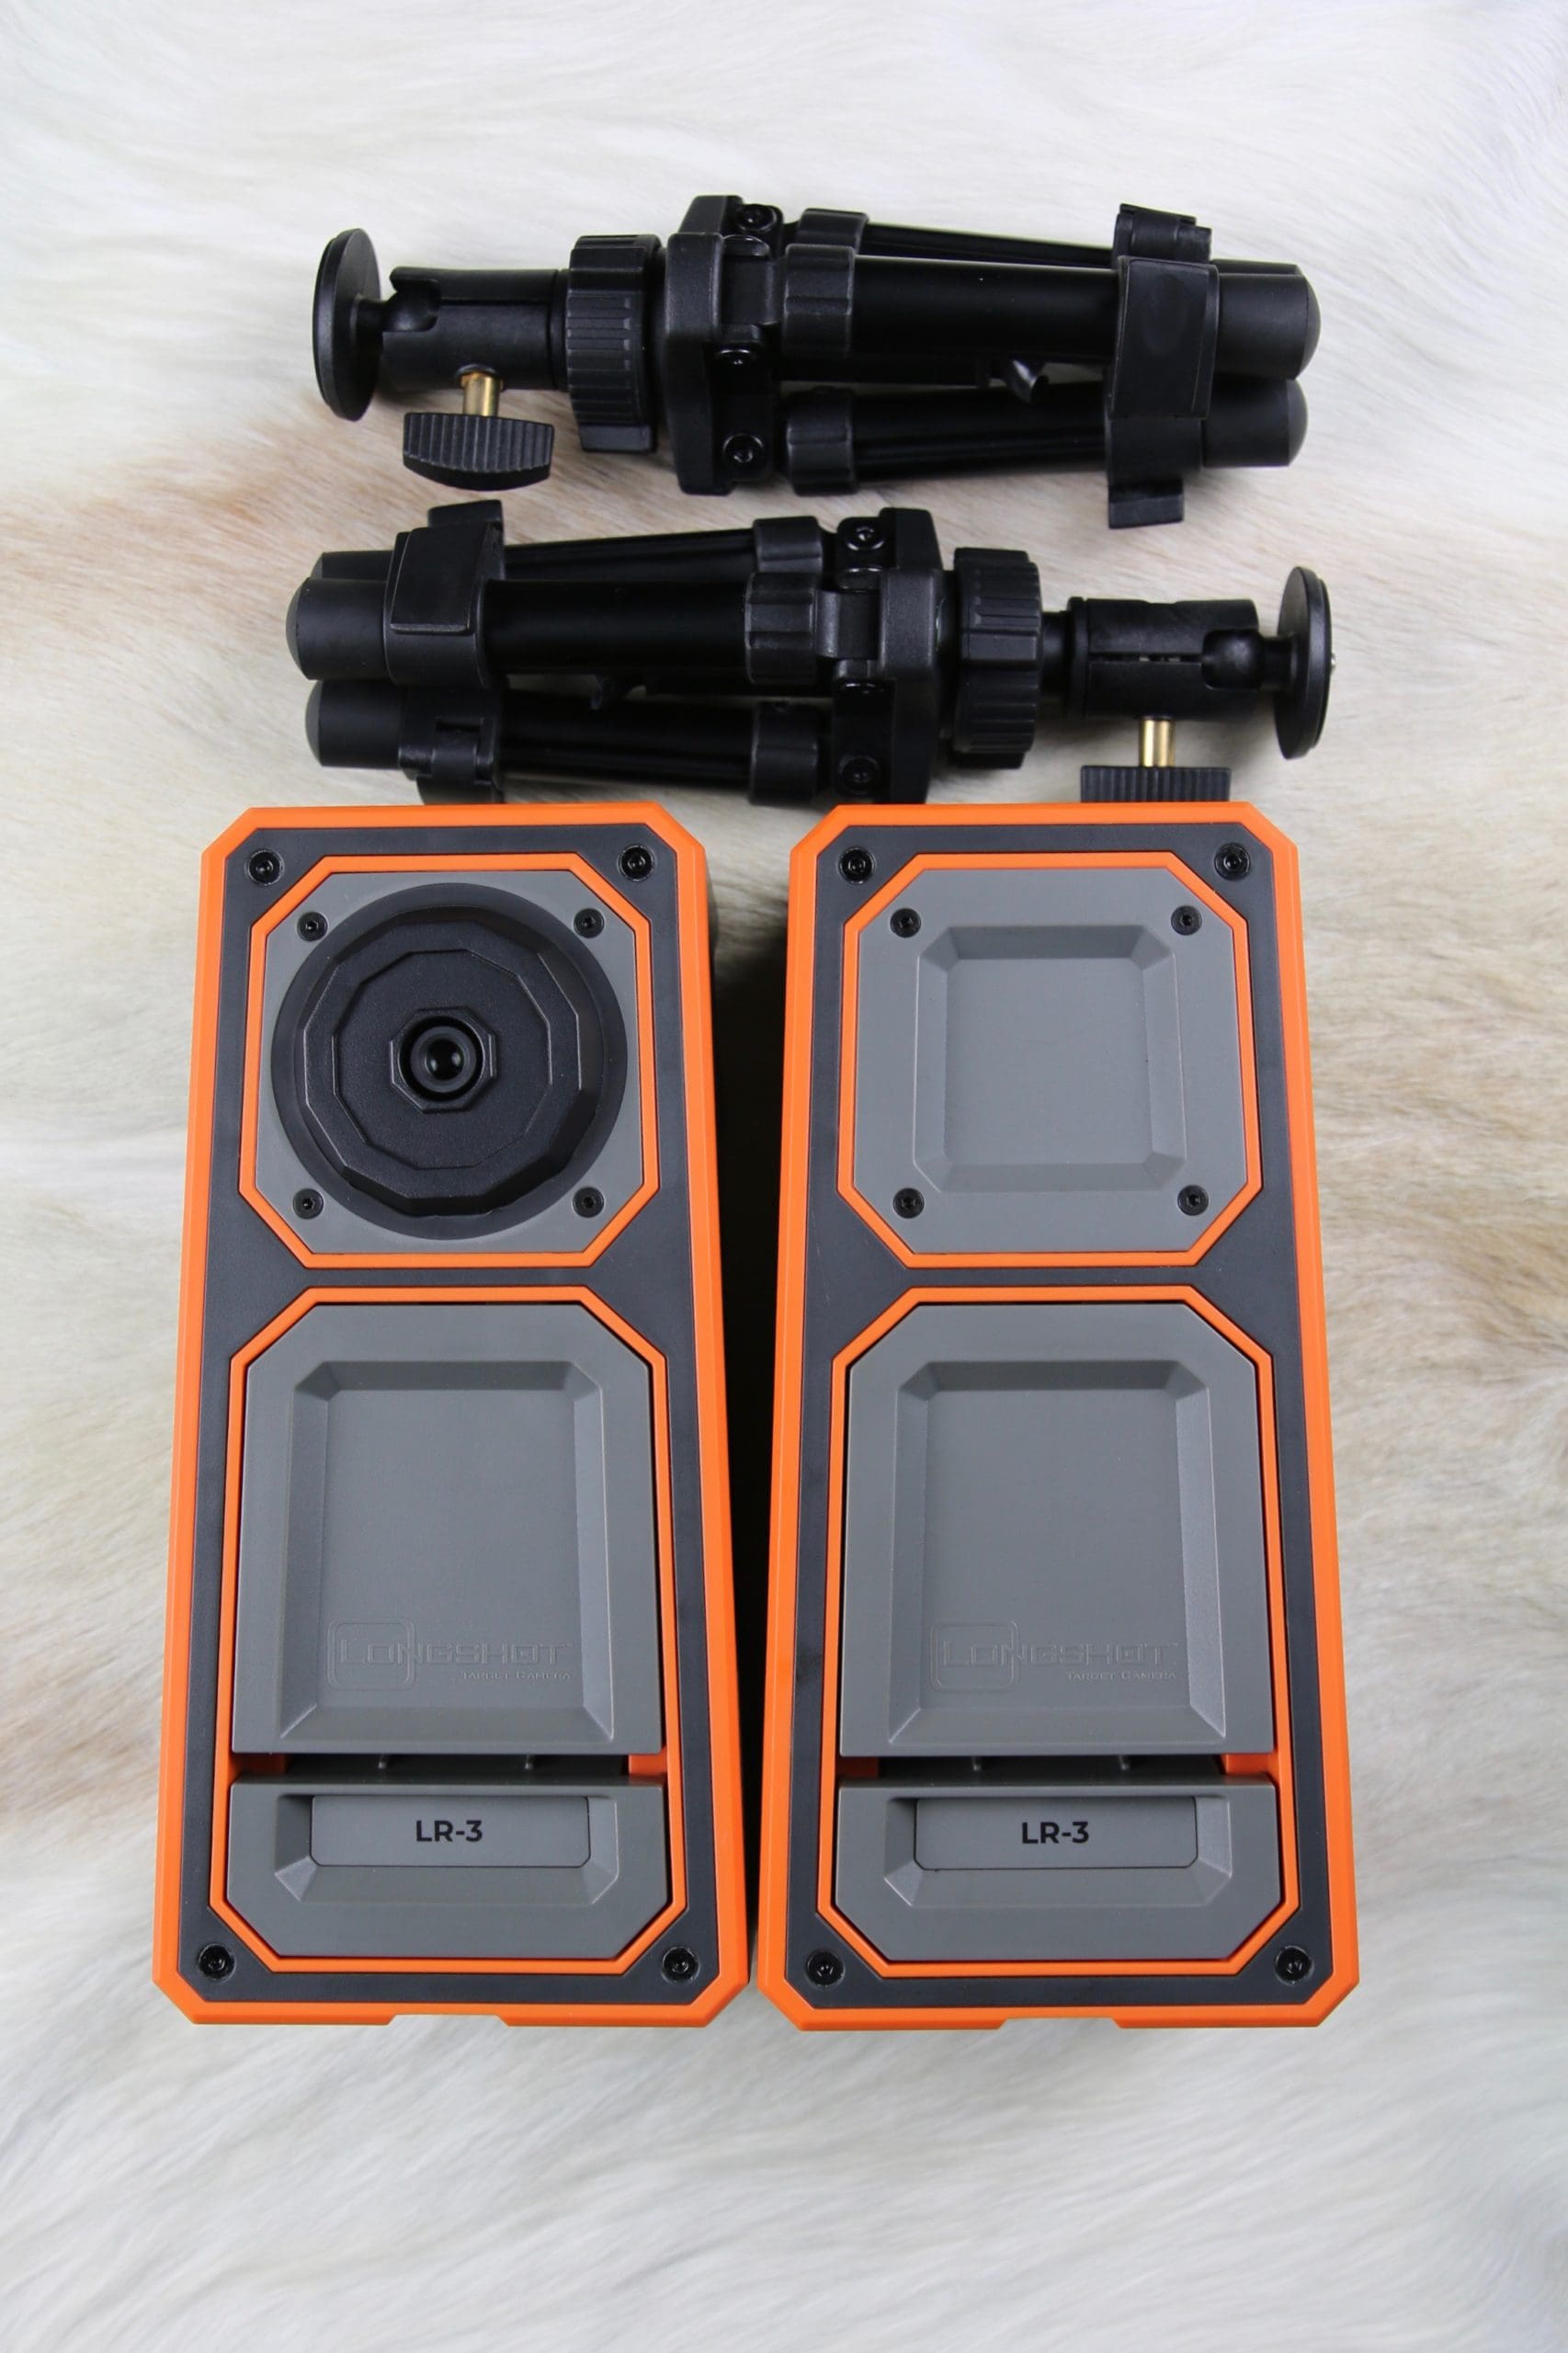

The LR-3 comes with a single camera, but has the capacity to support up to four cameras. Likewise, to protect the camera from stray rounds or spall, there is an optional, external antenna (not included in the kit sent to me).
The antenna can be placed up to 75 yards away from the camera. That allows the user to place the camera near the target, but behind a steel plate or berm for protection. The external antenna is then placed well away from the firing lane to relay the camera’s signal back to the receiver located near the shooter.
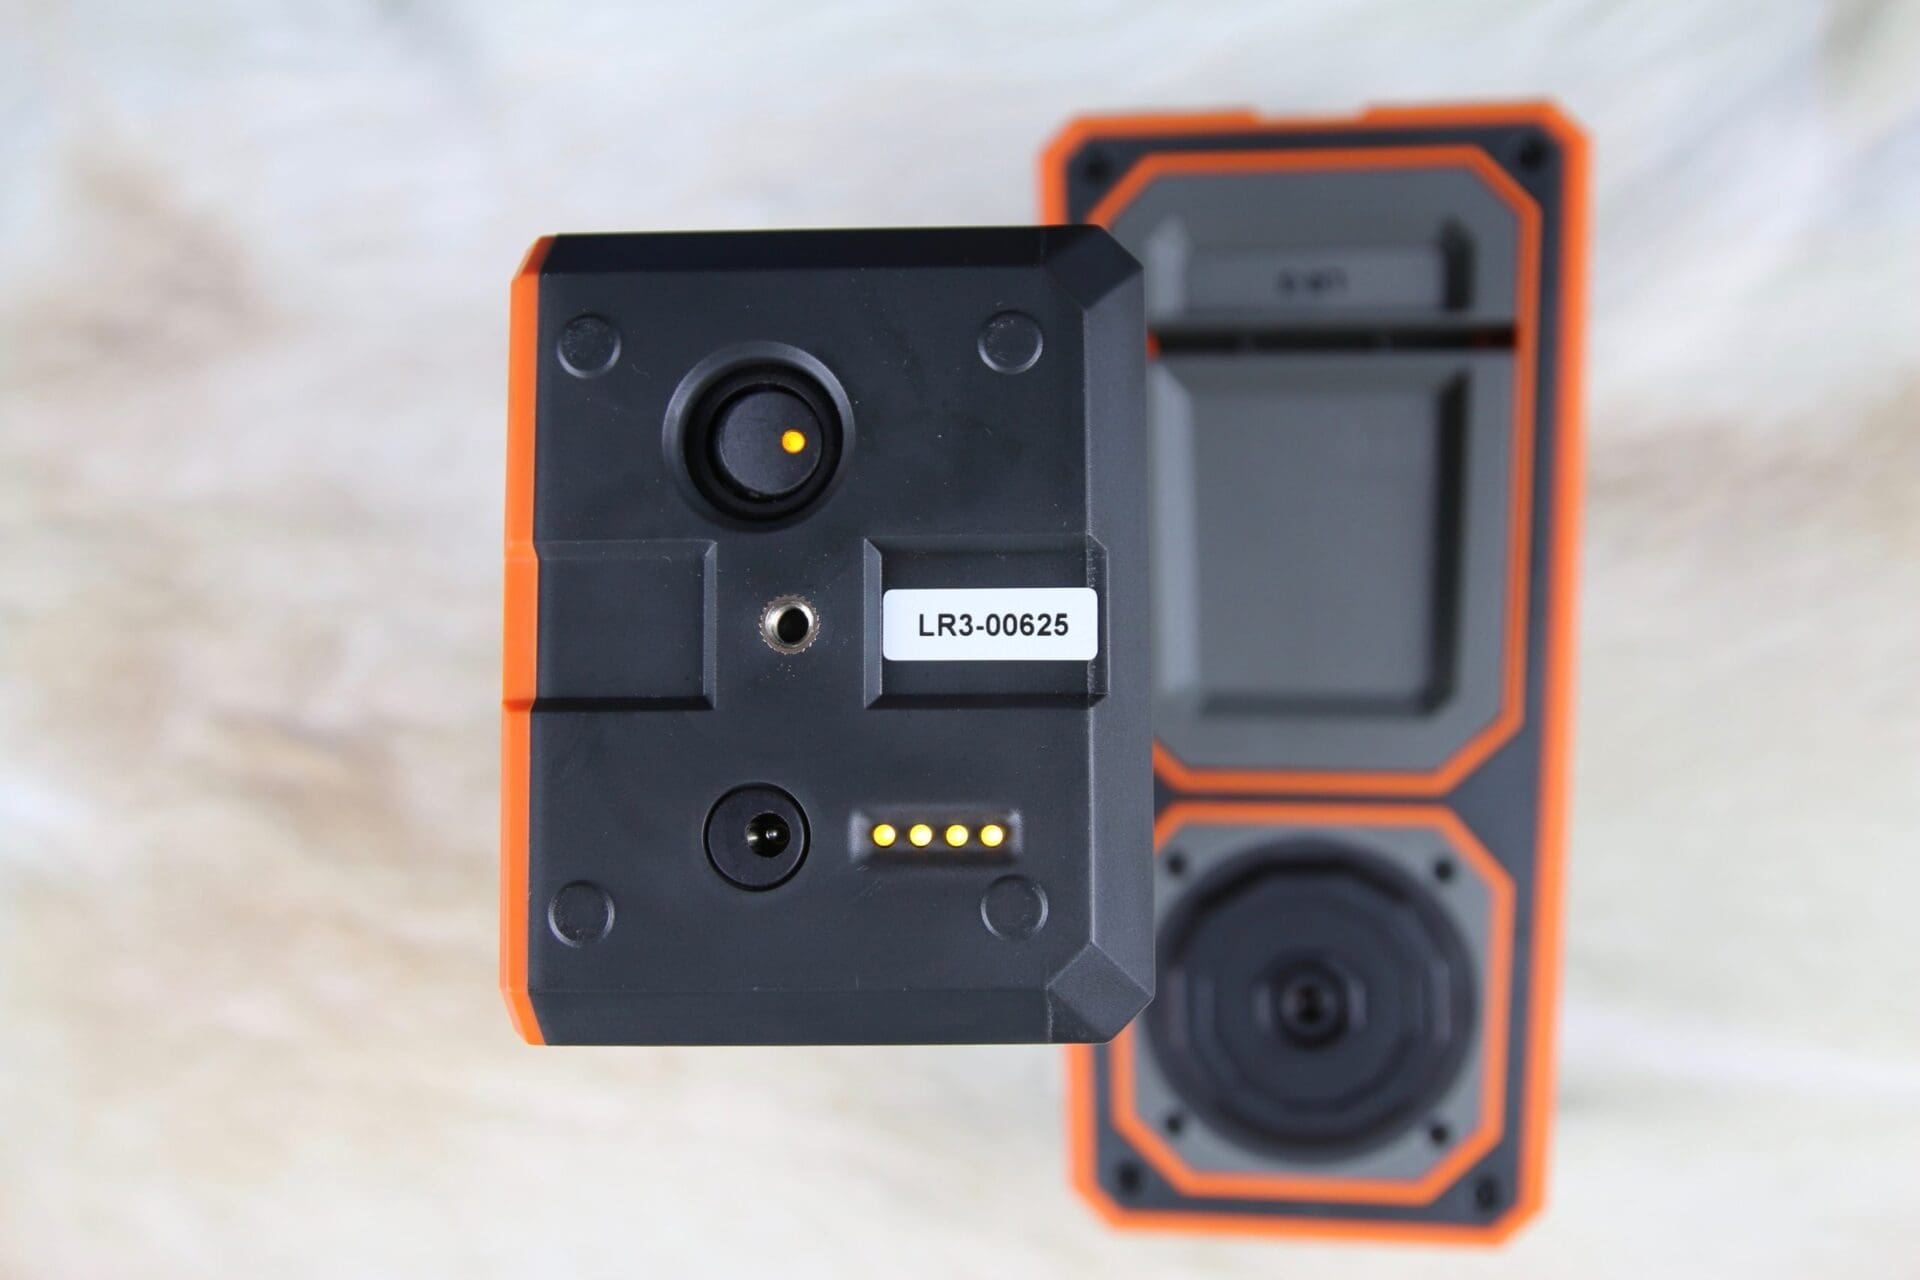
On the bottom of both the camera and receiver were the screw-mount for the tripod attachment, an ON/OFF switch and indicator light and a row of lights that indicate battery charge. If all four battery level lights are illuminated, the battery power is 100%, if three are illuminated, then there is 75% battery power, and so forth.
There is also a plug-in for the AC adapter for recharging the battery.
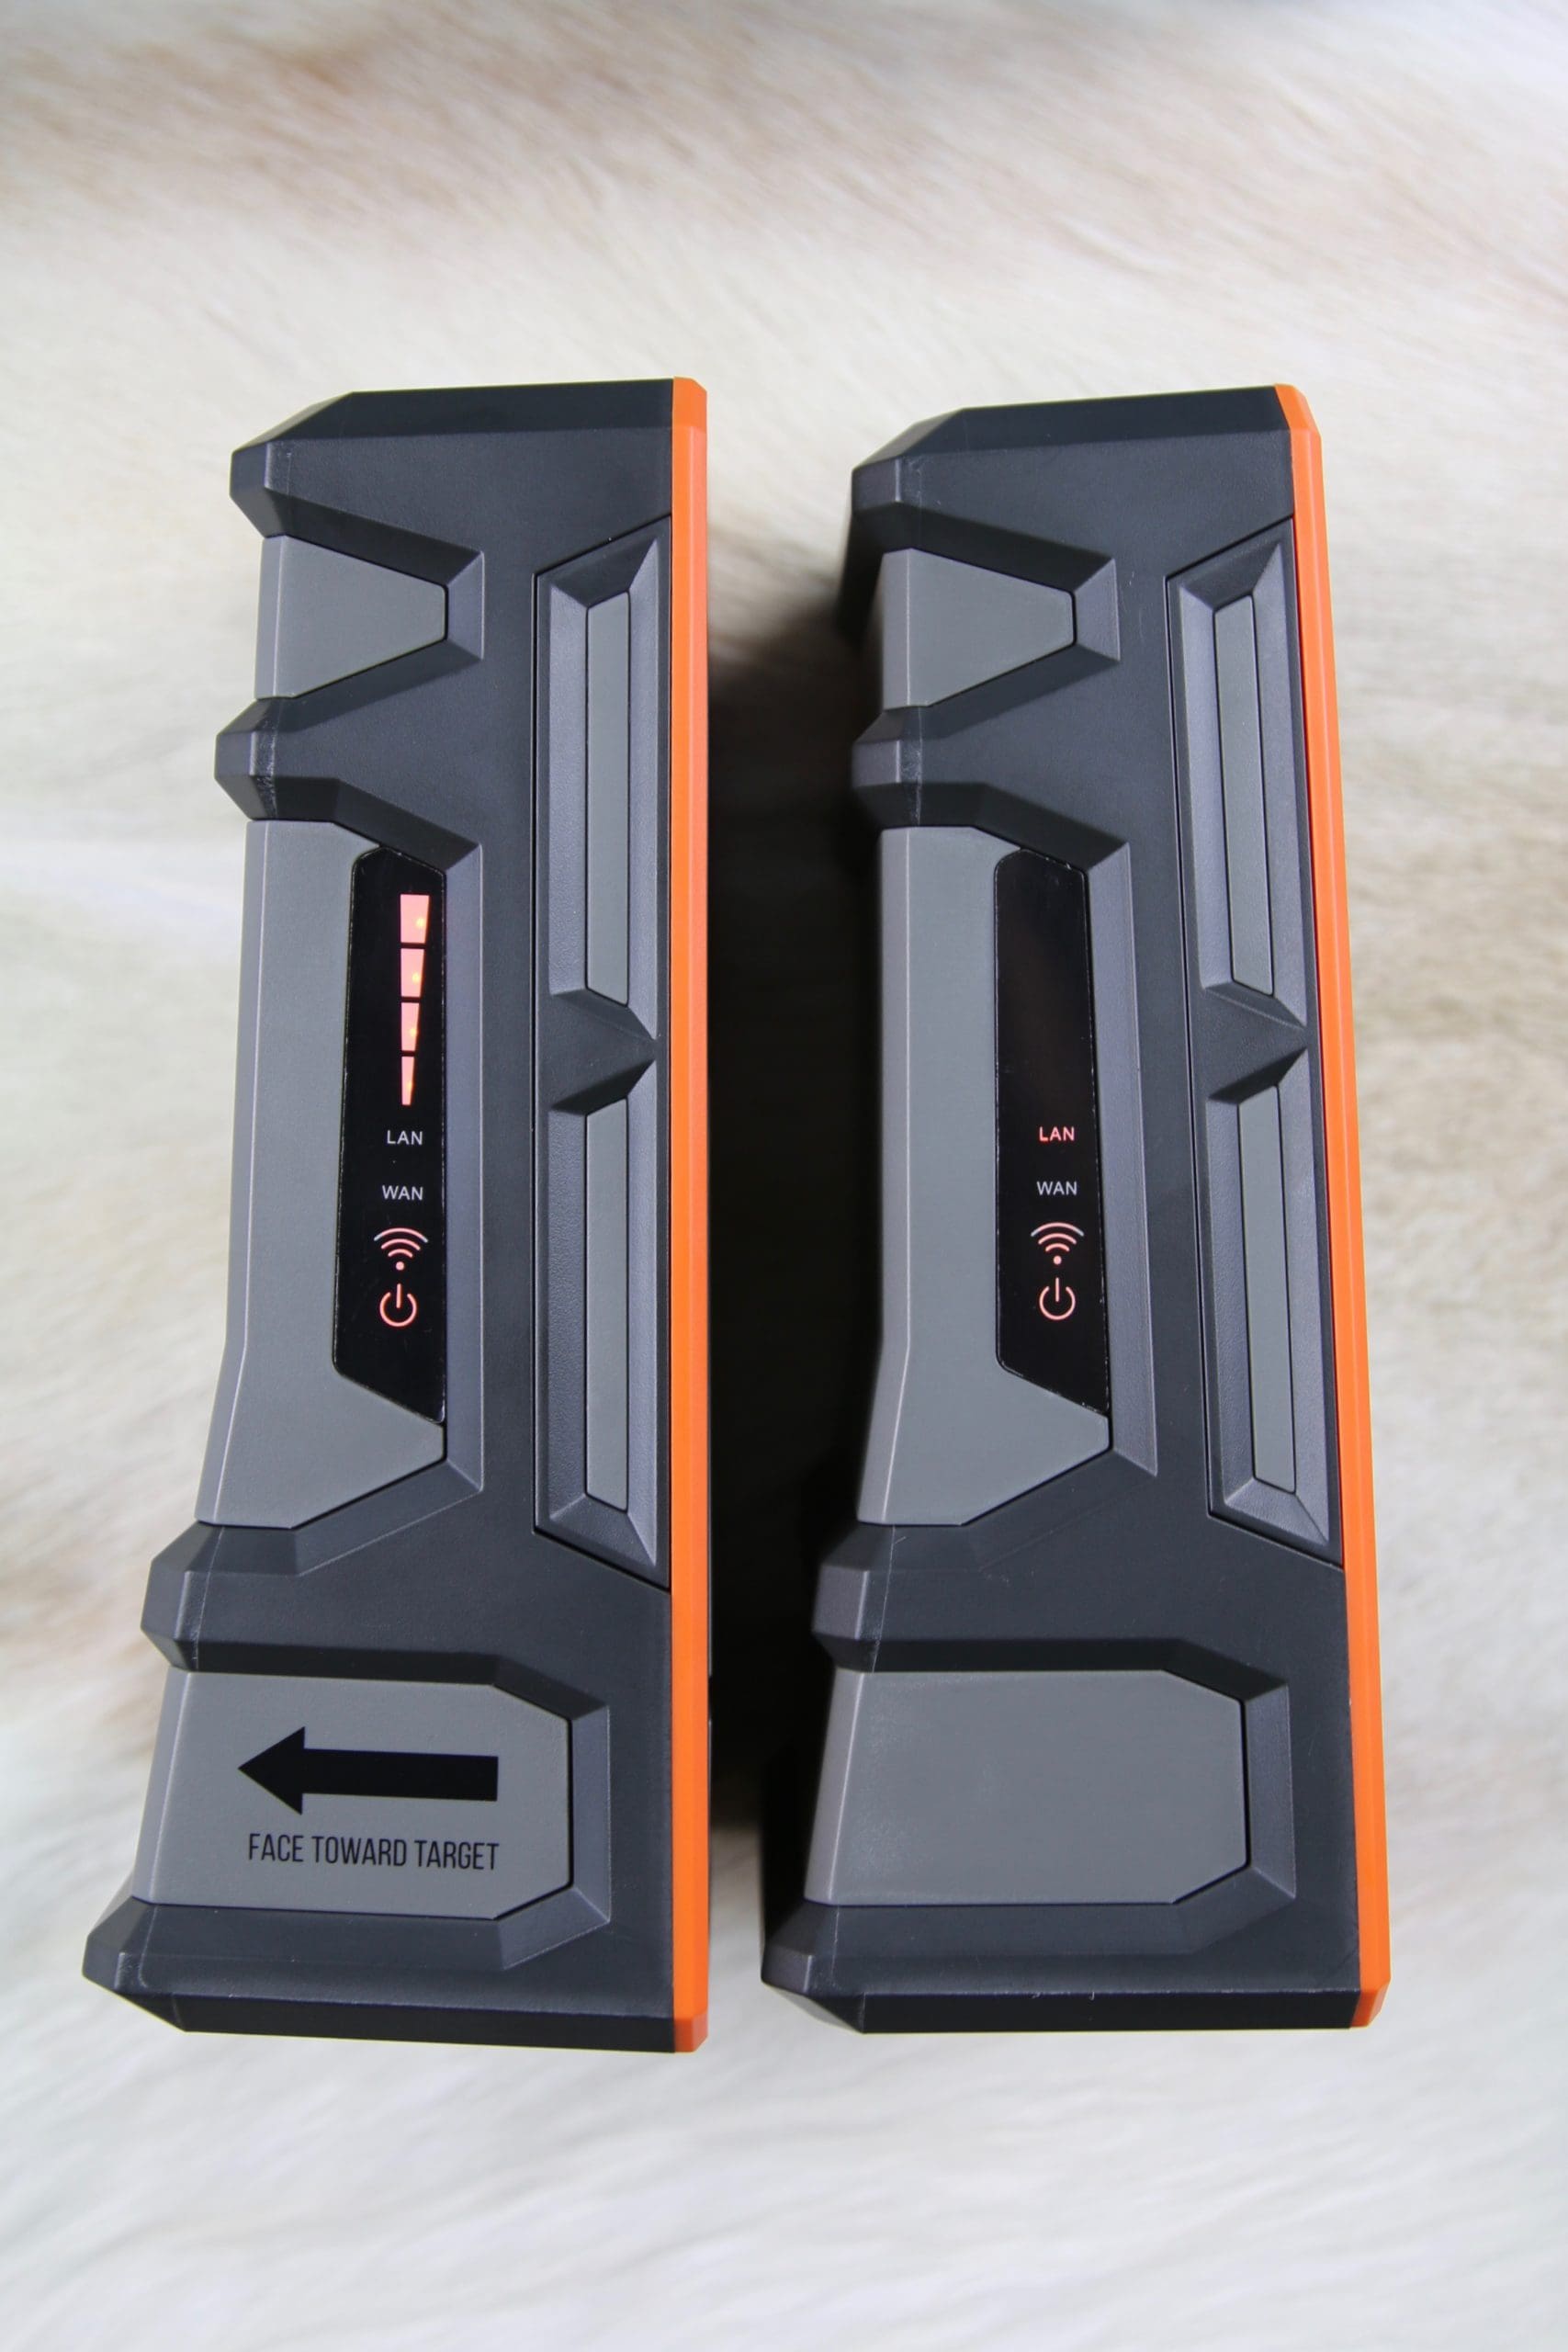
The side of the camera and receiver units have various status lights. The receiver has a series of lights (at the top) indicating connection strength. Similarly, only the camera’s LAN indicator illuminates showing that the camera is connected to the local area network. (The Wide Area Network – WAN – is not used for the current application.)
The last two indicator lights indicated WiFi broadcasting and power, respectively.

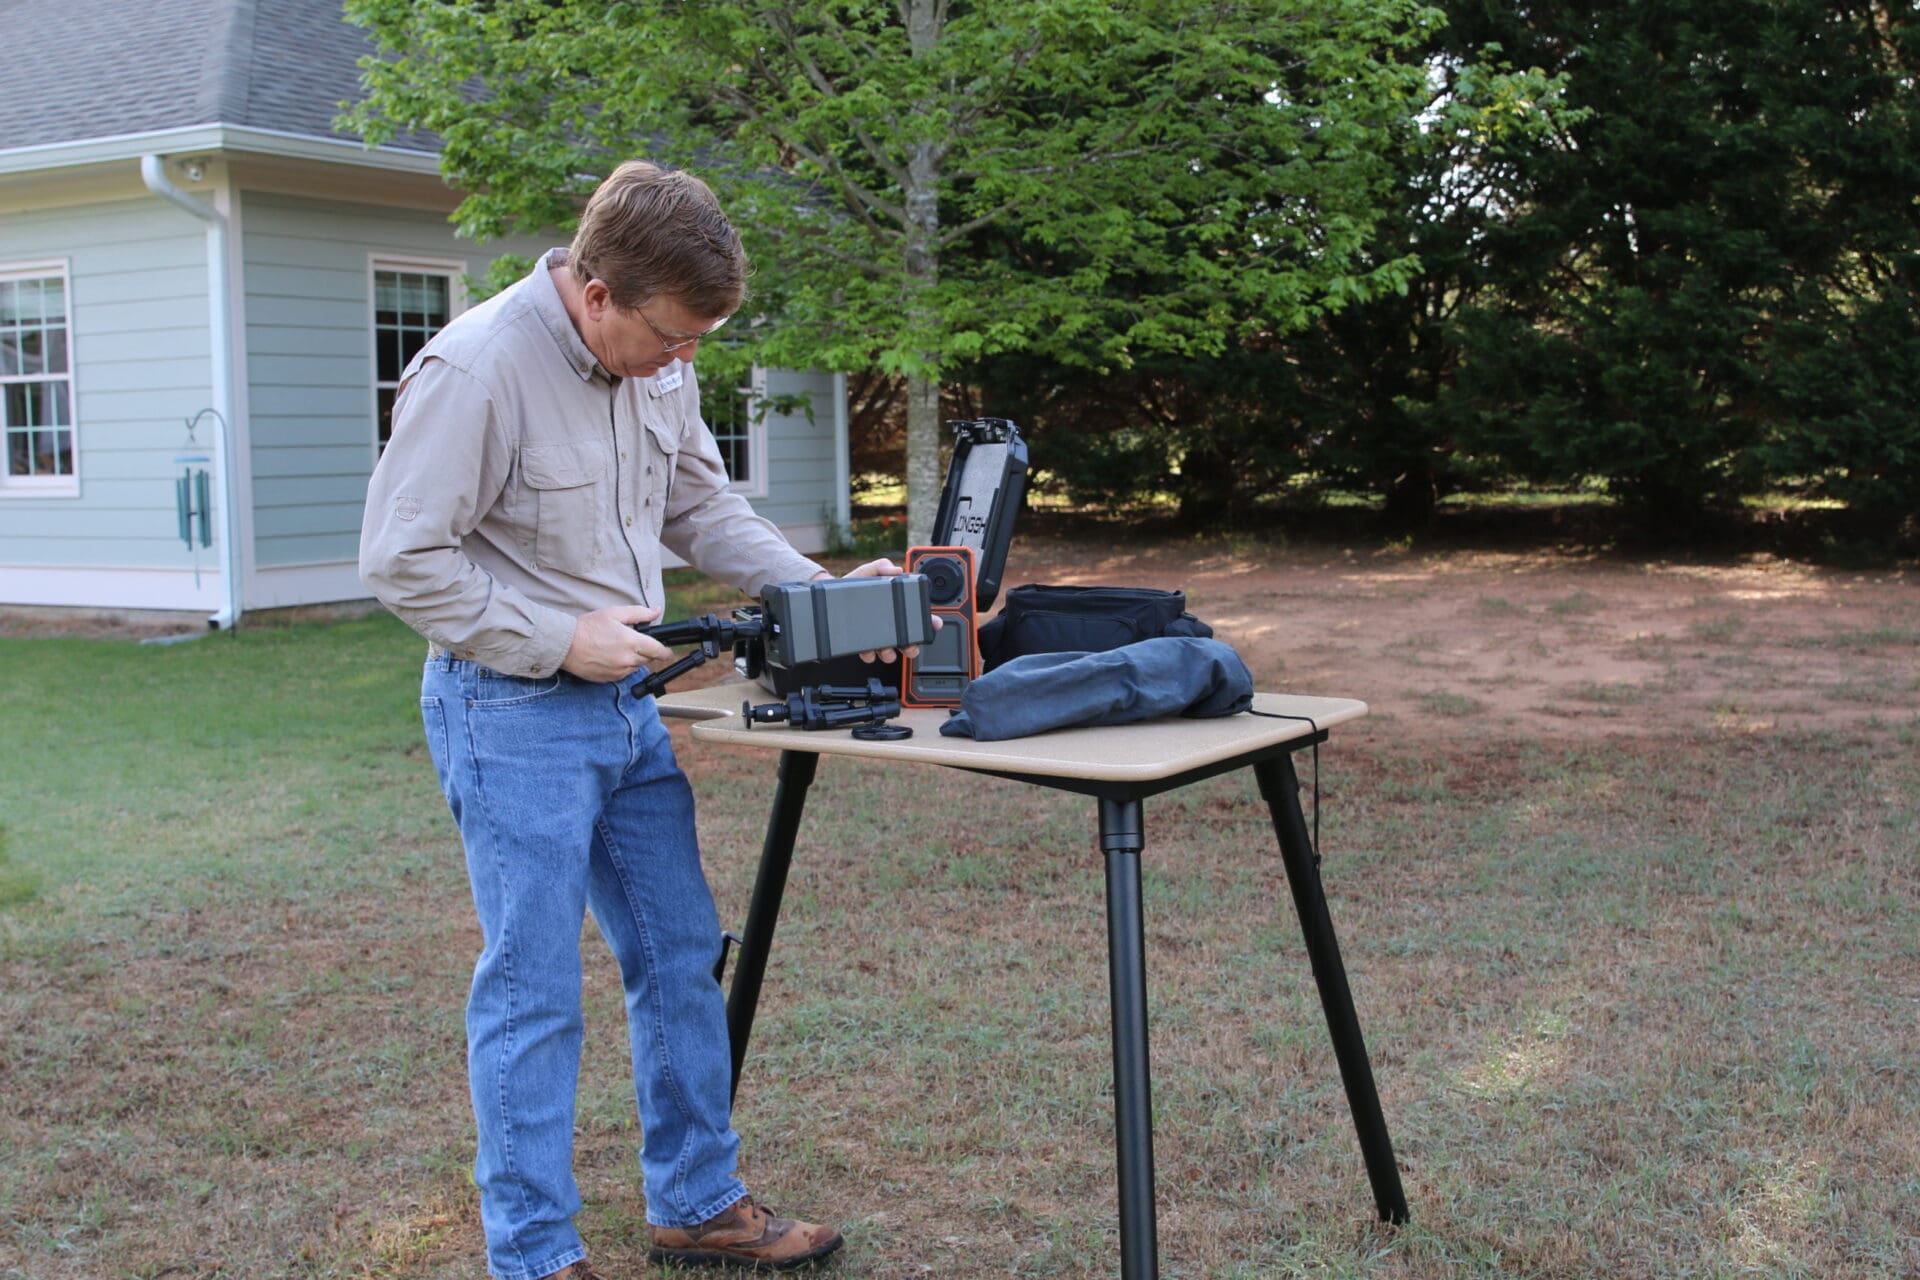
Into My Backyard
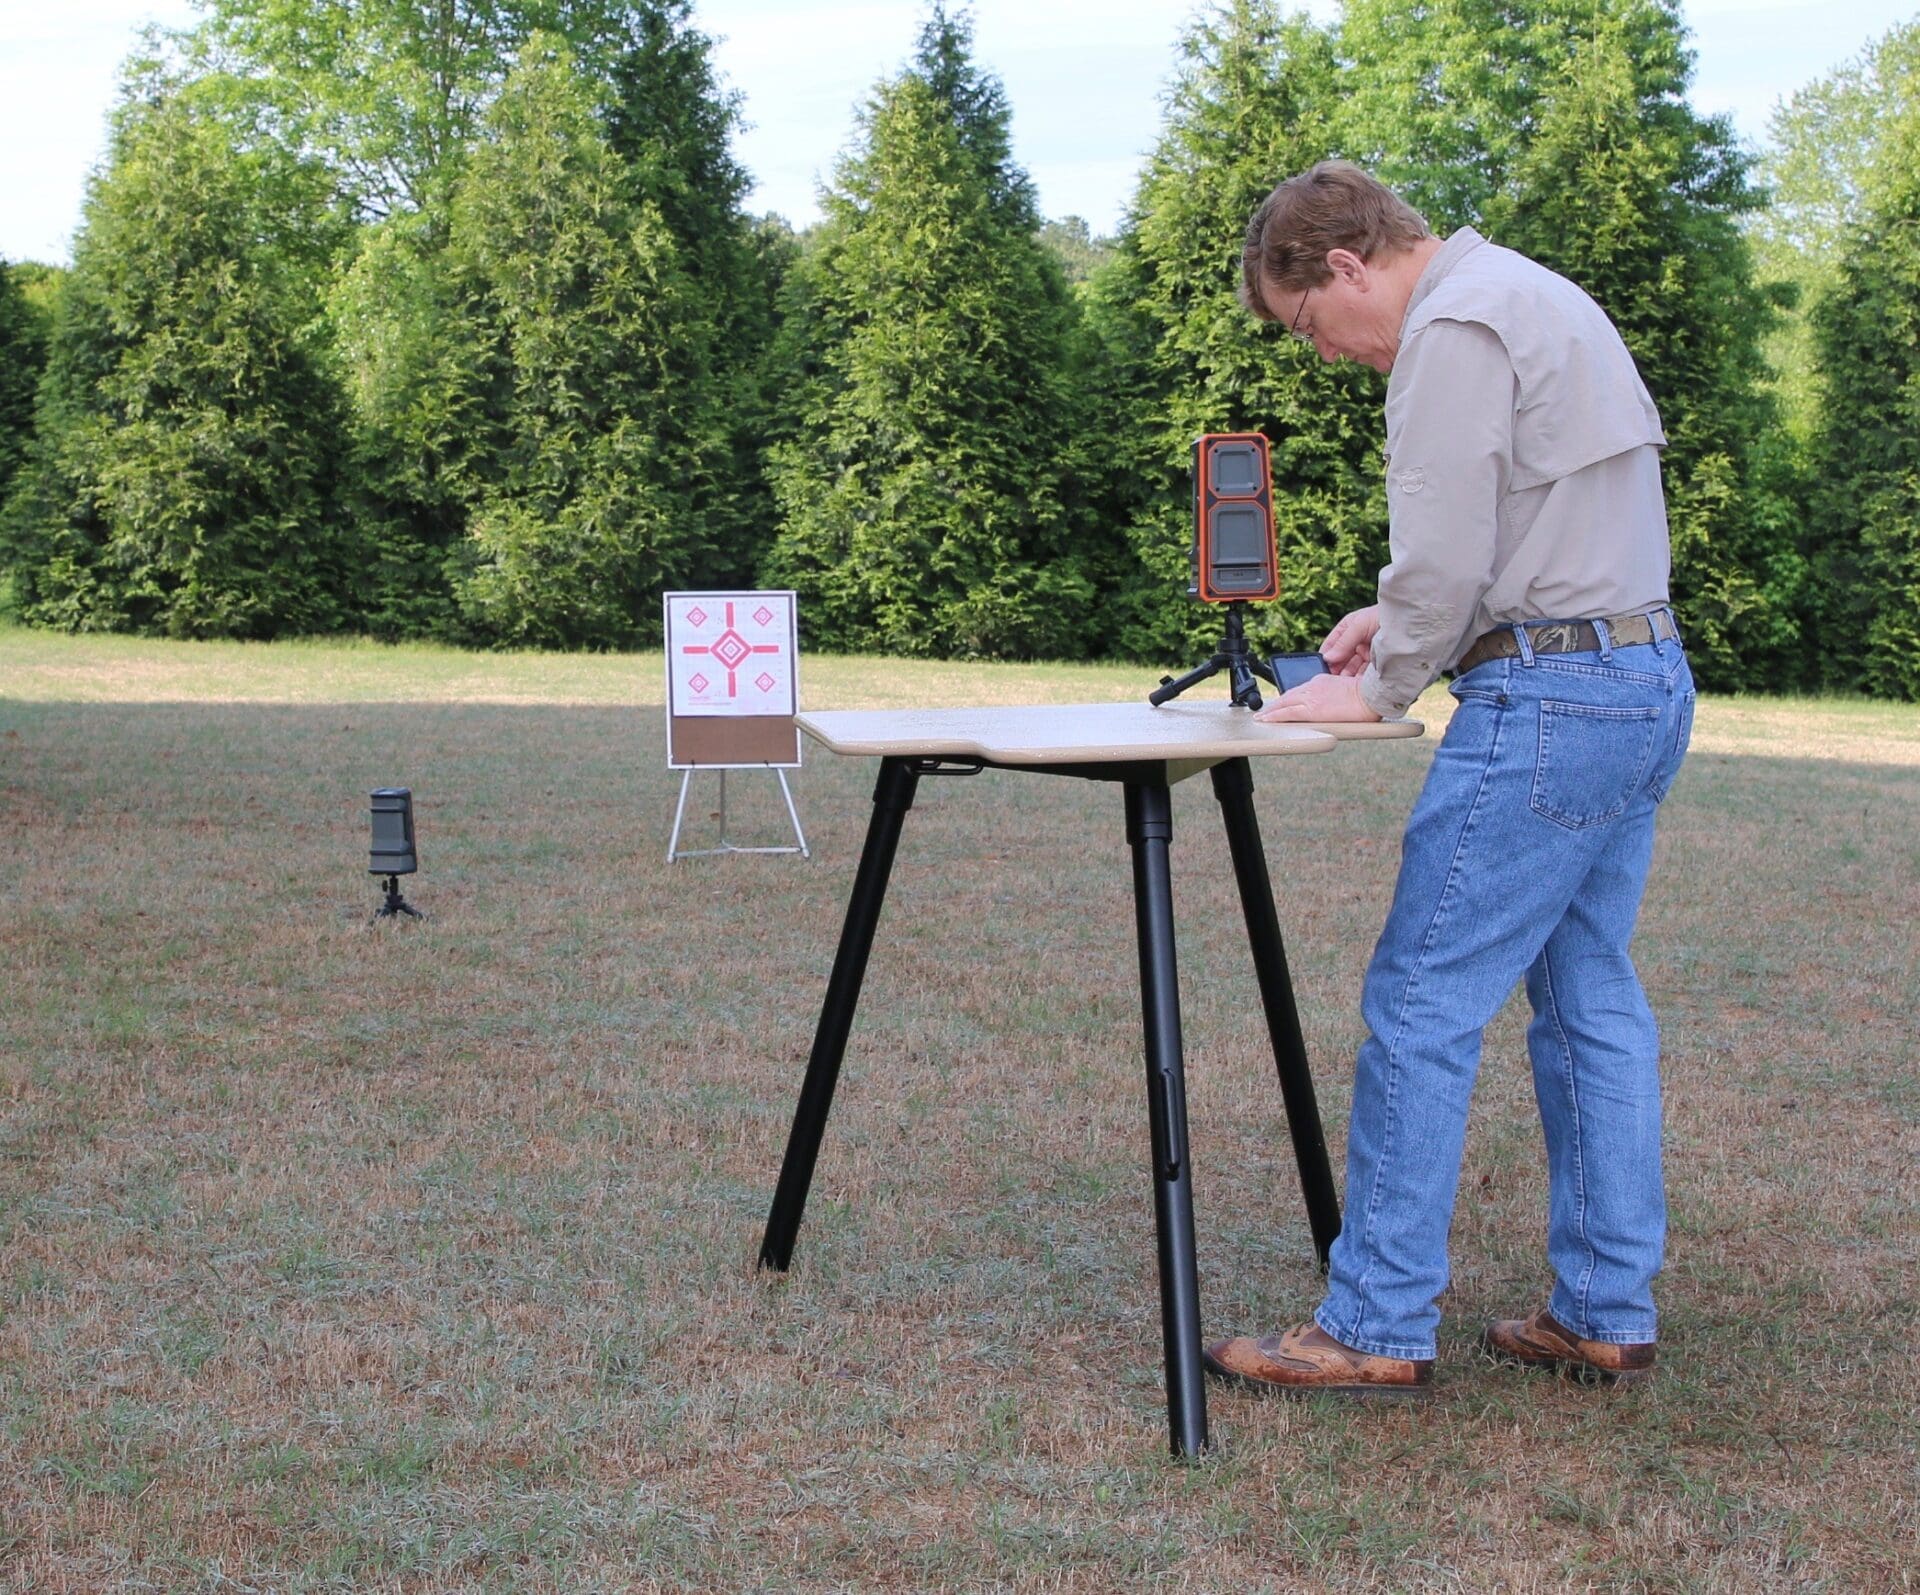
The next series of photographs shows me in my backyard to test out 1) assembly of the LR-3 camera and receiver, 2) linking a phone/tablet to the receiver and camera, and 3) positioning the camera to visualize the target.
‘Assembly’ requires removing the camera, receiver and two tripods from the carrying case and attaching a tripod to the camera and receiver. Yep, that’s it.
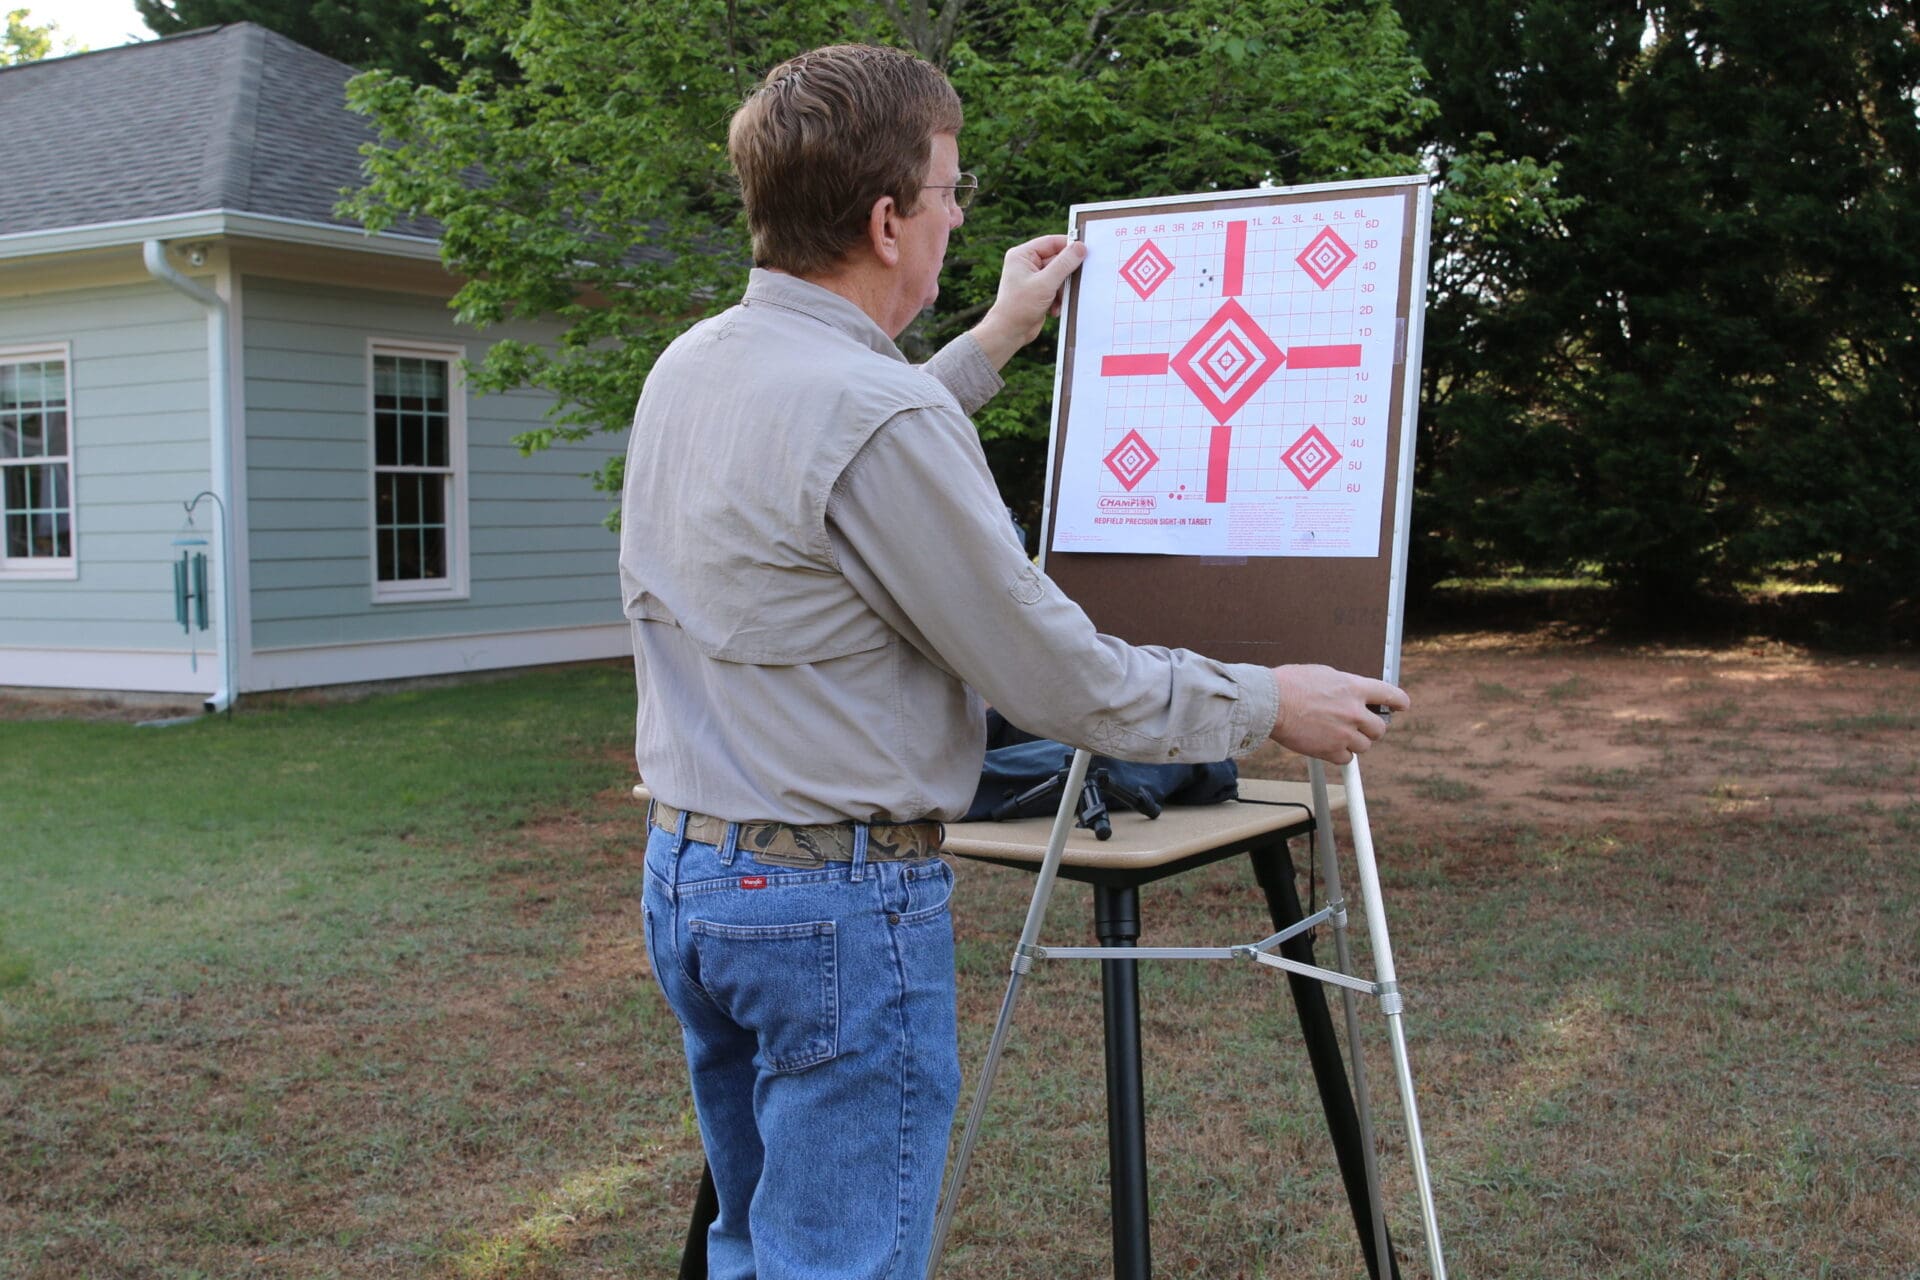
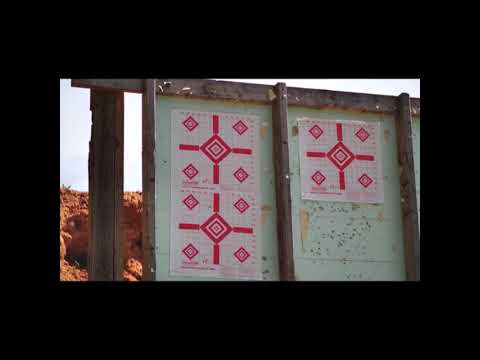
The next stage is a bit more complicated, but not by much. For this demonstration, I set up a previously-used target on an easel.
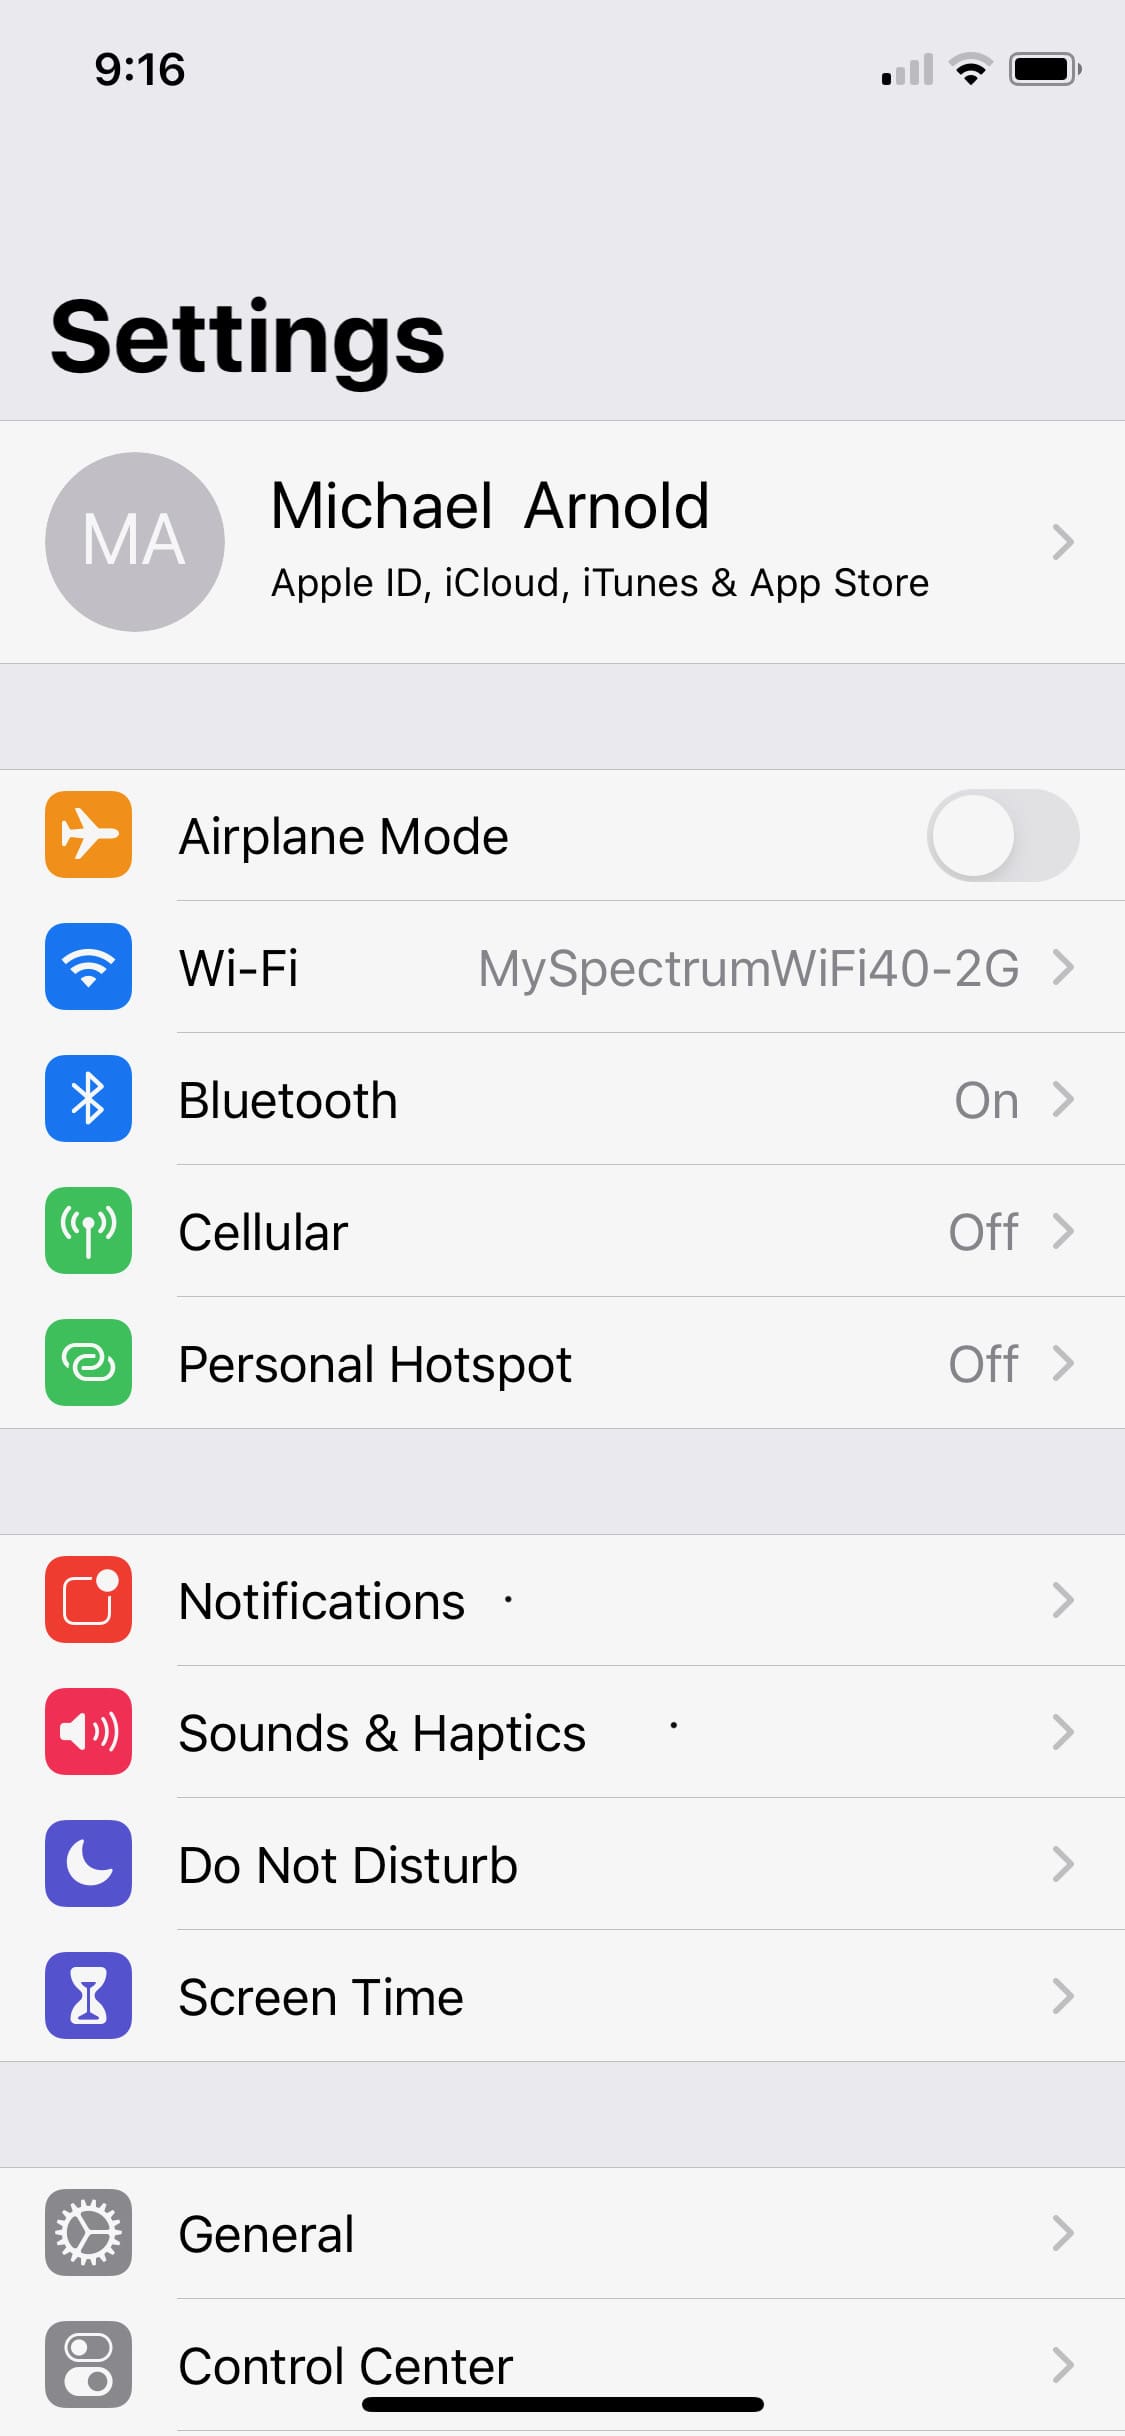
Next, as instructed in the user manual, I turned off the cellular data on my iPhone.

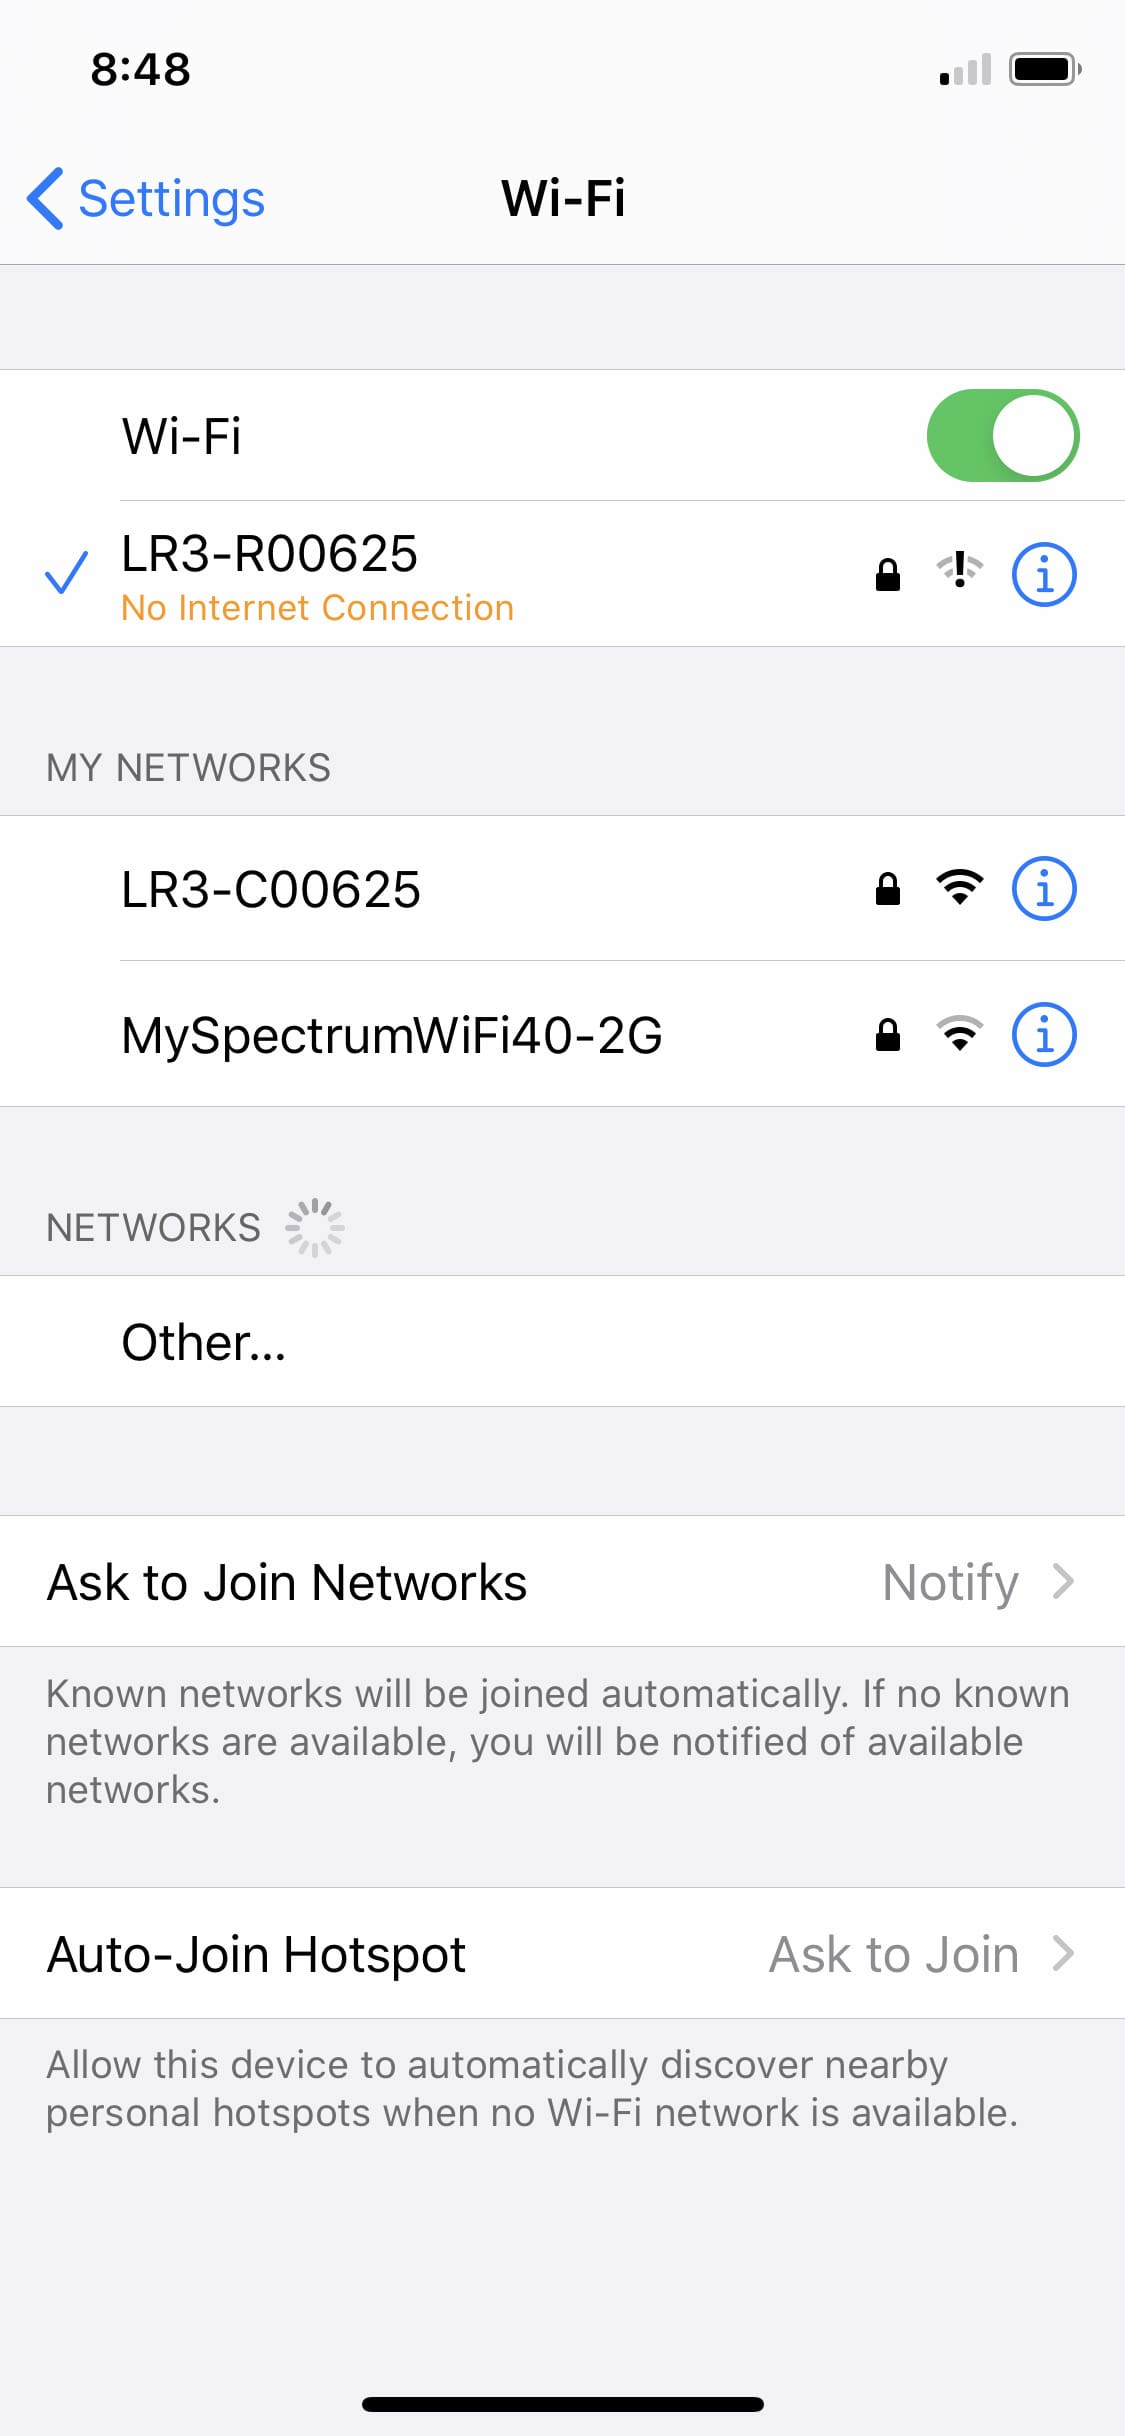
Then I used the LAN to connect to the camera LR-3-CXXXXX and receiver LR-3-RXXXXX. Don’t be like me and freak out when your phone/tablet displays “No Internet Connection”. The user guide tells you that this is often displayed, and can be ignored.
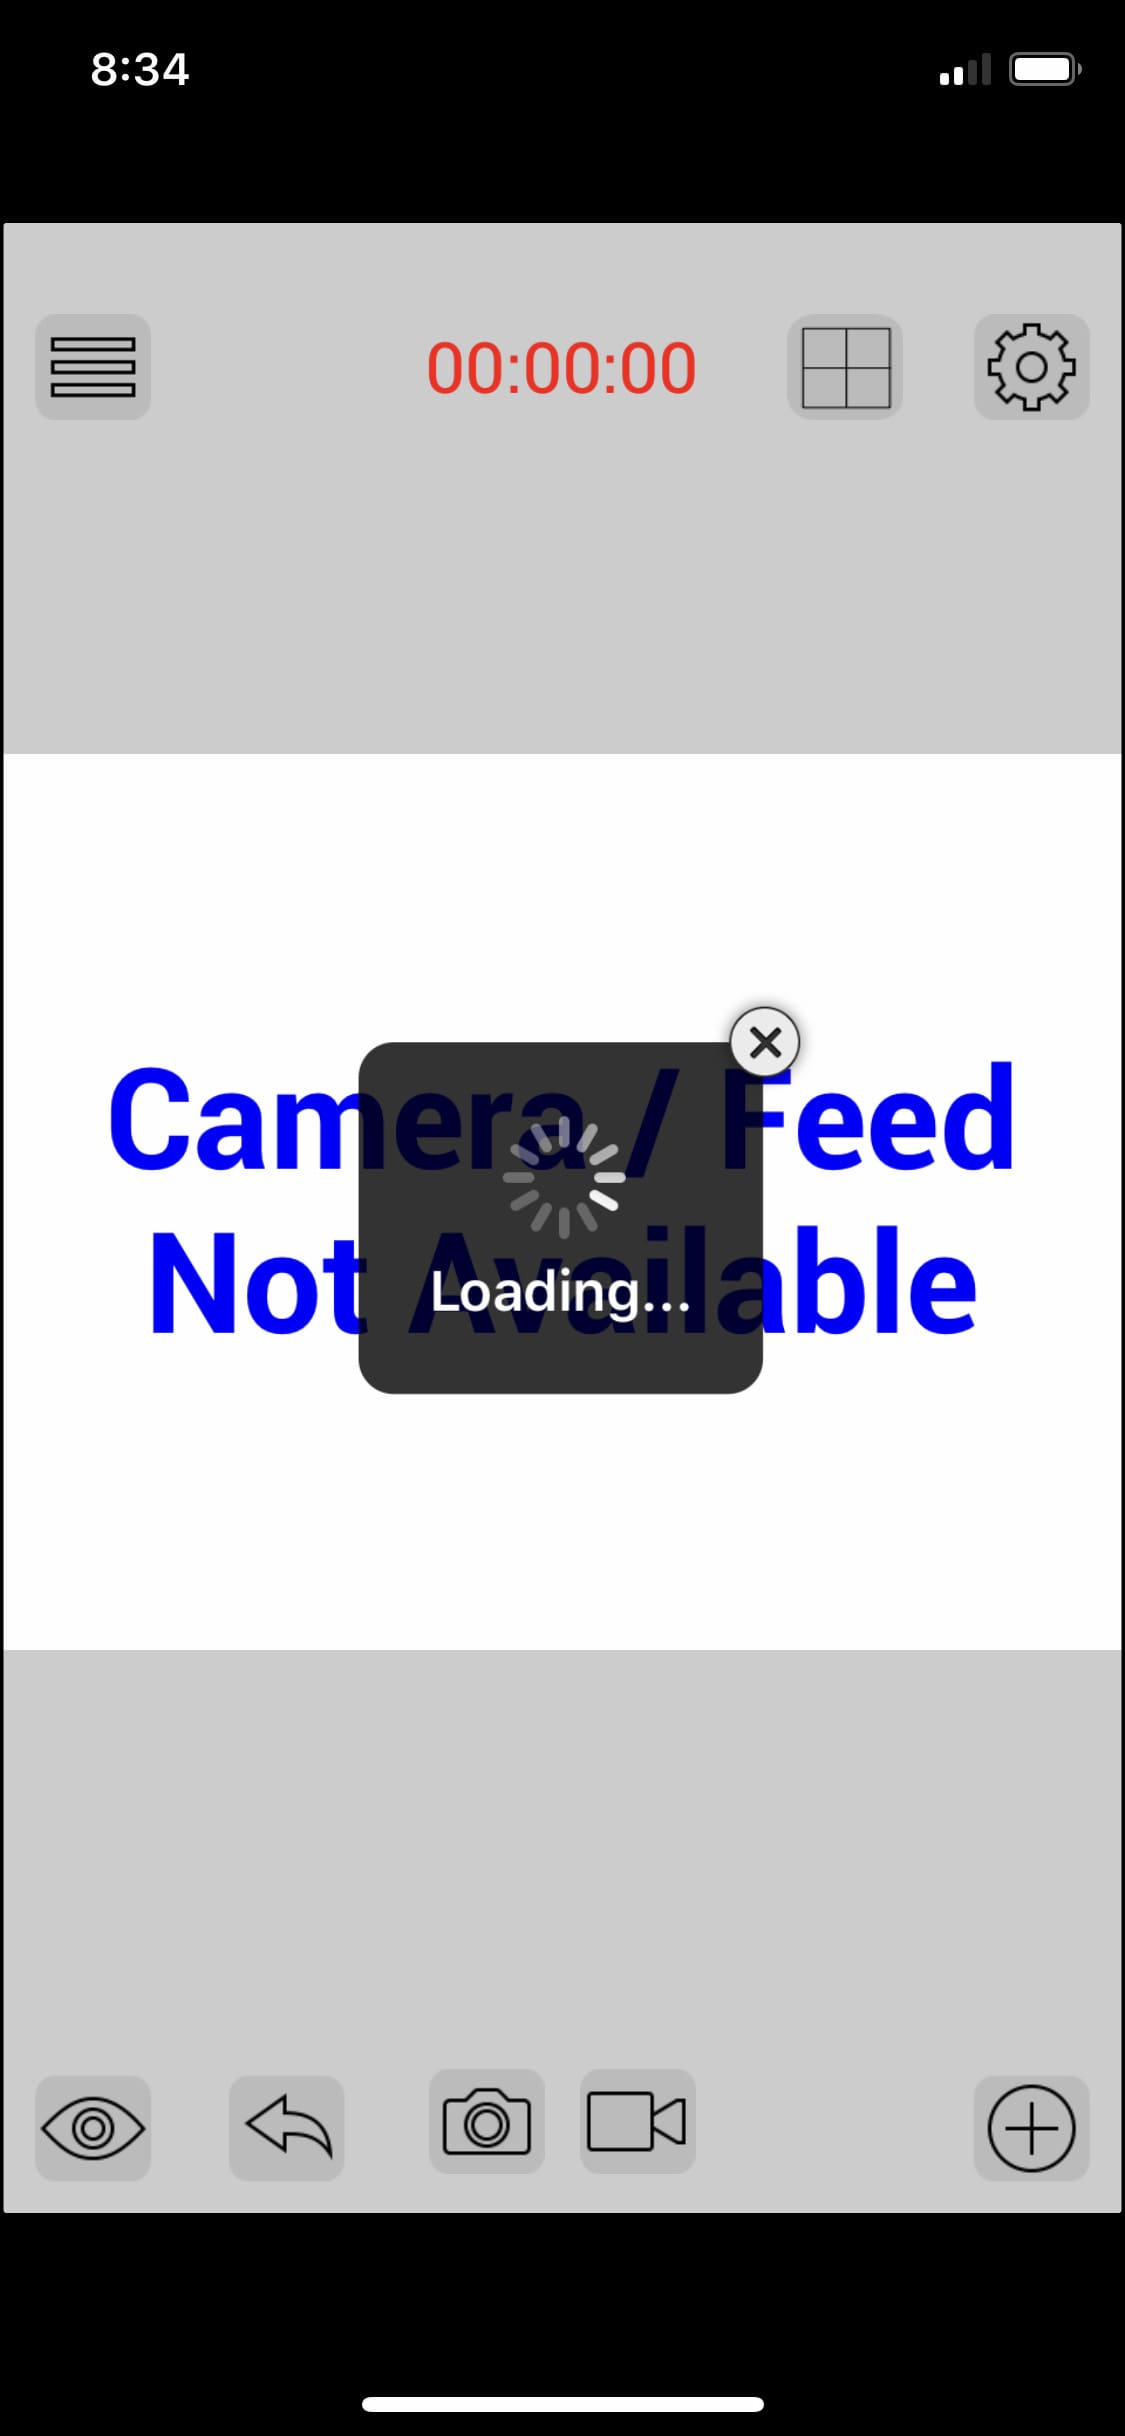
I forgot to mention that you will want to download the [free] TargetVision App. Now is the time in this sequence when I launched this App.

I watched it scan for the signals from the LAN and…

connect to said signals.
Now that I was connected, I began exploring the various settings and options. At the top of the screen, from left-to-right are 1) the Main Menu icon.
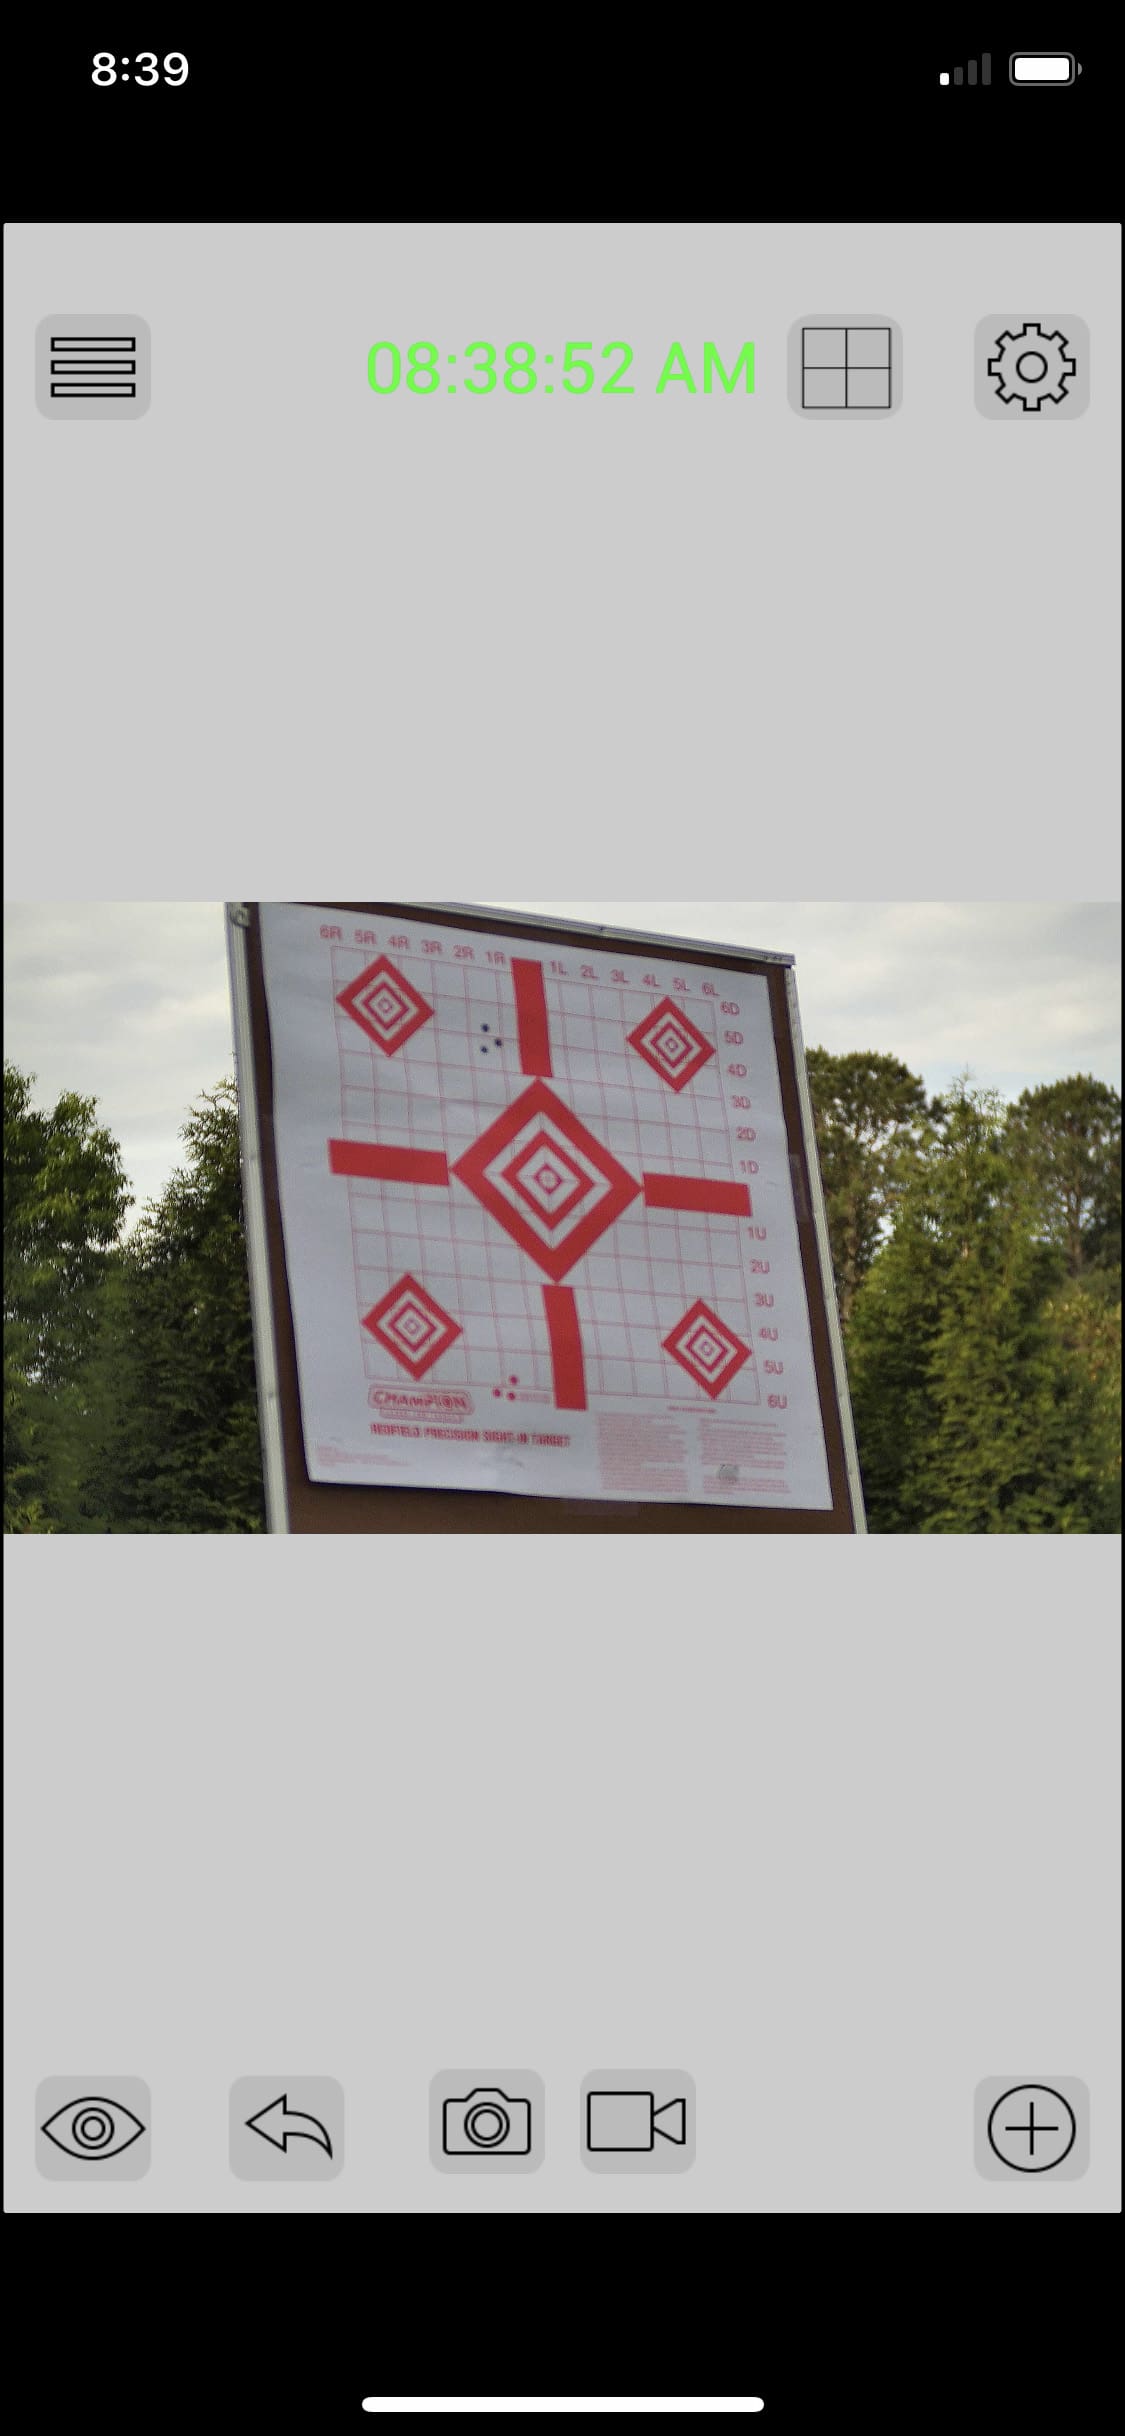
That allows me to, for example, go to my ‘Gallery’ of photographs and videos.

2) Camera selector icon;
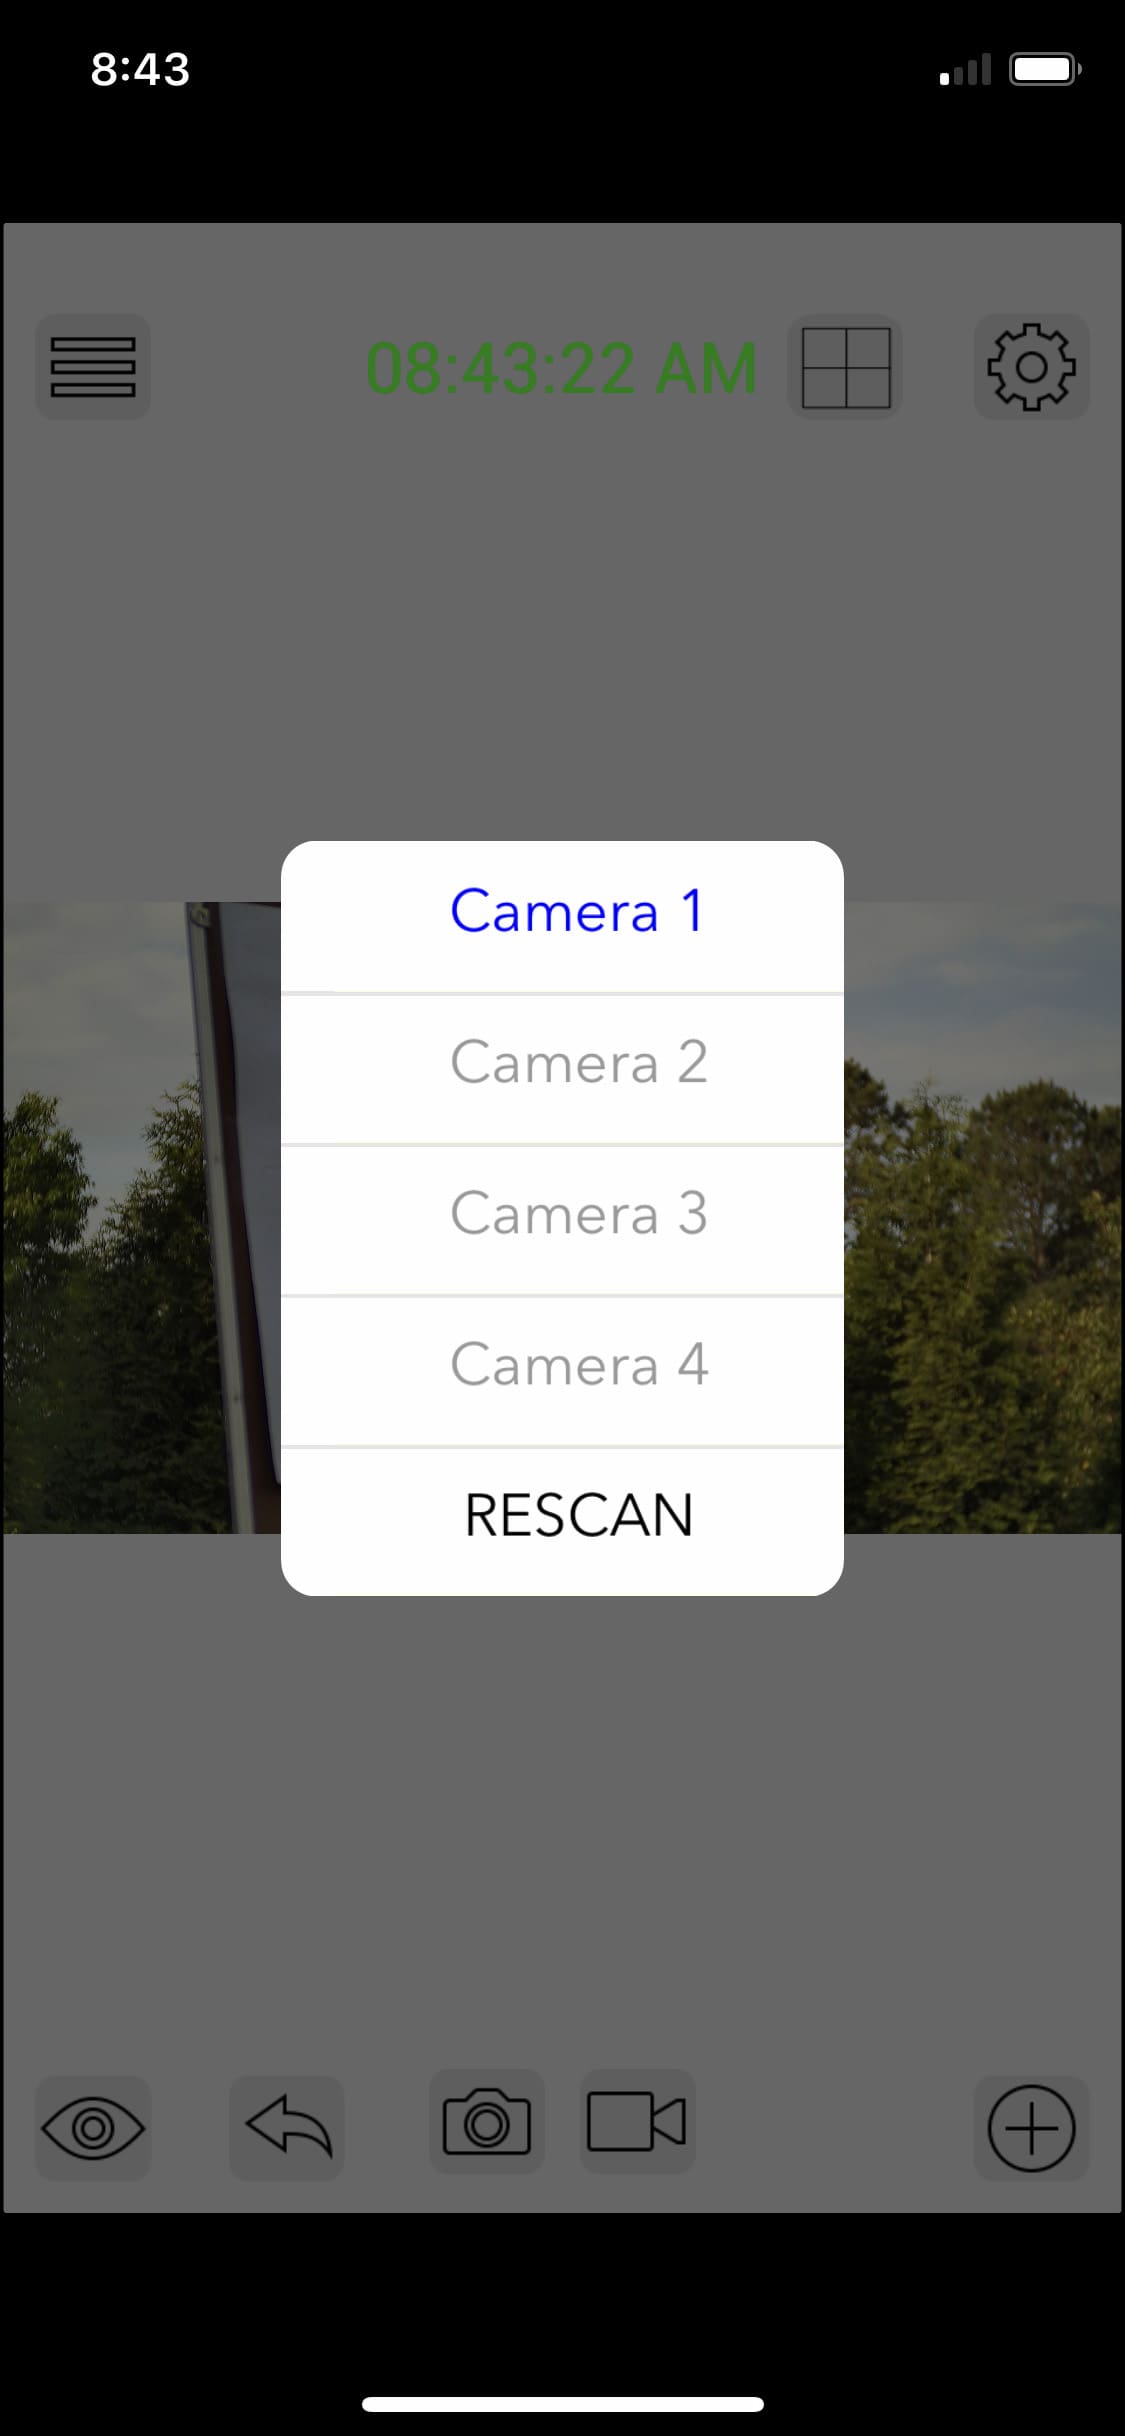
and 3) the Shooting Options icon.
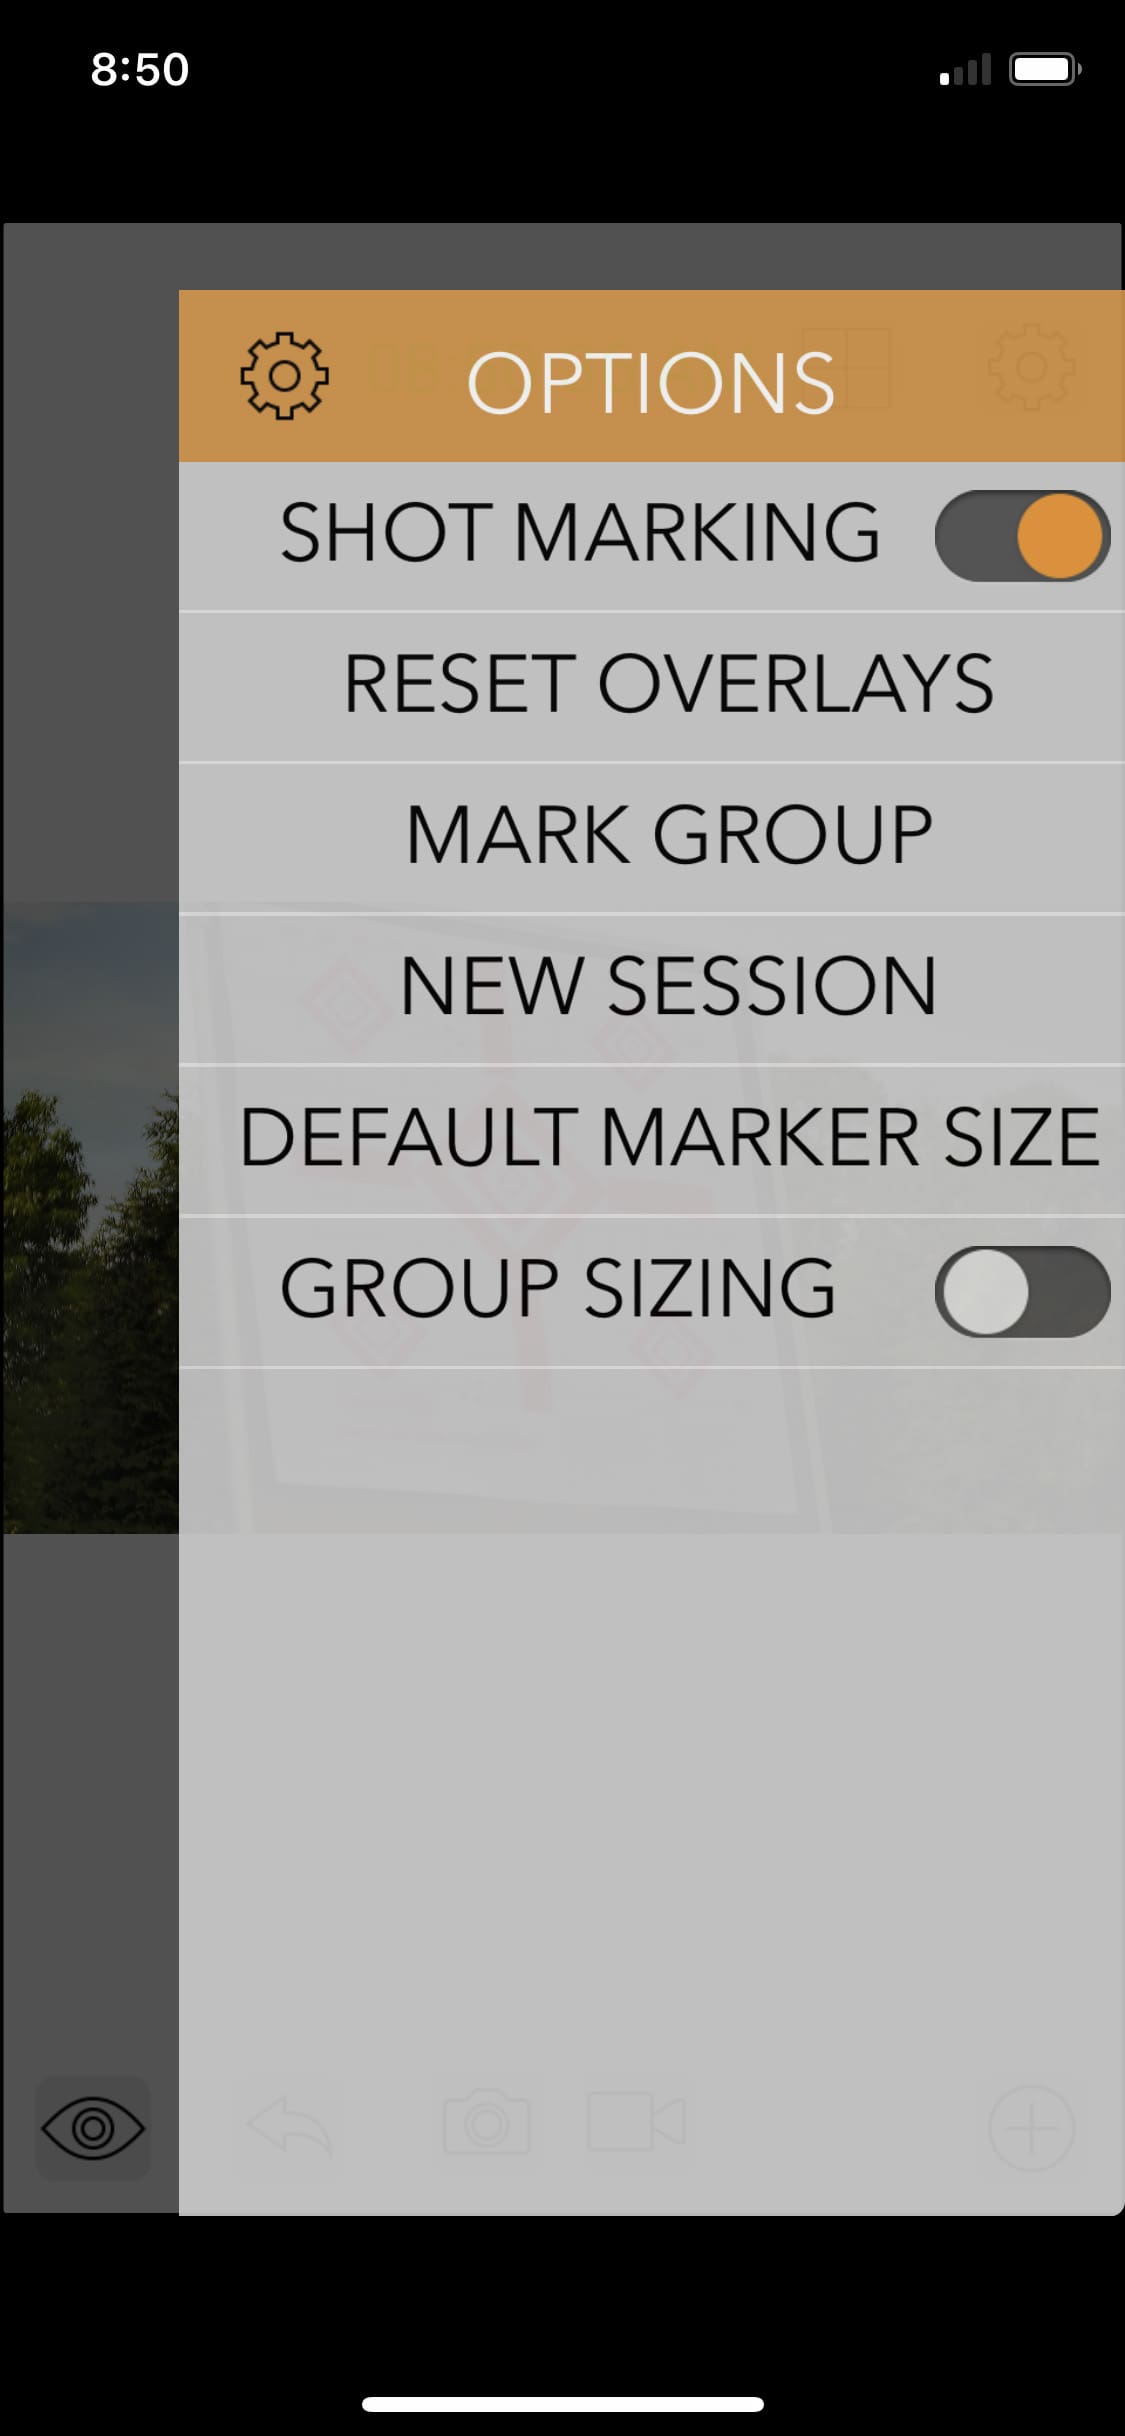
That feature allows me to access the settings for how I wanted my shots indicated, size of markers, etc.
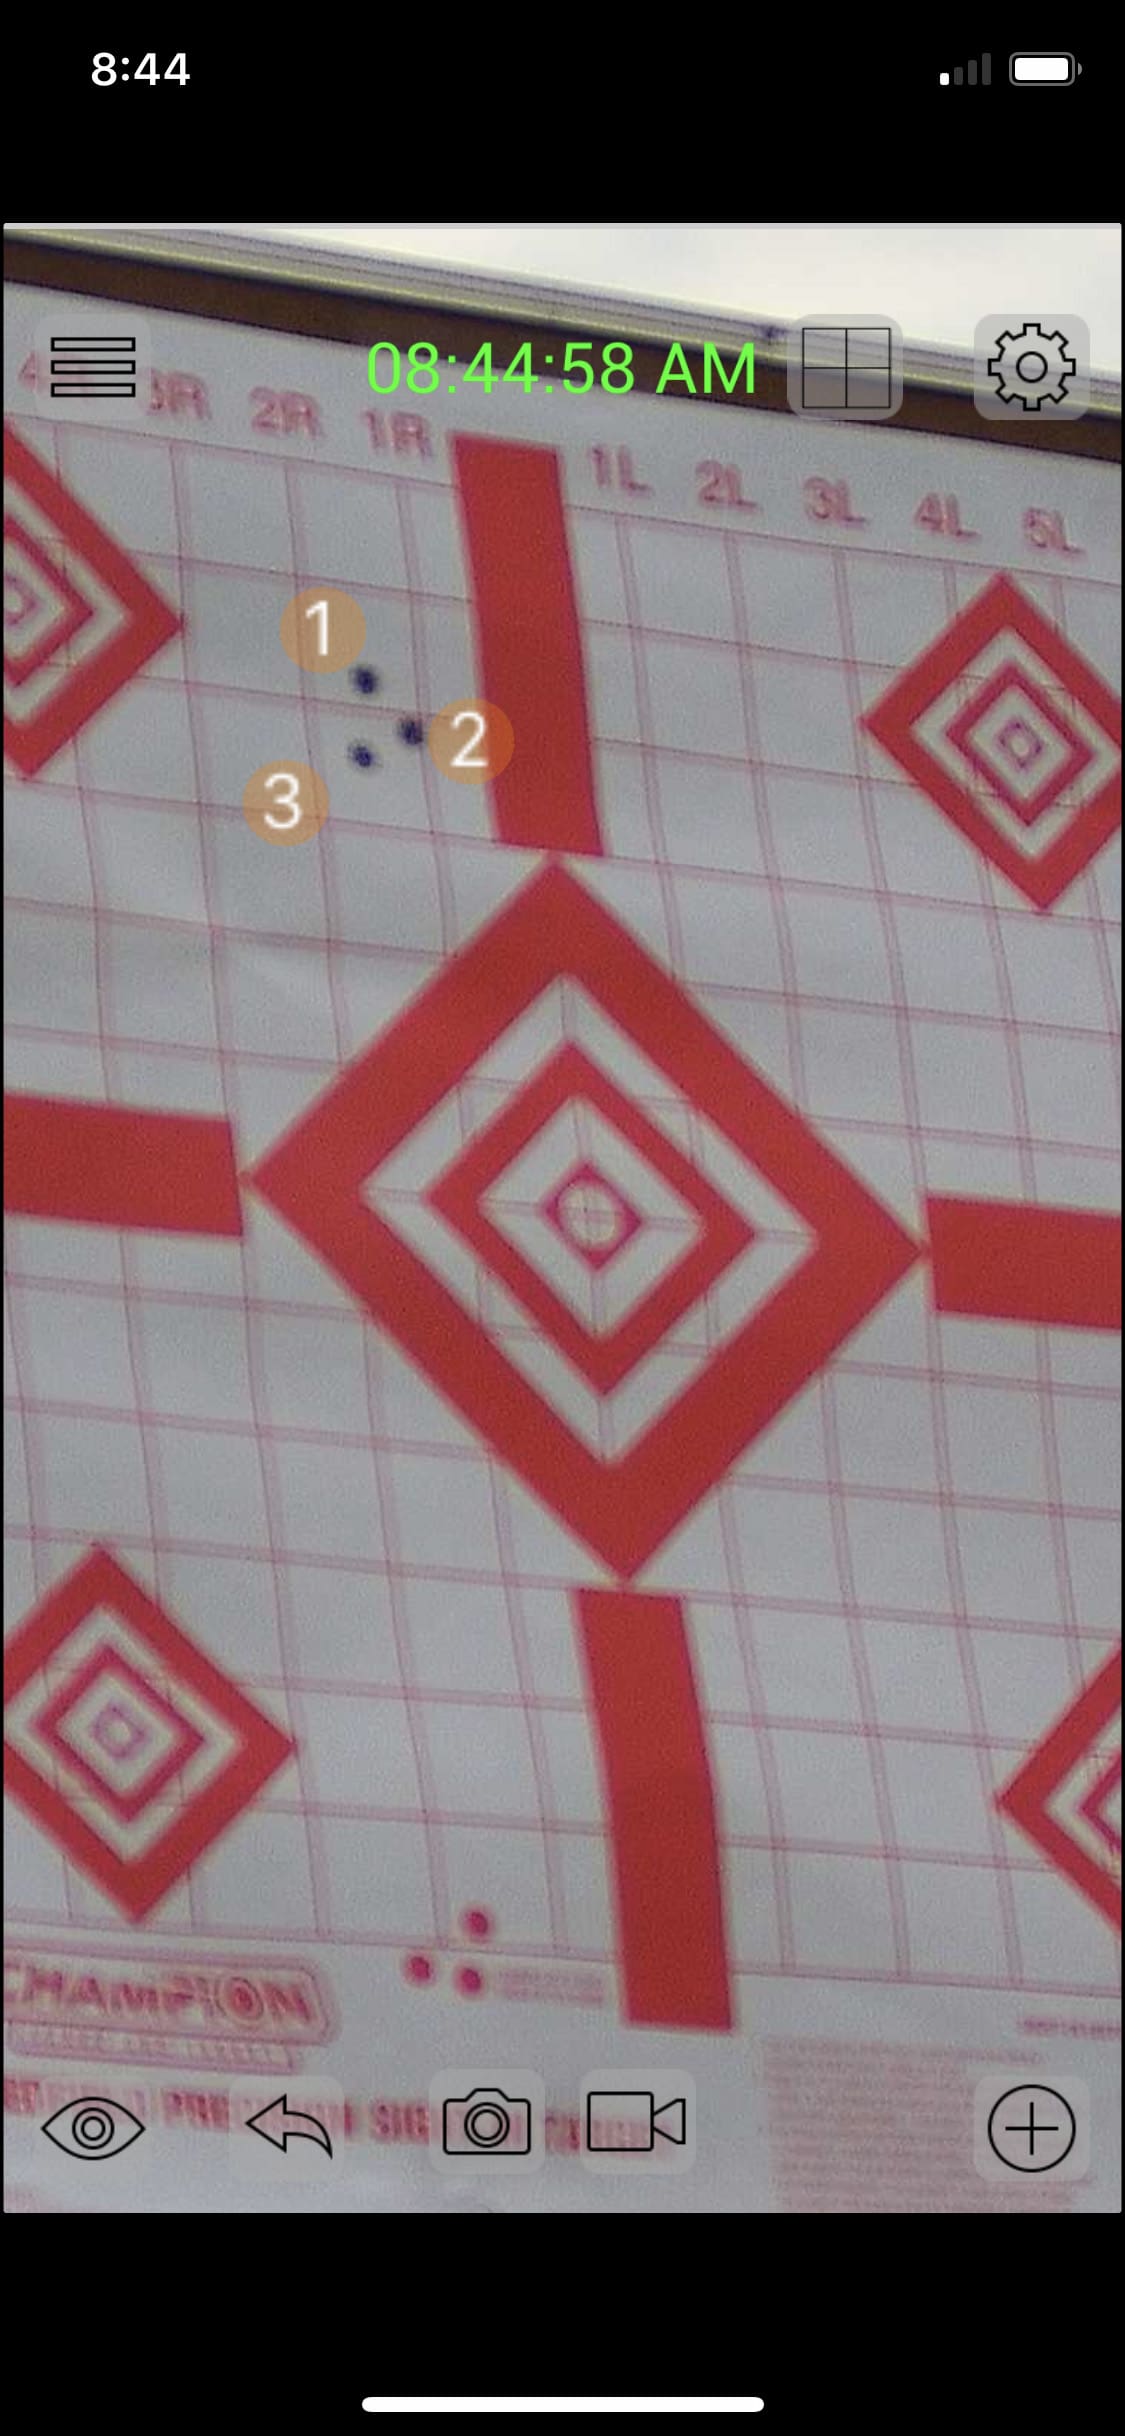
Additional marker settings and controls for photography and videography are accessed using the Icons located on the bottom of the screen. When touched, the ‘eye’ shows/hides the bullet hole markers (i.e. the ‘1’, ‘2’, ‘3’ in above snapshot). The left arrow removes the shot marker(s).
Touching the camera icon results in a snapshot. A video recording is begun by touching the video camera icon. The ‘+’ icon is the blinker shot locator which identifies the last bullet hole/shot. When activated, it causes the last hole in the target to ‘blink’, in other words appear/disappear as the target image toggles between the next-to-last and last shot.
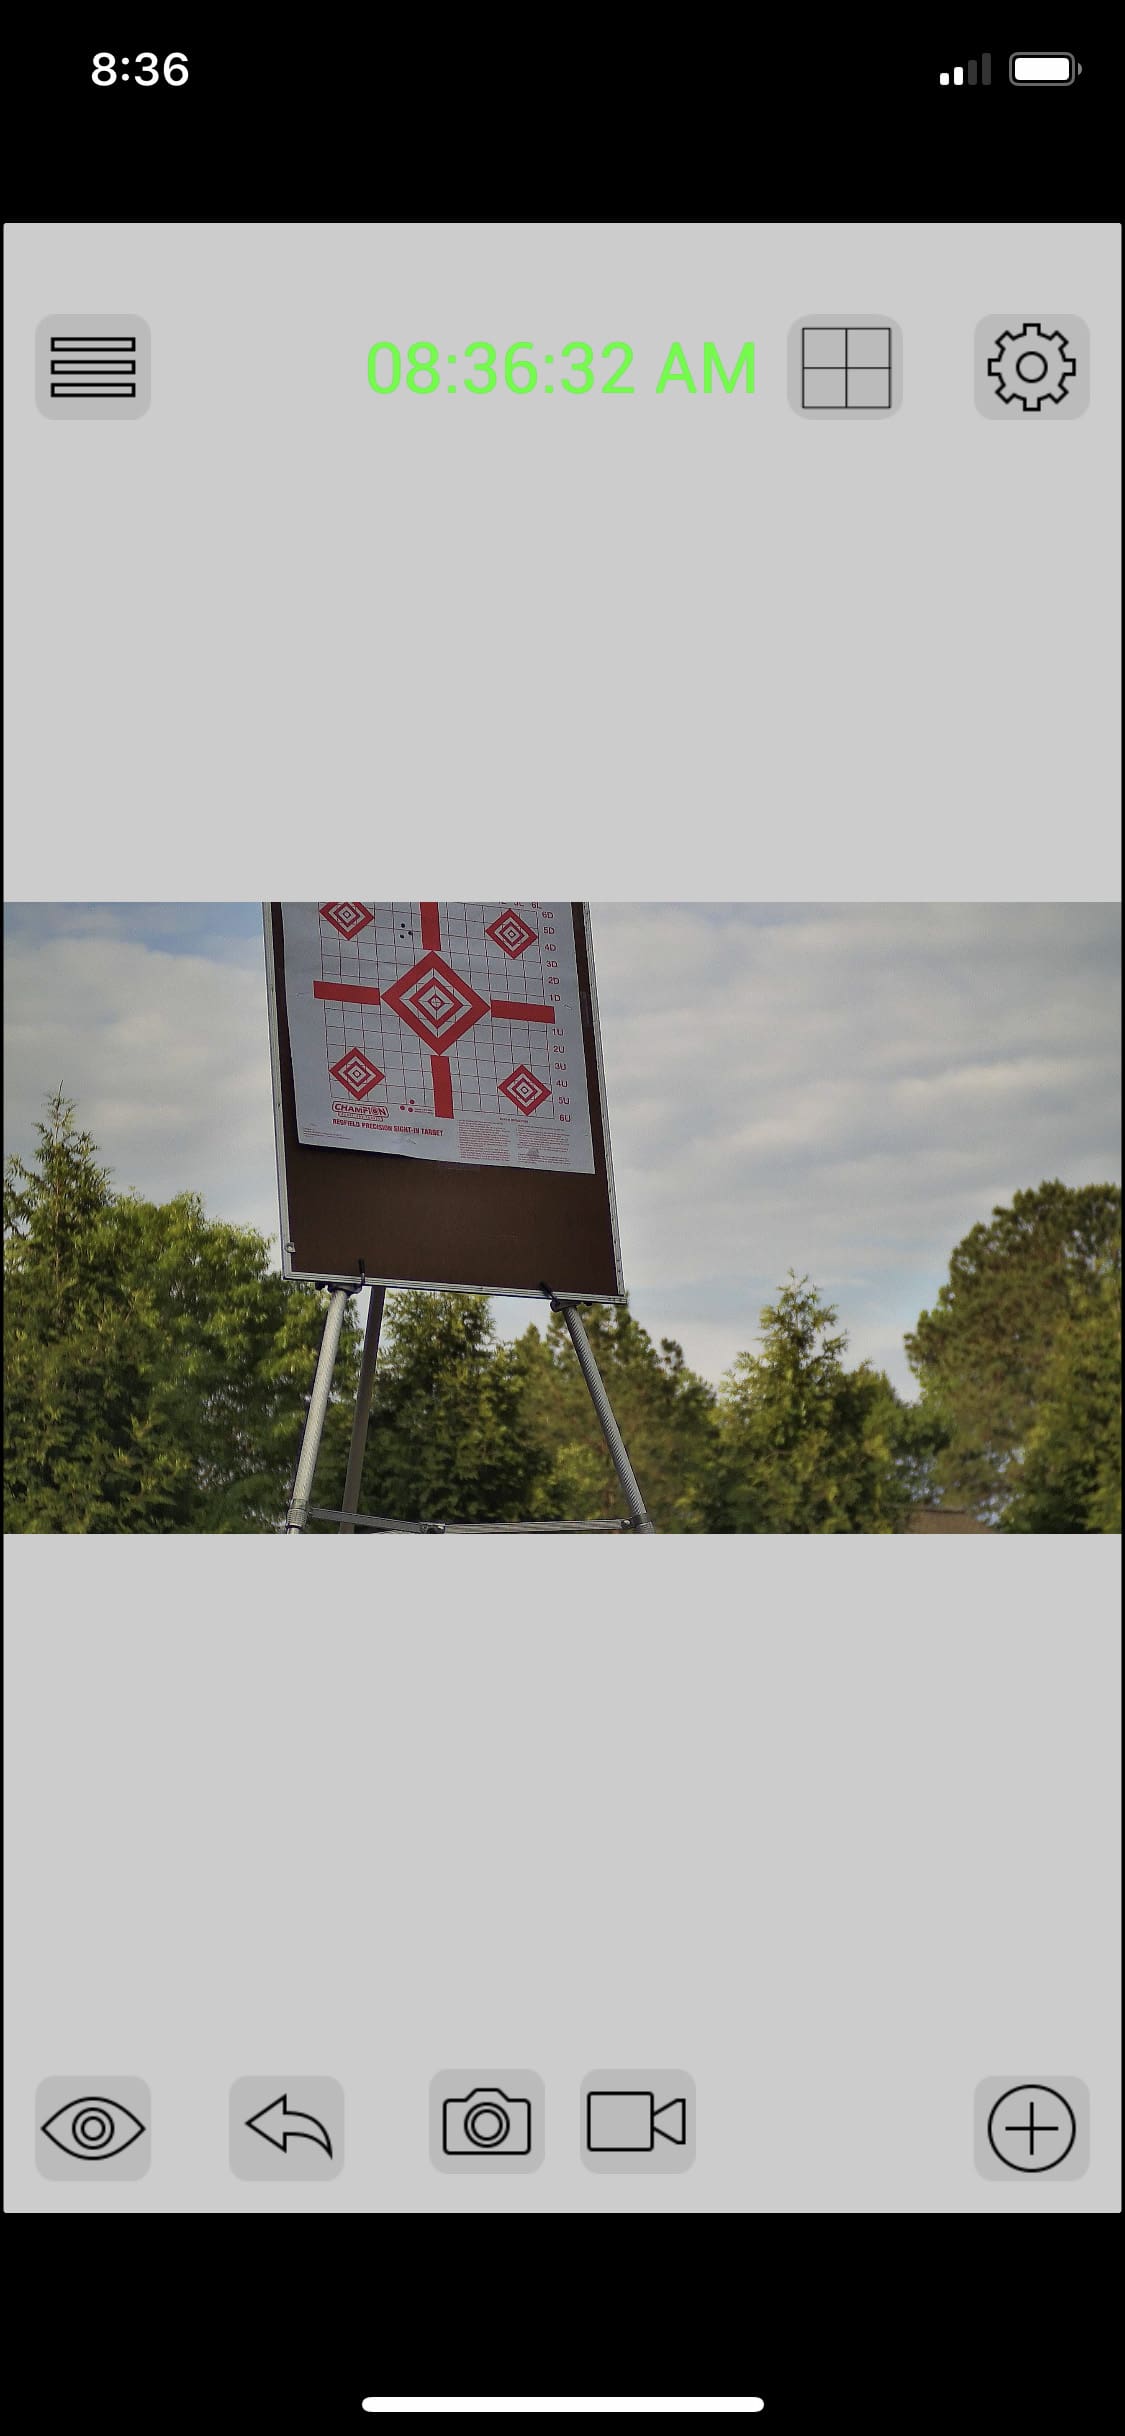
Now that all the settings and options had been selected, I headed to the target with the receiver, camera and my iPhone.

and saw that the target image wasn’t centered, nor did it fill the screen.
I adjusted the toggle lens on the camera . . .
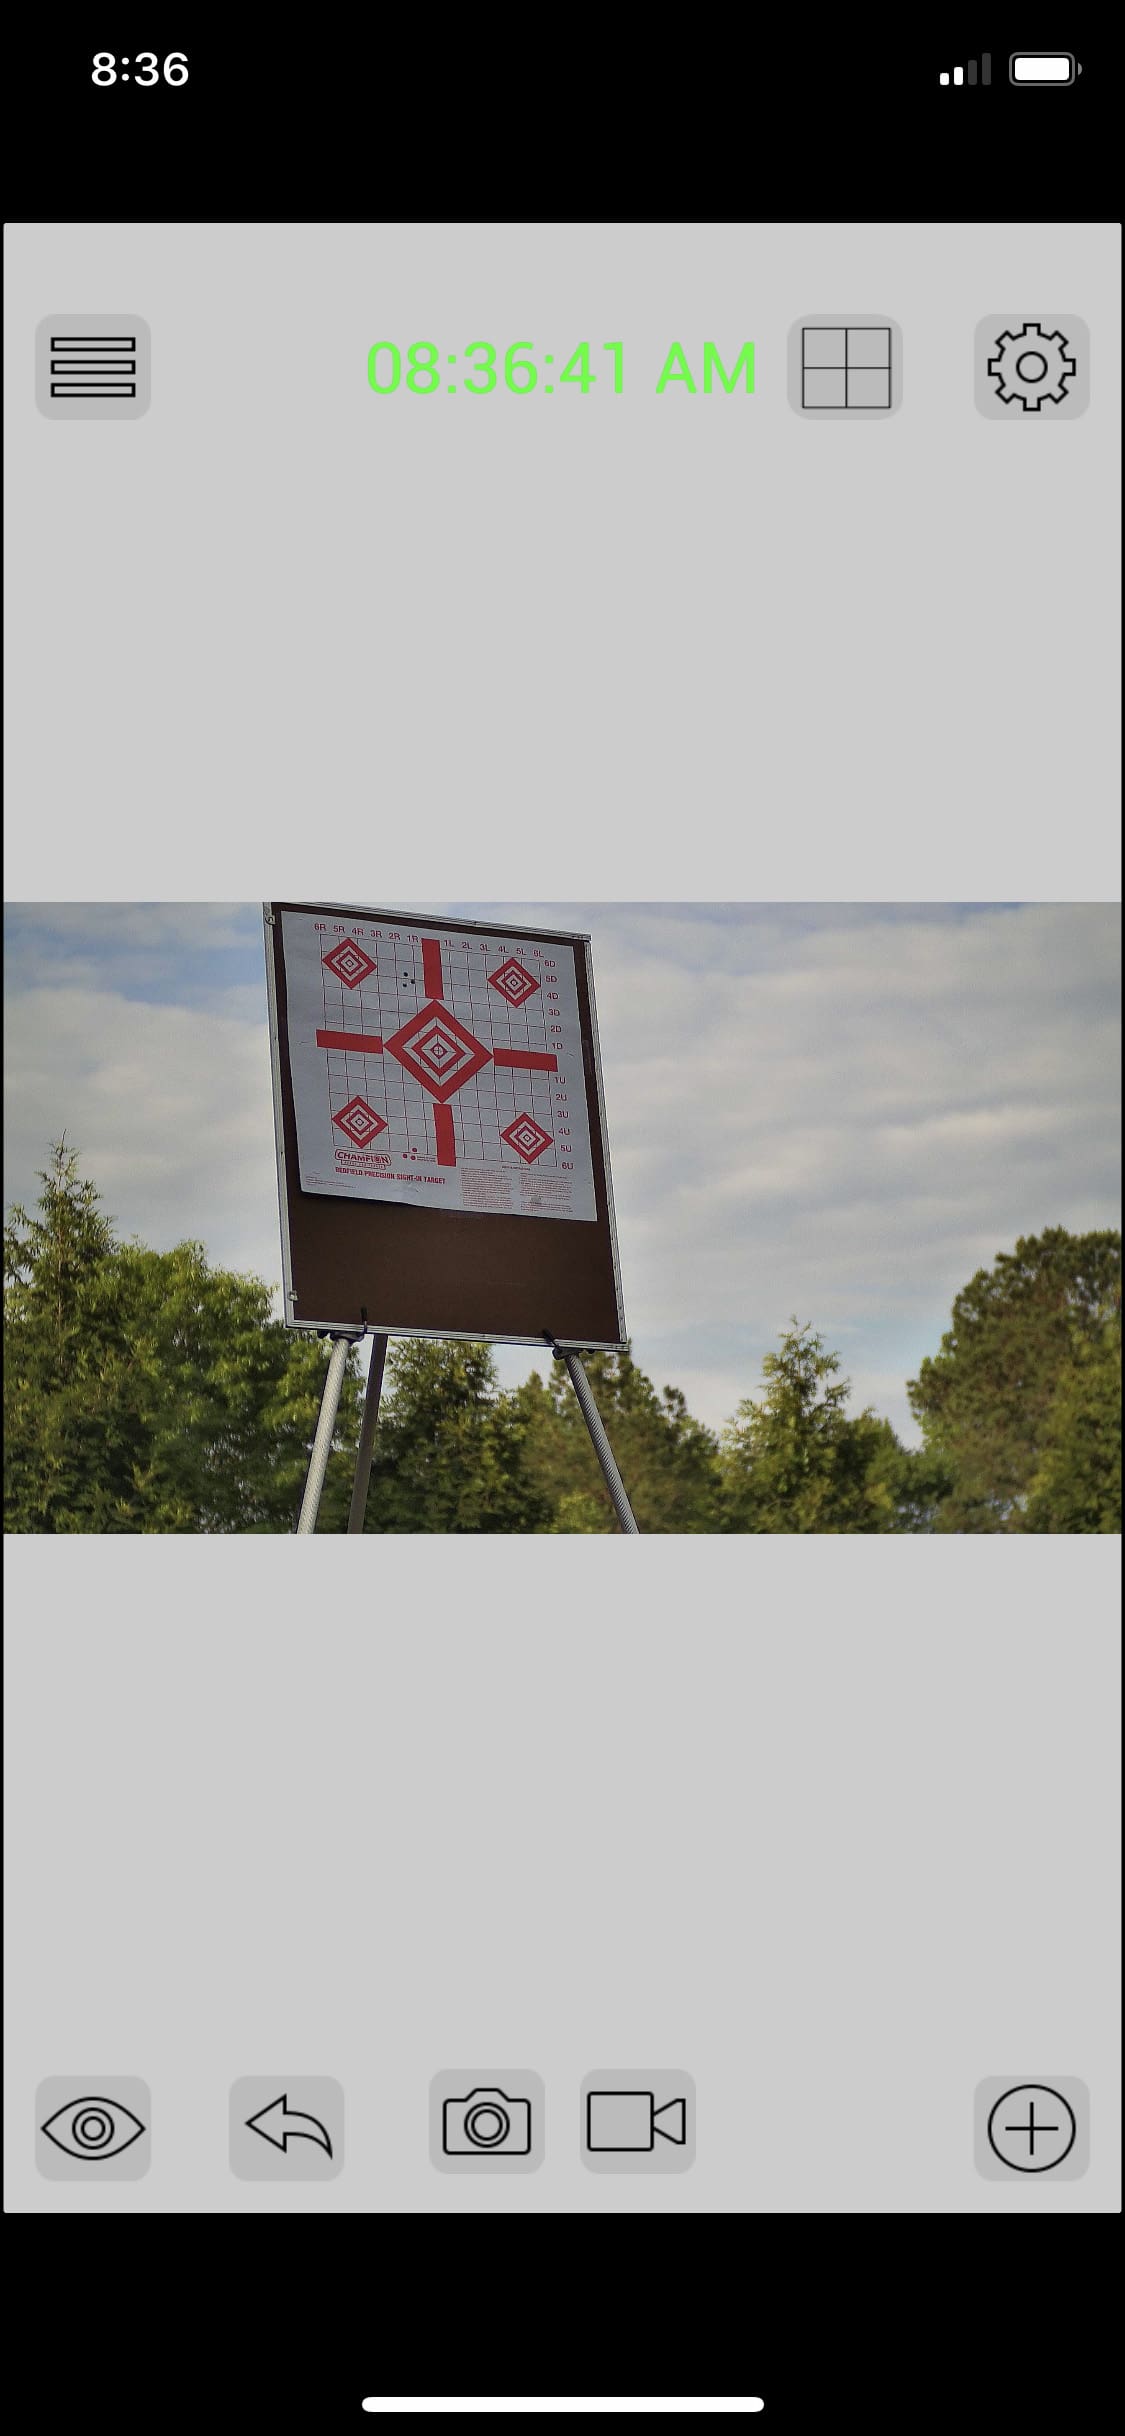
until the desired target image was attained.
I was now ready to shoot at the target, but many of my neighbors would have objected, so the next phase involved a trip to my gun club.

Rangework – Video from Longshot LR-3
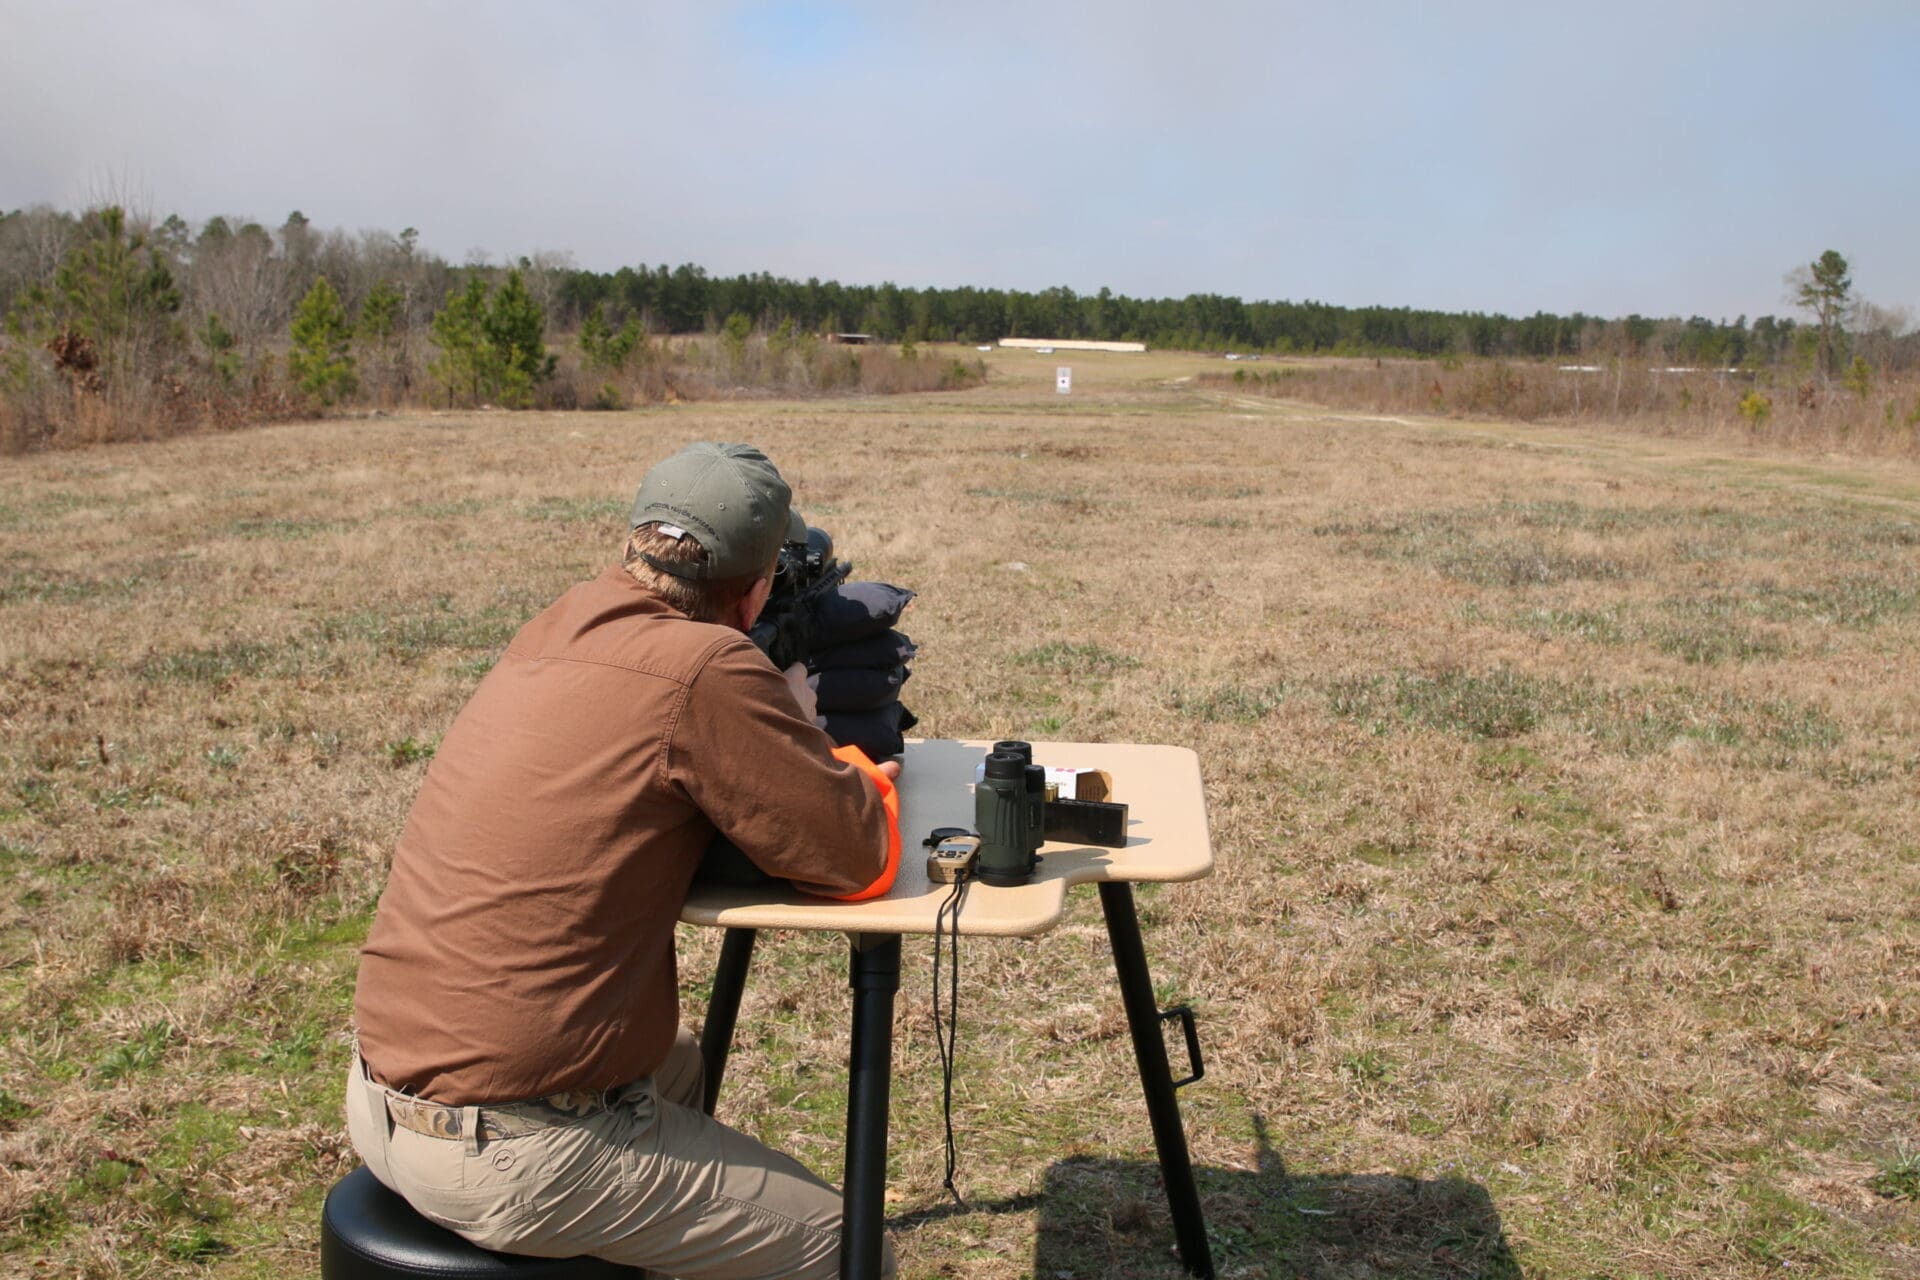
The shooting session using the LR-3 was carried out at the Elbert County Gun Club. I wasn’t trying to test the maximum distance the unit could capture images here, but rather testing the video and photographic options.
The accompanying video recorded the results of firing a three-shot group at 100 yards. The recording was made using my iPhone 11 Pro through the LAN link with the LR-3. The three-shot group appears on the bottom left target.
This session proved that the LR-3 could indeed capture shots being fired into a target. The real question was whether or not it could capture them at the extreme distances claimed by Longshot.
Out to HWY 78
I really am a stereotypical male. I don’t often read instruction manuals carefully (or at all). For example, it would have been very helpful had I read the following from the LR-3 Instruction Manual, before going out for the ‘highway’ test:
As the system comes, it only has a guaranteed range of 1 mile. If you are planning to use the system past 1 mile, we recommend that you use larger tripods and elevate both the camera and receiver at least 36″ off the ground. The 2 mile guarantee requires that both the camera and receiver be at least 36″ off the ground.
(The bold type was in the LR-3 manual.)
Not having read that passage from the manual, I didn’t know that I was testing the unit under sub-optimal conditions — not elevating the camera and receiver to a minimum height of 36 inches. When using the unit to attempt to visualize a target at 1.5 miles, the LR-3 was being challenged to perform better than its guarantee.
As in my backyard and at the range, I began by attaching the tripods and connecting my iPhone to the receiver and camera via the LAN.

Like in our backyard, I positioned the camera so that a pre-used target was centered in the screen of my iPhone. The target and easel were placed in front of the car to protect it from the wind coming off the frequent 18-wheel tractor-trailers that go by on that stretch of road (I will return to the significance of the 18-wheelers in a bit).
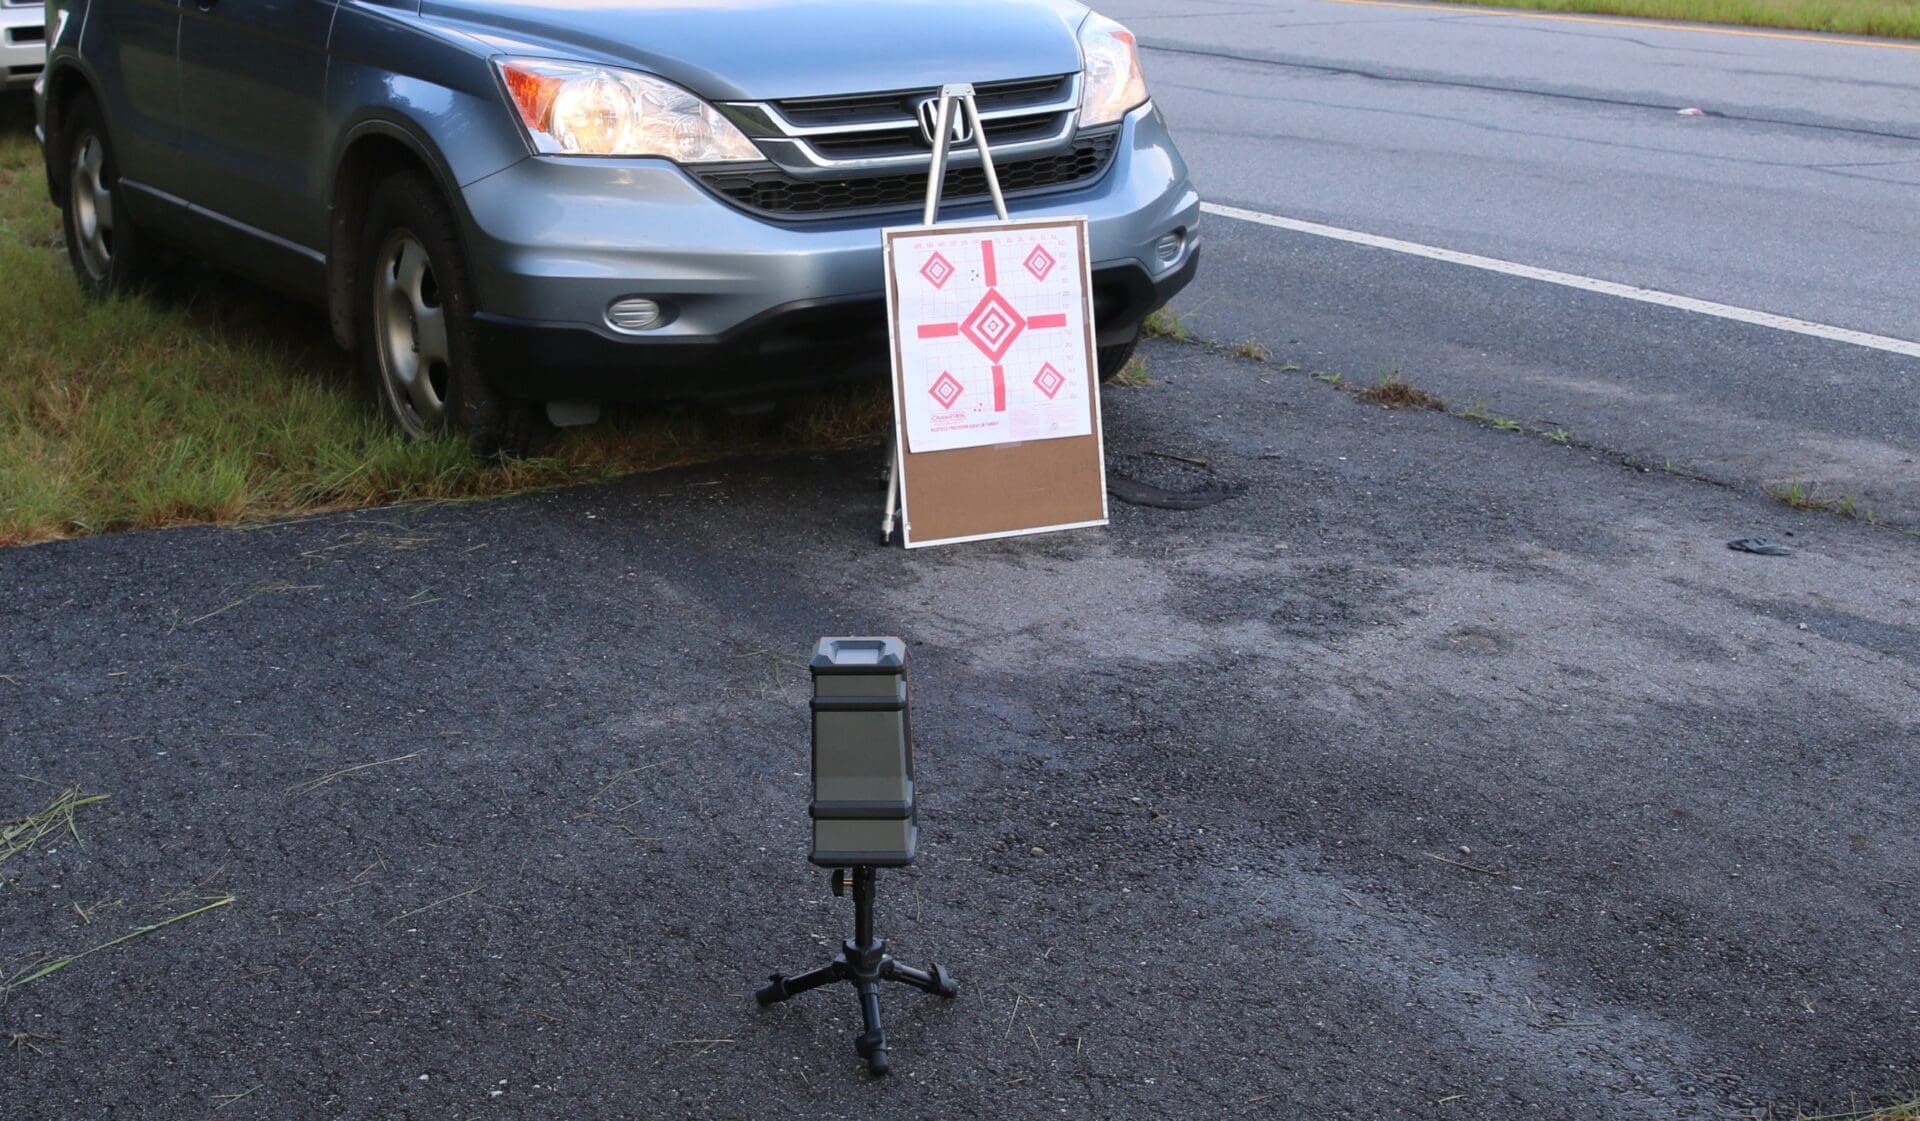

Unlike the range and backyard sessions, I would not be able to keep a continual connection between the receiver/camera signals and my phone. This was due to the fact that as I drove away from the target, I would go over hills and around turns until reaching the next line-of-sight position.
The Longshot LR-3 would be required to reconnect to the signal. This too was an abnormal stringency due to the nature of the highway test. On a long-range course, no such interruption should occur when you’re setting up as the shooter moves from the target to the firing line.
Only two distances were attempted along the highway. The first was at one mile from the target, more common target distance for many long-range shooters. As expected, the connection was lost as I drove away from the target and camera.
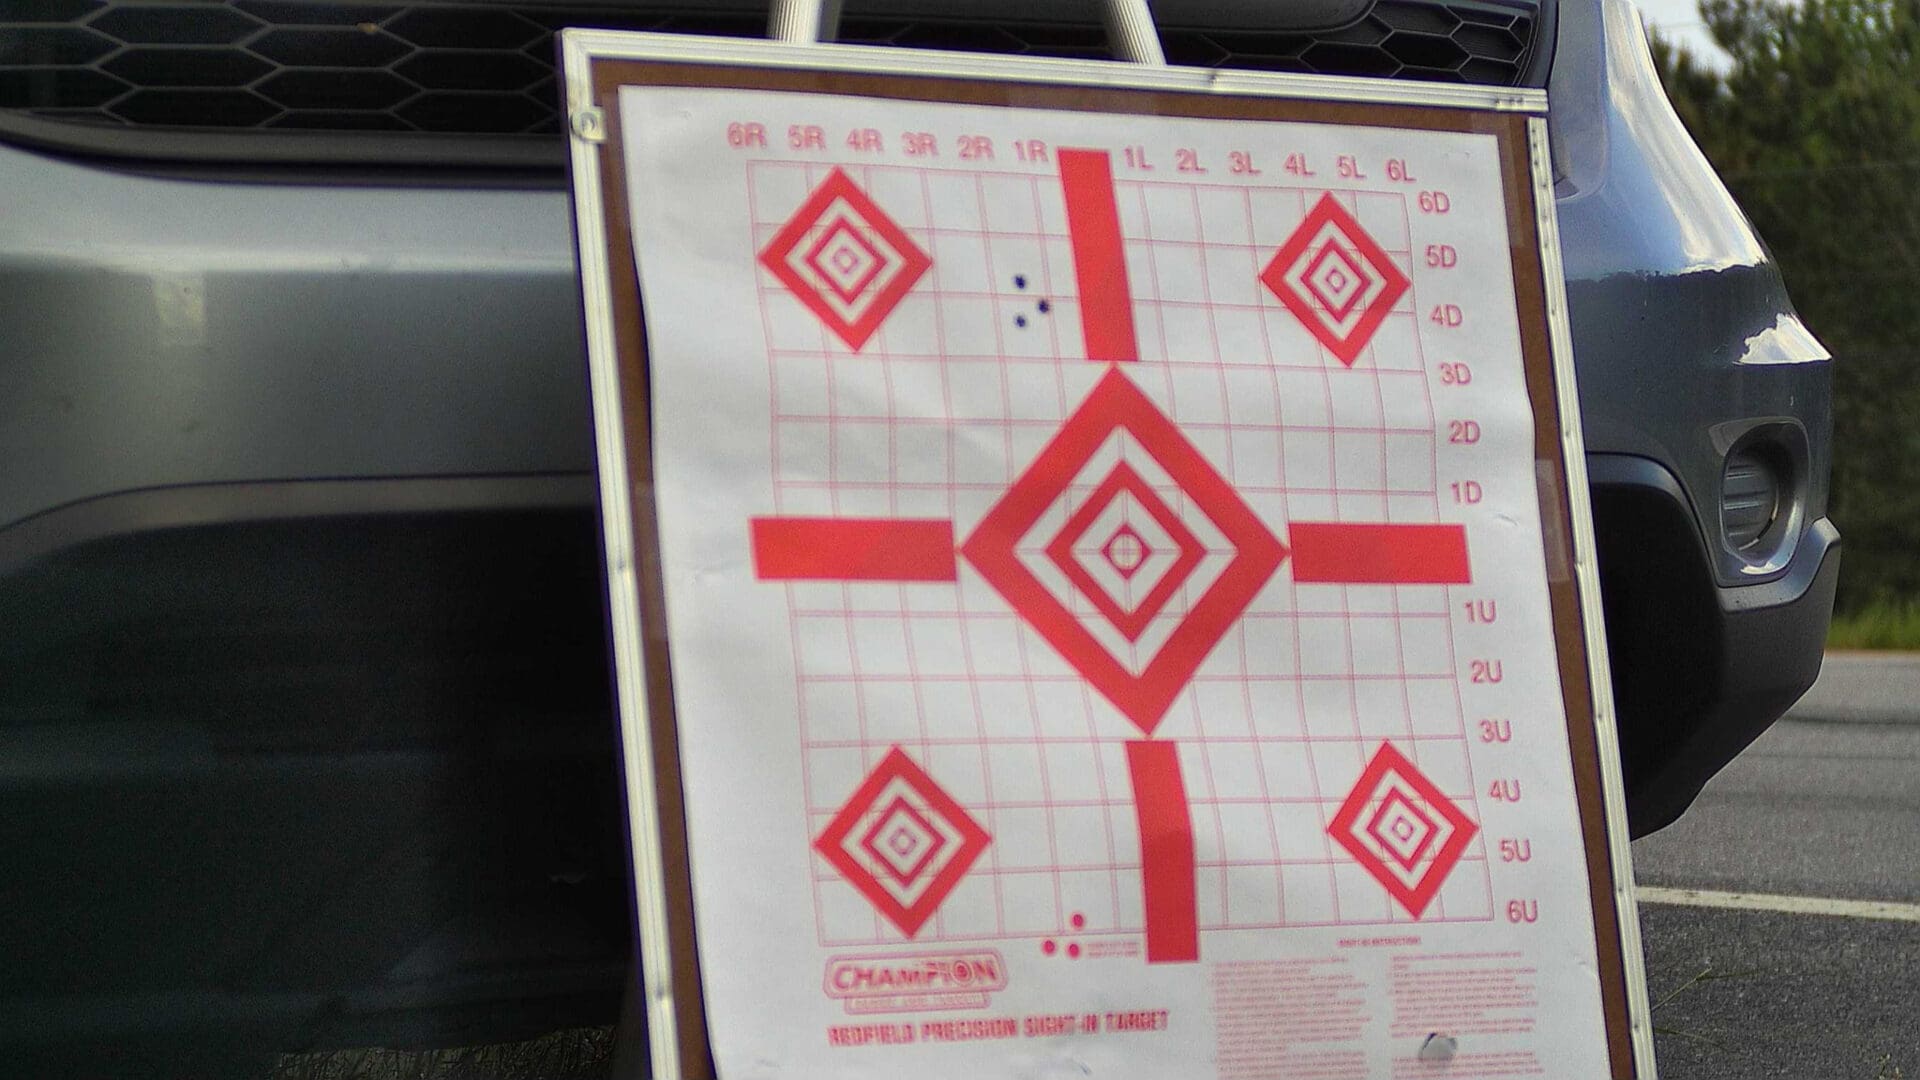
Upon arriving at the one mile position, I relaunched the TargetVision app. My phone and the receiver (carried with me in my truck) reconnected to the camera signal on the first attempt. Here is the snapshot I took from my phone:

So far, so good.
Then I moved to 1.5 miles the furthest line of sight I could find. Again, I lost the signal and had to relaunch the app and reconnect the receiver/iPhone with the camera. This time, it took five attempts to reconnect.
To reach a distance of 1.5 miles, I had been forced to move to the opposite side (from the camera and target) of the four-lane HWY 78. I noticed on the first four attempts to reconnect that multiple 18-wheelers passed in front of me, and therefore would have passed through the signal between the receiver and camera.
On the fifth attempt, no tractor-trailers passed my position. I don’t know if the trucks were the problem, or maybe it was because the receiver and camera were not at the minimum elevation (at least 36″) as the manual said.
However, after connecting, I took this snapshot:

Yep, the same as 1.0 mile.
Conclusions
The Longshot LR-3 ULTRAHD target camera was easy to use. The steps for setting up the unit are few and easy to follow (especially if you read the manual). The TargetVision app is intuitive and straightforward. Finally, and most importantly, the LR-3 provided clear visualization of a target out to 1.5 miles, under sub-optimal conditions.
As stated before, I have no plans to shoot at these extreme distances, but the utility of the LR-3’s camera system begins long before you get out to 1.5 miles. I have frequent need for seeing my shots on targets from 300-800 yards. The LR-3 will be ideal for that application.
Specifications: Longshot LR-3 ULTRAHD Target Camera
Guaranteed Maximum Distance: ‘Straight Shooter’ 2-Mile
Imagery: CrispEdge 2688 x 1512 Ultra HD
Camera Adjustment: All-Axis
Last Shot Identification: Blinker Shot Locator
Connection Between Receiver, Camera and Tablet/Phone: Local Area Network (No WiFi or Cell Service required)
User Device Platforms: iOS and Android
Image Capture: Photograph and Video
Receiver and Camera Batteries: Rechargeable Using 100V – 240V adapter
MSRP: $838 ($799 retail)
Ratings (out of five stars):
Ease of Assembly and Setup * * * * *
As mentioned, ‘assembly’ involves attaching two tripods. The program setup, using the TargetVision app can involve several steps. However, the app is very intuitive, and the LR-3 instruction manual gives great guidance on each option. As an aside, the default settings worked well for my analysis.
Portability * * * * *
The hard-sided carrying case, loaded with the LR-3 components, weighs a bit less than 10 pounds. This minimal weight made it easy to transport. The carrying case also contains substantial protective padding for the camera, receiver, tripods and recharging adapter.
Reliability/Functioning * * * * *
The LR-3 captured clear video of shots hitting a target, and clear snapshots of the target in the video. The Longshot LR-3 also exceeded its guaranteed distance – given the conditions under which it was tested – connecting and capturing snapshots at well over one mile.
Overall * * * * *
The Longshot LR-3 provided excellent results in each of the portions of this test. The only test not run was using it to record shots on targets at extreme distances. However, the LR-3 Camera was able to connect and provide photographs of a target located 1.5 miles from the receiver and my iPhone. This result indicates that it should function well at such distances on a shooting range.
Mike Arnold writes for a number of outlets; links to other articles can be found here.
All photos courtesy the author.